简介
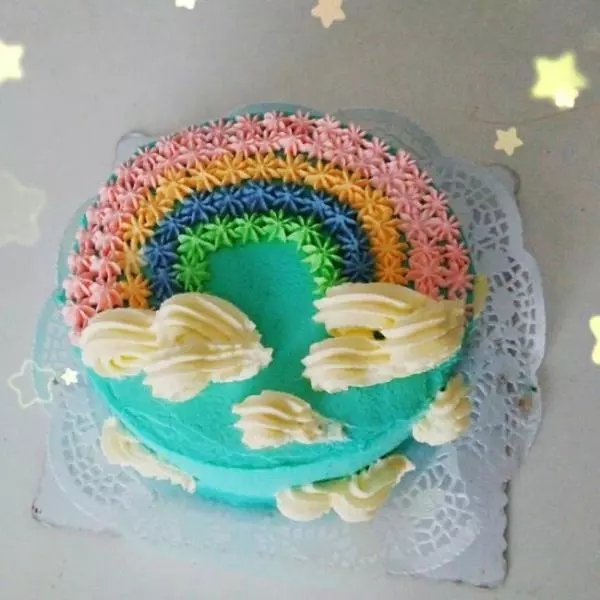
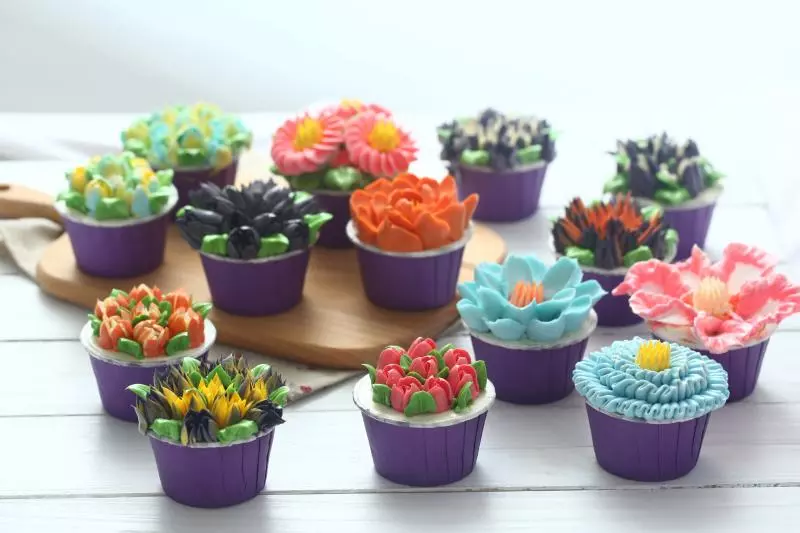
只是色彩多,需要调色麻烦了点〜 其他都还好,挤花也用的最基础的手法,人人都会。 新年了,还愁送哪款蛋糕好吗?彩虹可以说是首选啦,无论送谁都OK。
原料
6寸戚风 1个, 淡奶油 220-250g, 白砂糖 22-25g, 食用色素 红、橙/黄、绿/青、蓝、紫, 夹心水果 适量, •••工具•••, 抹刀, 裱花台, 蛋糕分片器, 蛋糕切片刀, 脱模刀, 硅胶刷
步骤
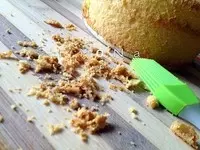
16寸戚风脱模后,刷去边上的蛋糕屑
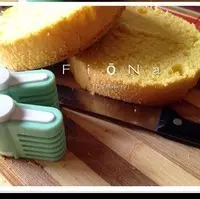
2蛋糕分片
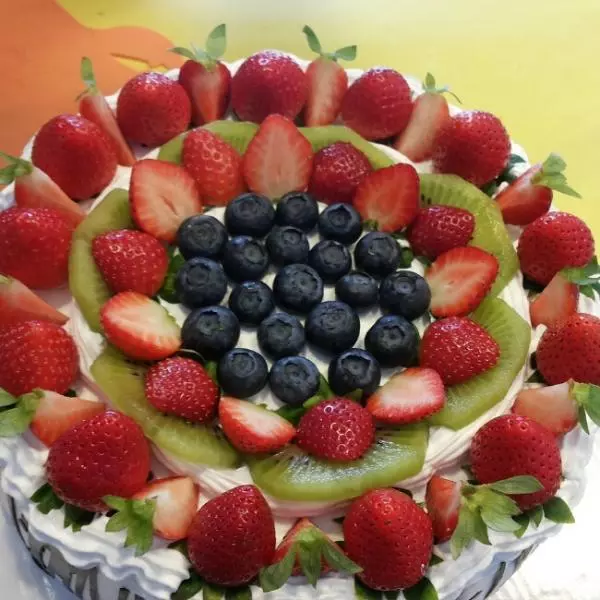
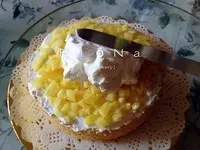
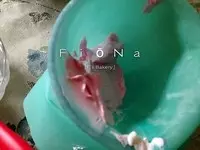
3夹心水果切丁备用
4冷藏24小时以上的淡奶油加糖,淡奶油与糖的比例一般在10:1
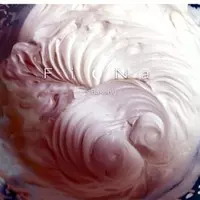
5低速打发至图中状态。纹路清晰并用刮刀挖起一块,盆里的奶油边缘不塌陷即打发完成
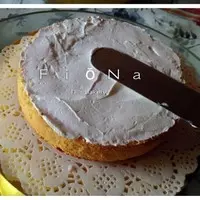
6把其中一片放在底托上,抹上适量奶油
7把切好的水果丁平铺进去,再挖适量奶油,抹匀
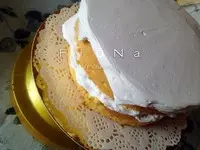
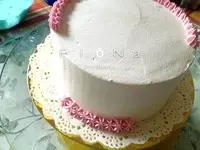
8抹匀后盖上另一片蛋糕片,边缘一定要对齐
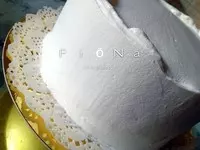
9挖适量奶油到蛋糕表面,慢慢转动裱花台,刮刀停留在蛋糕的中心点也随着裱花台的节奏左右、左右摆动。出现图中规律的皱褶
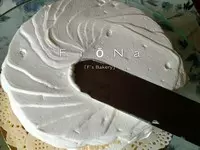
10快速转动裱花台(抹刀依旧保持停留在蛋糕中心点)
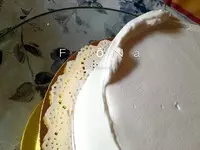
11周边抹上奶油,依旧使用抹面的方式来抹匀周边
12抹匀
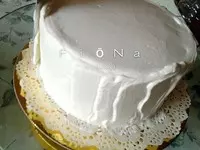
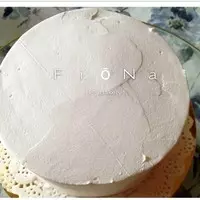
13出现这样凸起的小尖峰,用抹刀由外至内的快速抹去
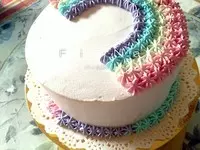
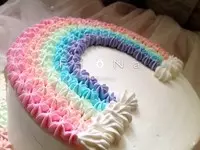
14如果抹不平不要紧,选抹匀的部分当做天空,不匀的部分拿来裱上彩虹。看图中的分割线
15准备食用色素。 由于是六寸,只做了5个彩虹的颜色,不然太挤了
16挖一点打发好的奶油,加红色色素拌匀
17准备一个八齿裱花嘴,装进裱花袋
18可以找个杯子把裱花袋套着,然后把奶油装进去
19收口拧紧,挤出星形小花。面上与底部
20橙色(红色素+黄色素)

21青色
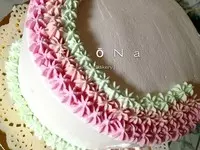
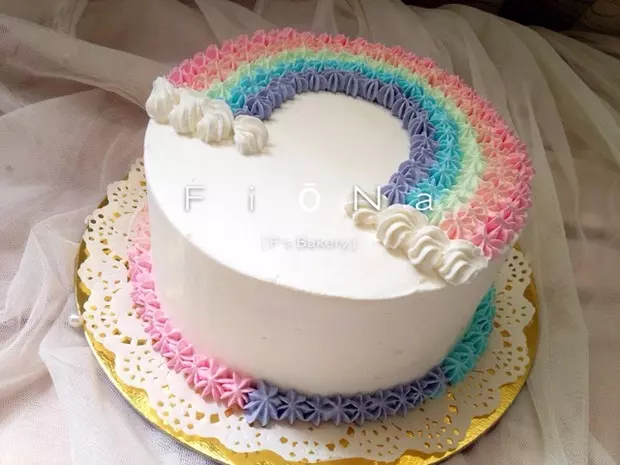
22蓝色
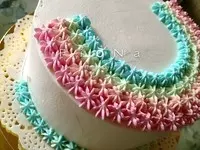
23紫色(红色素+蓝色素)
24由内向外的挤上小云朵

25两边都挤上,各4朵
26完成

小技巧
1.戚风,海绵,电饭煲蛋糕都可以。只要是蛋糕胚