原料
夹酱:巧克力: 62g, 淡奶油: 41g, 蛋糕:鸡蛋(蛋黄约80g,蛋白约170g): 5个, 热水: 44g, 玉米油: 70g, 牛奶: 27g, 低筋面粉: 83g, 可可粉: 9g, 苏打粉: 1g, 白砂糖: 72g, 耐高温可可豆: 少许
步骤
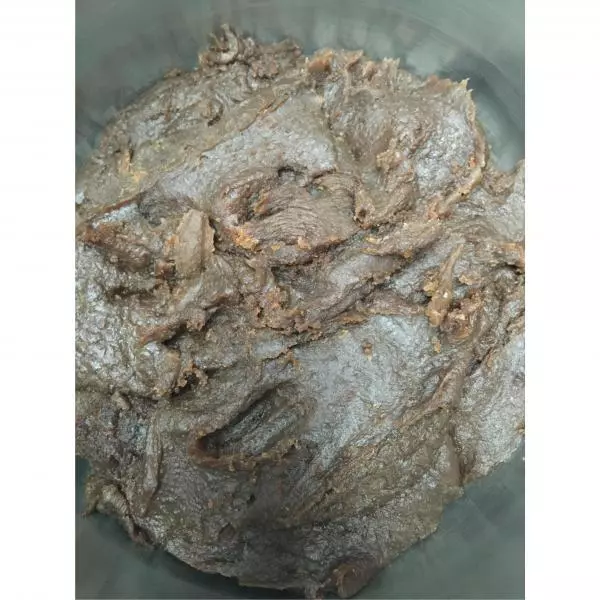
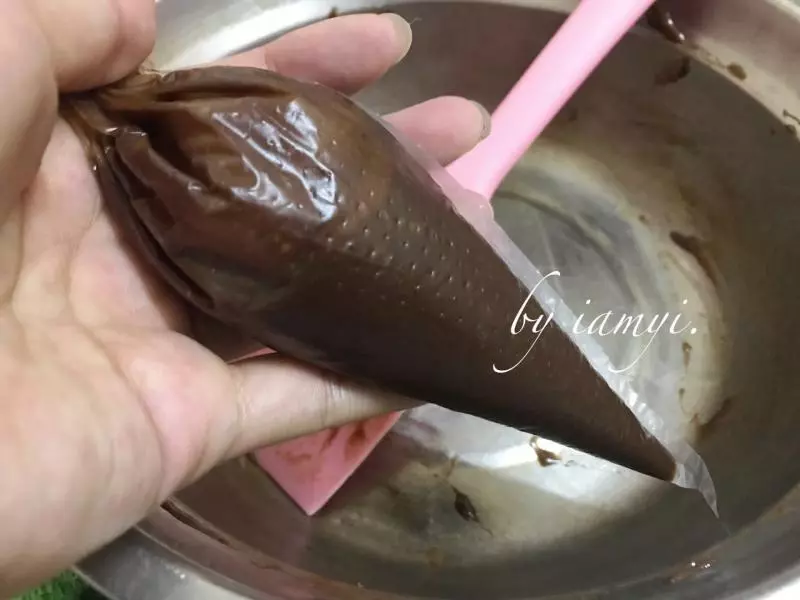
1巧克力和淡奶油放入盆中,小火隔水加热至巧克力完全融化后离火

2巧克力酱稍微放凉后装入裱花袋中备用
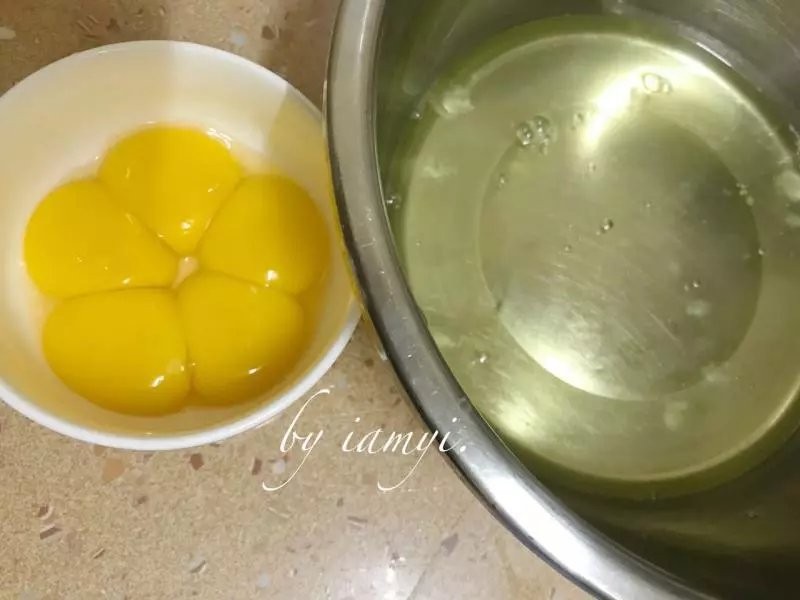
3蛋黄和蛋白分离,蛋白一定要放在无水无油的容器中
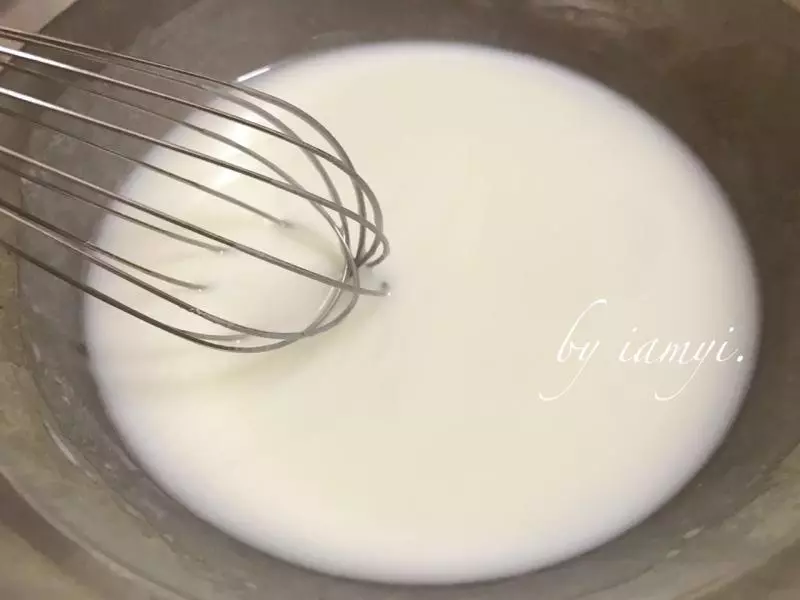
4热水、玉米油、牛奶放入盆中进行乳化,彻底搅拌均匀
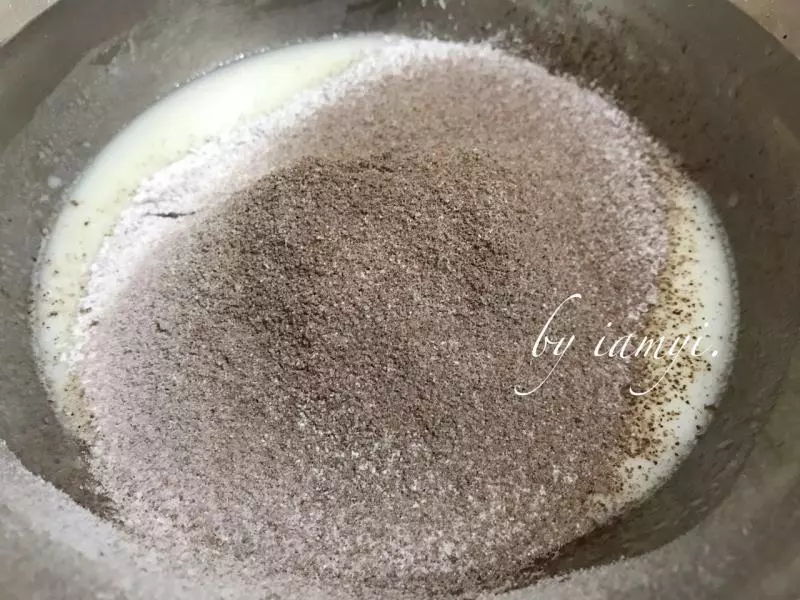
5筛入低筋粉、可可粉和苏打粉,快速与液体混合
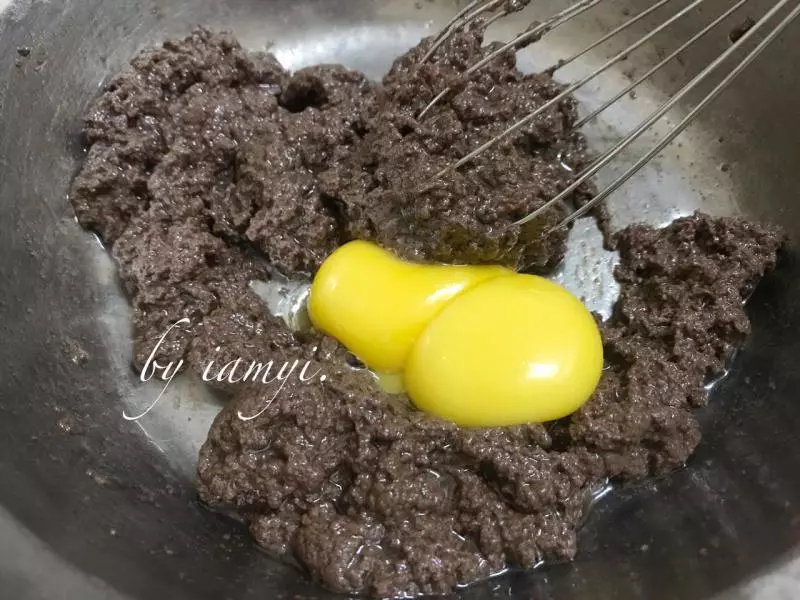
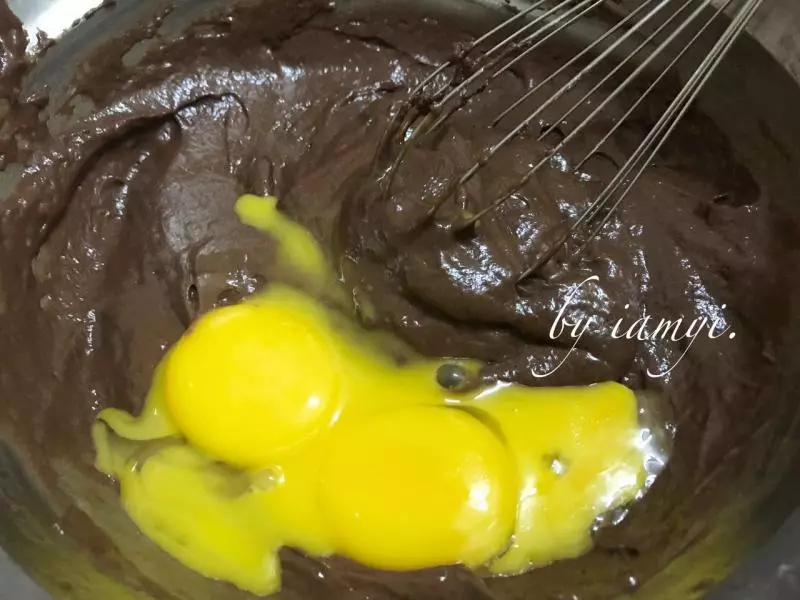
6混合好是很油的状态,这时加入一半蛋黄
7蛋黄和面糊混合均匀后继续加入剩下的蛋黄,搅拌均匀
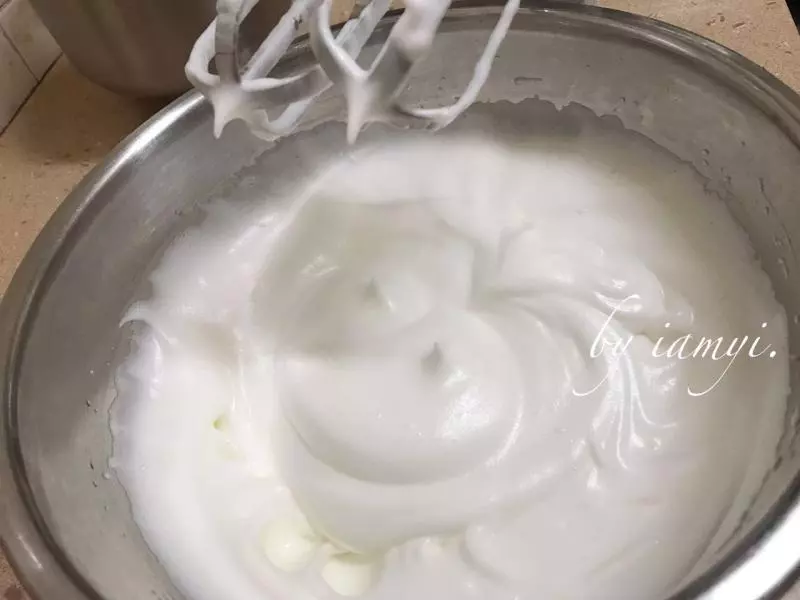
8蛋白分三次加入白砂糖打发,(状态是蛋头提起来拉出小直钩,尾部有点弯弯的)
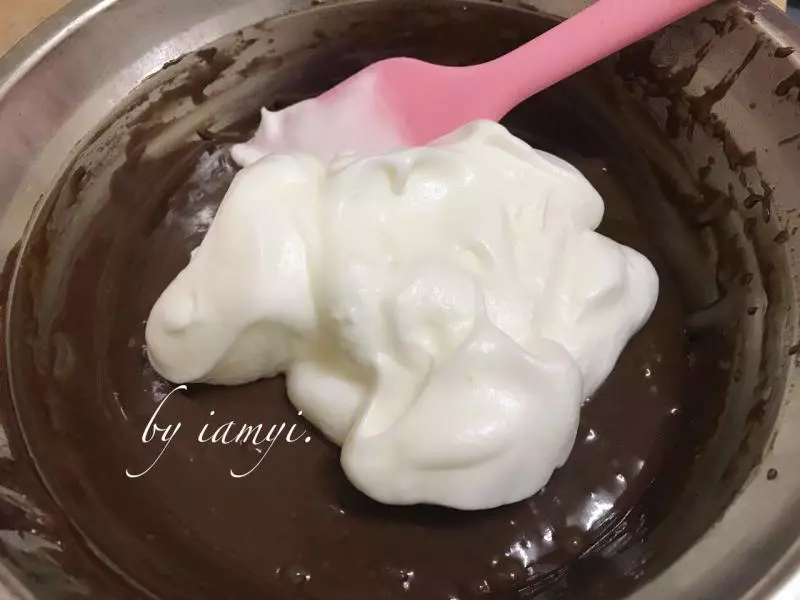
9取三分之一的蛋白霜加入巧克力面糊中切拌均匀
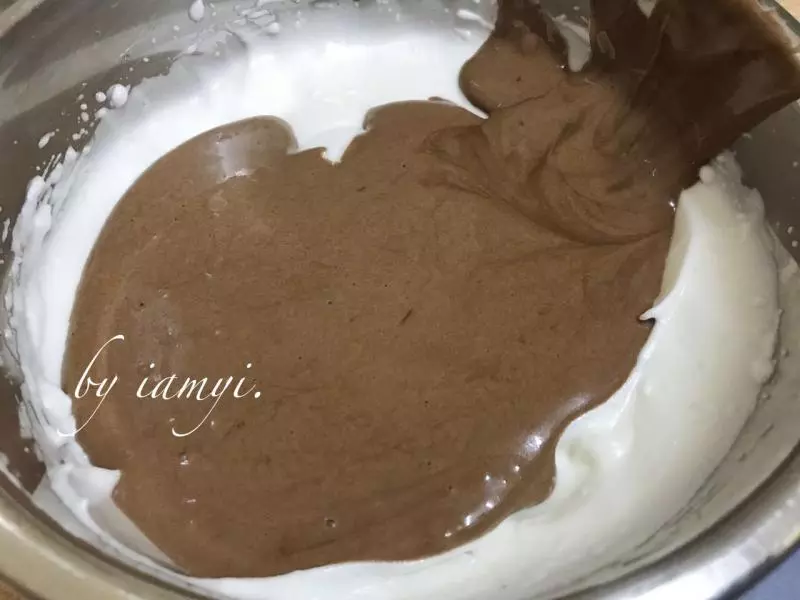
10把巧克力面糊再倒入蛋白霜中快速翻拌均匀
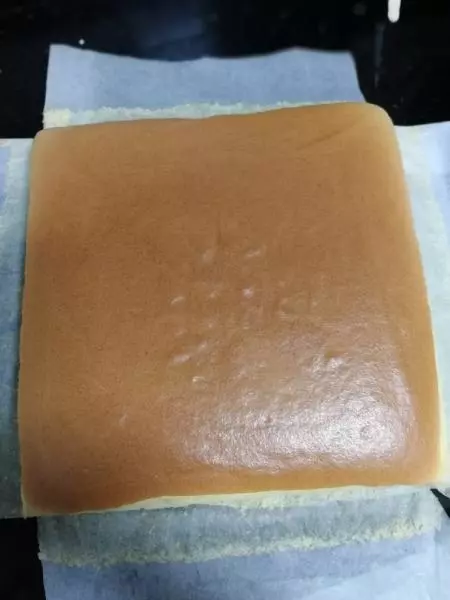
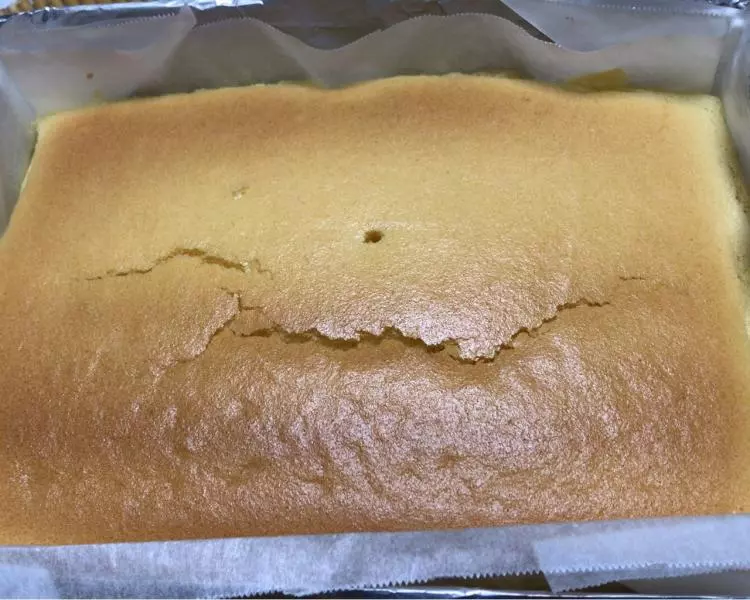
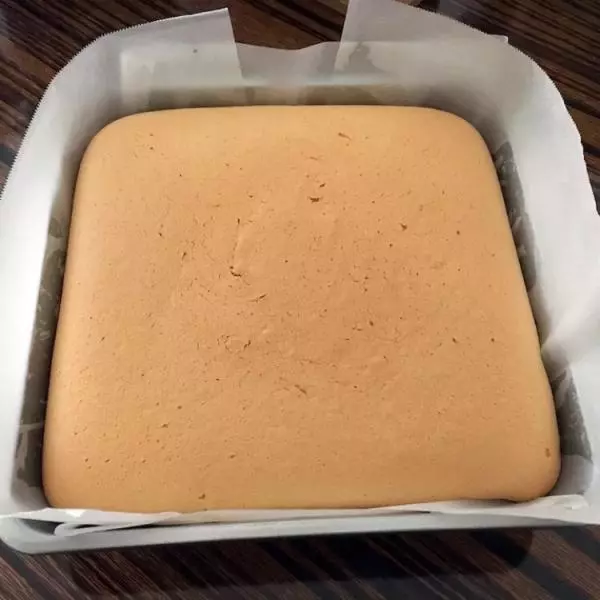
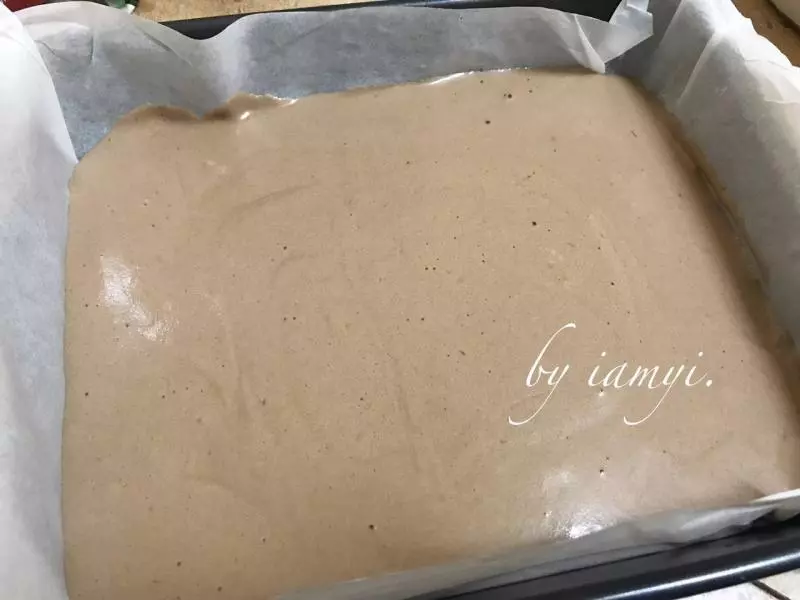
11混合好的蛋糕糊,取一半倒入垫油纸的烤盘中
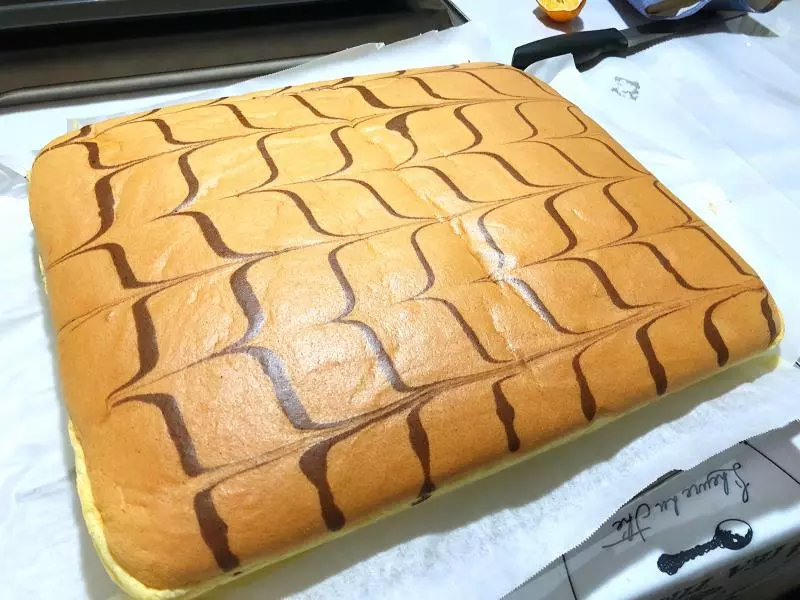
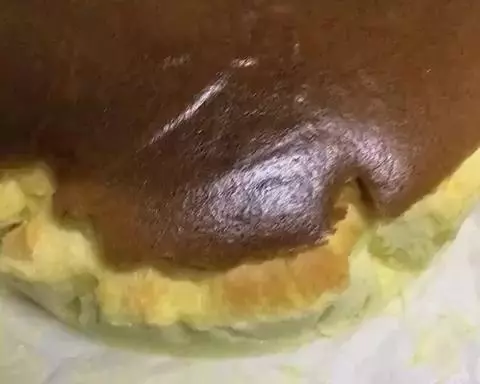
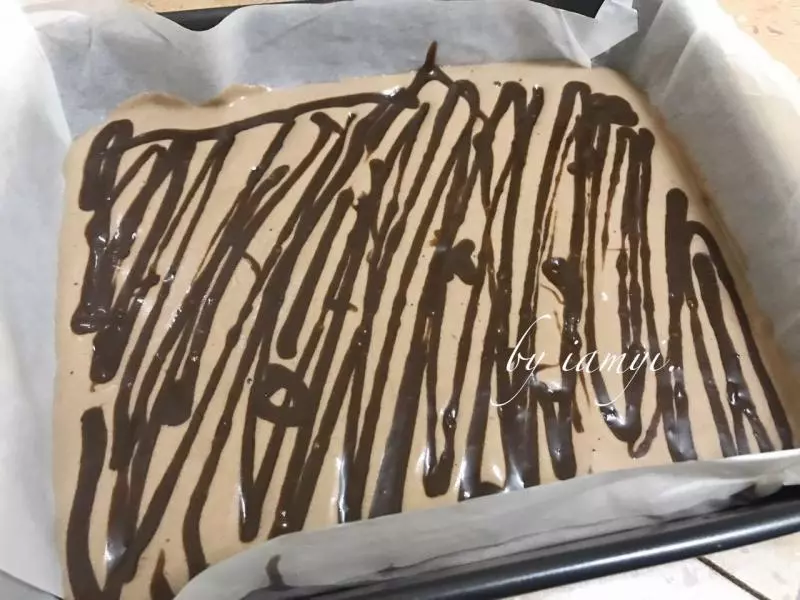
12挤上事先准备好的巧克力酱
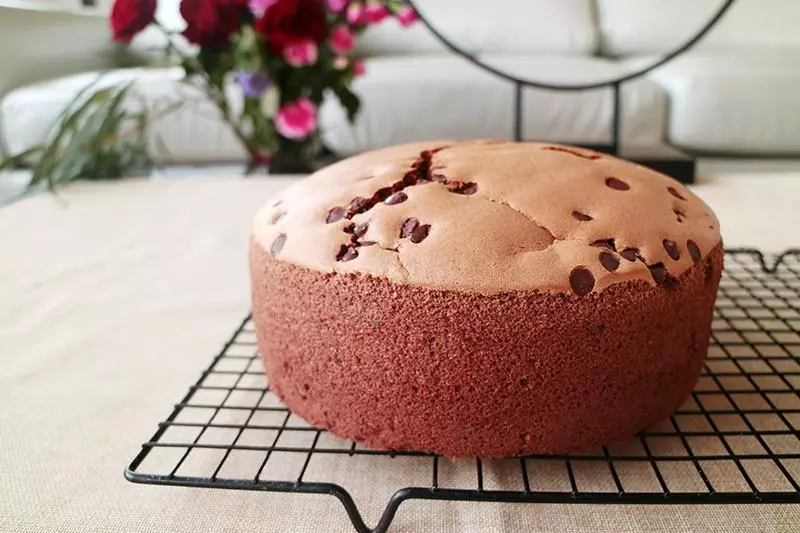
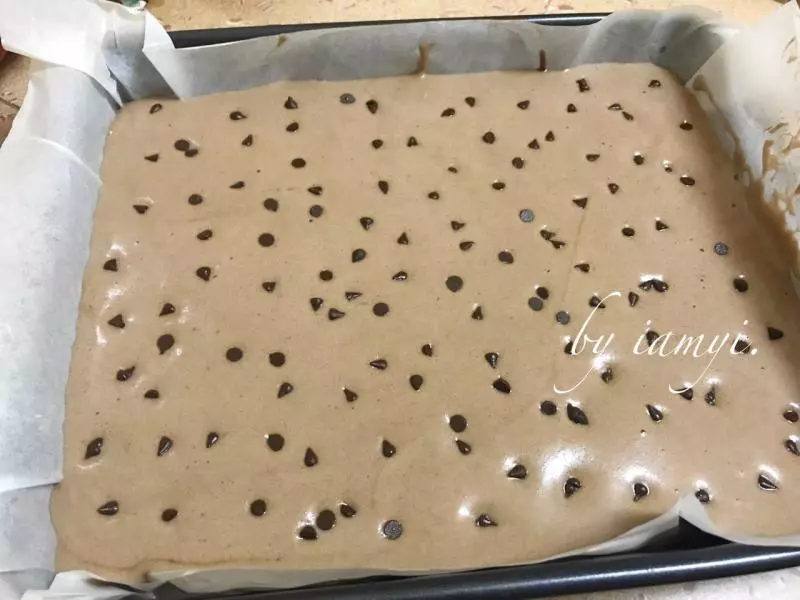
13最后把另一半蛋糕糊也倒入烤盘中,用刮板刮平,撒上巧克力豆
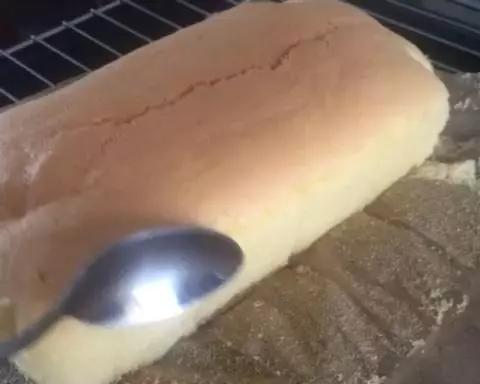
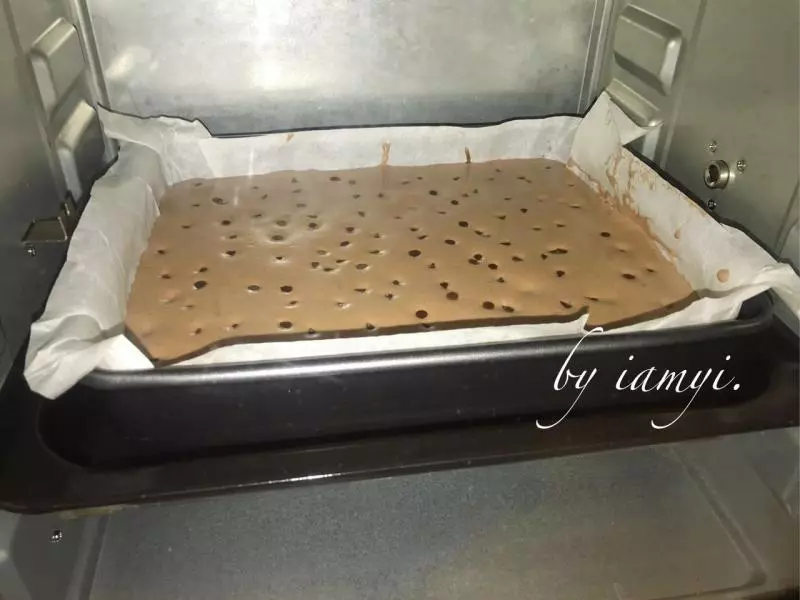
14送入预热好的烤箱,160度中下层,烤60分钟左右。出炉放凉切块即可食用
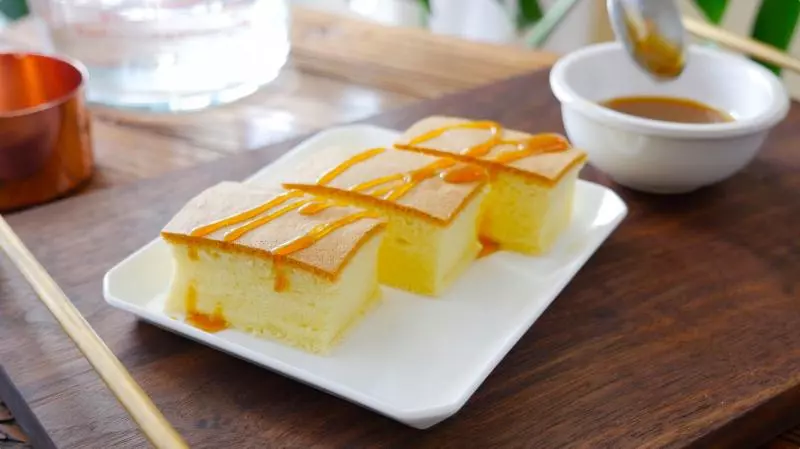
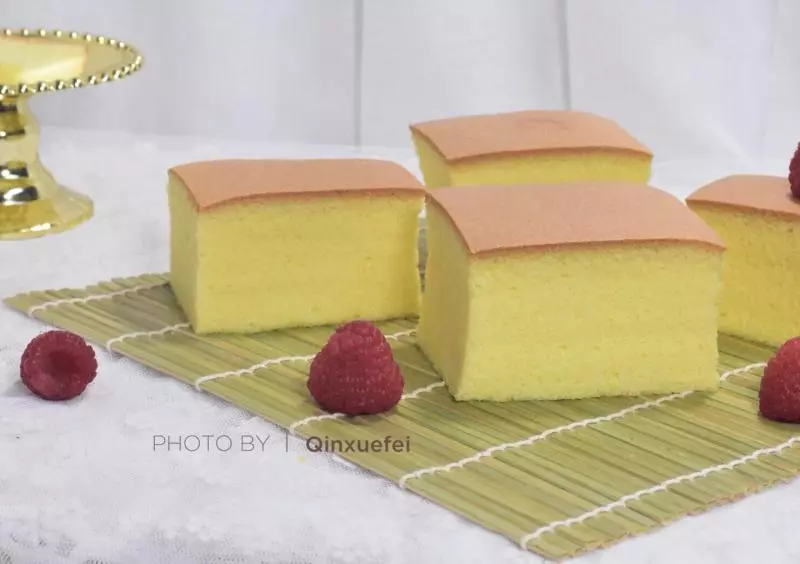
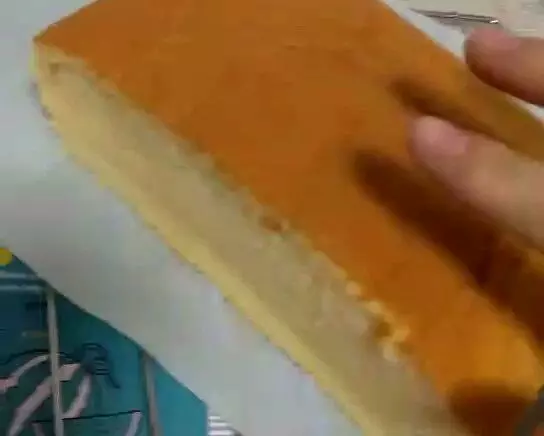
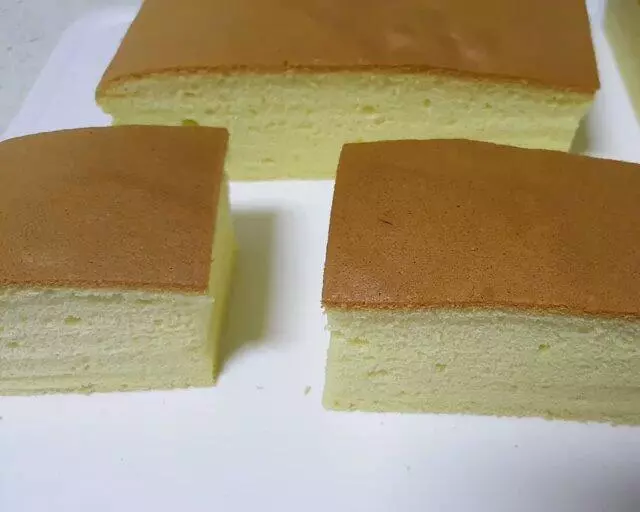
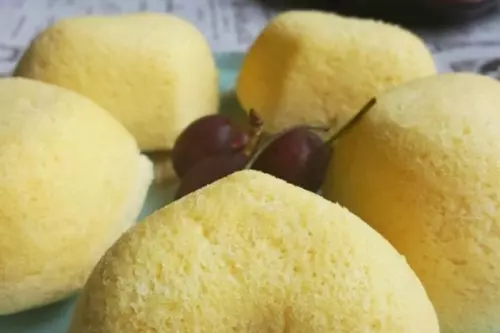
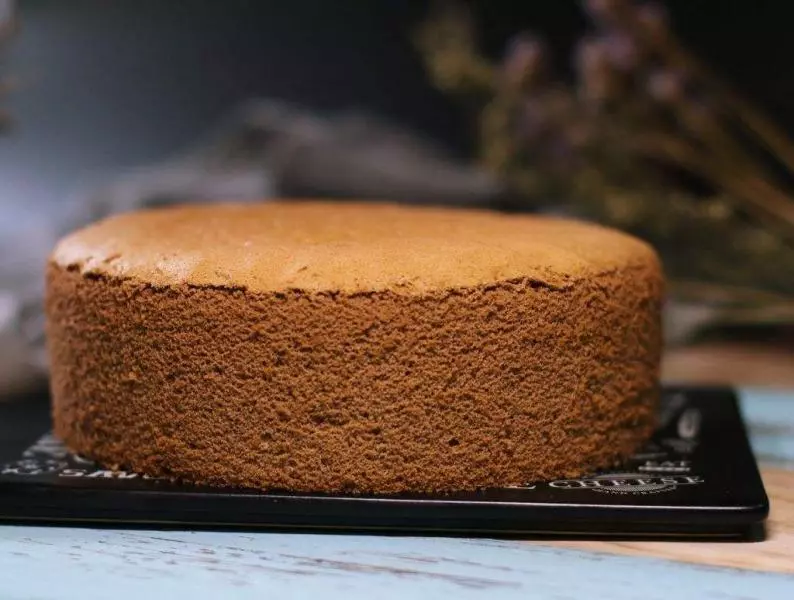
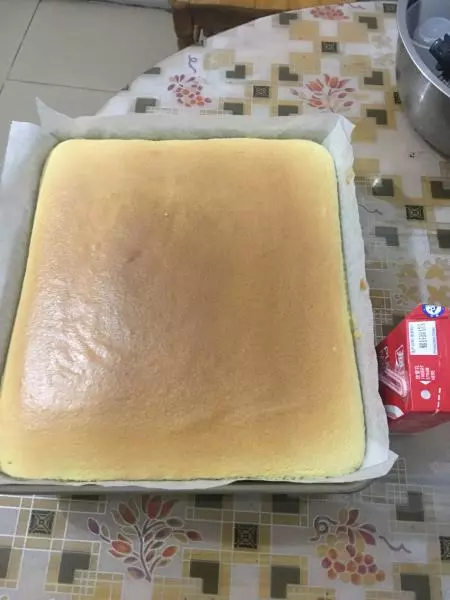
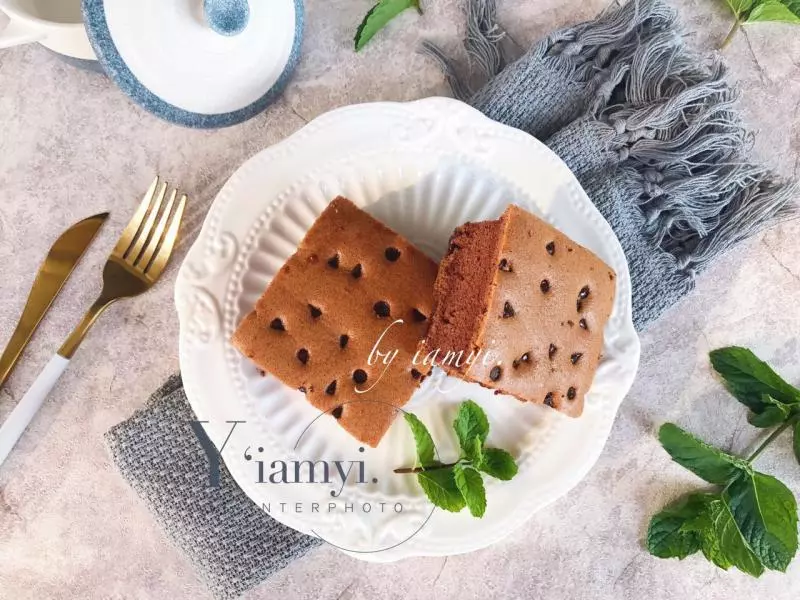
15成品图
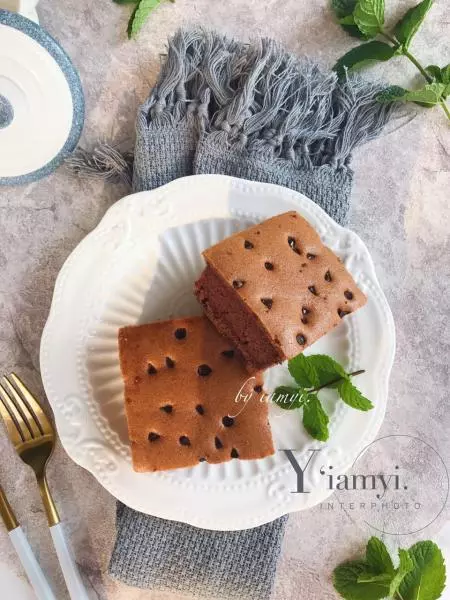
16成品图

小技巧
配方中我用的烤盘是长方形深盘,如果没有换成其他模具也是可以的; 温度和时间就按照自己烤箱的脾气来调节了; 不建议减糖,我已经尽量降低糖度了哦~