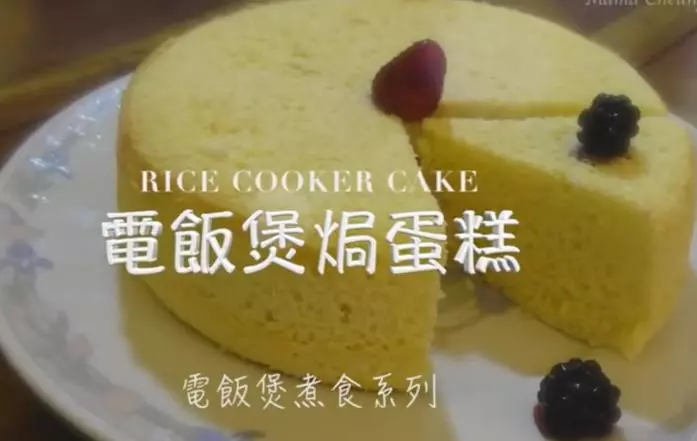
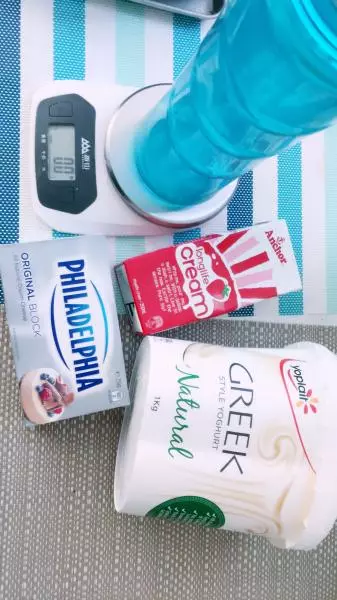
原料
鸡蛋: 3个, 低筋面粉50: 克, 细砂糖50: 克, 酸奶100: 克, 奶油奶酪软化: 20-50克, 黄油: 20克
步骤
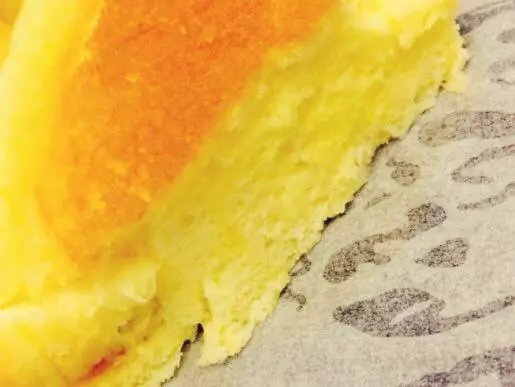
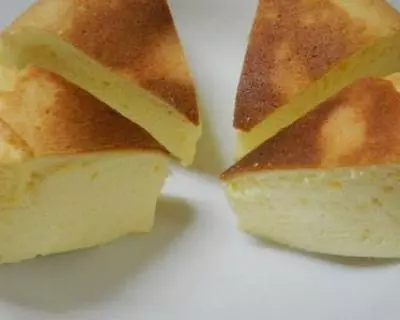
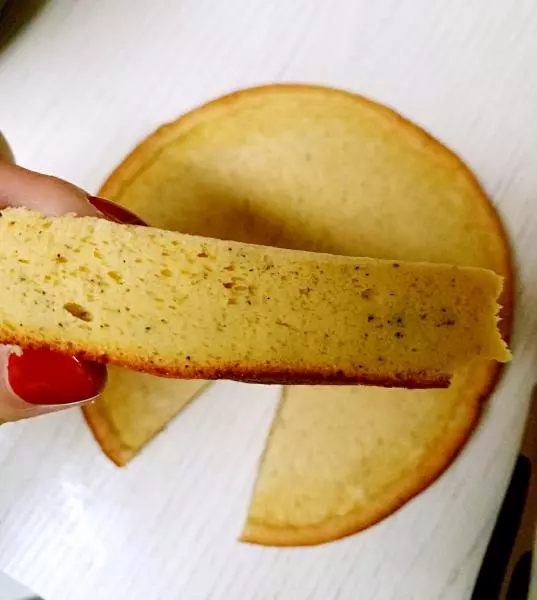
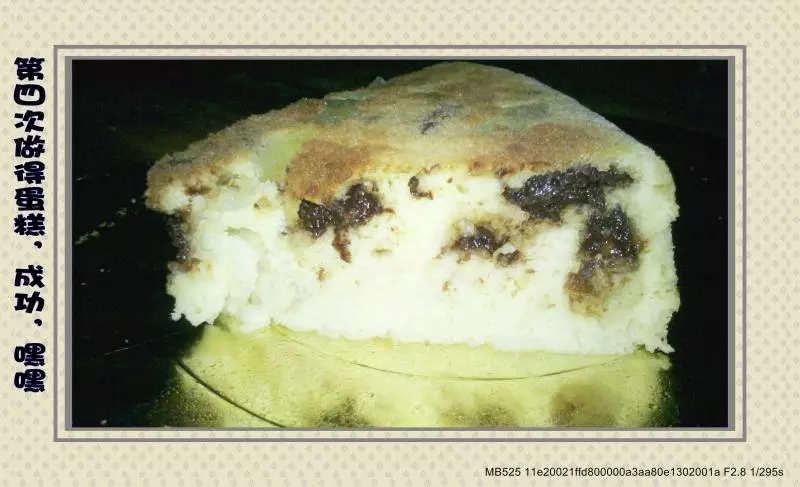
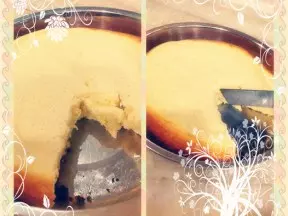
1以前拍的照片,比较好看,但是是不需要用到奶油的,偷懒一下用旧图
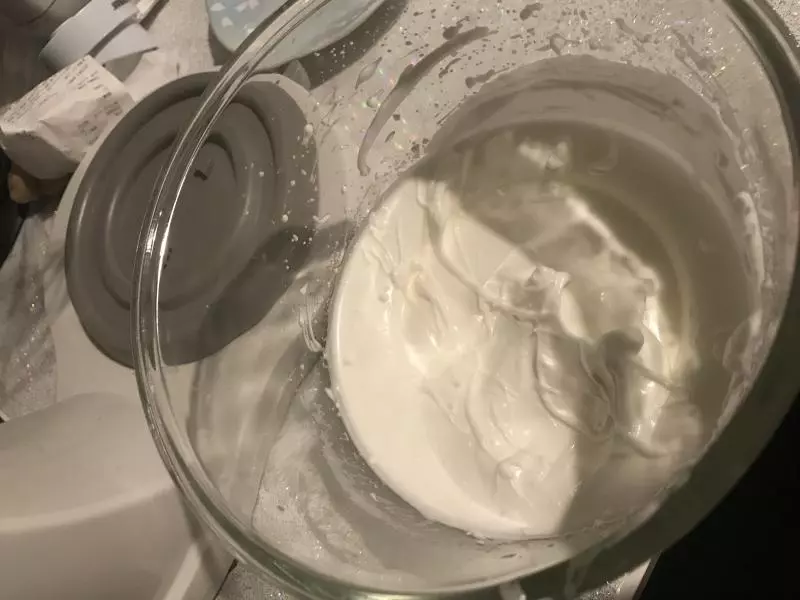
2奶油奶酪软化
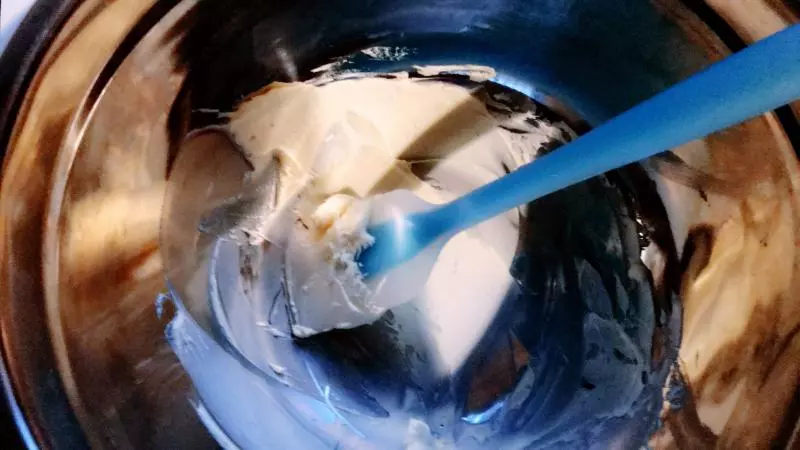
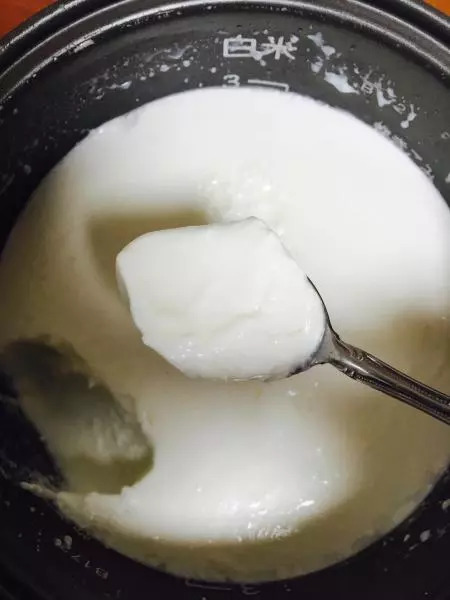
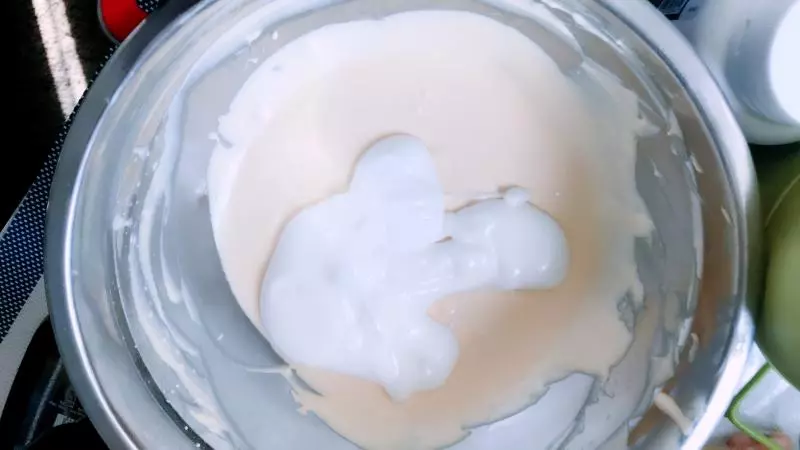
3奶油奶酪和酸奶放入搅拌机搅拌
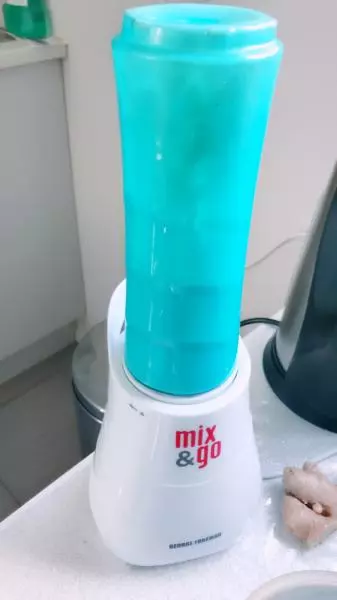
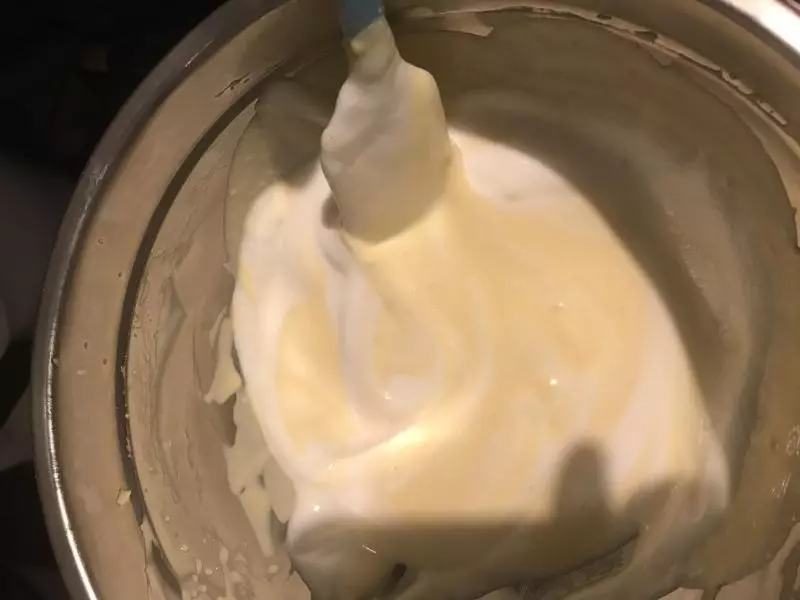
4搅拌机搅拌成糊状倒入蛋黄中,加上20克融化后的黄油,筛入面粉。可以手打均匀,我比较懒,用电动的慢速慢慢打成光滑糊糊
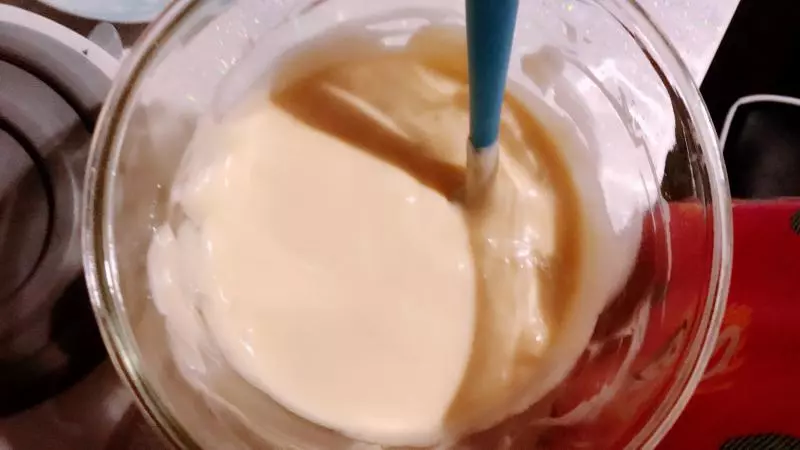
5光滑蛋黄糊糊,放冰箱冷藏
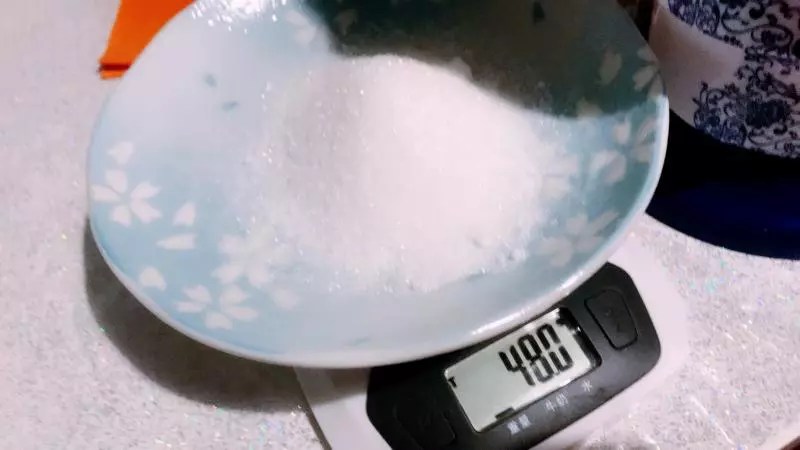
650克糖,我的酸奶是完全没甜味的,50克也不是很甜,喜欢甜的加到70-90随意。
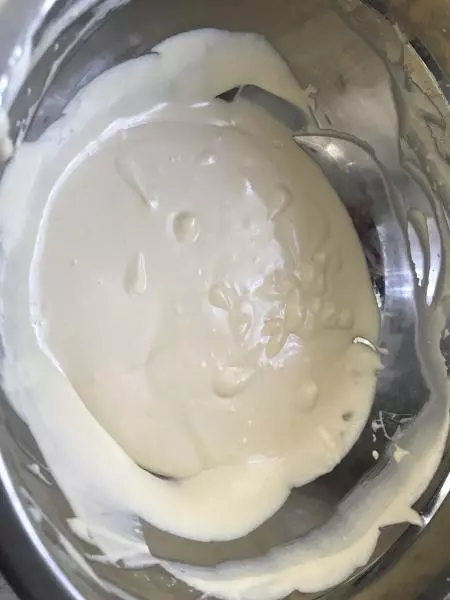
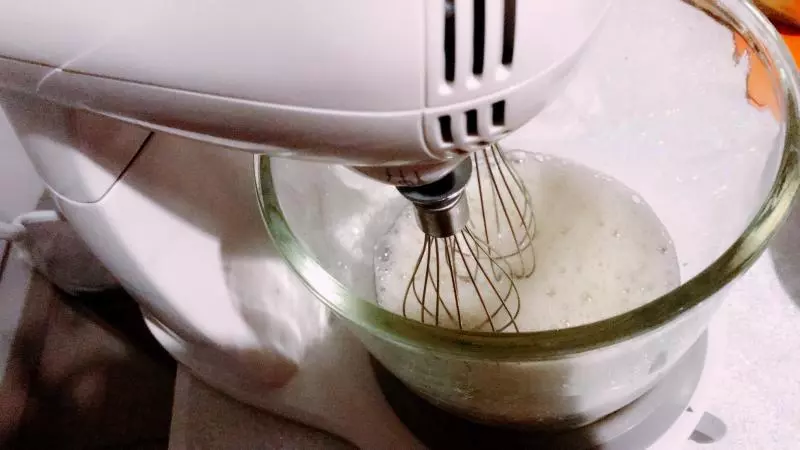
7蛋白打成鱼眼泡,加入三分一白糖。再打,打到蛋白体积胀成一倍,再加三分之一糖,再打到完全变白不透明加余下的三分一。
8干性偏硬,有点结实。
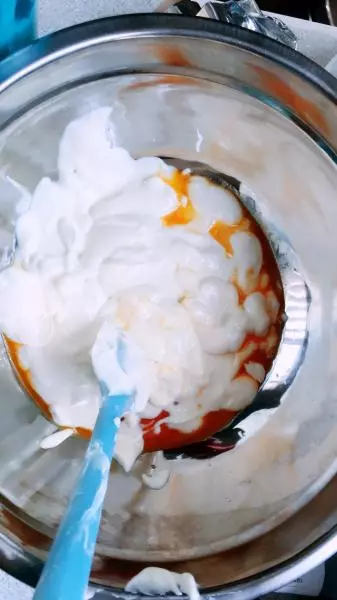
9从冰箱取出蛋黄糊,放入三分之一蛋白糊,刮刀翻拌,不要划圈拌。
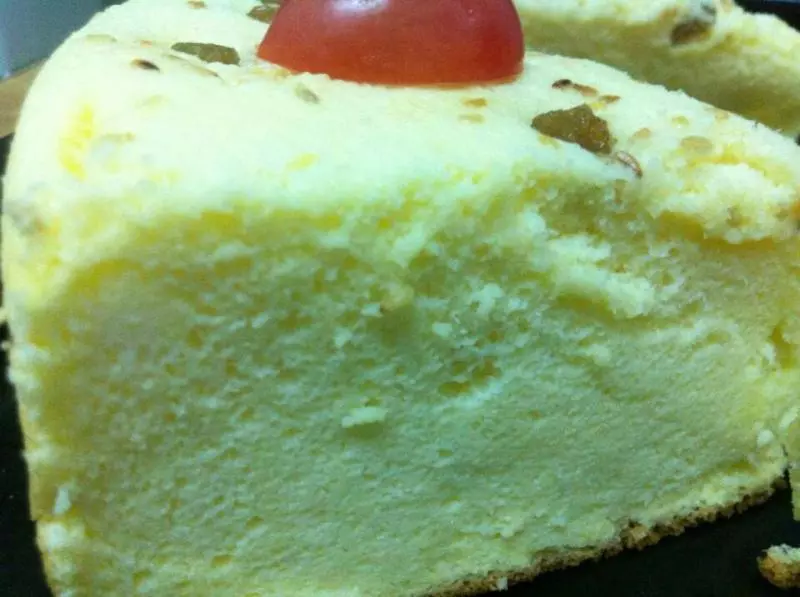
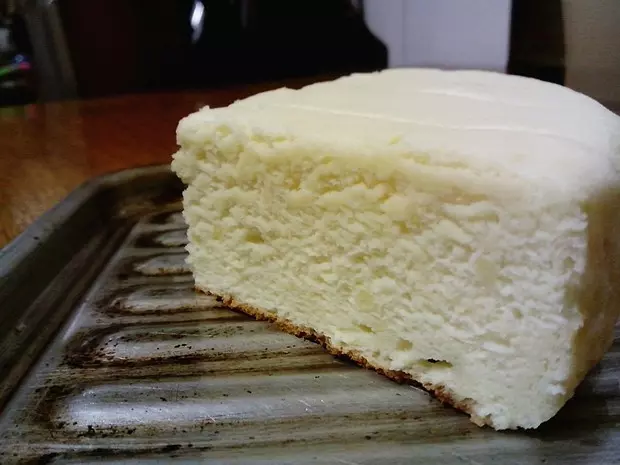
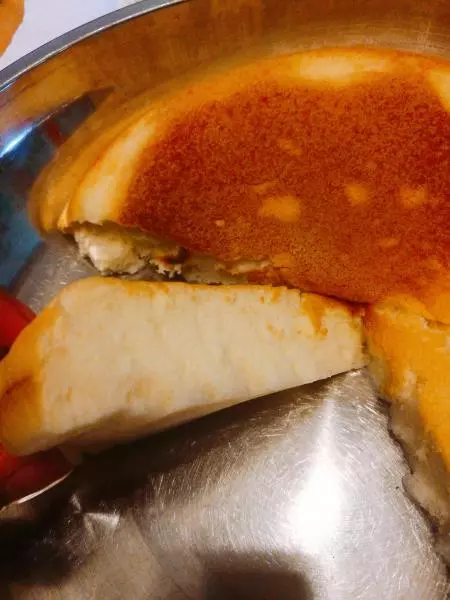
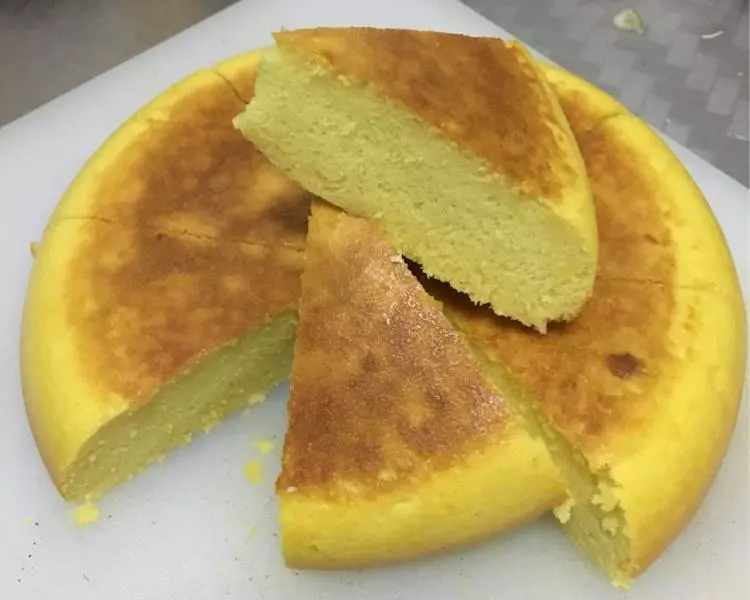
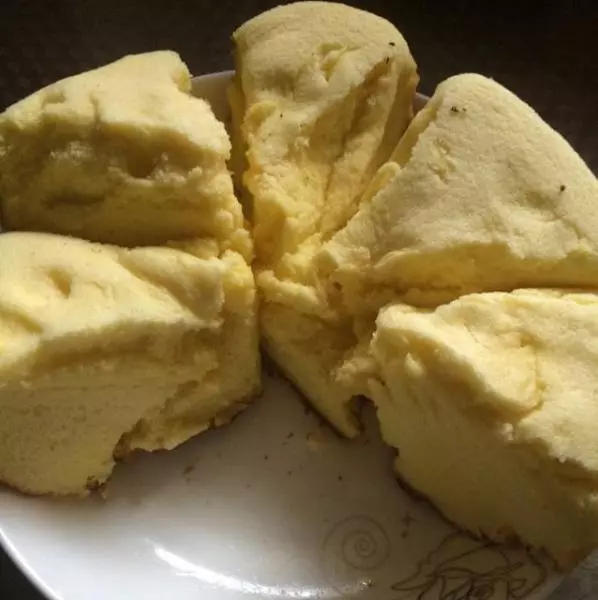
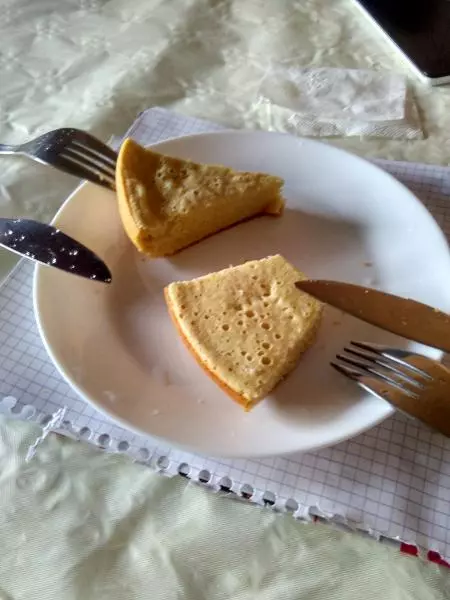
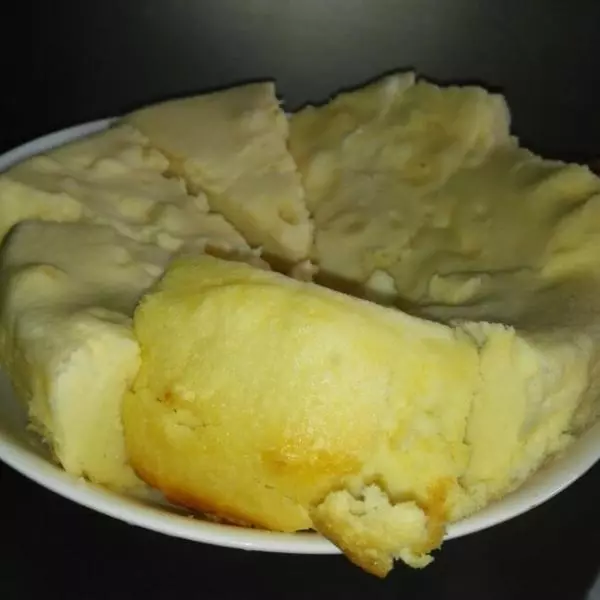
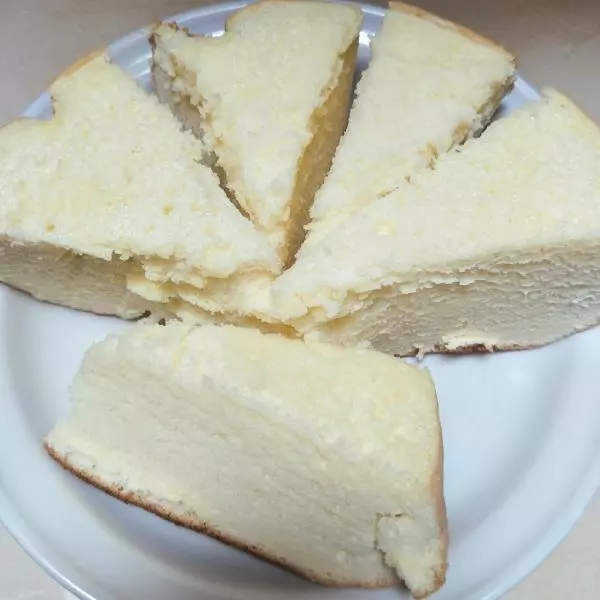
10拌
11把步骤10的糊倒入剩下三分之二的蛋白糊容器中,翻拌。此时电饭锅通电预热,刷点油
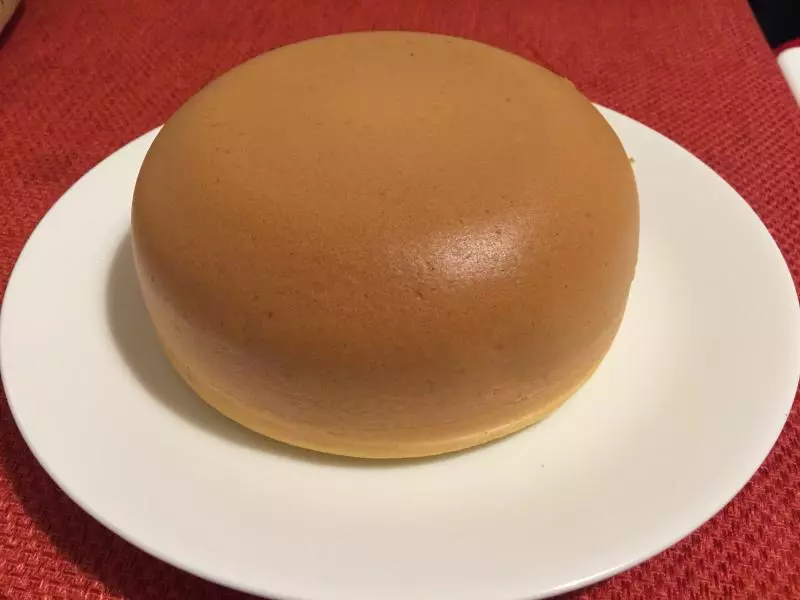
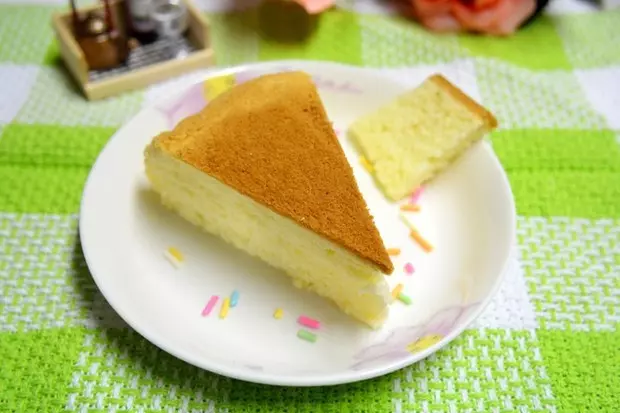
12慢慢倒入糊糊,拿着内胆,用力在桌上磕几下磕出气泡。按煮饭,跳闸后闷10分钟,再按煮饭,跳闸后再闷10分钟。好了!热热乎乎好好吃,待凉后放冷藏,第二天吃超像芝士蛋糕