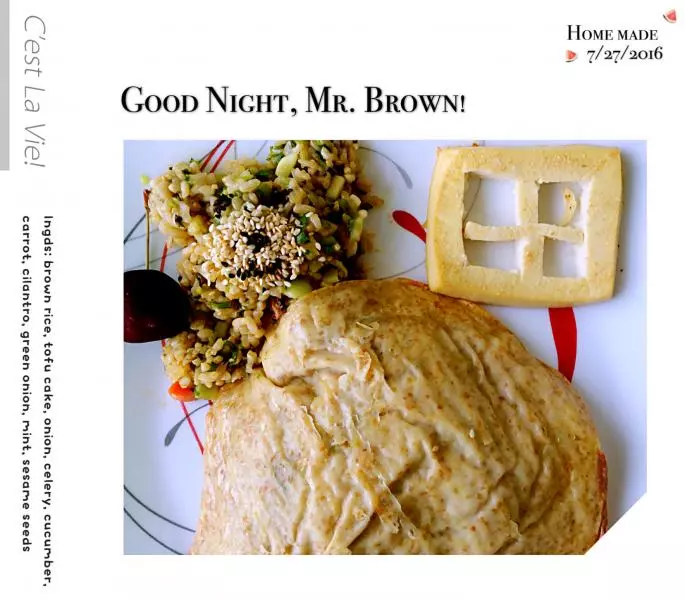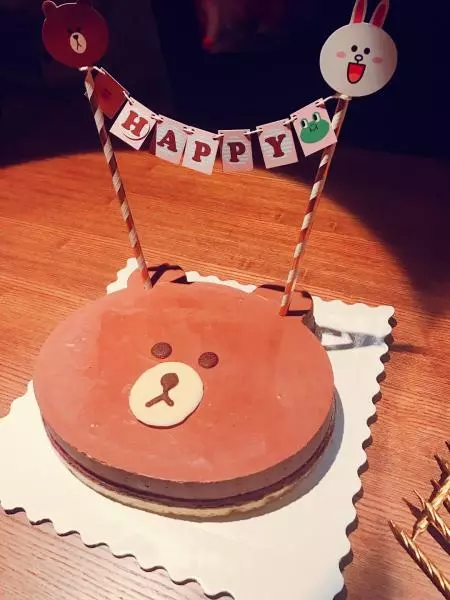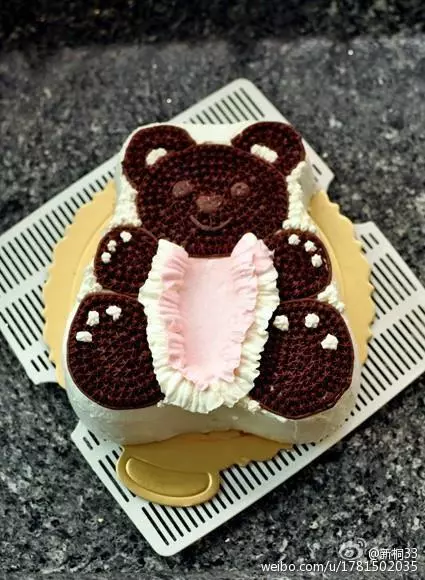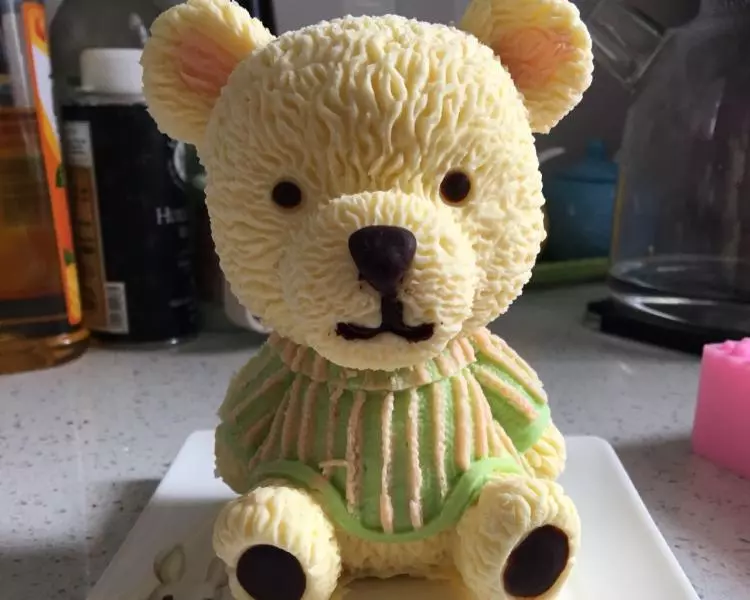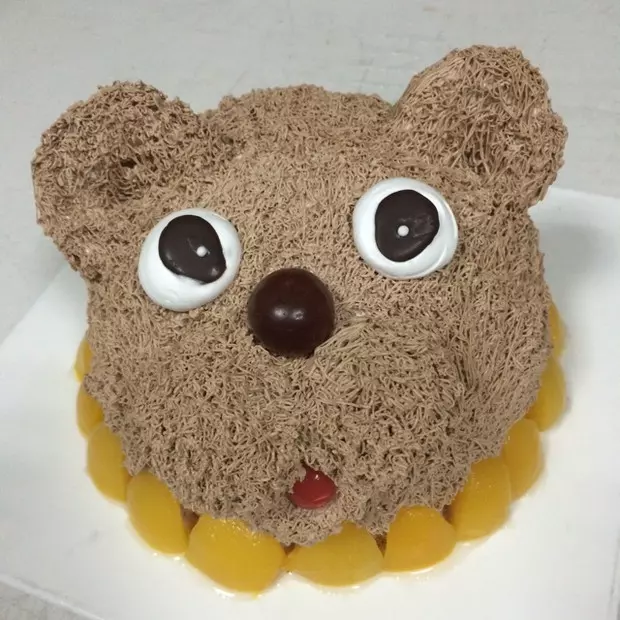
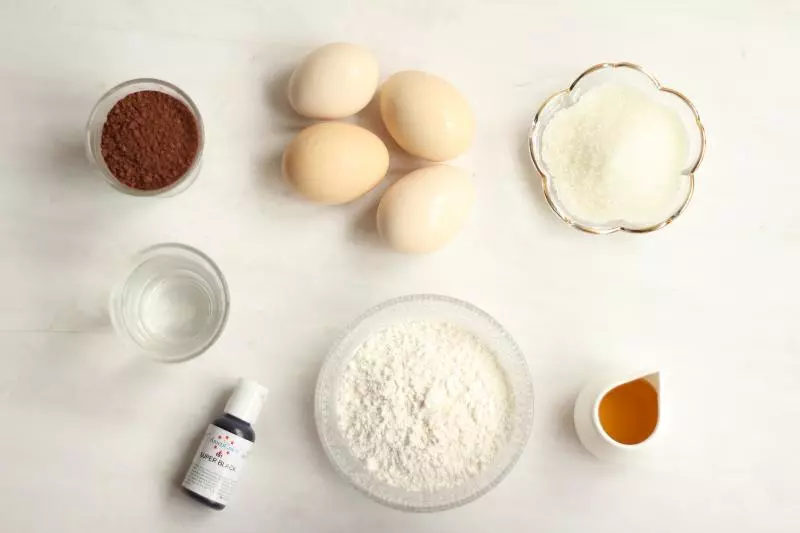
原料
鸡蛋: 4个, 低筋面粉: 56g, 可可粉: 20g, 细砂糖(面糊/蛋清各40g): 80g, 水: 60g, 玉米油: 60g, 黑色色素: 适量, 淡奶油: 250g, 砂糖: 25g, 夹心水果(草莓、香蕉等均可): 适量, 黑巧克力: 适量
步骤
1准备:烤箱设置上下烤170度 15分钟,开始预热;28*28cm的烤盘内平整的垫上油纸;低筋面粉和可可粉分别单独过筛两次备用。
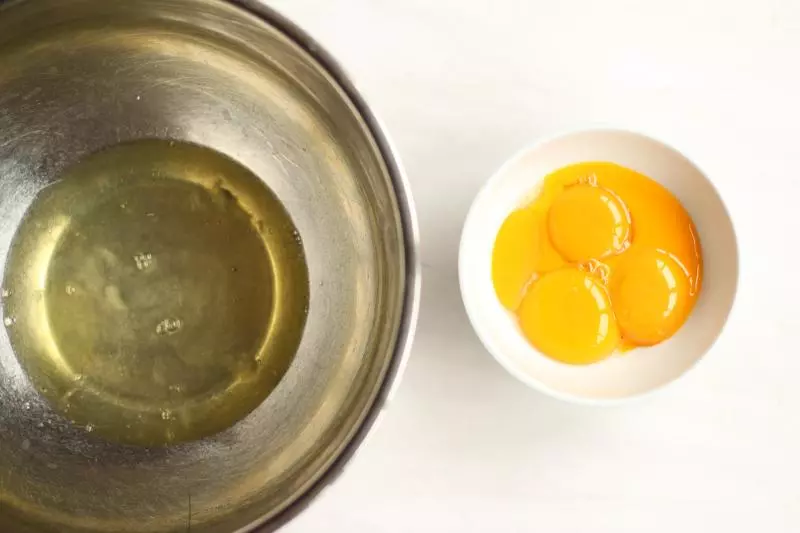
2蛋清蛋黄分离到无油无水的容器中,蛋黄表面盖上保鲜膜防止变干,置于一旁备用;
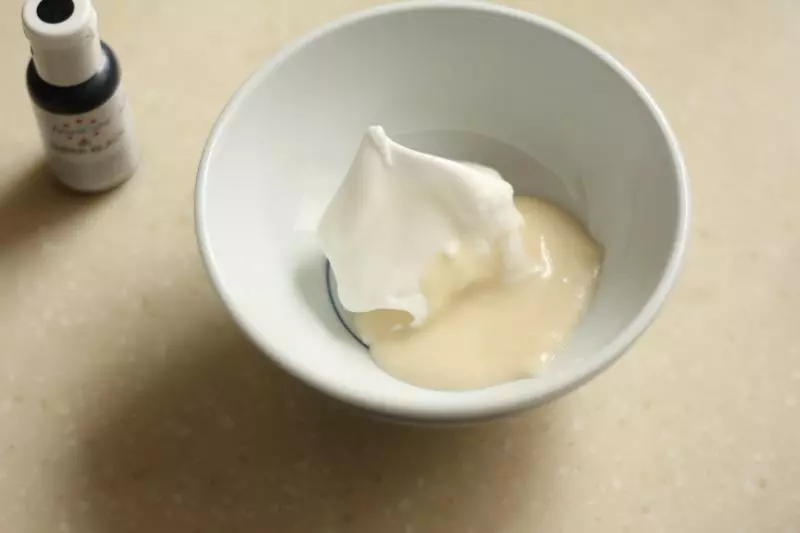
3制作面糊:将40g白砂糖搅拌溶解到60g水中,加入玉米油用蛋抽混合搅拌均匀
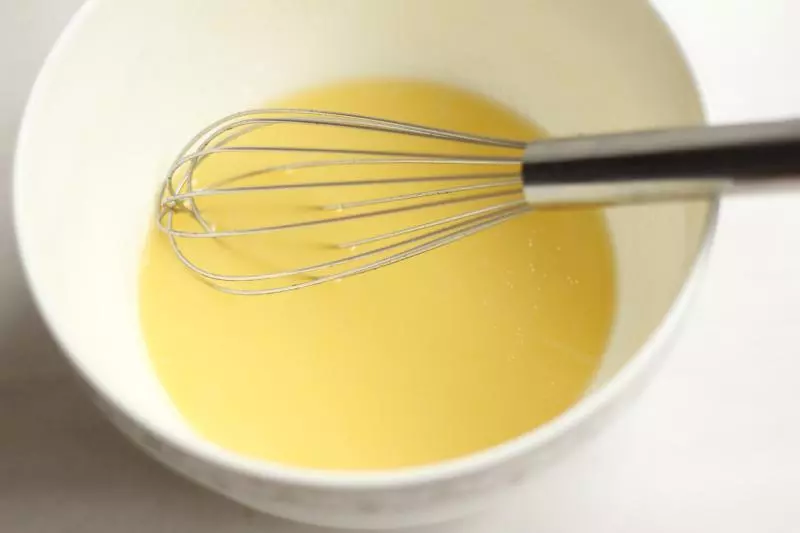
4加入过筛好的低筋面粉搅拌成无颗粒的顺滑无蛋面糊。
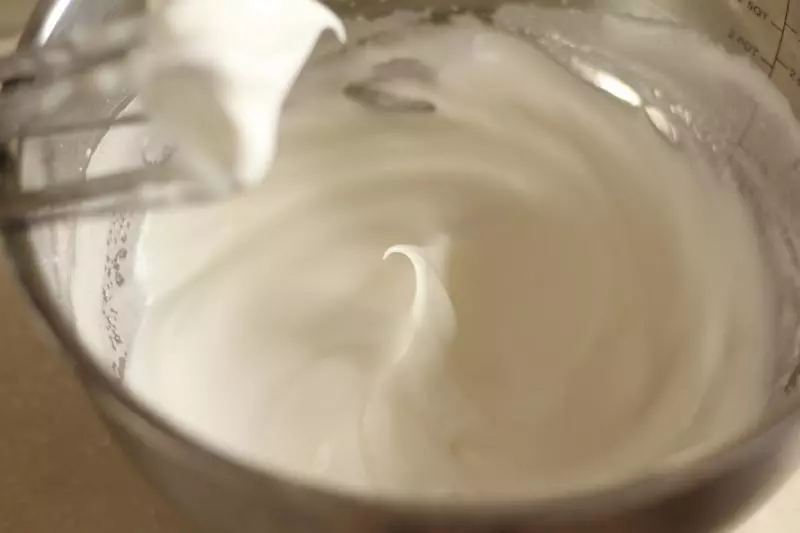
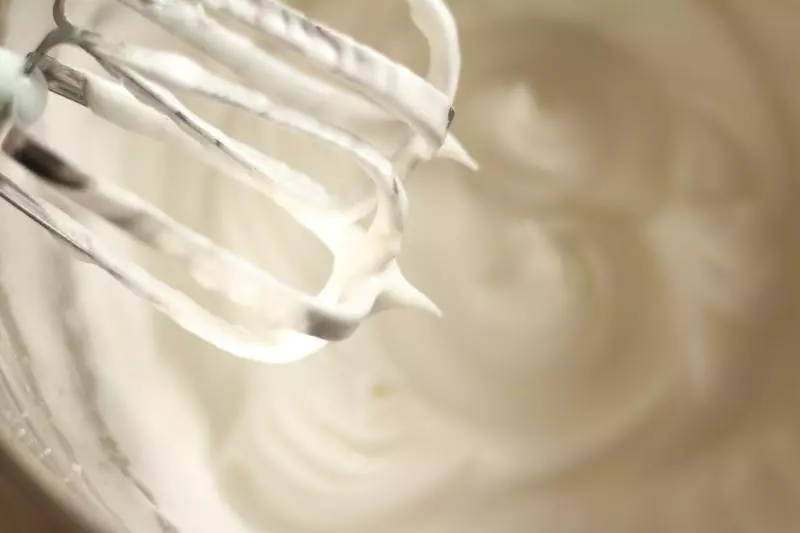
5制作蛋白霜:将细砂糖分两次加入蛋白糊中,高速打发到蛋白呈现细腻有光泽、提起打蛋头会在顶端形成一个大弯钩的湿性发泡状态。
6制作彩绘蛋糕糊:用小勺子挖取两勺无蛋面糊和两勺蛋白霜(挖取后剩余蛋白霜放入冰箱冷藏)
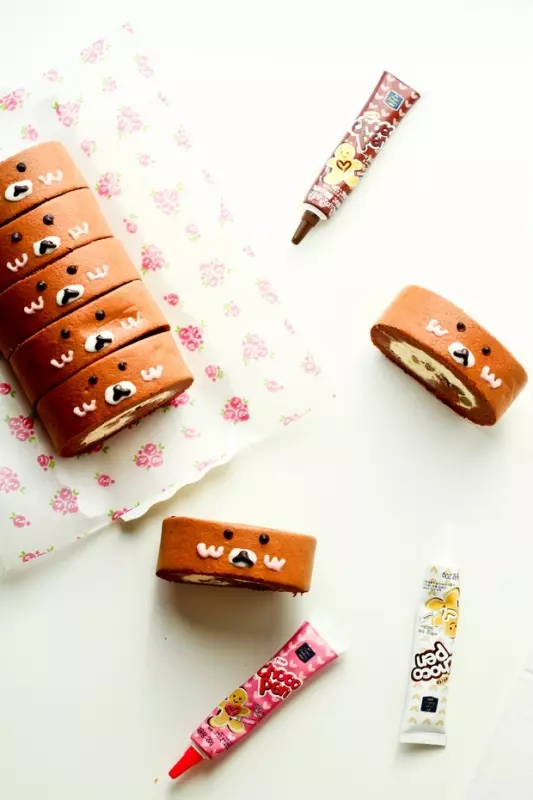
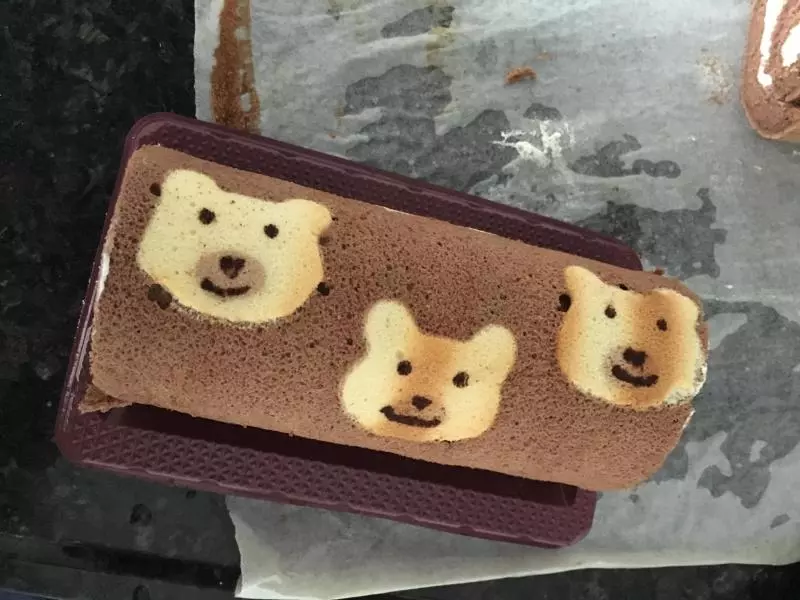
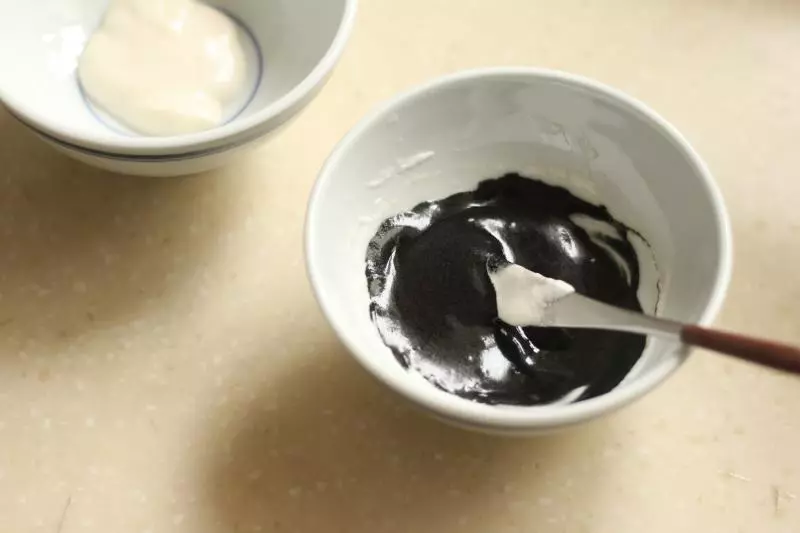
7将蛋白霜混合均匀后分成4:6的两份,在偏少的那一份里加入少许黑色色素拌匀,然后将拌匀的黑色和白色的蛋糕糊分别装入裱花袋中,顶端剪小口
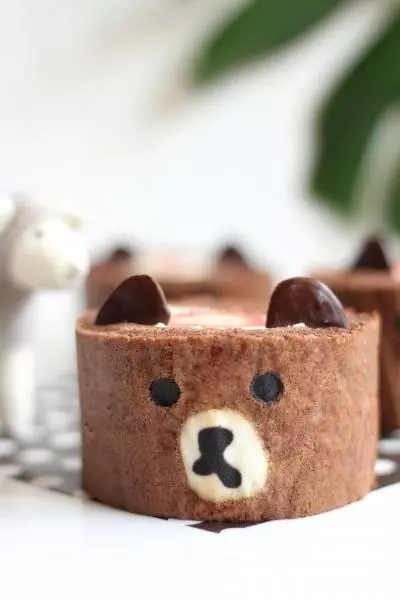
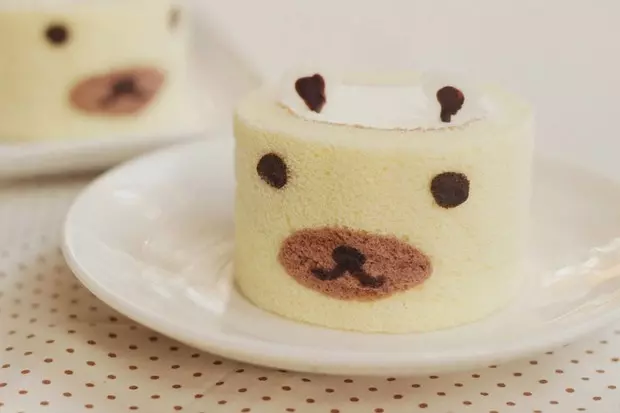
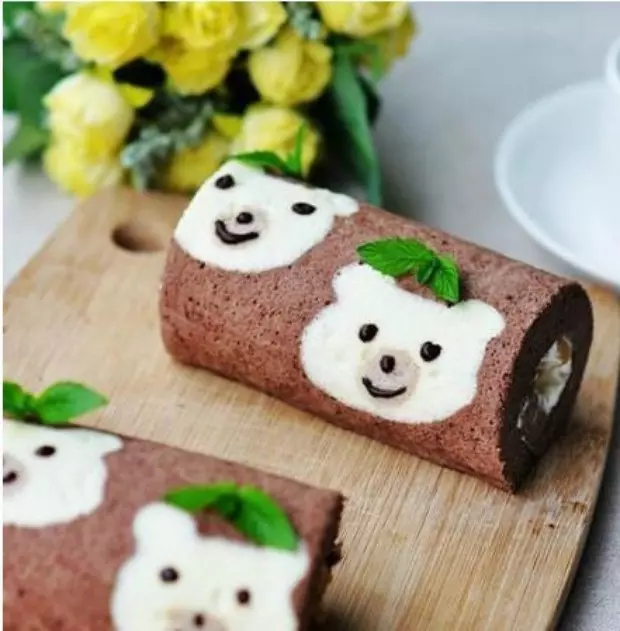
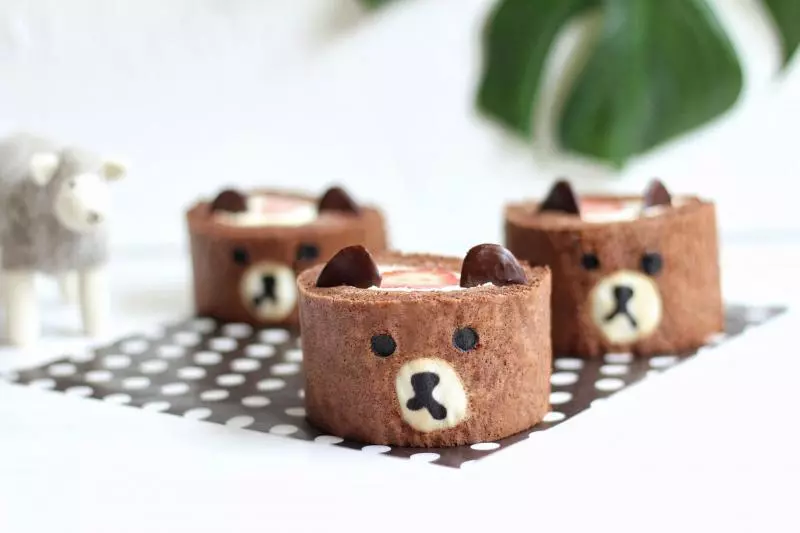
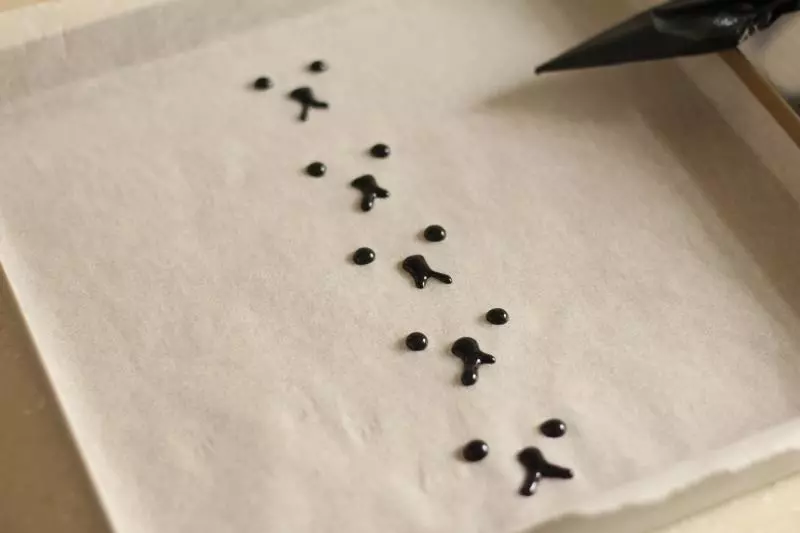
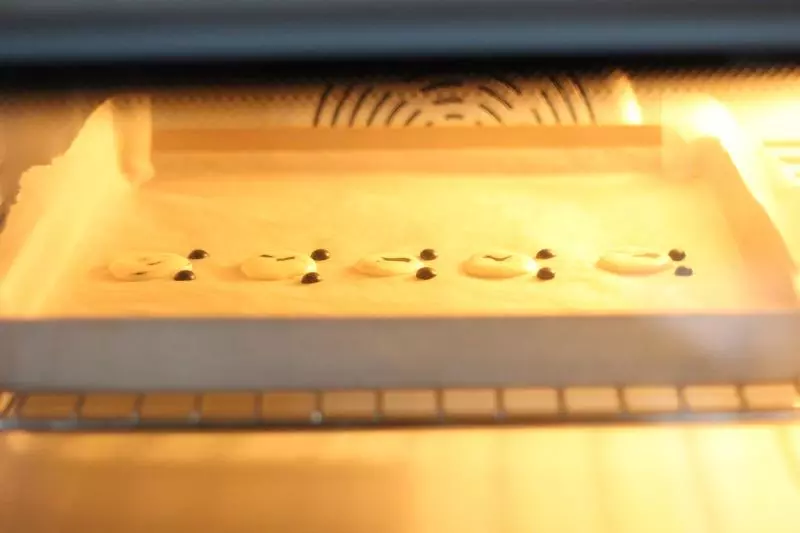
8先用黑色面糊在金盘的最中间竖着画上布朗熊的眼睛和鼻子(如图排列顺序)
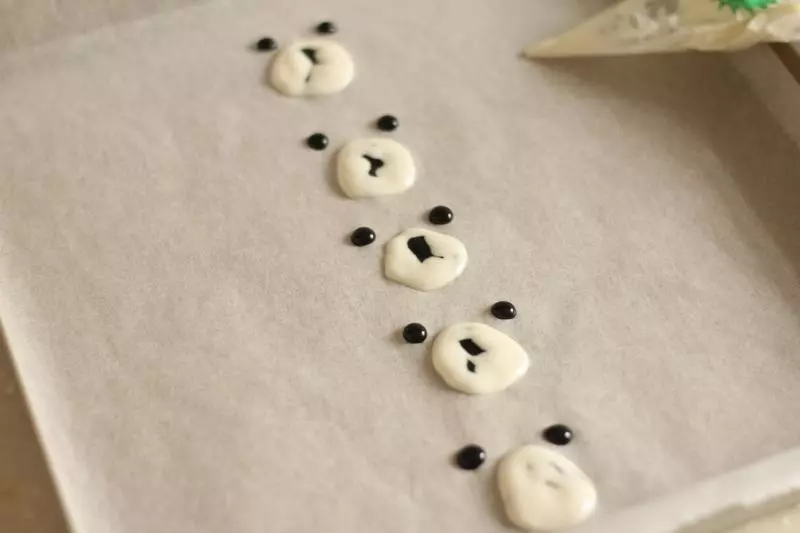
9再用白色面糊在布朗熊鼻子周围挤出一个白色的圈,注意画的时候不要把黑色面糊弄花。
10画好以后立即把烤盘放入已经进入保温状态的烤箱内,不用按开始键,利用烤箱内保温的温度让面糊定型后取出,烘烤时间约1~2分钟,注意观察面糊状态不要烤糊;
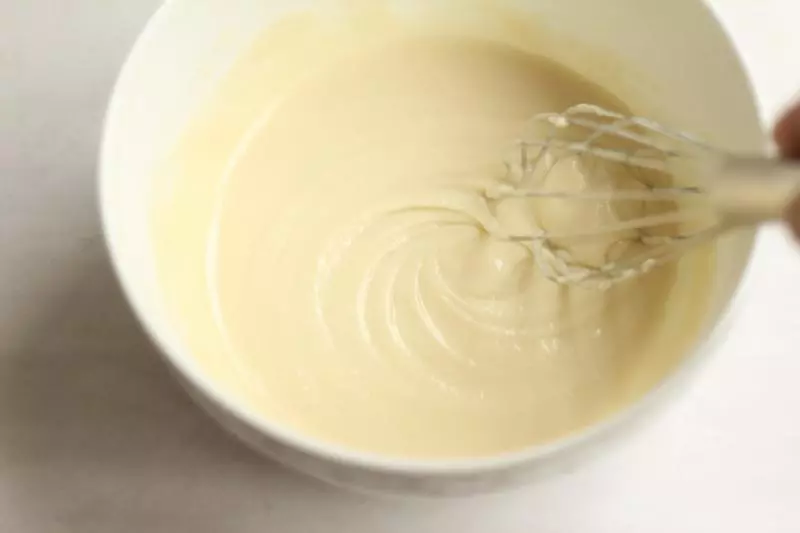
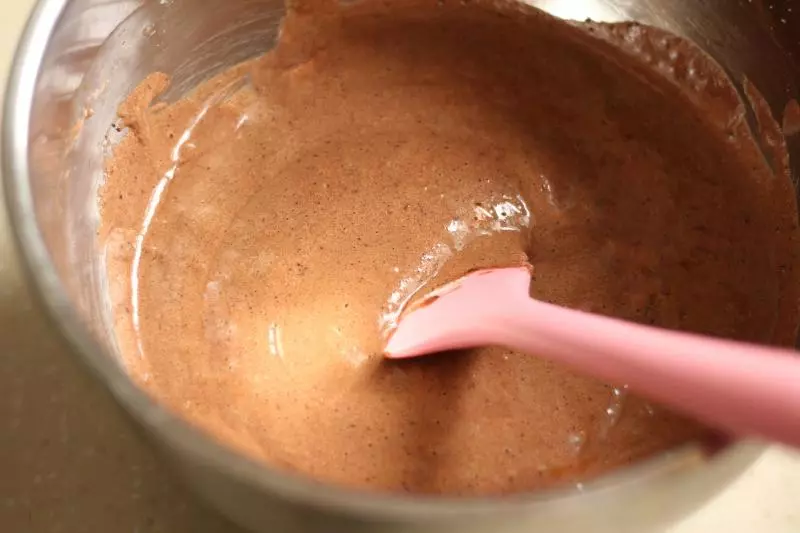
11制作蛋黄面糊:往步骤3的无蛋面糊中加入蛋黄,搅拌均匀

12然后加入过筛的可可粉,搅拌成无颗粒的顺滑可可蛋黄糊;

13从冰箱中取出冷藏的蛋白霜,用打蛋器低速打发成细腻有光泽、提起打蛋头会在顶端形成直立小尖角的干性发泡状态。
14用刮刀挖取大概1/3的蛋白霜,与蛋黄糊用切拌的手法混合到基本均匀的状态,然后将所有的蛋黄糊全部倒入蛋白霜中,用翻拌的手法轻柔的翻拌成为均匀的可可蛋糕面糊。
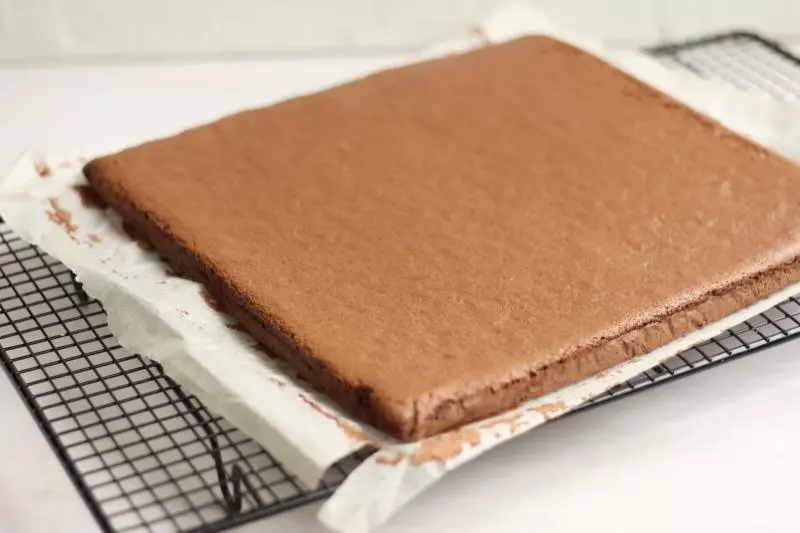
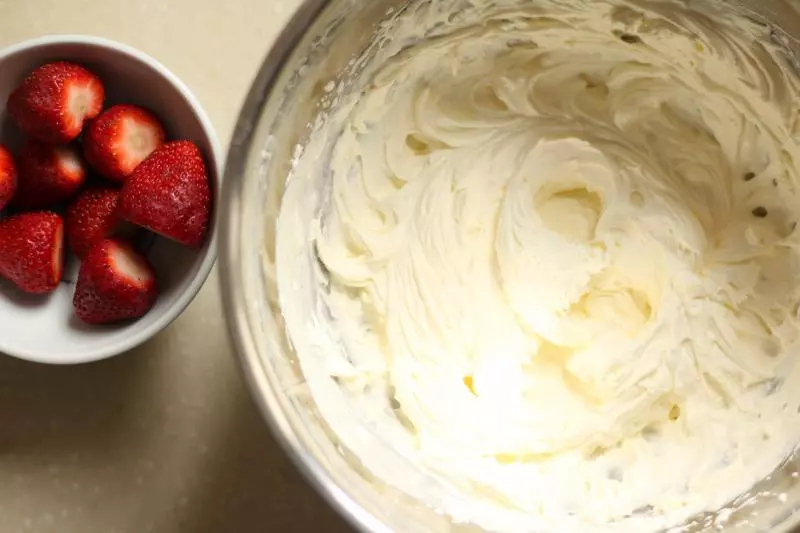
15烤制:将面糊倒入烤盘中,抹平表面,放入烤箱中按开始键,170度中层烤15分钟。

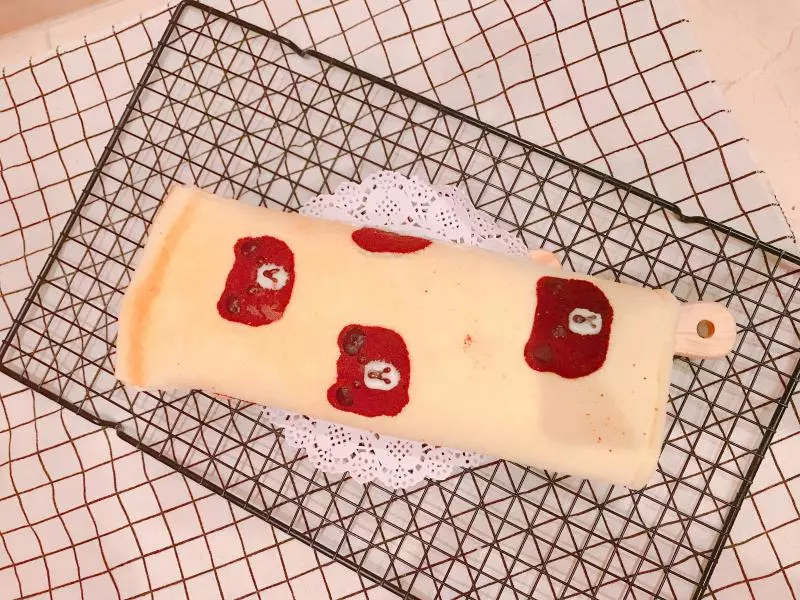
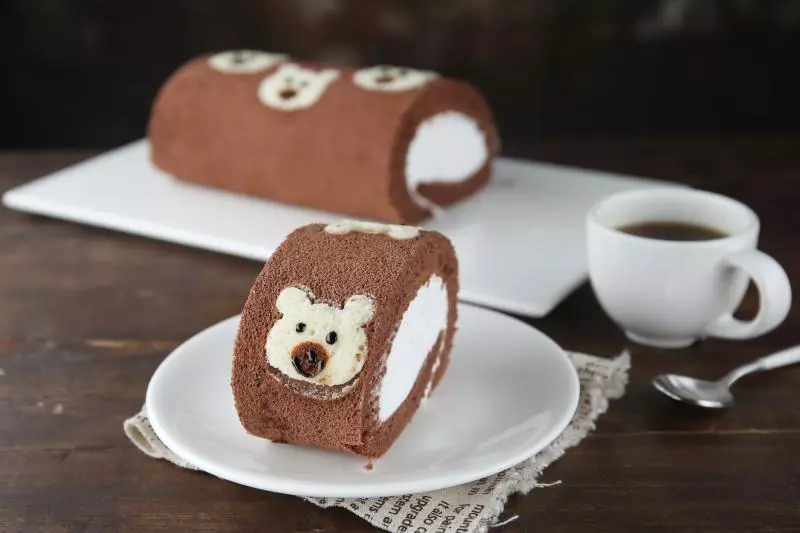
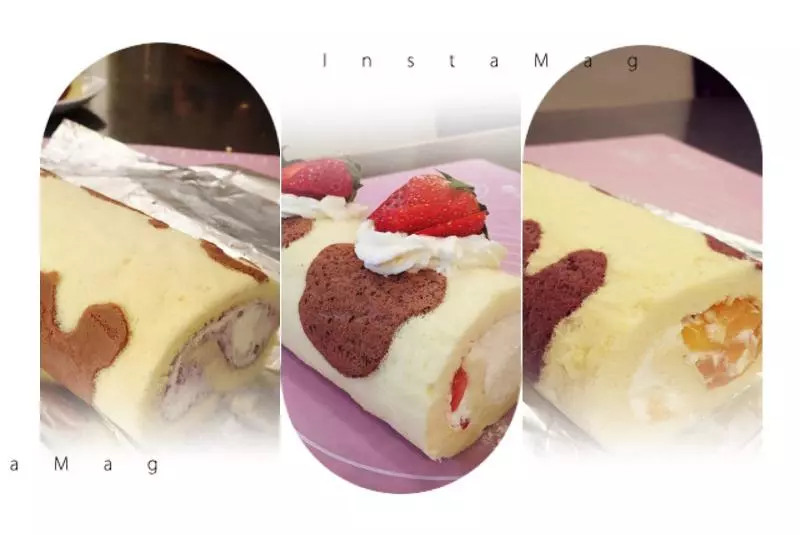
16烤好的蛋糕卷从烤箱取出马上倒扣在铺过油纸的烤网上,趁热撕去底部的油纸后,晾至温热,再盖上油纸翻面,拿掉正面的油纸晾凉。
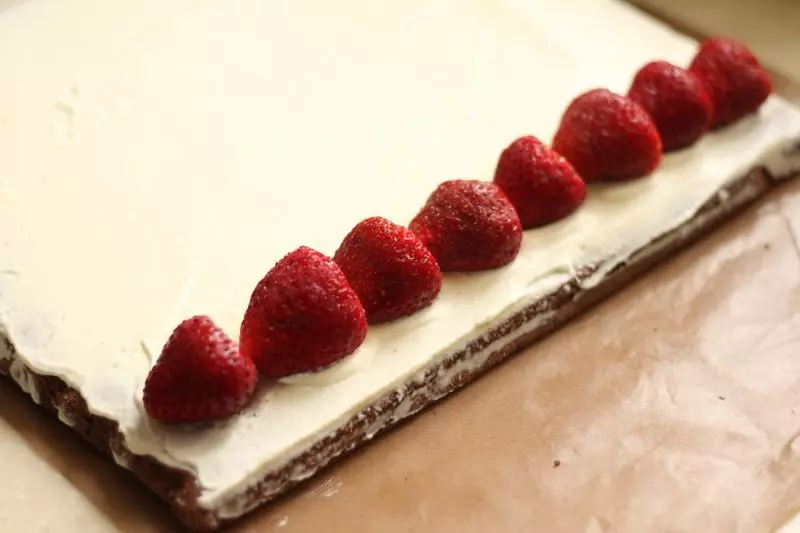
17将砂糖加入淡奶油,打发至形状稳定不流动的固态;草莓洗净,削去底部备用,用其他你喜欢的水果也可以;
18将晾凉的蛋糕片铺在油布上,用抹刀均匀的把淡奶油抹在蛋糕片上,靠近身旁的一端抹厚些,尾端抹薄一点,然后在厚的一端摆上草莓,注意这里摆草莓的顺序一定要跟布朗熊的脸是平行的方向,这样卷起来布朗熊的脸才会刚好在蛋糕卷正面;
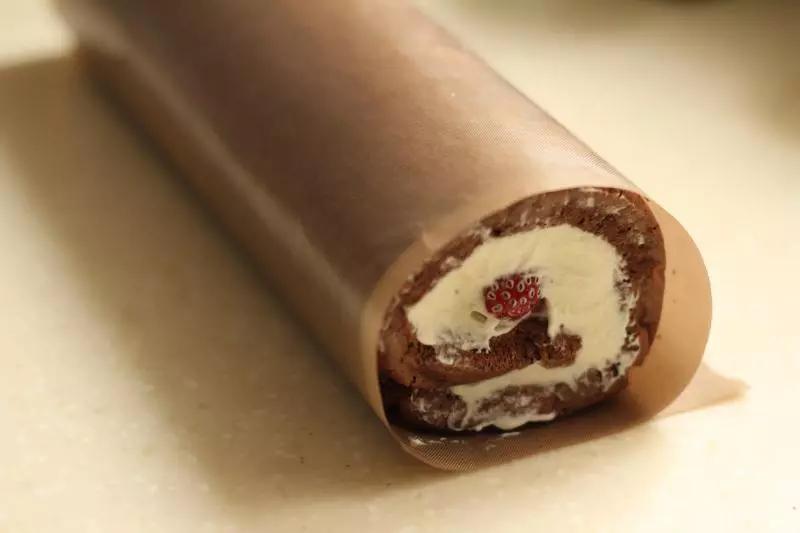
19借助油布和擀面杖将蛋糕卷从身体这端轻柔的卷起来,裹紧,然后保持表层包好油布或油纸的状态放入冰箱冷藏,一般冷藏2小时左右定型了再切开会比较平整,切的时候注意按照熊脸的分布来切每一段;
20黑巧克力装入裱花袋内,用热水融化成巧克力液,然后将裱花袋剪小口,在油纸上画出如图布朗熊耳朵的形状,然后将油纸平整的放入冰箱冷藏,
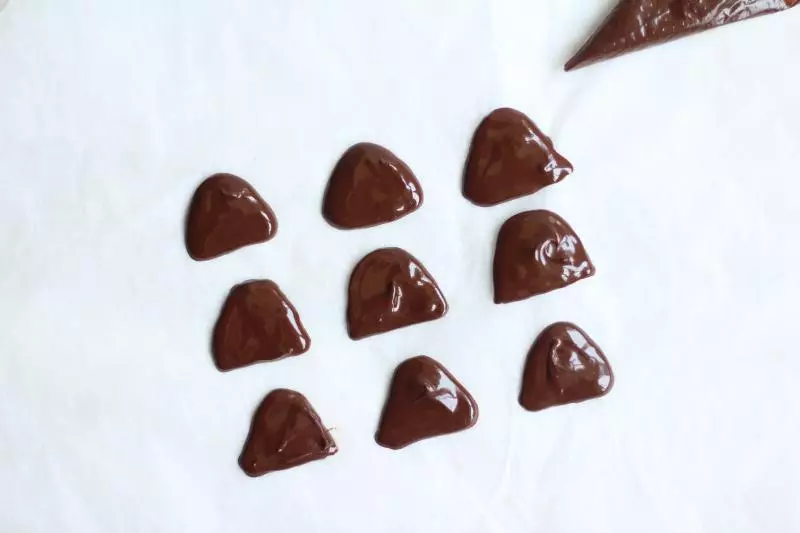
21等巧克力完全冷却凝固好后,从油纸上剥离,竖着插在蛋糕卷上熊耳朵的位置,布朗熊蛋糕卷就做好啦。