原料
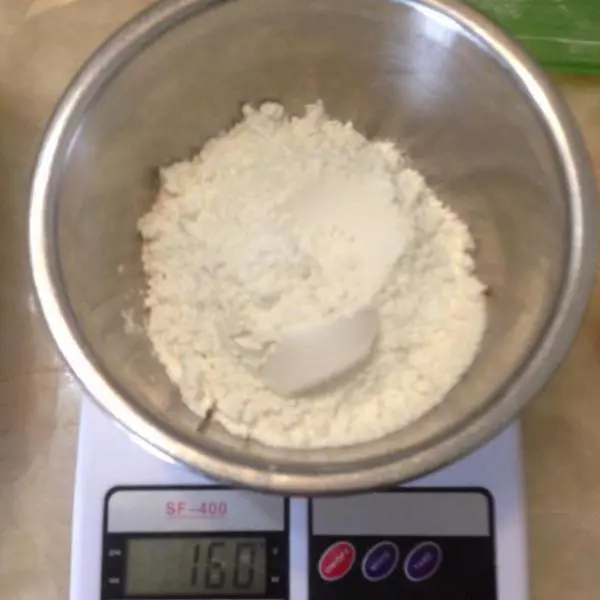
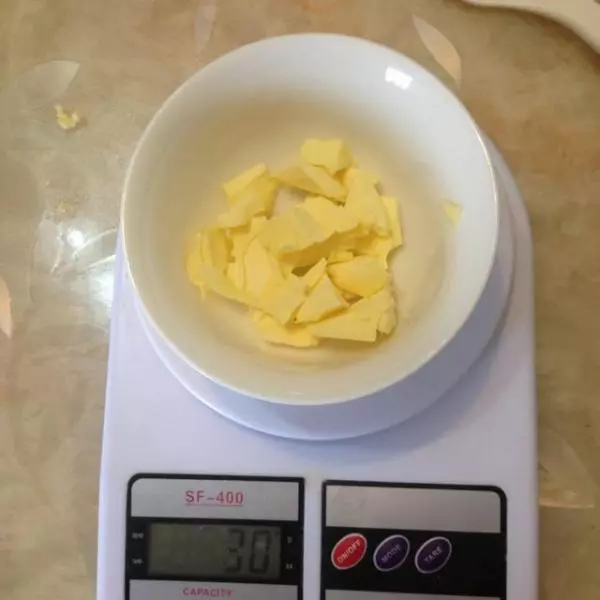
饼皮材料: , 黄油: 30g, 鸡蛋: 3只, 低粉: 160g, 牛奶: 480g, 幼砂糖: 50g, 夹层及裱花材料: , 动物淡奶油: 500g, 幼砂糖: 50g, 新鲜芒果: 400g
步骤
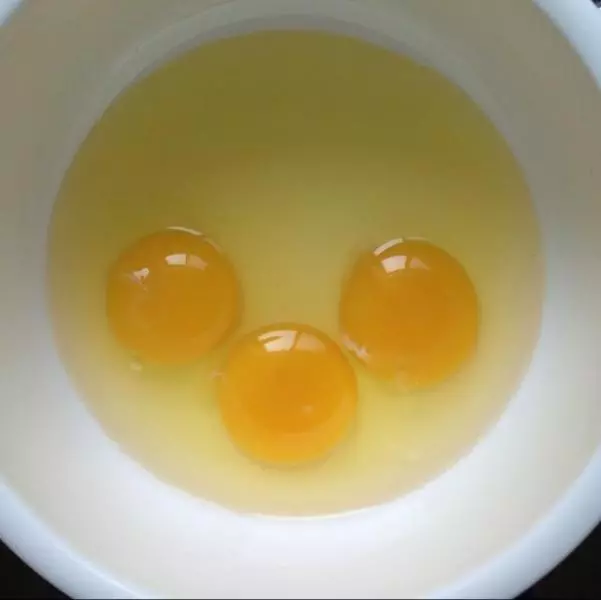
1先将鸡蛋搅拌均匀后加入幼砂糖搅拌至糖融化
2加入牛奶搅拌均匀

3将低筋面粉过筛后加入牛奶鸡蛋液中搅拌成均匀的面糊
4加入融化的黄油后搅拌均匀后过筛两遍,把过筛后的面糊放入冰箱冷藏半小时。
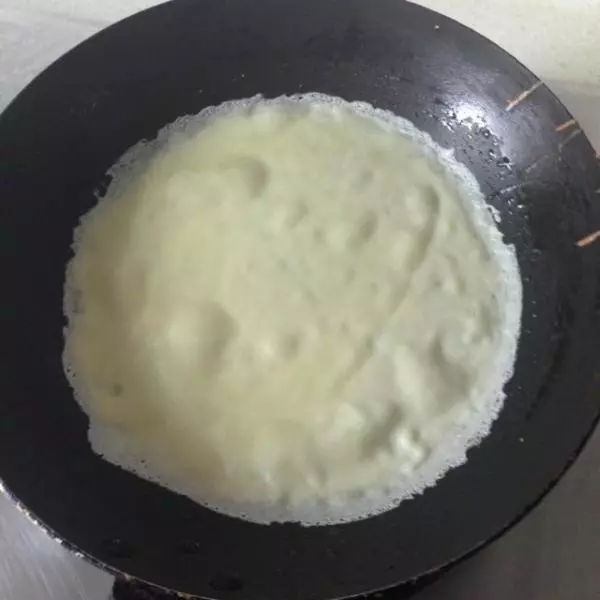
5取不粘锅,用油刷在锅里涂一层薄薄的油,舀一勺冷藏后的面糊入锅中,用手举着锅子晃开面糊,摊平。小火煎到面糊起泡,用铲子轻轻揭开就可以了。
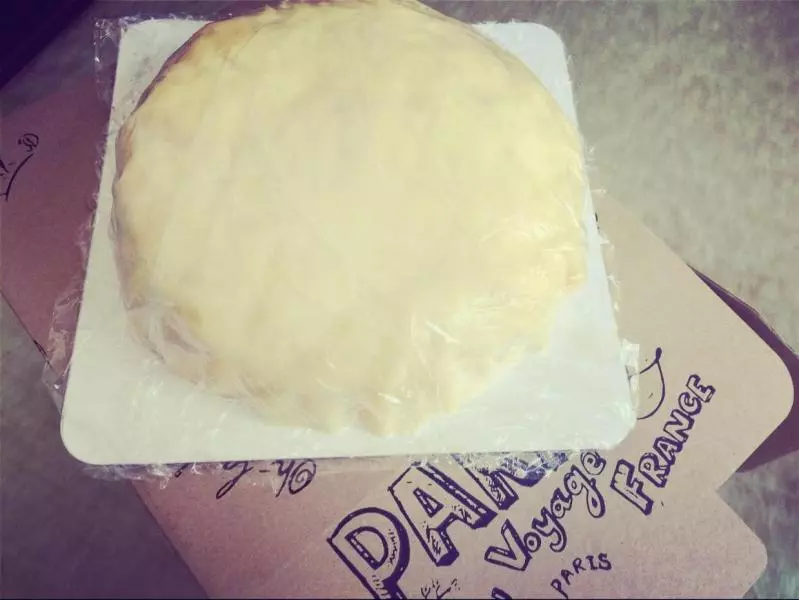
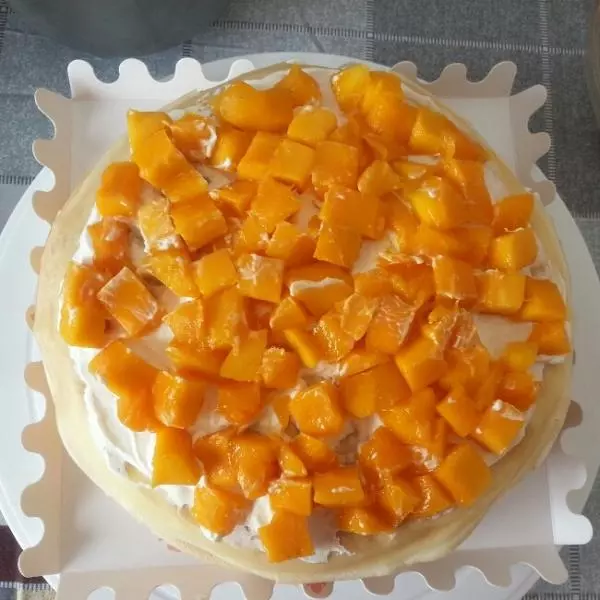
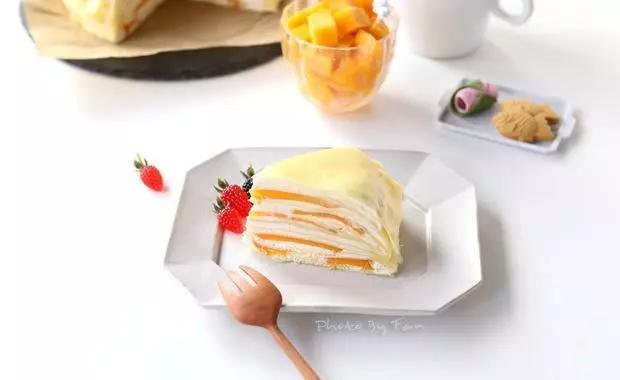
6将做好的饼皮,放在一旁摊凉。这时将奶油加糖打发,芒果洗净去皮切丁。

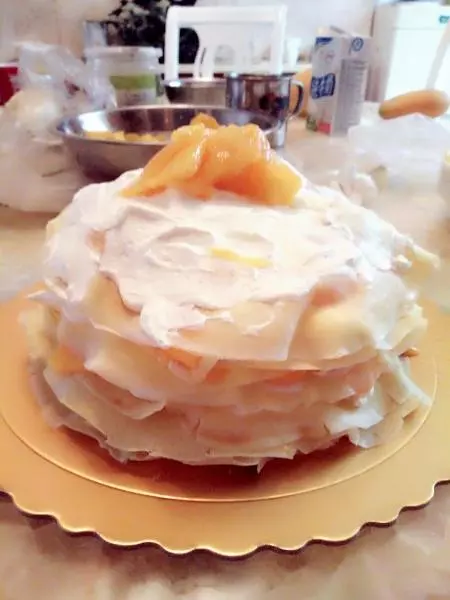
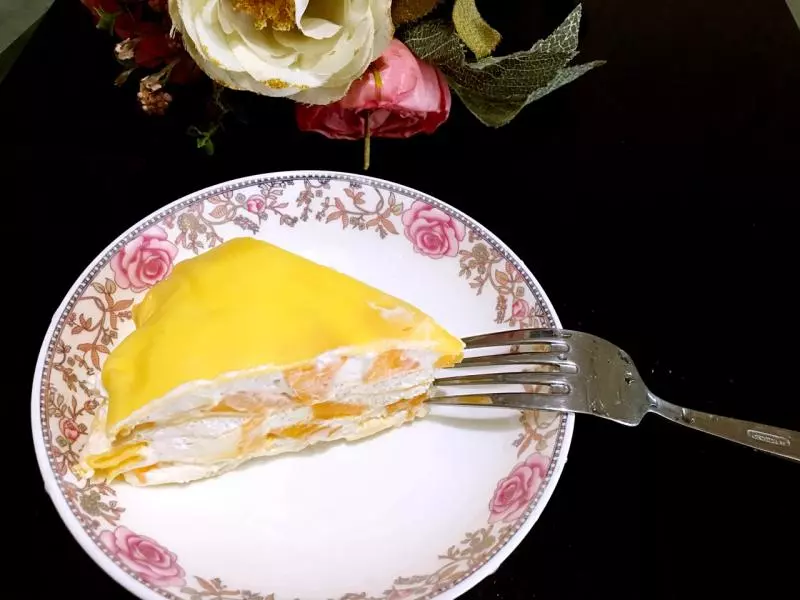
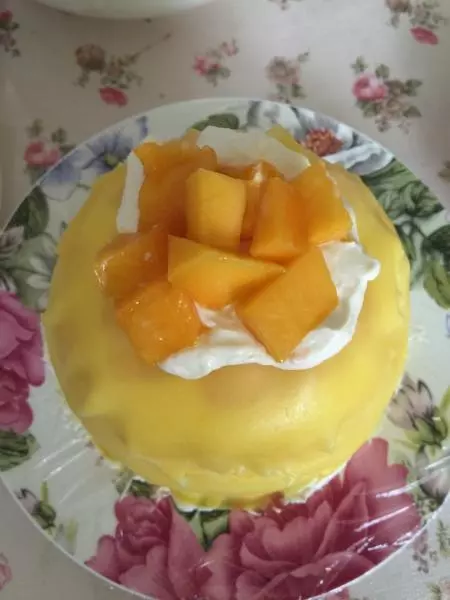
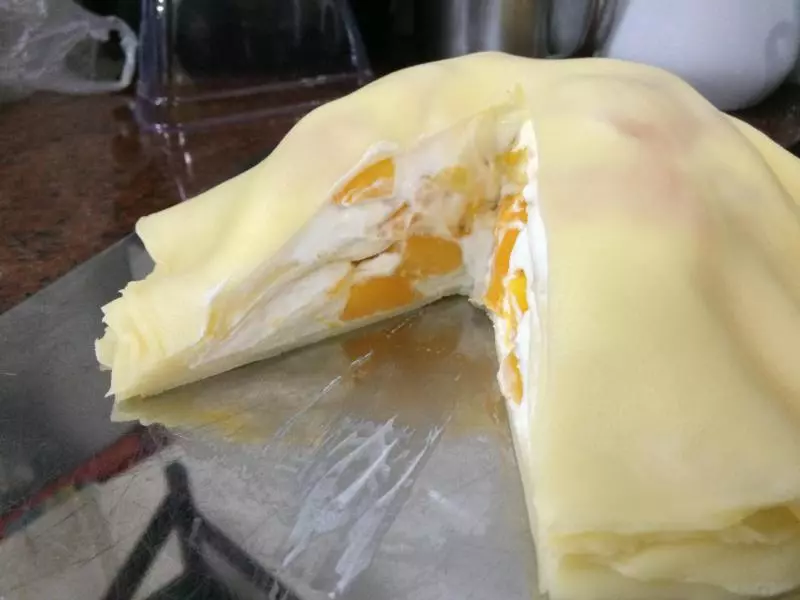
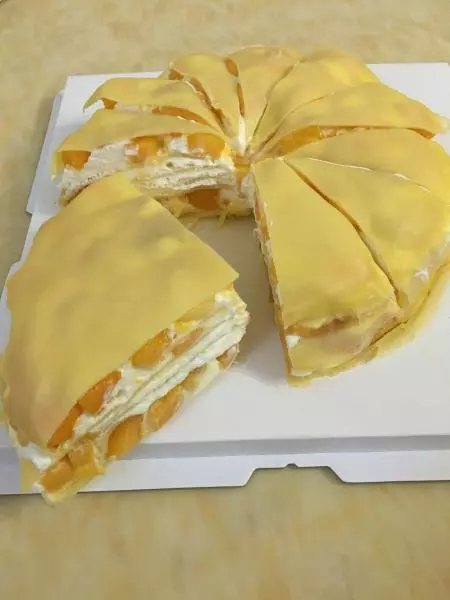
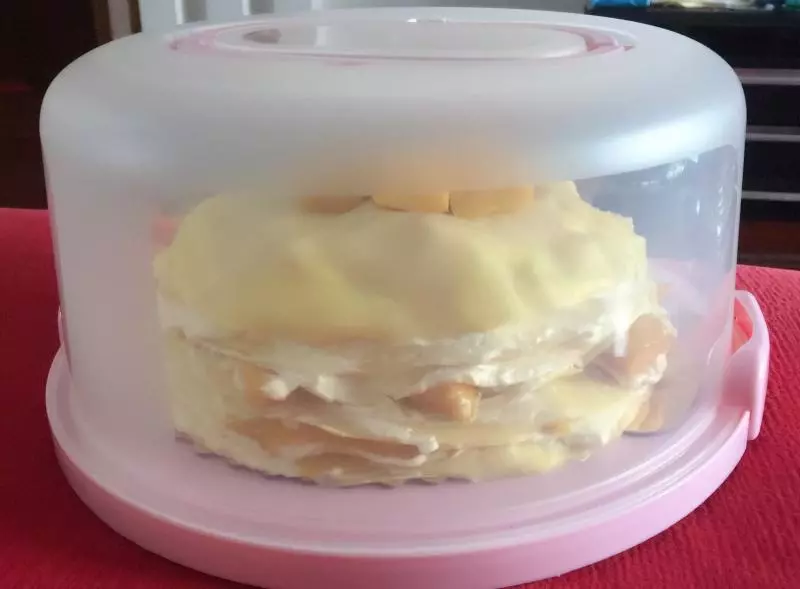
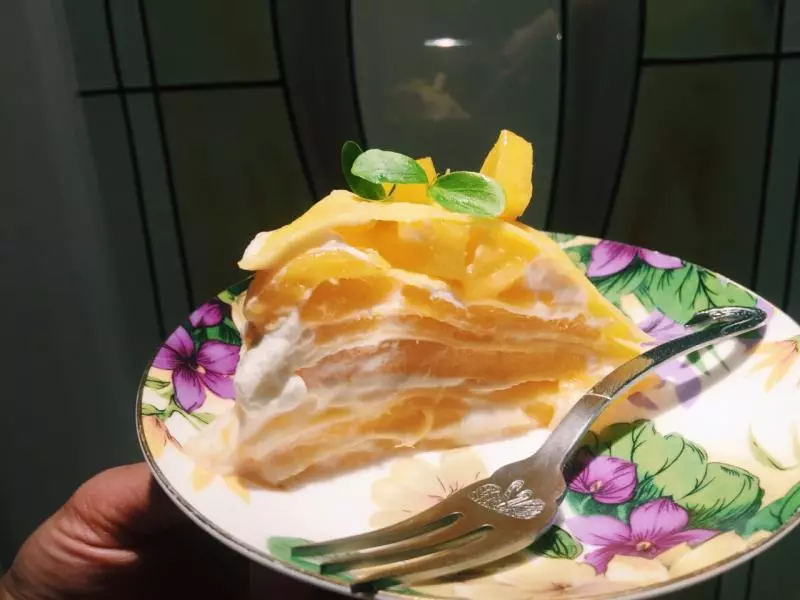
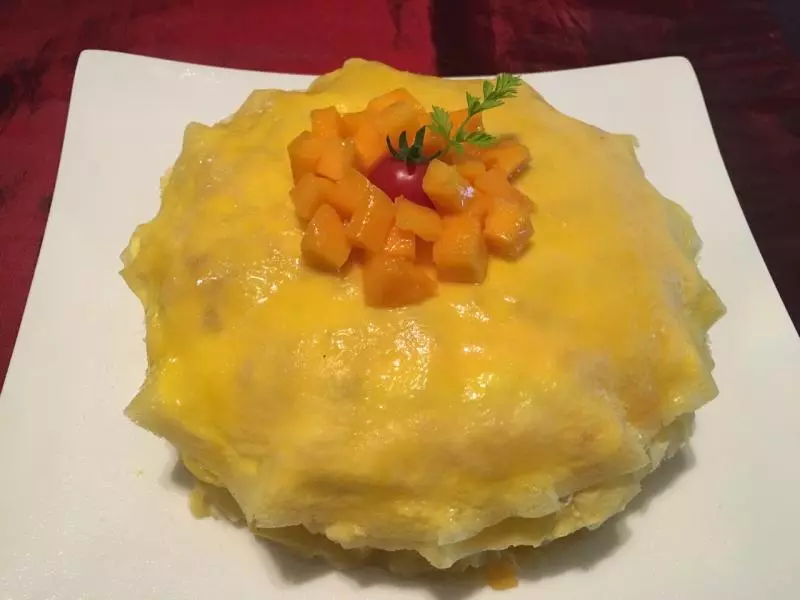
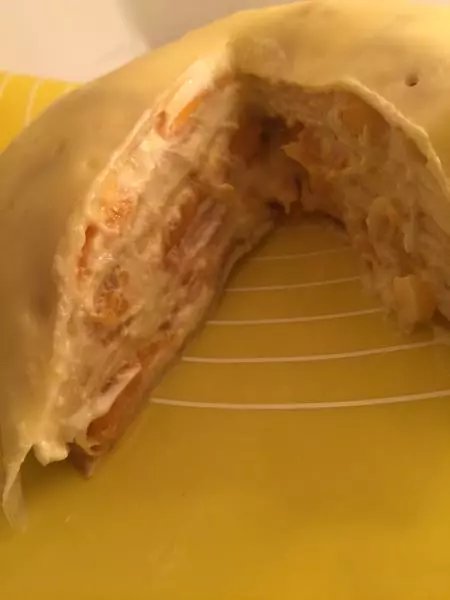
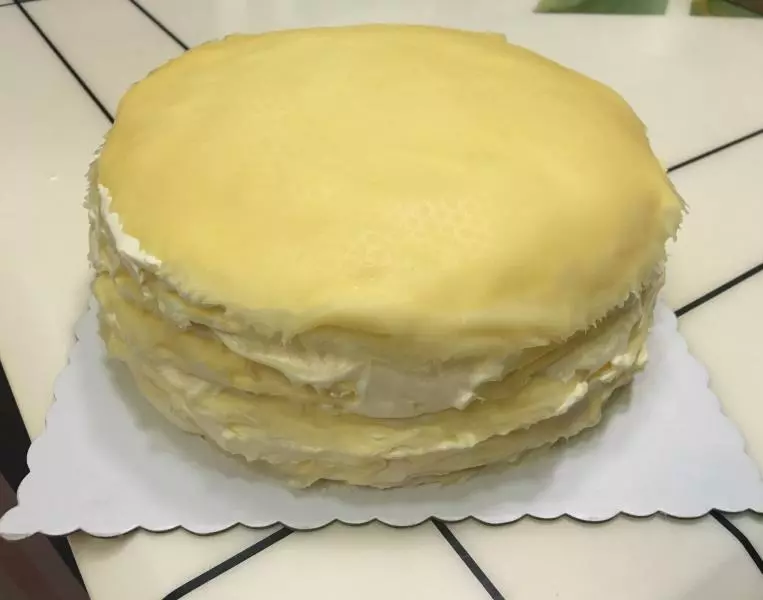
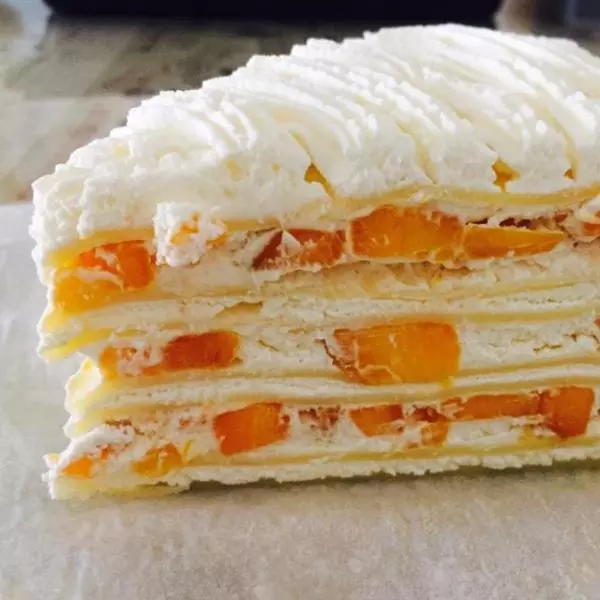
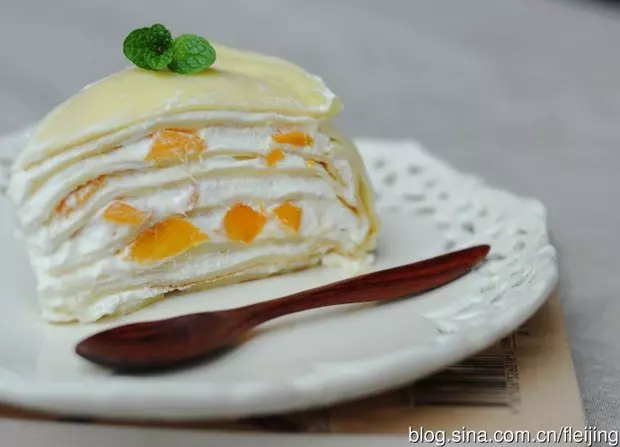
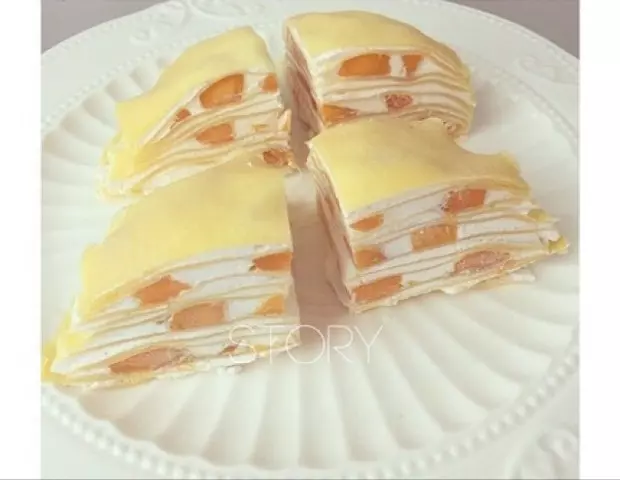
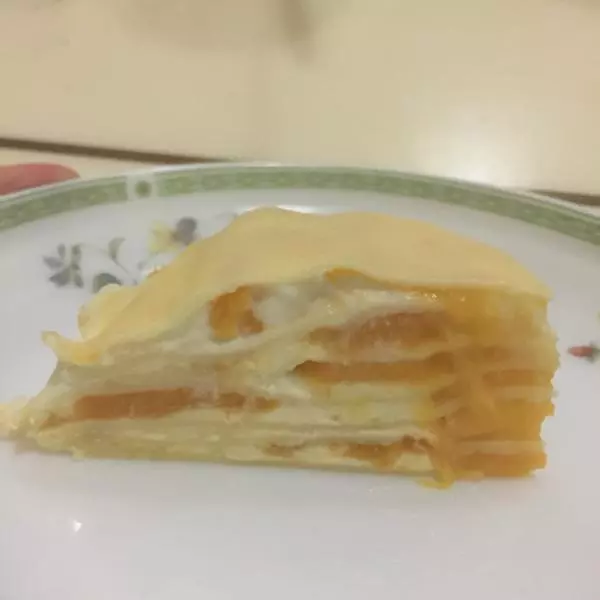
7将蛋糕整型,先铺一张饼皮,抹一层奶油加一层芒果,再往上继续加饼皮,大概用十张饼皮会到普通蛋糕的厚度。这样就可以装饰蛋糕了。
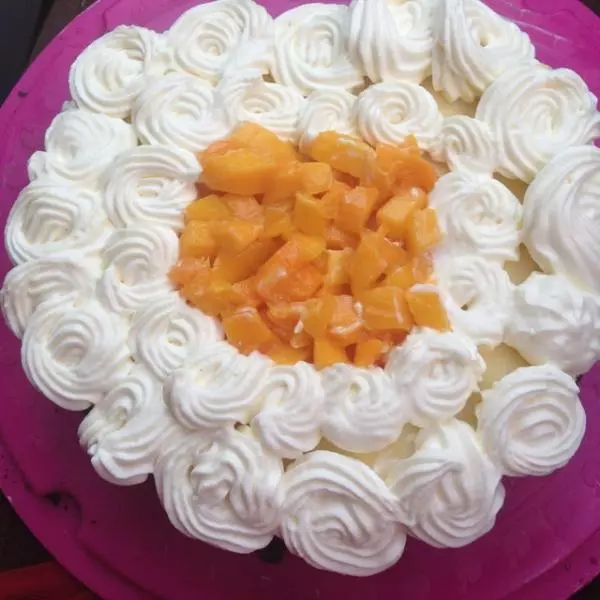
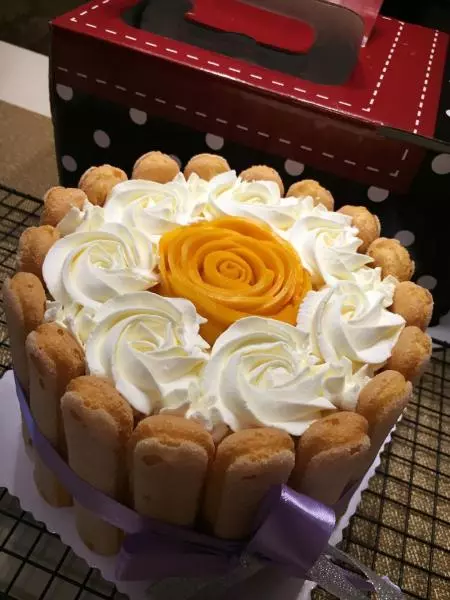
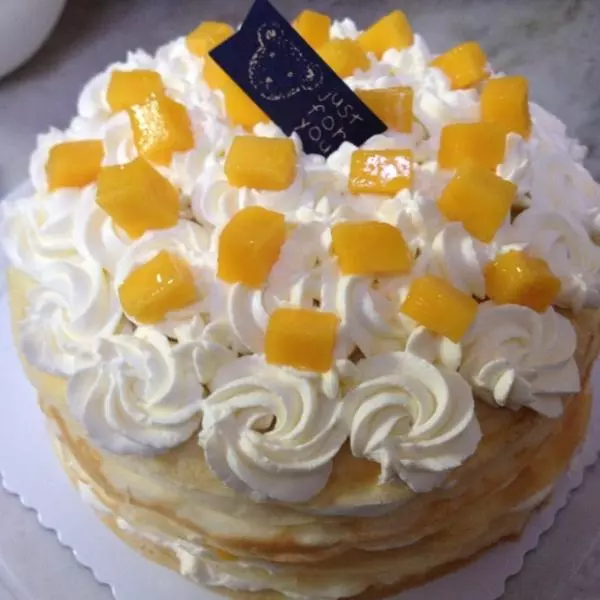
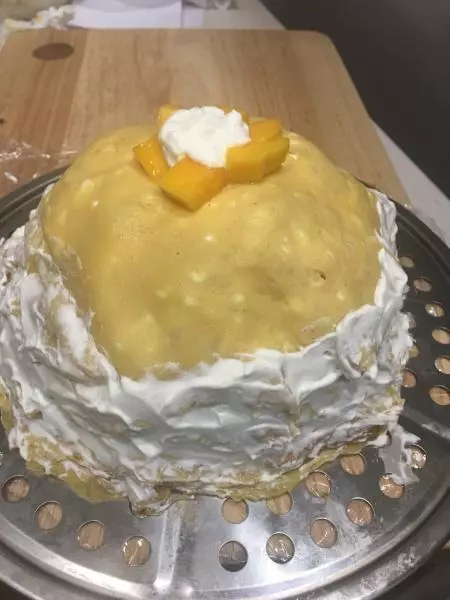
8因为是结婚周年做的蛋糕,做了第一个觉得造型不太好看,又做了个玫瑰花的。做好后就匆匆拿出去和朋友聚会了,所以没拍到横切面

小技巧
我的不粘锅大概是普通蛋糕模七寸的大小,我做的饼皮比较薄,这些材料大概做了25张饼皮。如果想做厚一些的饼皮可在加入面糊时多放一些,多晃几下,待面糊摊平了,再放在火上煎。另外网上很多方子都会在鸡蛋时少放一个蛋白,这样出来的饼皮颜色会偏黄一些显得好看,我怕浪费,就把蛋白全加进去了