原料
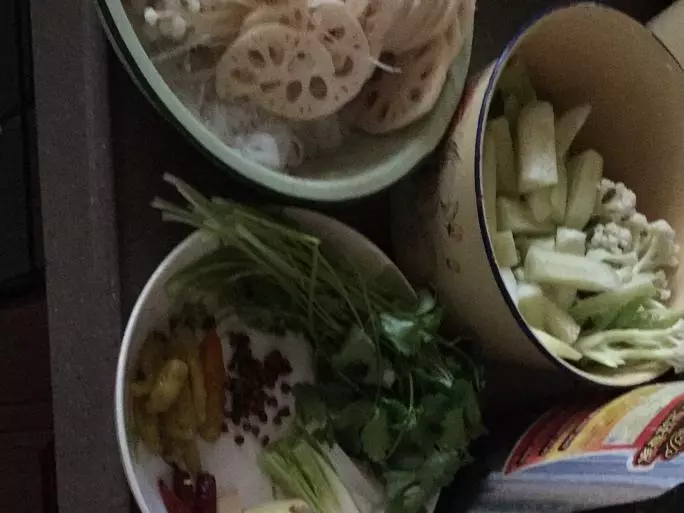
鲢鱼: 1条(3斤左右), 泡椒: 10个, 泡姜: 2个, 蒜: 5个, 藿香: 1把(3支左右), 葱: 2根, 盐: 2小匙, 花椒: 1小撮, 红油海椒: 2匙, 熟花生米: 适量
步骤
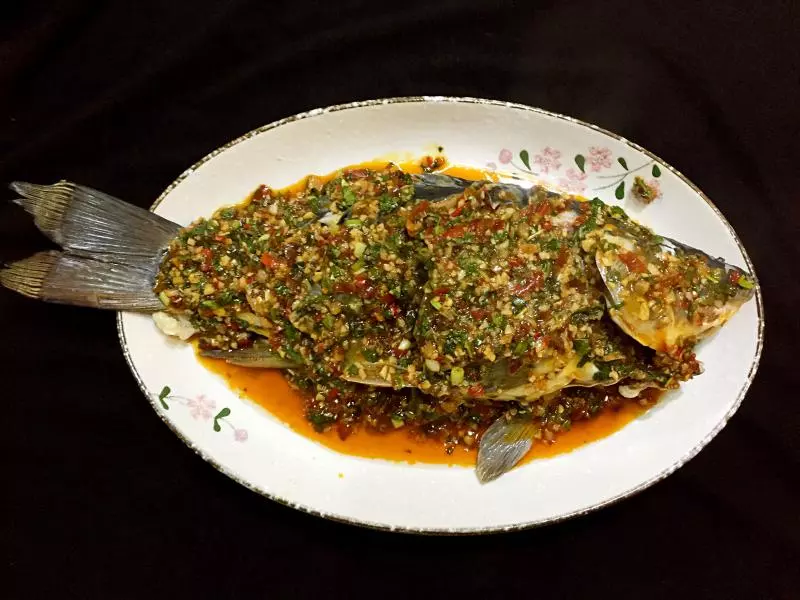
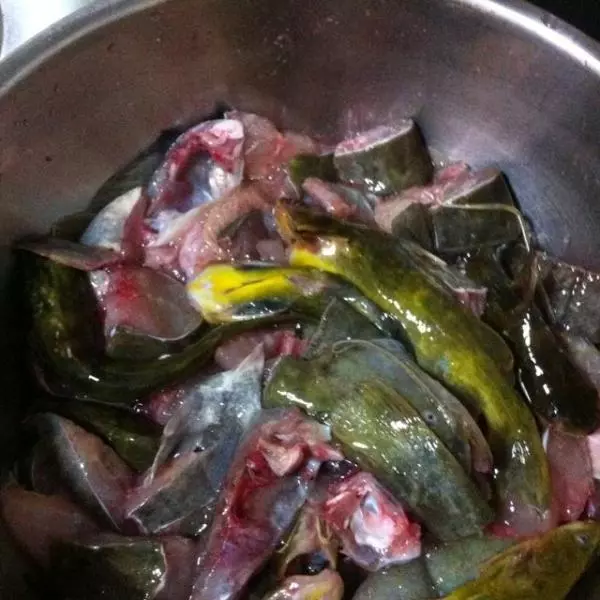
1鲢鱼洗净切块,加盐腌入味。(请忽略上面的几条黄辣丁)
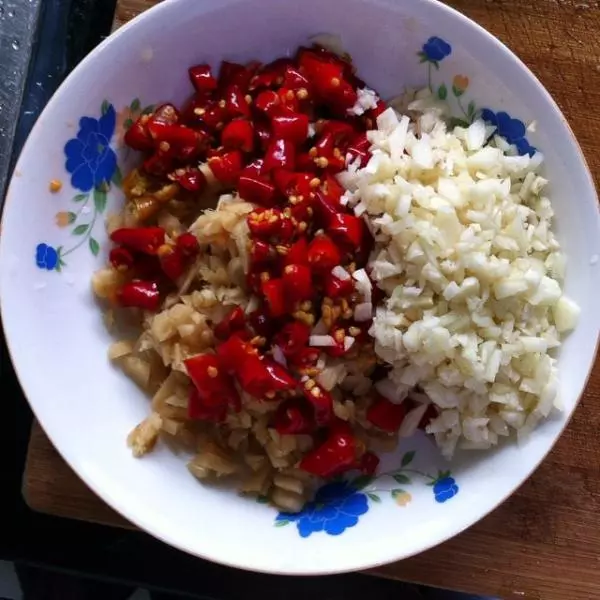
2腌鱼的时间将泡椒、泡姜、蒜切小粒待用。
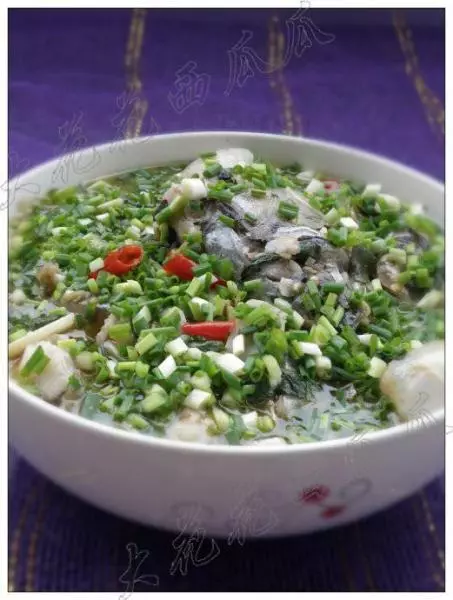
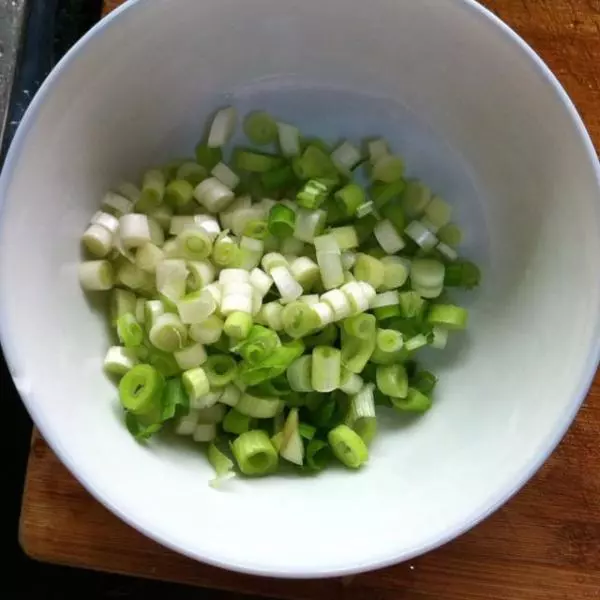
3葱切好待用。
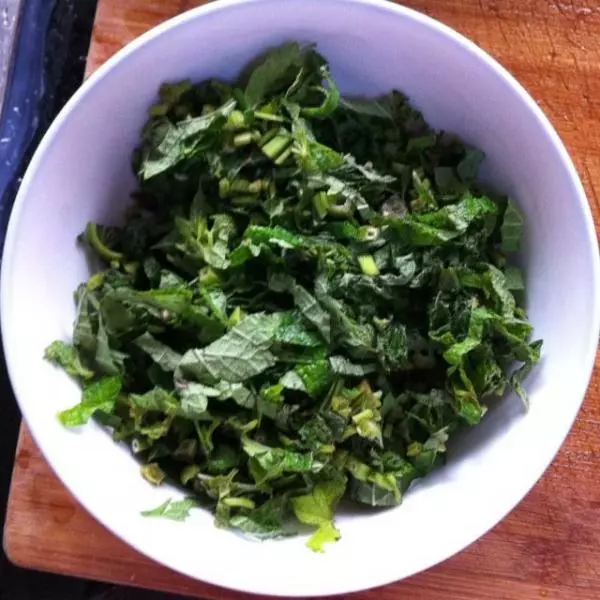
4藿香切细待用。
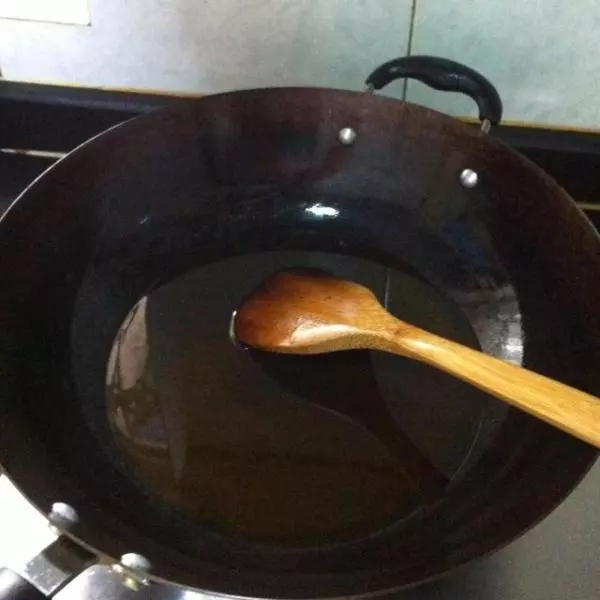
5菜籽油大火烧熟后关小火。
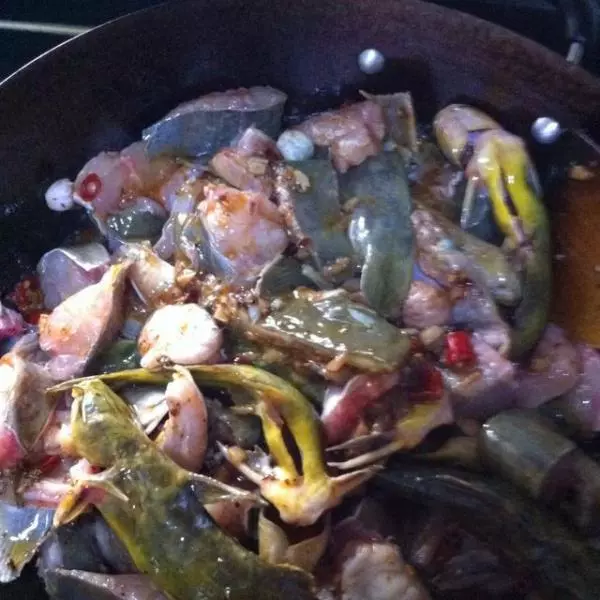
6处理好的泡姜、泡椒、蒜粒入锅炒香。中火
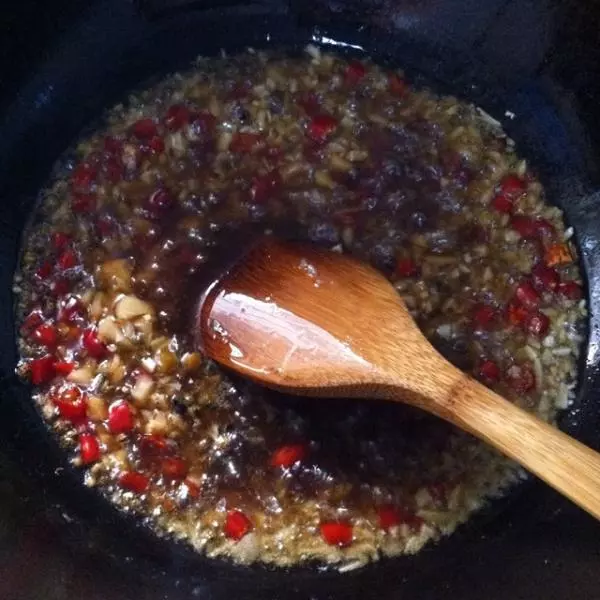
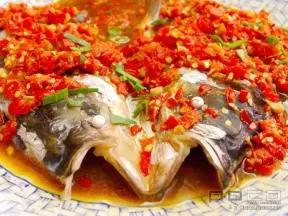
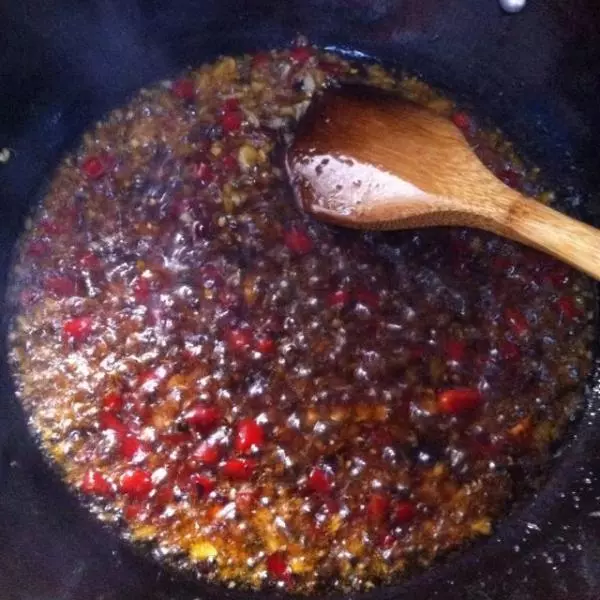
7加入红油海椒炒至油变红。(不爱吃辣的同学这步可以用香辣酱或者豆瓣酱代替)
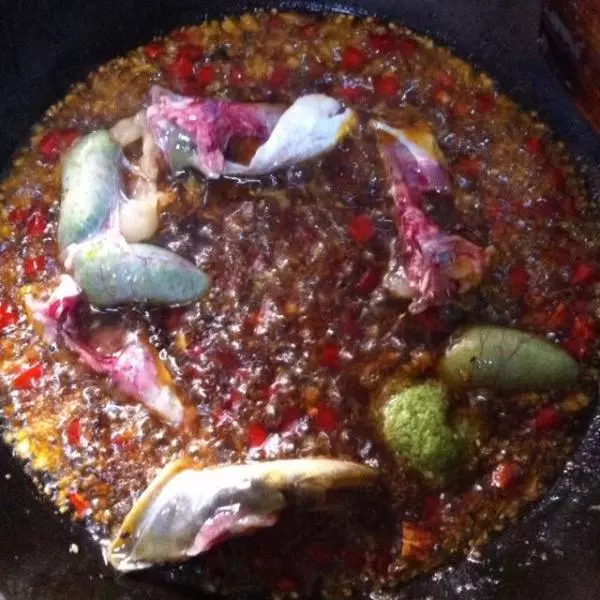
8将鱼头先入锅翻炒至稍微变色。
9将全部鱼块倒入锅内稍微翻炒。
10加水没过鱼块,开大火。
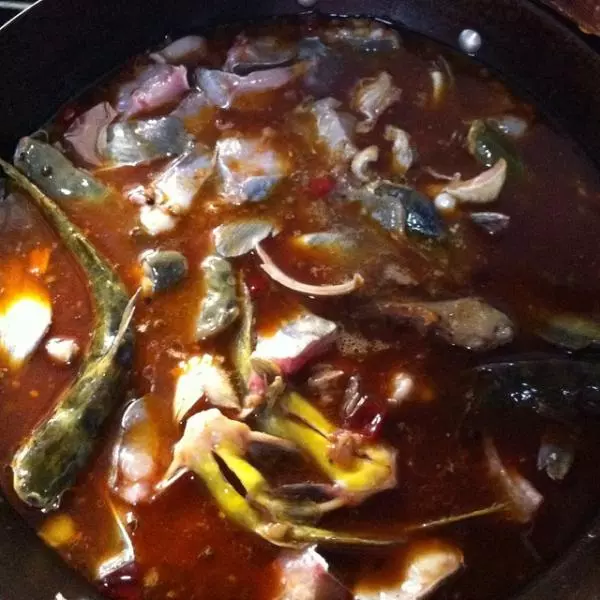
11烧开后用锅铲背轻推鱼块,好让鱼块都能够均匀受热。
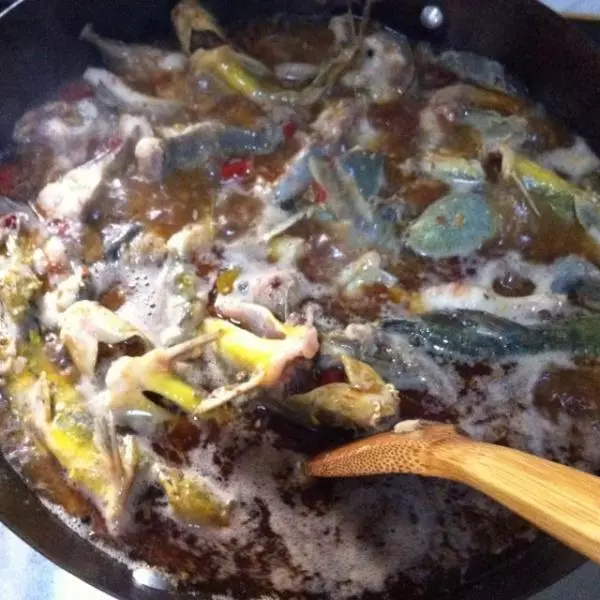
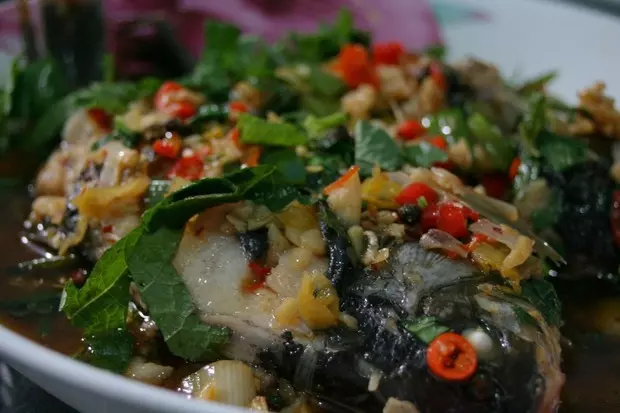
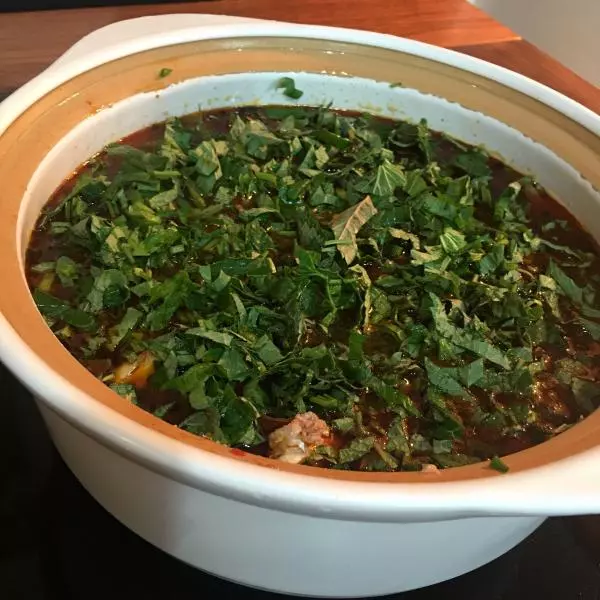
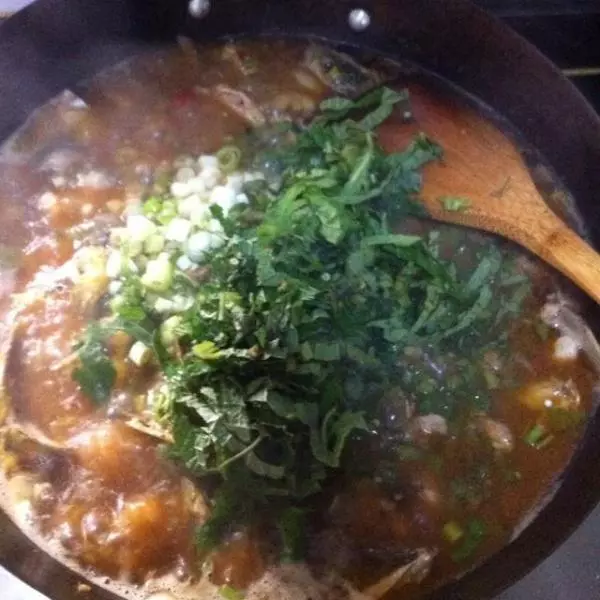
12烧开后5分钟左右(这时候鱼基本已经熟了),倒入处理好的葱花。
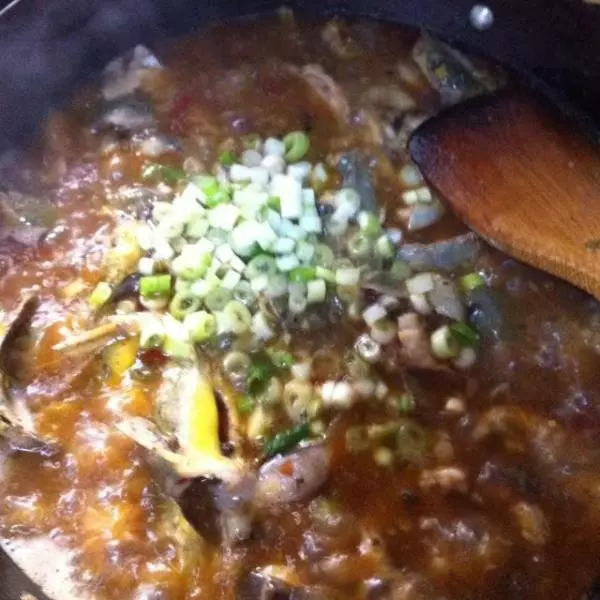
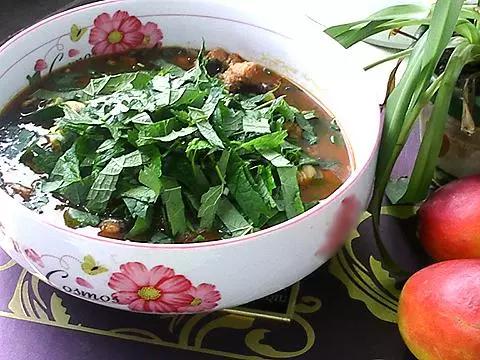
13倒入藿香
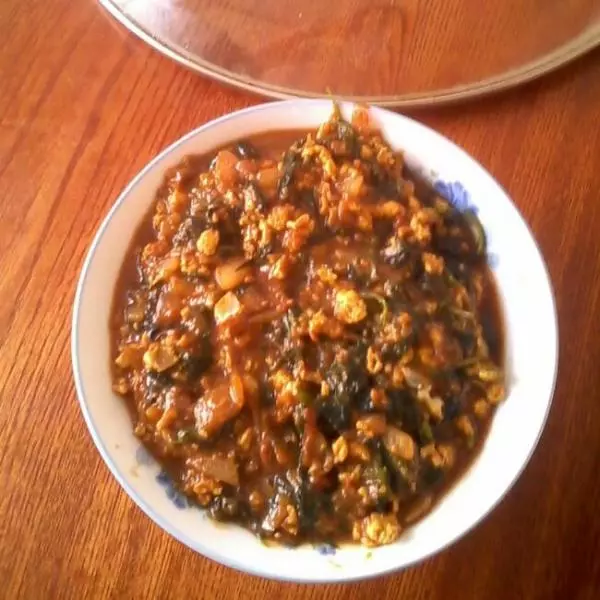
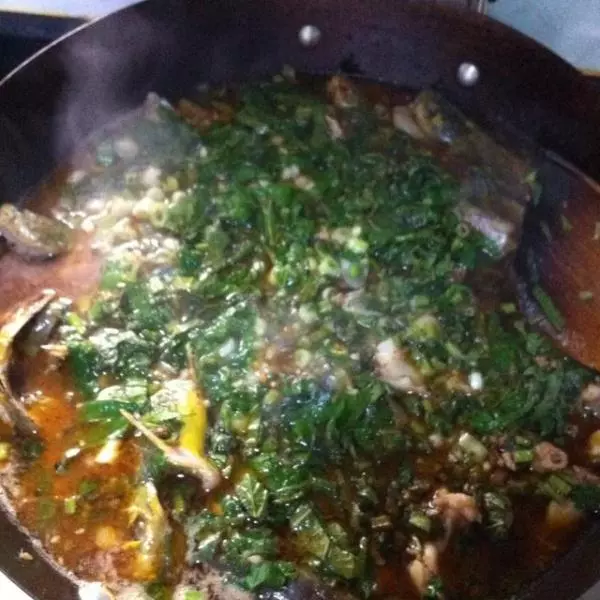
14稍微翻炒一下,这个步骤一定要轻,要不鱼块就会散掉。
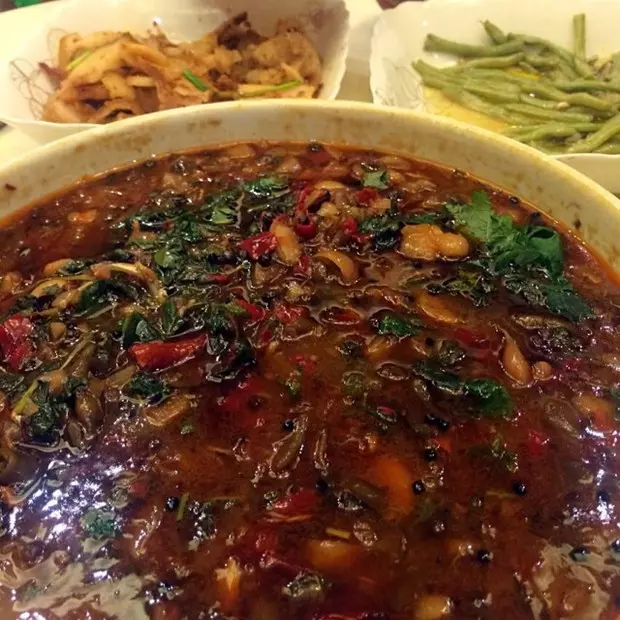
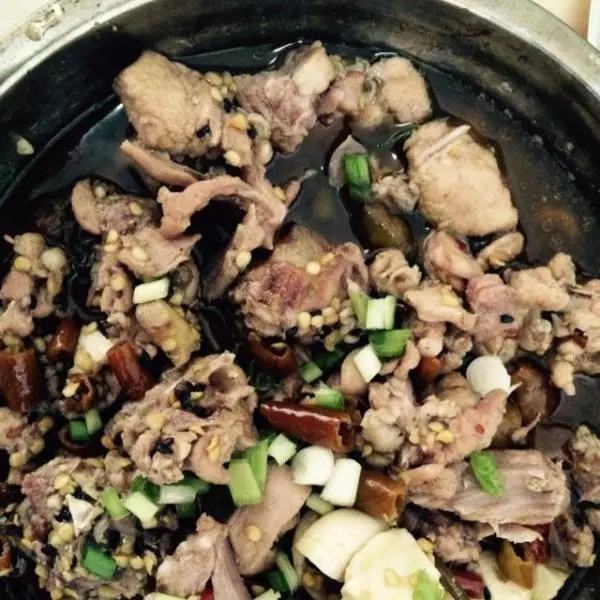
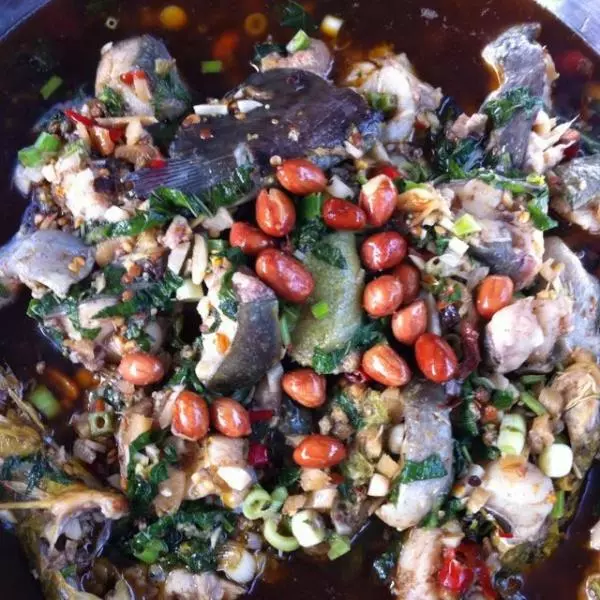
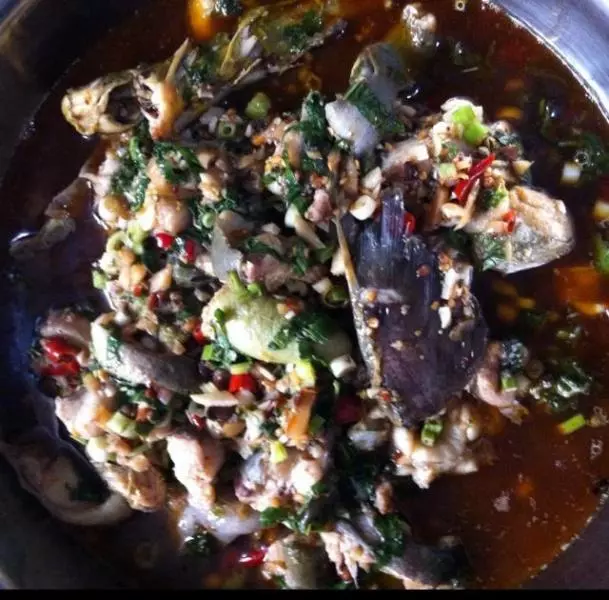
15起锅装入盆内。
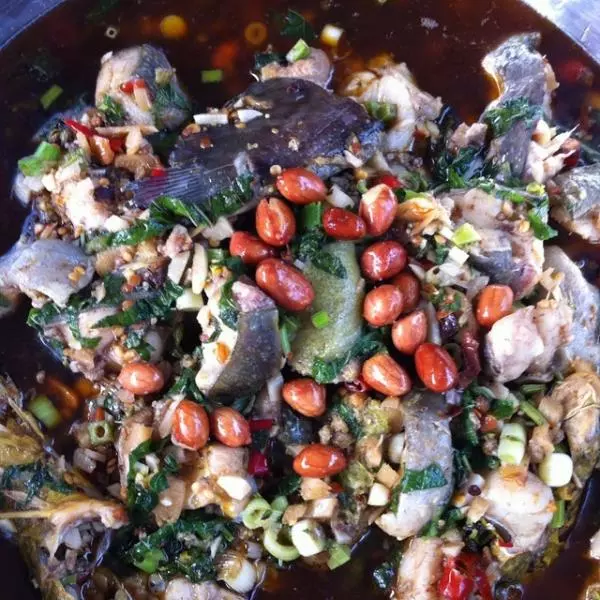
16最后加入熟花生米点缀下就可以开动啦!
小技巧
这道菜没有另外加盐、味精、鸡精等调味品,我们家吃味道已经足够,喜欢味大的同学可以酌情自己添加。