原料
鸡蛋: 4个, 砂糖: 50克, 橄榄油: 25克, 牛奶: 30ml, 焦糖酱: 50ml, 低筋面粉: 80g, 柠檬汁: 几滴
步骤
1准备材料。

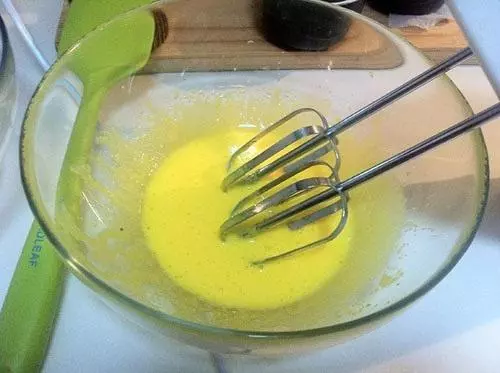
2在蛋黄中倒入10g糖。用打蛋器打到蛋黄颜色变浅,稍有膨大。
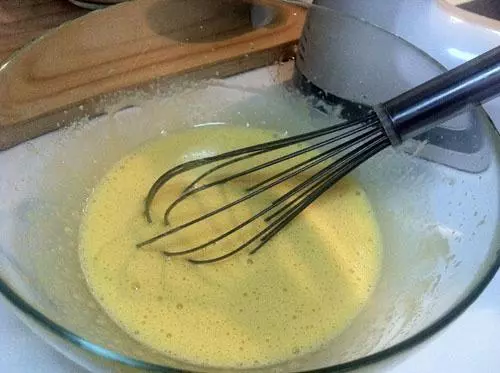
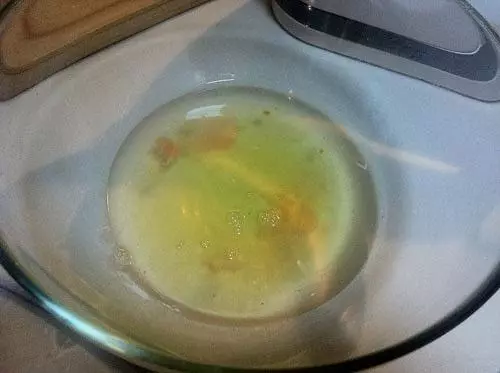
3在蛋黄中再加入橄榄油,拌匀。再加牛奶拌匀。最后加入焦糖酱盾拌匀。
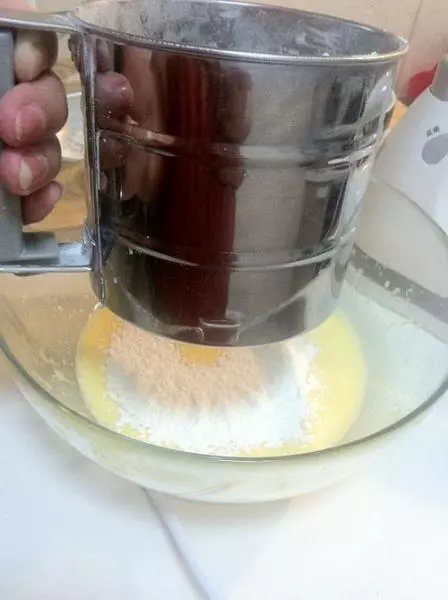
4在蛋黄糊中加入过筛的低筋面粉。
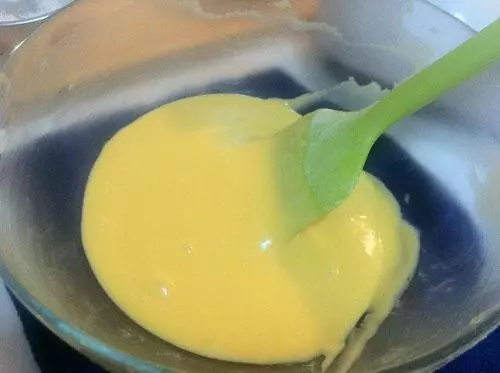
5用刮刀拌匀。直到没有面分结团。均匀顺滑。
6在蛋白中加入几滴柠檬汁。(做用就是方便蛋白打发。没有可以用白醋代替)
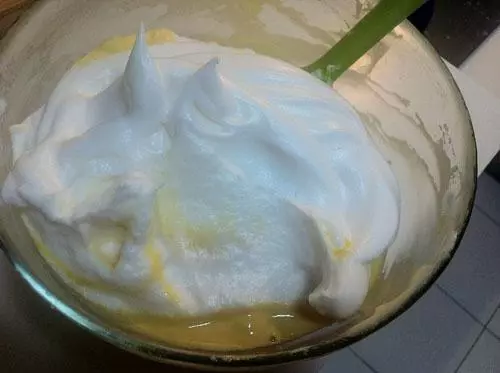
7用打蛋器将蛋白打到粗泡。倒入40g糖中的三分之一。接着打到融合。分两次加入剩余的糖。一直打到体积澎大。有纹路就可以了。

8将三分之一的蛋白糊倒入蛋黄糊中拌匀。

9再倒入剩下的蛋白糊。切拌均匀。(不要搅拌过度以免消泡起筋)
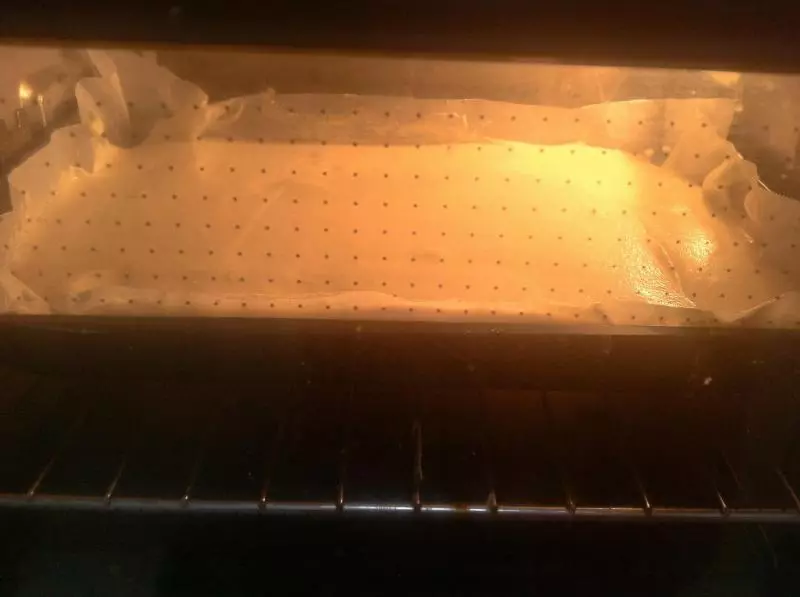
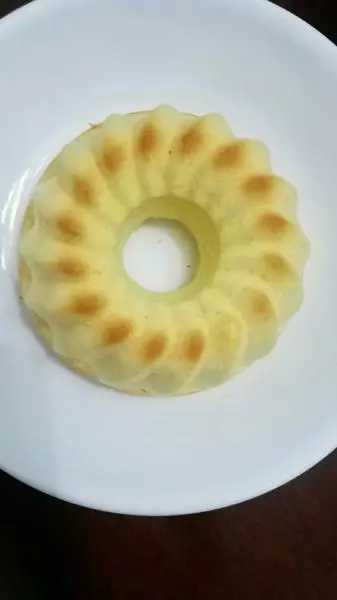
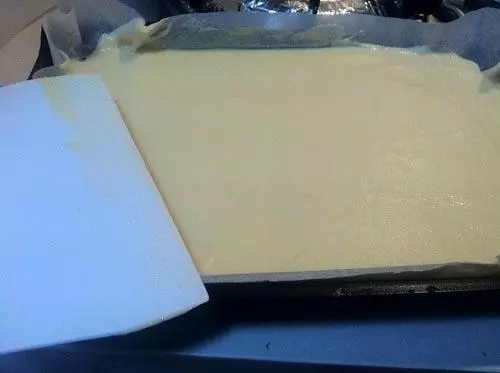
10倒入烤模。抹平。用力在台子上震两下。将面糊中大的气泡消除。
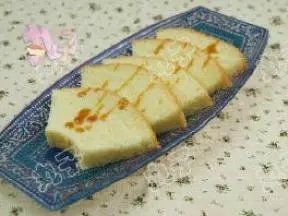
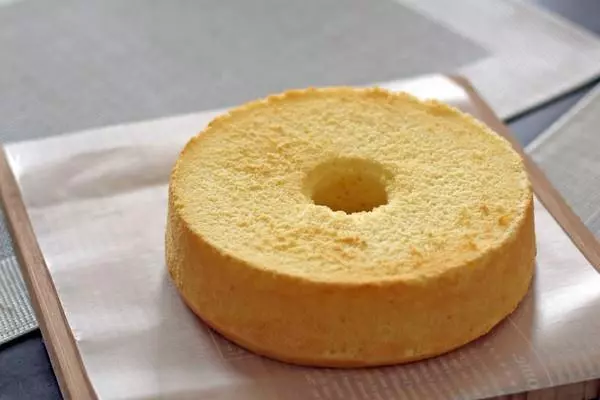
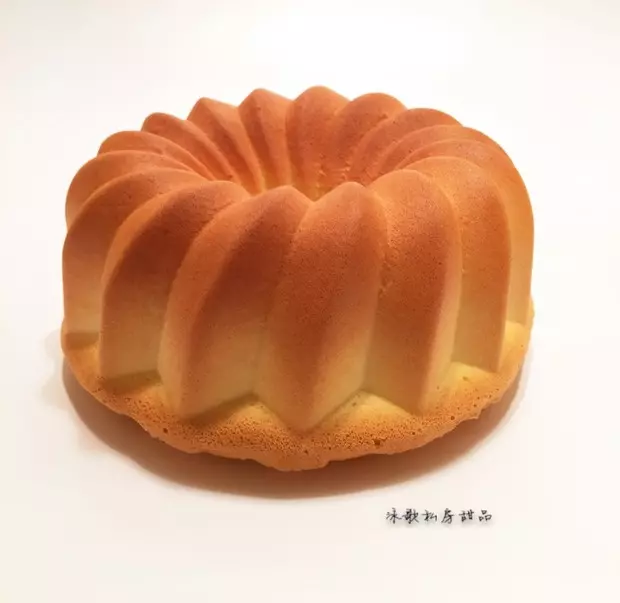
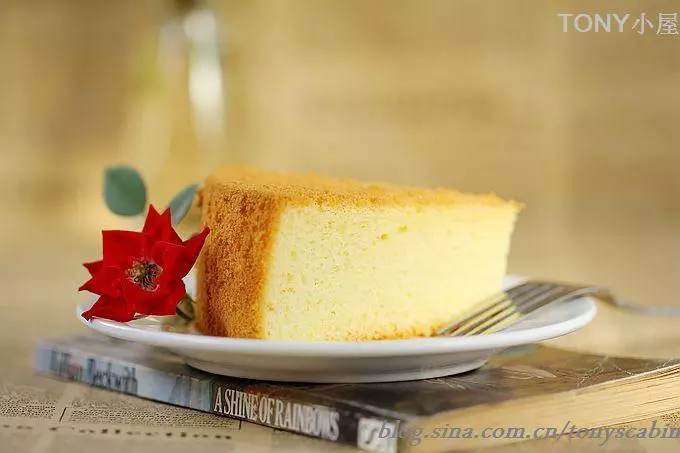
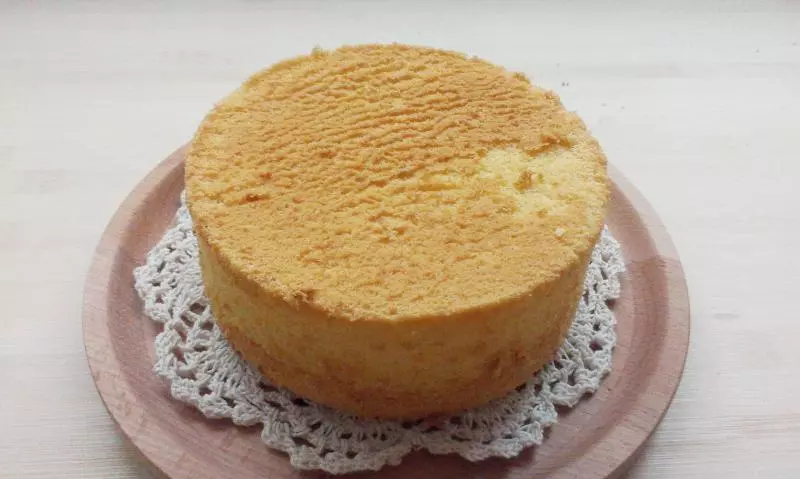
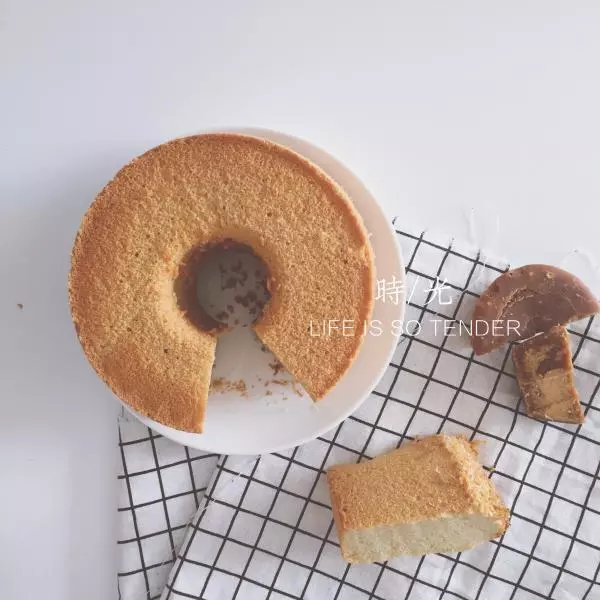
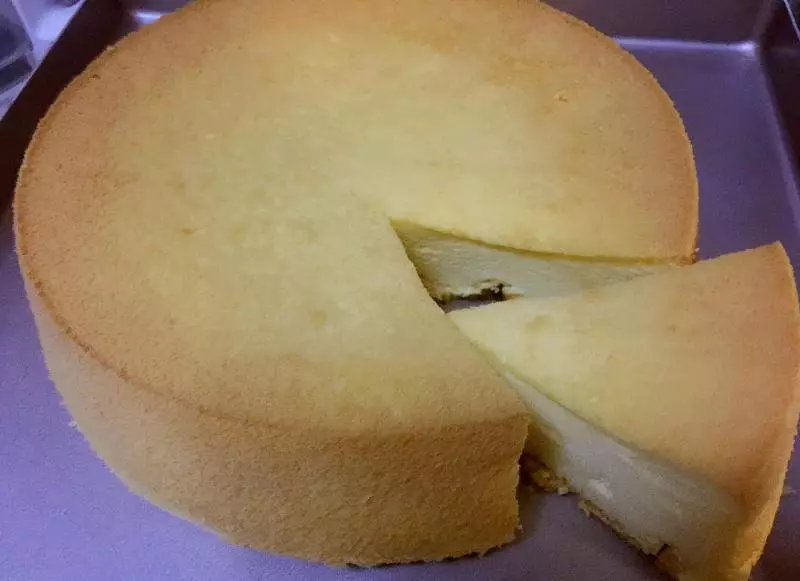
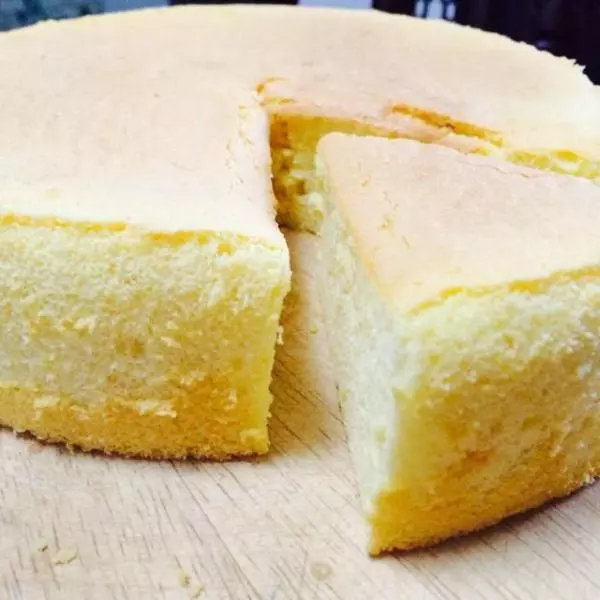
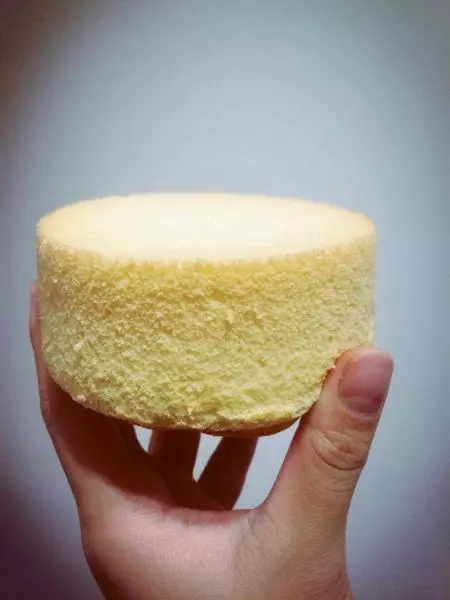
11烤箱预热150度。上下火烤1个小时。出炉时倒扣在网架上(不要放在板子上,以免出水气)晾凉