原料
全蛋: 182克, 砂糖: 88克, 水饴: 78克, 低筋面粉: 122克, 植物油: 38克, 黄油: 75克, 淡奶油: 114克, 白朗姆或自己泡的香草酒: 2克, 柠檬汁: 2克, 砂糖: 20克, DGF咖啡液(咖啡奶油霜): 4克, 抹茶粉(抹茶奶油霜): 2克
步骤
1欢迎关注我的微信公众号【烘焙疯子Ella的烘焙手记】更多免费独家菜谱等你拿哦~

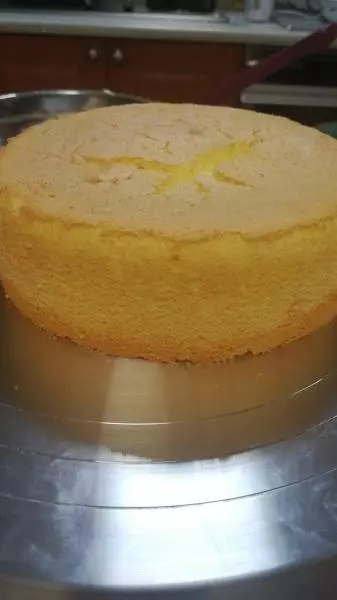
2制作全蛋海绵蛋糕:全蛋加砂糖、水饴,隔水加热到38-40度后离开热源

3使用厨师机,或者手动打蛋器高速打发,直到颜色明显发白,提起蛋头,蛋糊落下,纹路非常明显并且不会马上消失

4筛入面粉,用蛋抽搅拌均匀

5倒入植物油,以切拌的方式拌匀
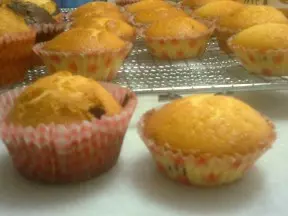
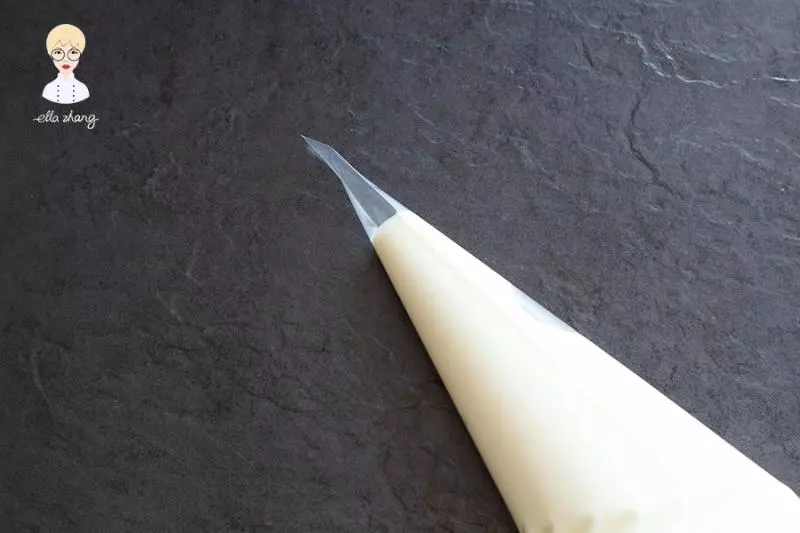
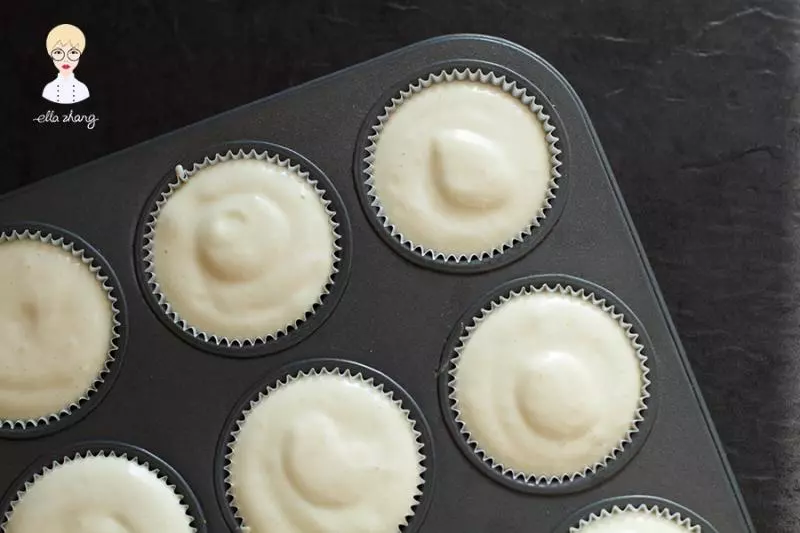
6将拌好的蛋糊放进裱花袋,均匀地挤入模具中,记得模具中要点纸托哦,否则很难脱模
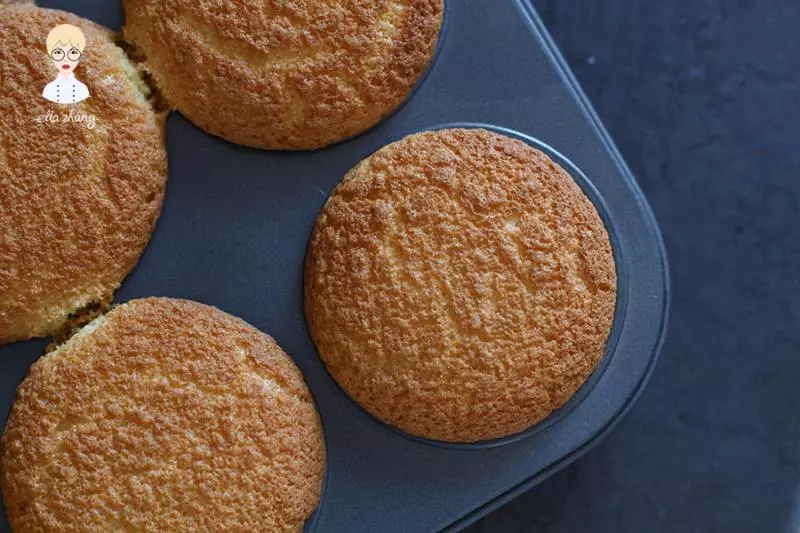
7烤箱上火185,下火150(家用烤箱175-180中上层)烤15-18分钟
8出炉后立即脱模晾凉
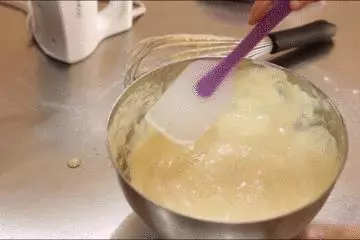
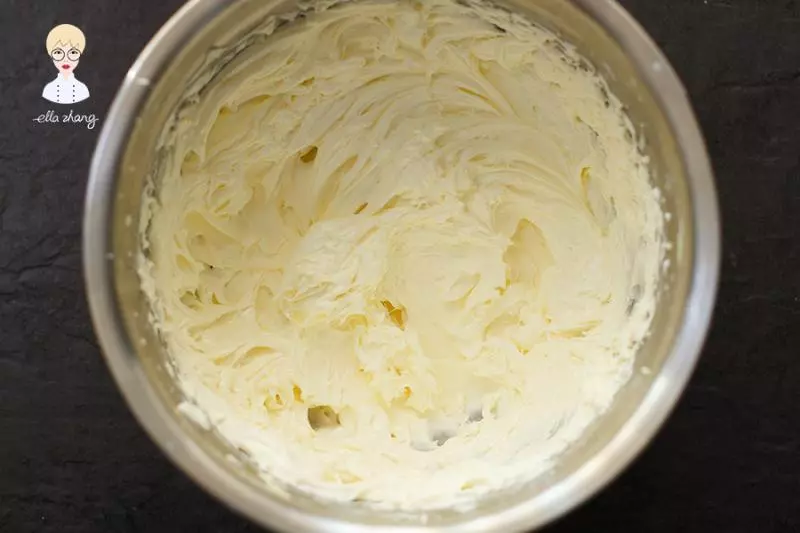
9制作奶油霜:黄油室温软化至20度以上,淡奶油回温至25度左右
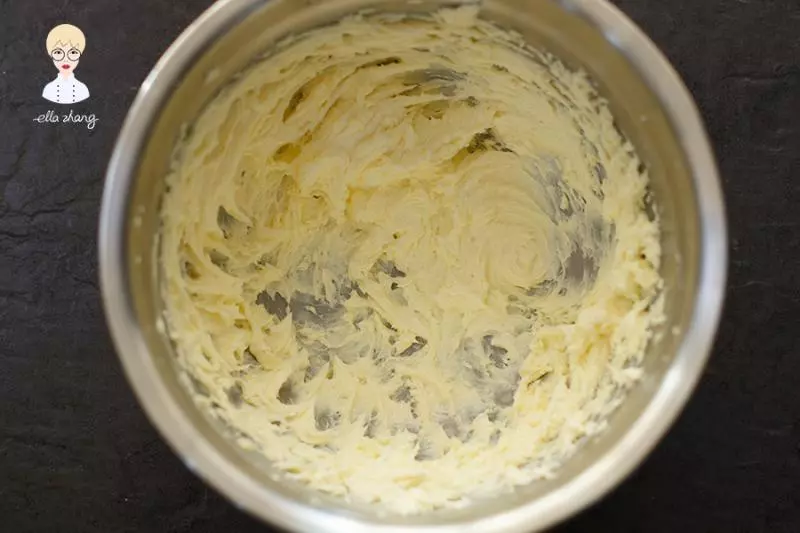
10黄油加砂糖搅拌到颜色发白(这里不用特别标准,黄油略打发,砂糖略花开即可)将淡奶油分6-8次加入黄油
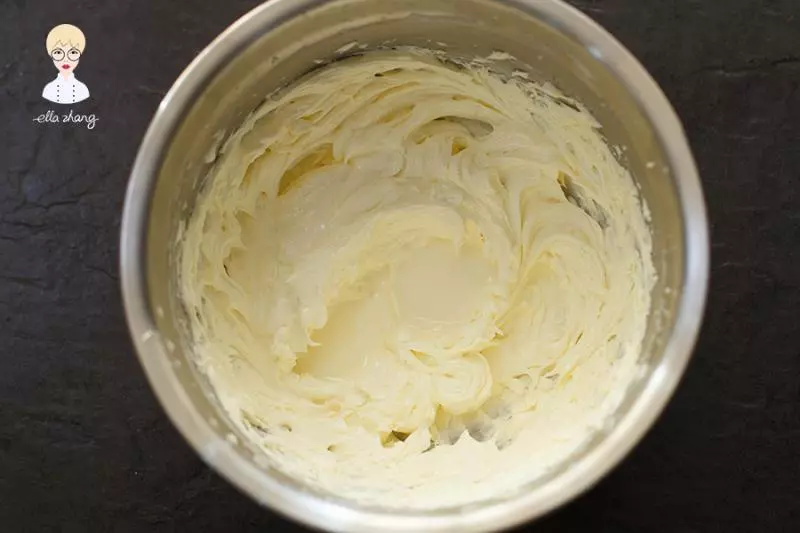
11用打蛋器高速打发,每次都要完全打均匀再加下一次,直到全部加完
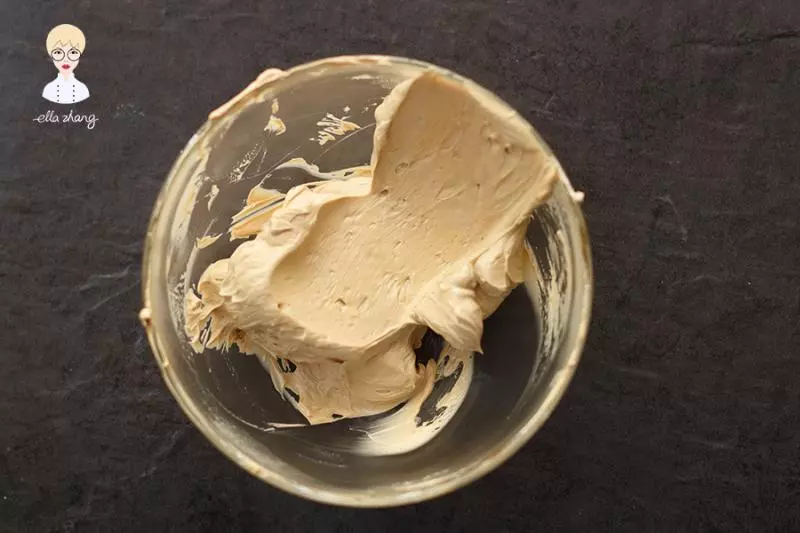
12将做好的原味奶油霜平均分成三份,一份加入DGF咖啡液,搅拌均匀
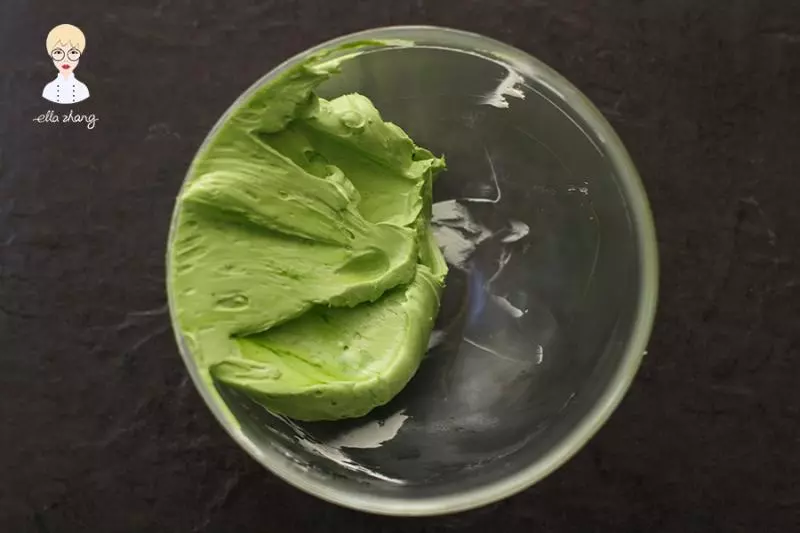
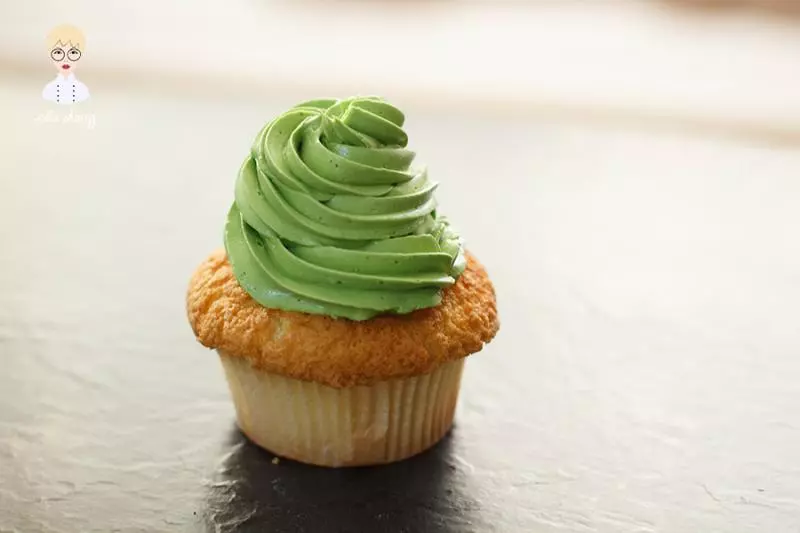
13一份加入抹茶粉,用电动打蛋器搅拌均匀,看不到颗粒为止
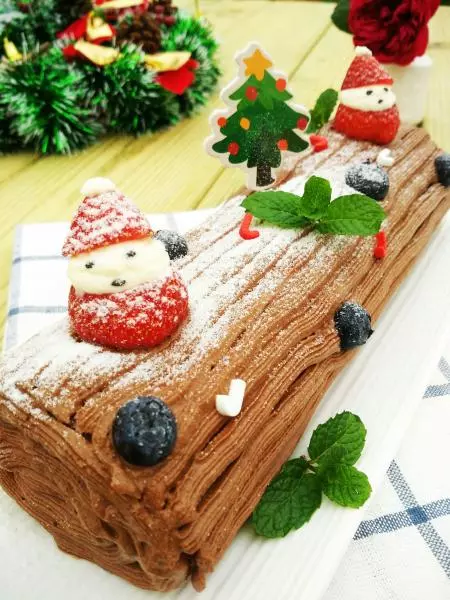
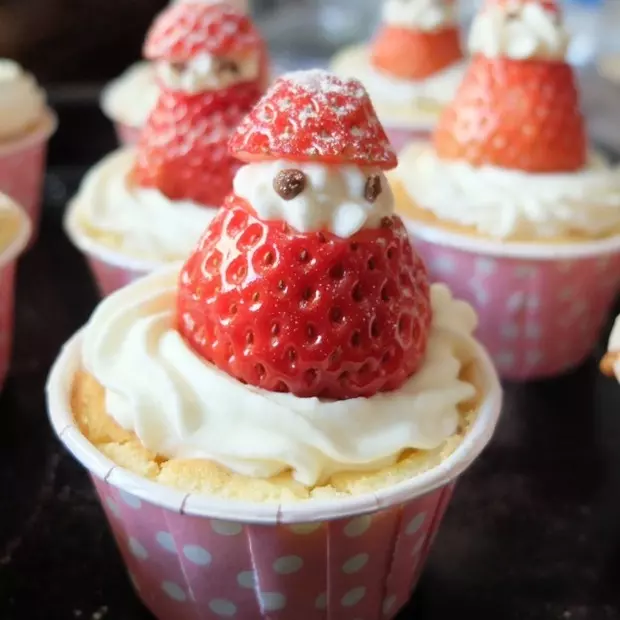
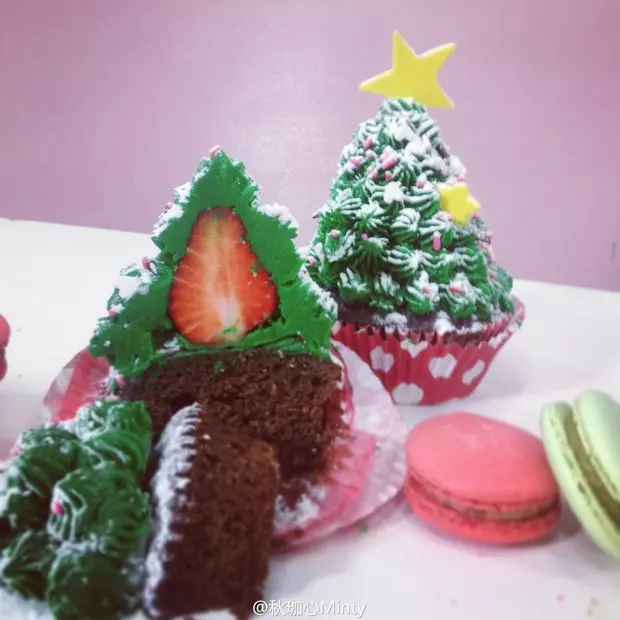
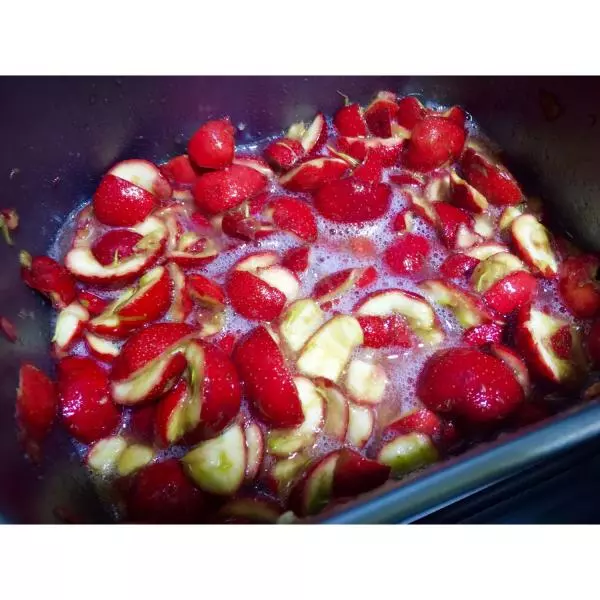
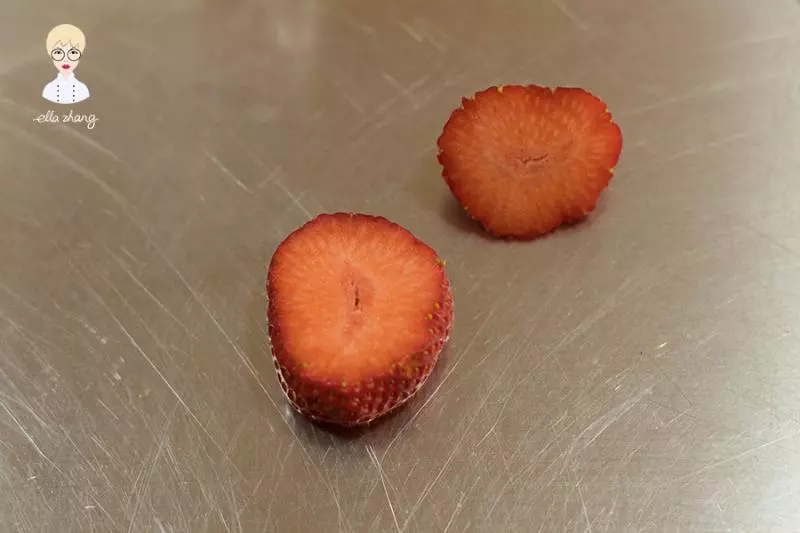
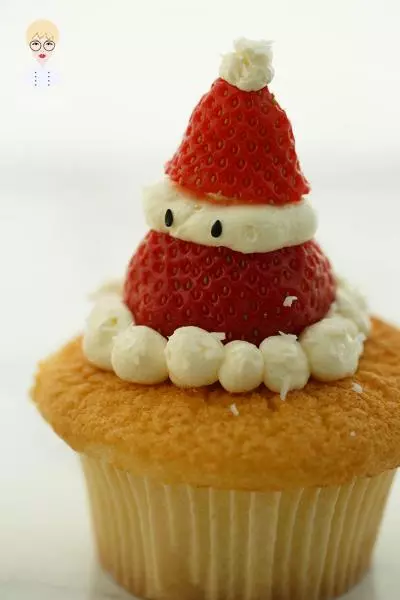
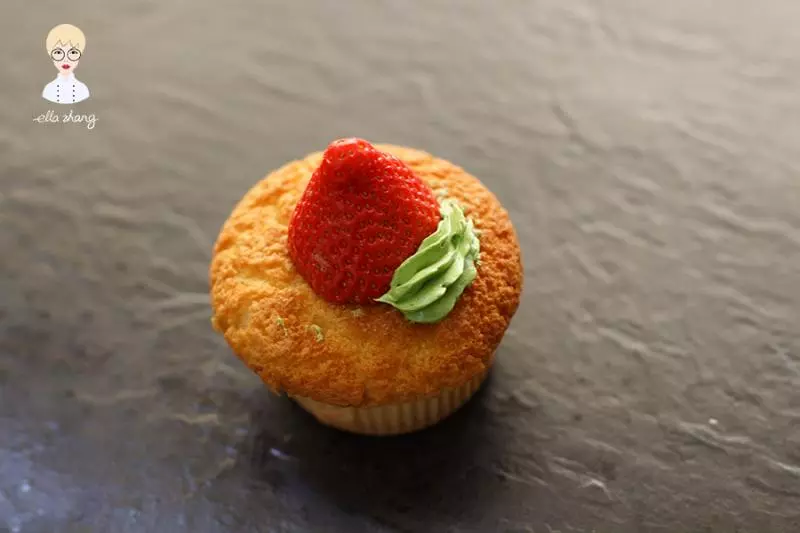
14先制作草莓“圣诞老人”杯子吧~将草莓去蒂
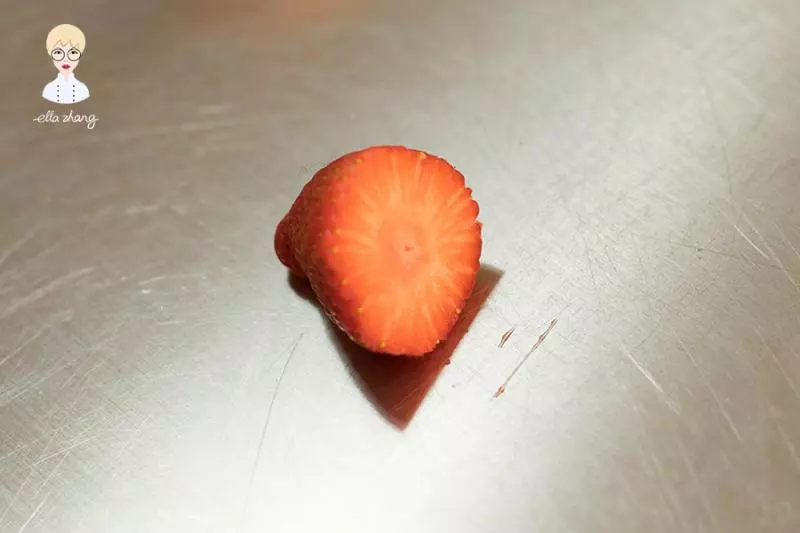
15从距离尖端1/3处横切
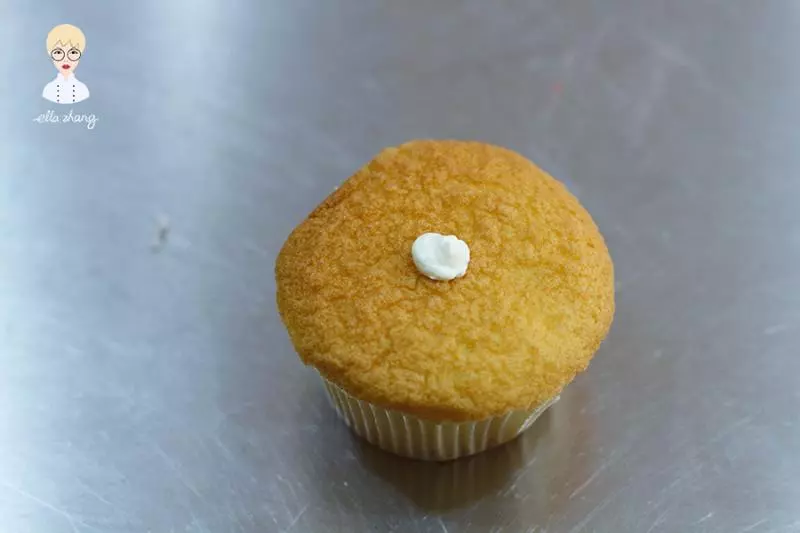
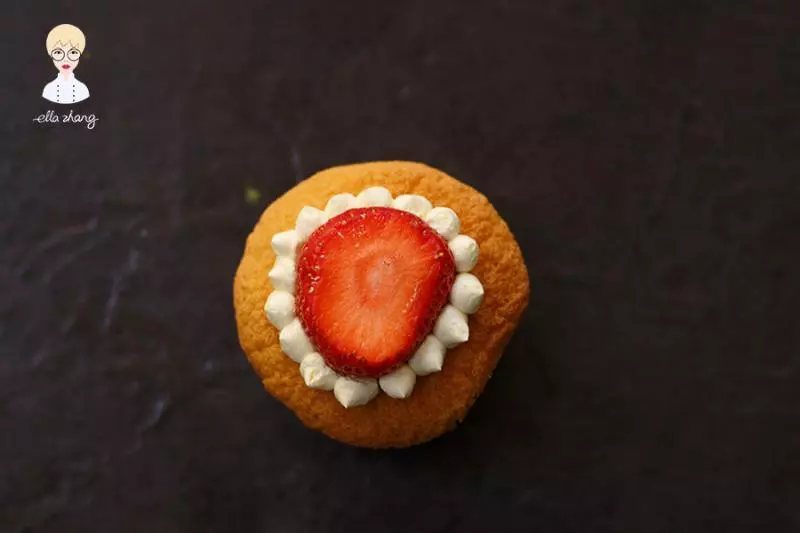
16在杯子蛋糕顶部挤一小块原味奶油霜(粘连作用),放上2/3的草莓
17草莓底部与蛋糕体的接缝处,用圆口花嘴(sn7064)挤一圈(小球球)
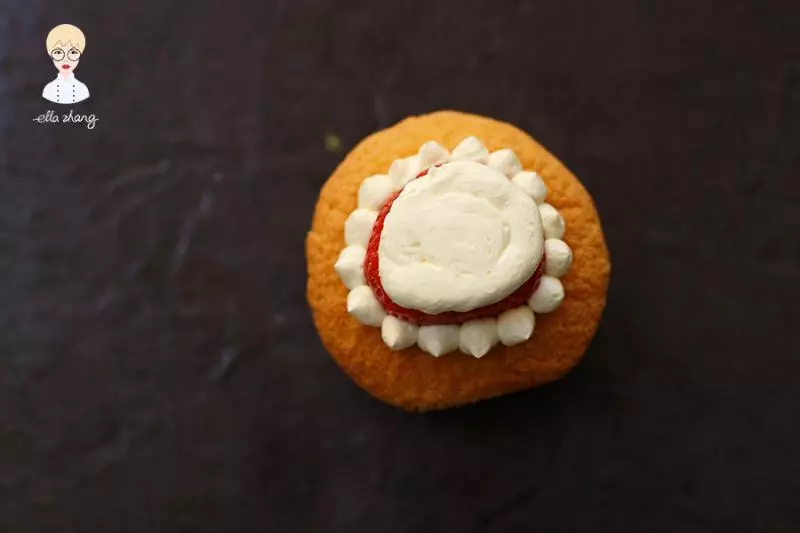
18挤上一层奶油霜,放上剩下的1/3的草莓
19顶部挤一个球球,用黑芝麻当眼睛装饰上,完成
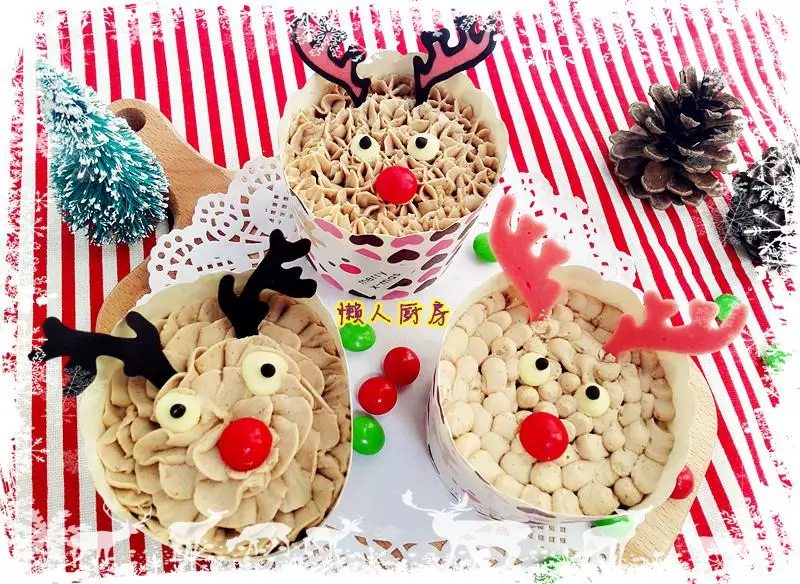
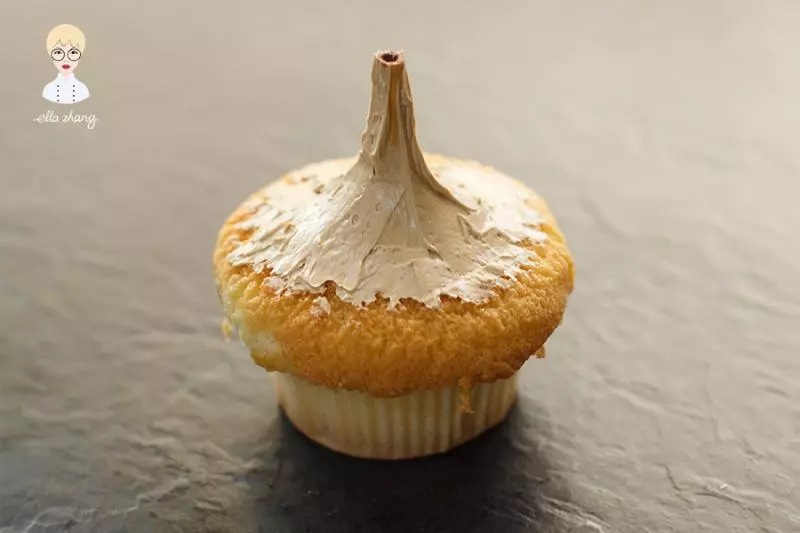
20接下来制作“松果”杯子蛋糕:用百奇或者百醇,插在杯子蛋糕中间,围着它像这样抹一圈咖啡奶油霜
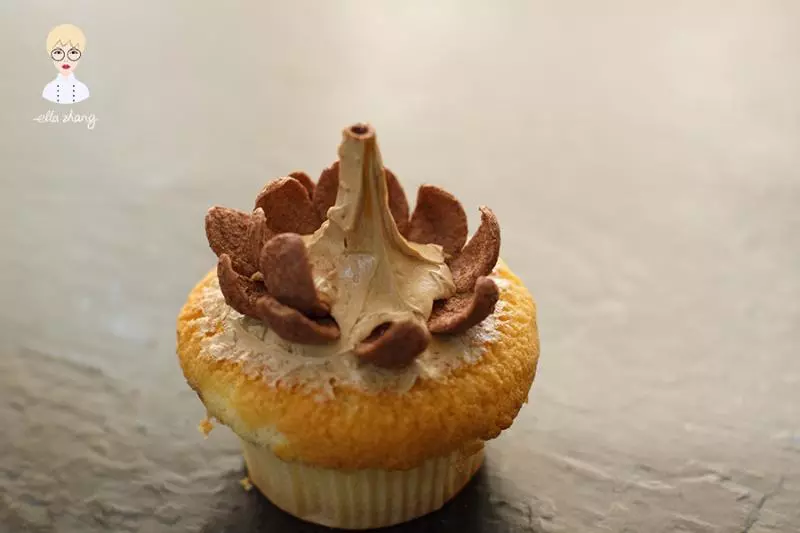
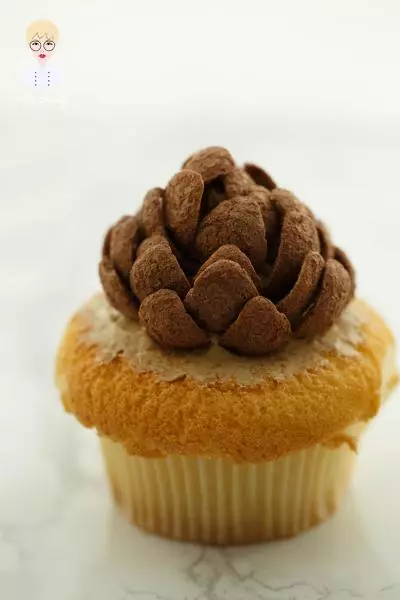
21然后由下至上,用可可味滋滋摆出松果的样子,下面那圈最大,越往上越小,直到摆不下为止
22松果杯子蛋糕也完成~
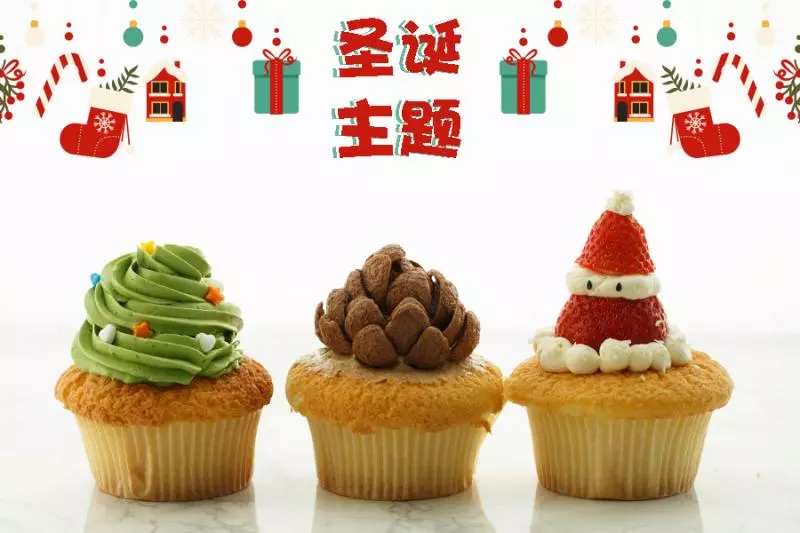
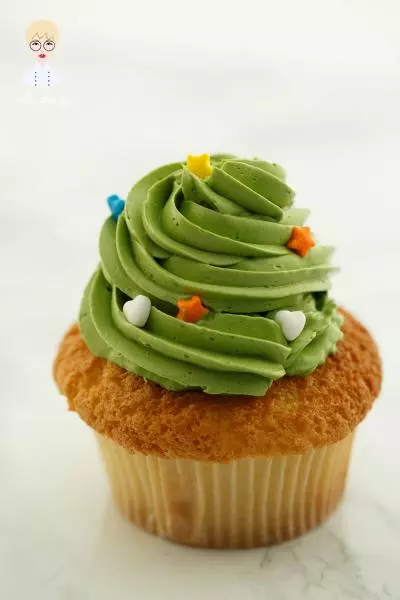
23制作“圣诞树”杯子蛋糕:在杯子蛋糕上放一颗去蒂的草莓,作为支撑
24最外圈用8齿花嘴,由下至上围着草莓一圈圈向上挤
25最后装饰上彩色糖珠即可 姜先生最喜欢抹茶的“圣诞树”,我最喜欢加了可可脆片的“松果”,你最喜欢哪款呢?告诉我们吧~~
小技巧
1、向烤盘中挤蛋糕糊时,注意不要太满,否则容易溢出来 2、制作奶油霜时,淡奶油温度切不可过低,并且要多次少量地加入黄油中