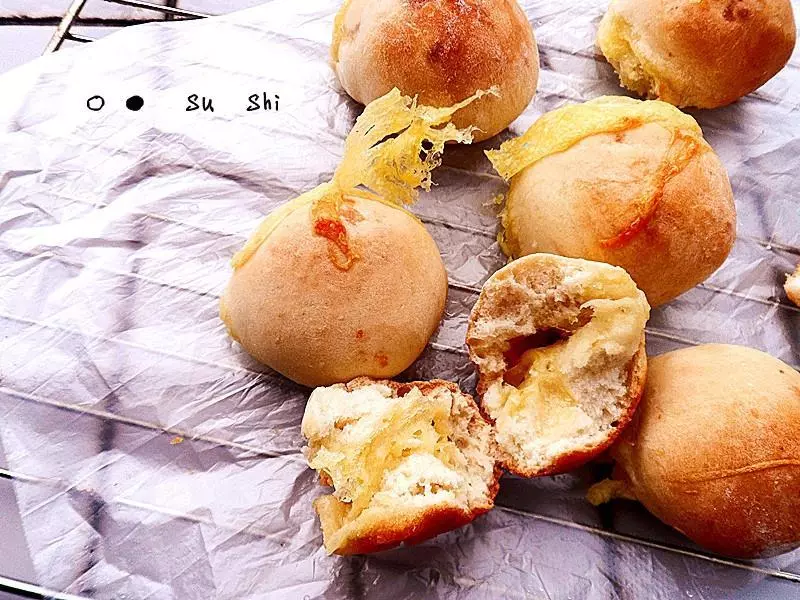
原料
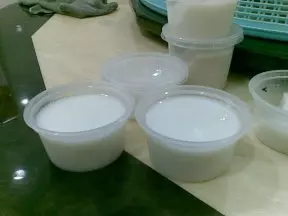
高筋麵粉: 310, 全蛋: 50g, 椰漿: 185g, 蜂蜜: 10g, 糖: 10g, 鹽: 3g, 酵母: 3g, 椰粉: 20g(沒有可省略), 黃油: 25g, 表面塗抹椰漿與倒入模具內椰漿: 50g
步驟
1除鹽和黃油以外.其他揉至稍有筋性加入鹽繼續揉至擴展.然後加入黃油繼續揉至可以拉出比較透明而有韌性的薄膜(我是直接麵包機選擇麵包麵糰鍵.揉面直接發酵的)中間分別加入鹽與軟化的黃油)

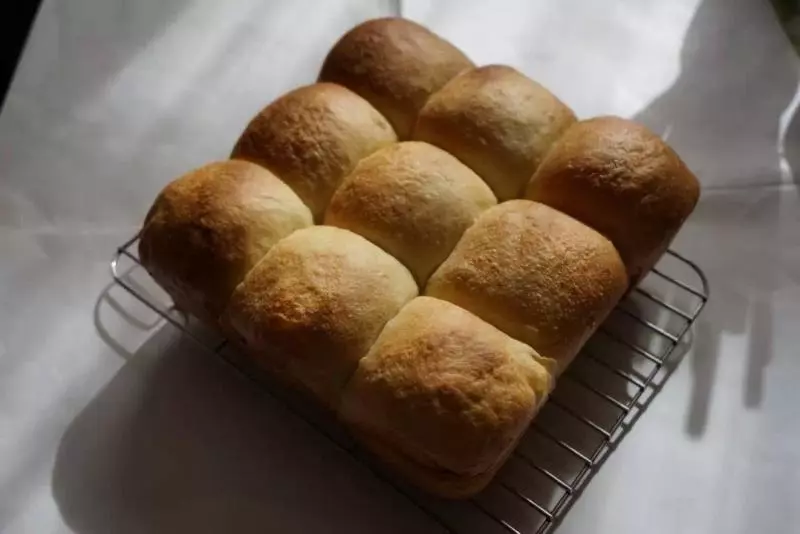
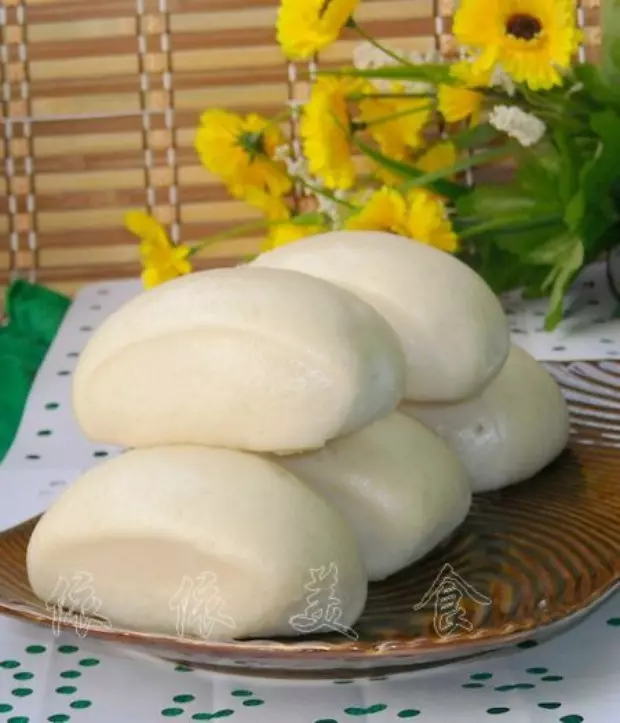
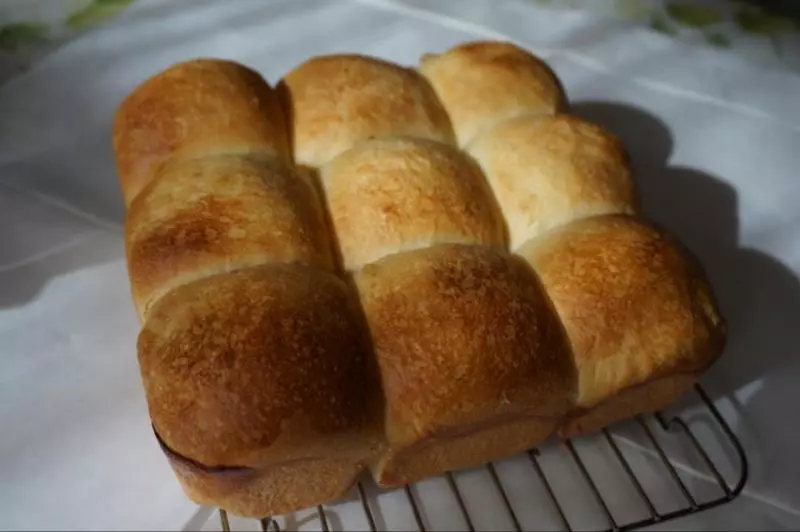
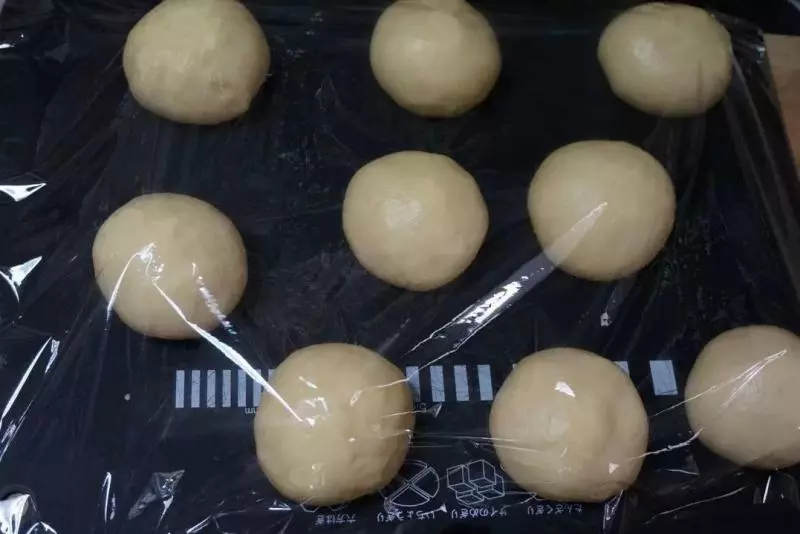
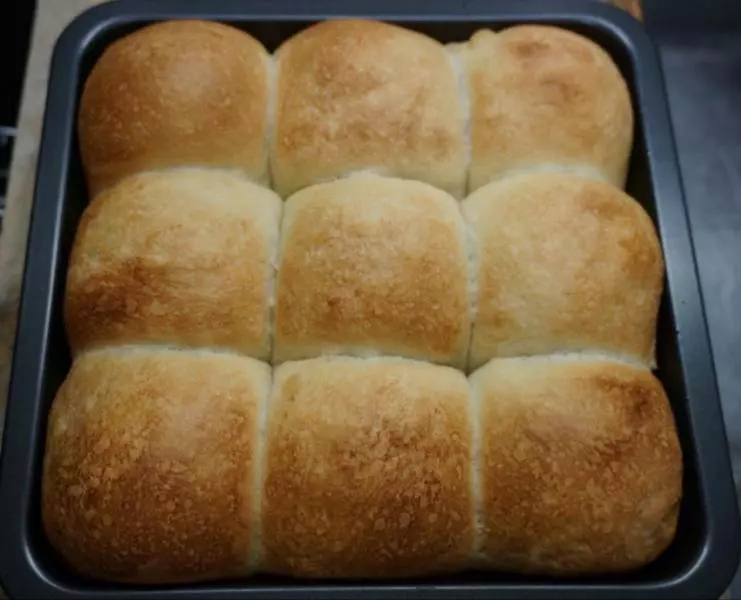
2平均分成9等份.滾圓鬆弛十五分鐘
3擺進20*20的模具內
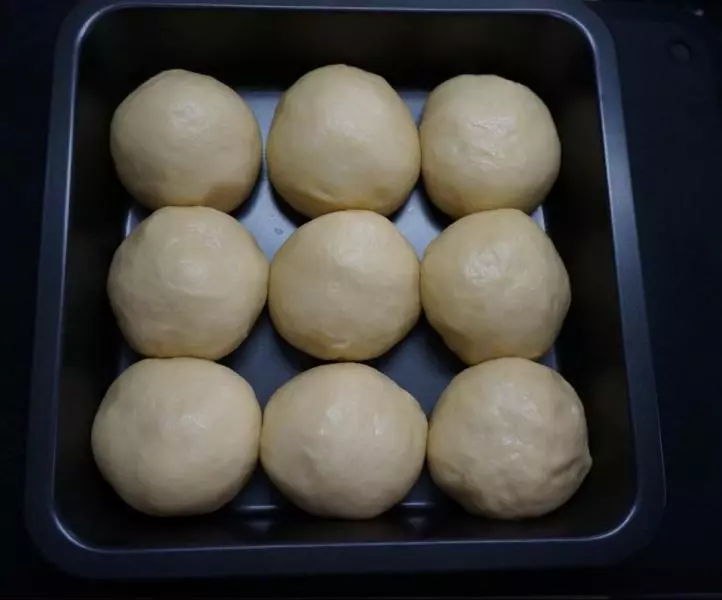
4烤箱發酵功能35°發酵大概50分鐘左右(在旁邊放一杯熱水)

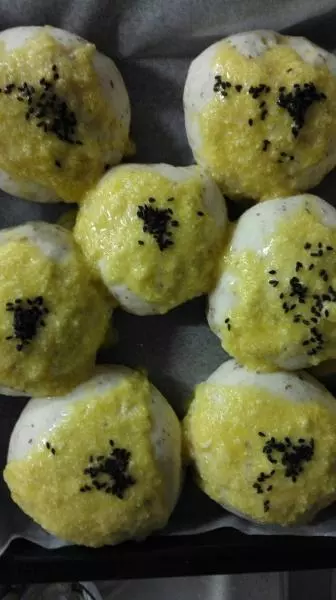
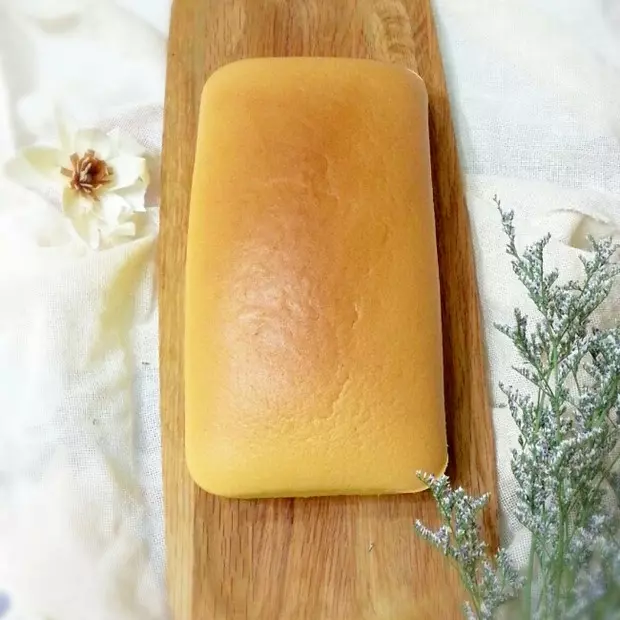
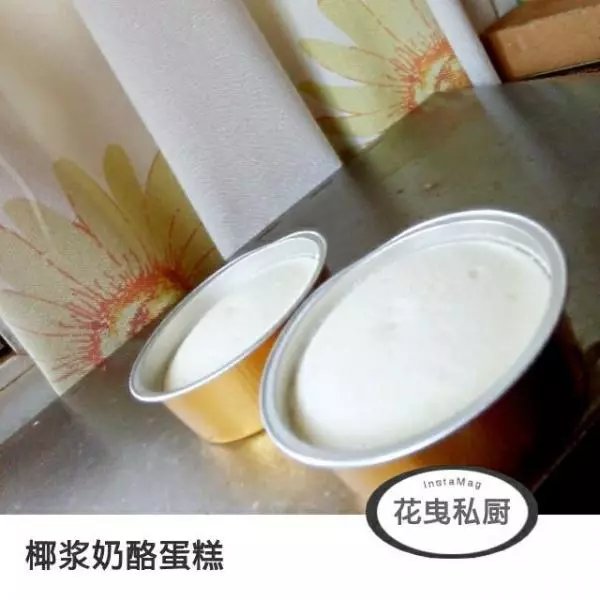
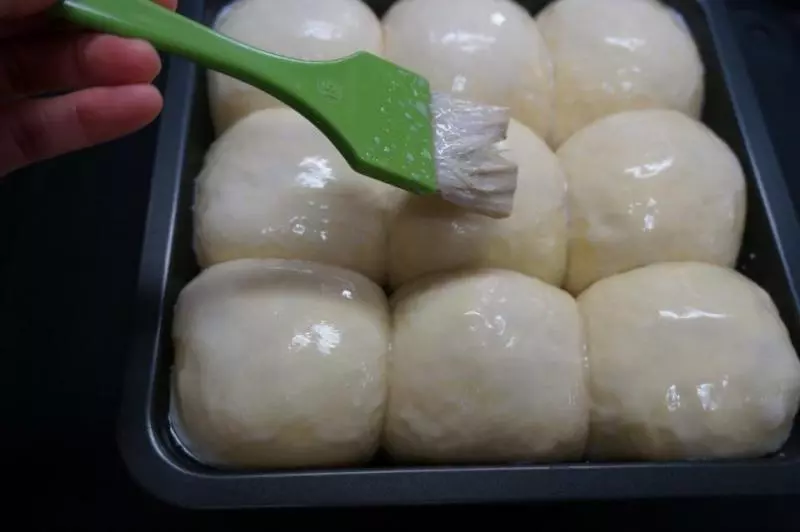
5表面刷上椰漿
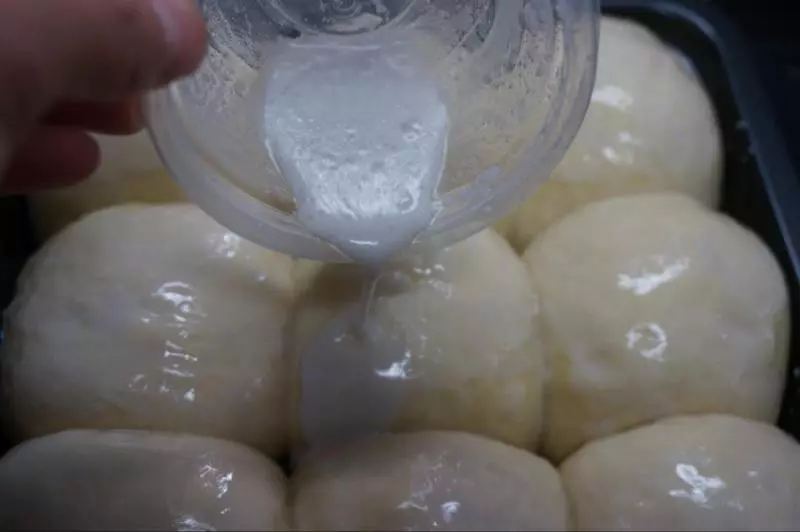
6模具內倒入椰漿
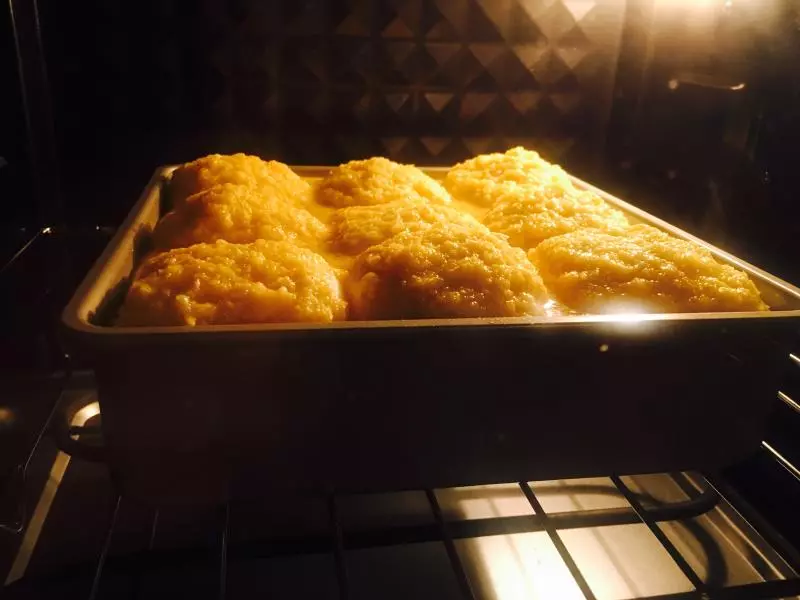
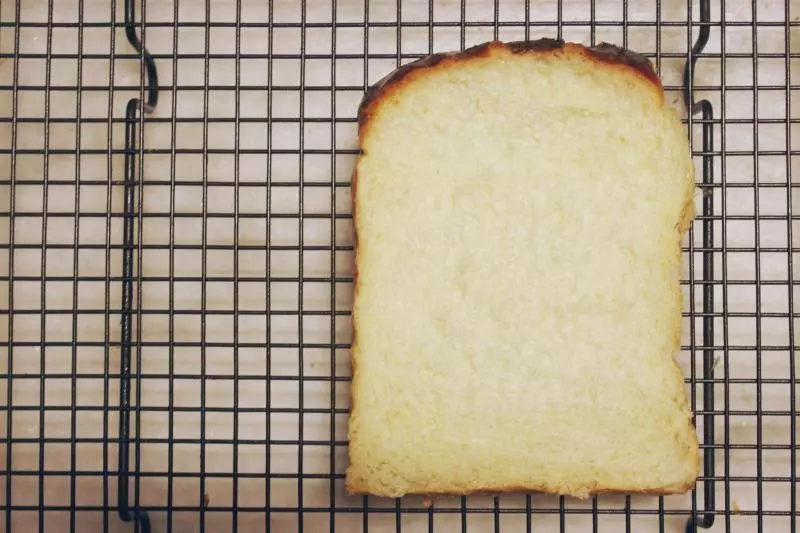
7烤箱預熱!180°烤28分鐘(烤到10分鐘時覆蓋上錫紙繼續烤完)

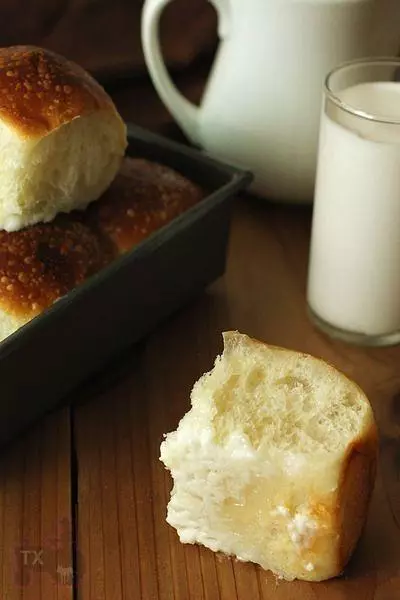
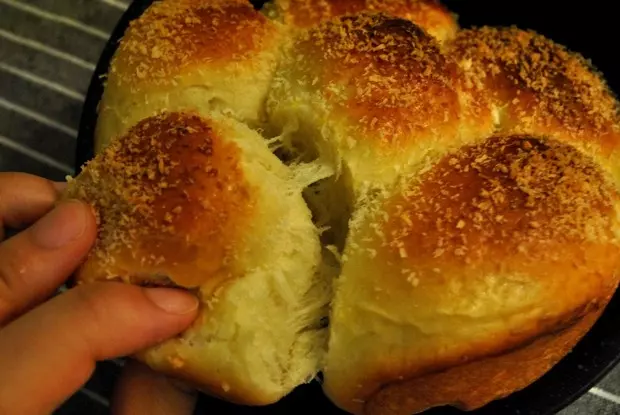
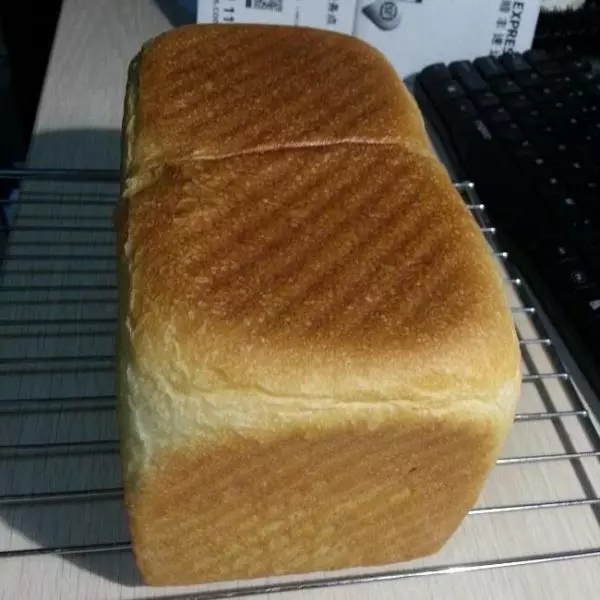
8出爐
9開吃吧