原料
淡奶油: 200g, 糖粉: 20g
步驟
1將淡奶油倒入無油無水的容器中,加入糖粉,先高速打發,至奶油濃稠後換低速打,感覺到可以裱花的程度就可以了。

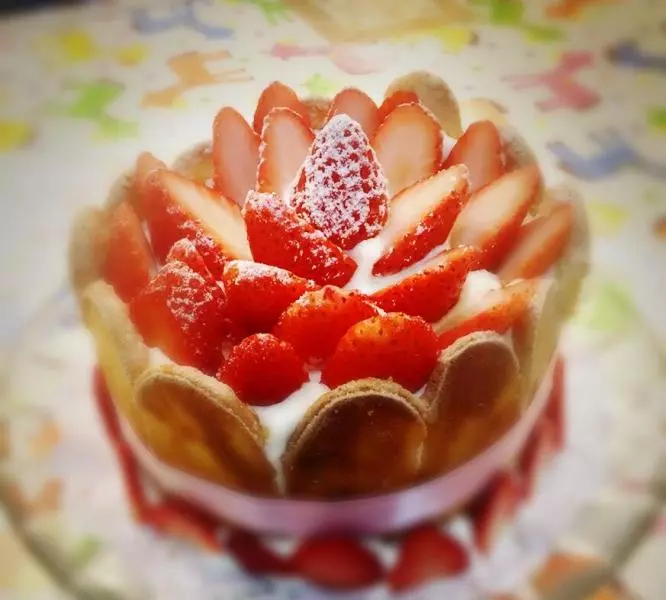
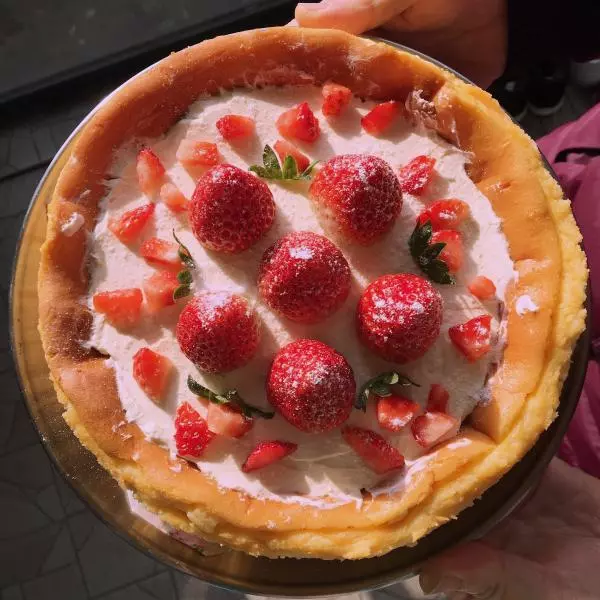
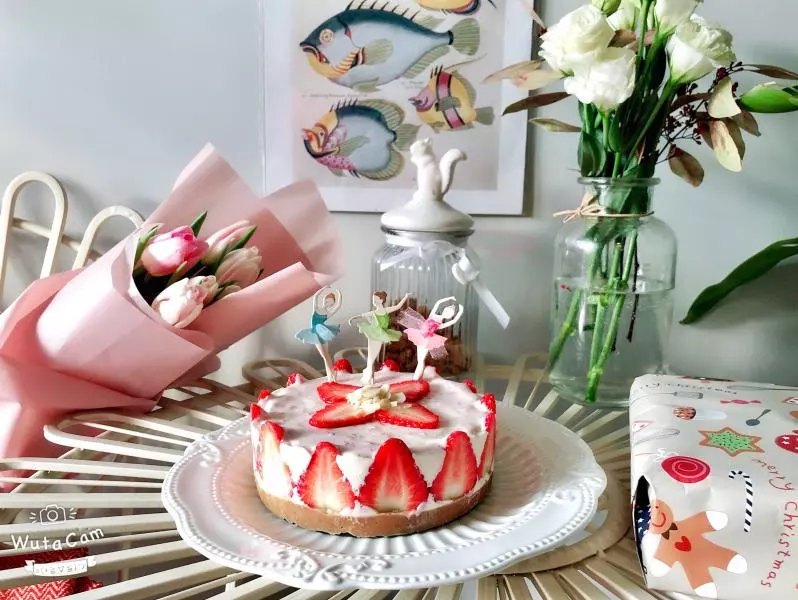
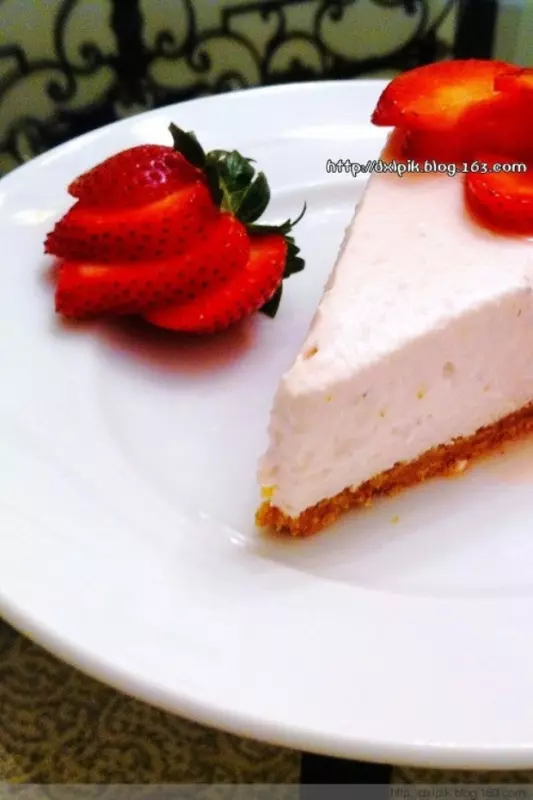
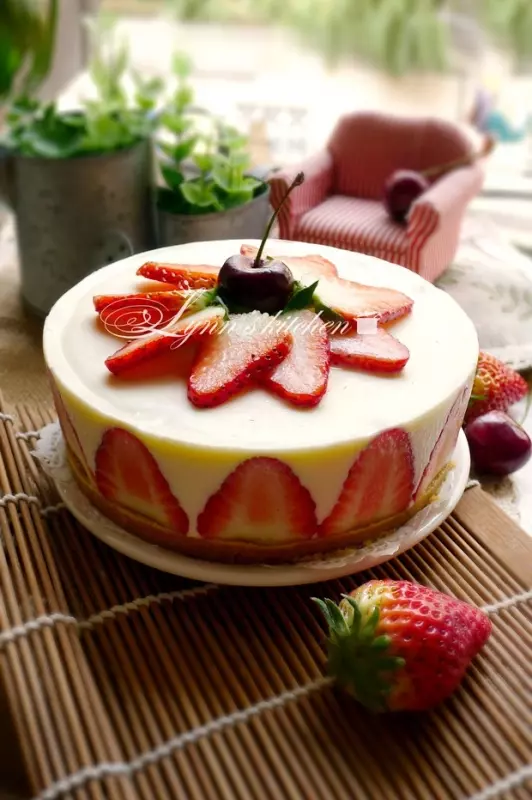
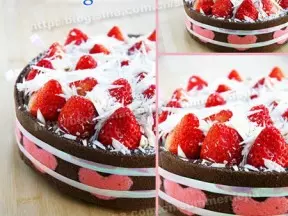
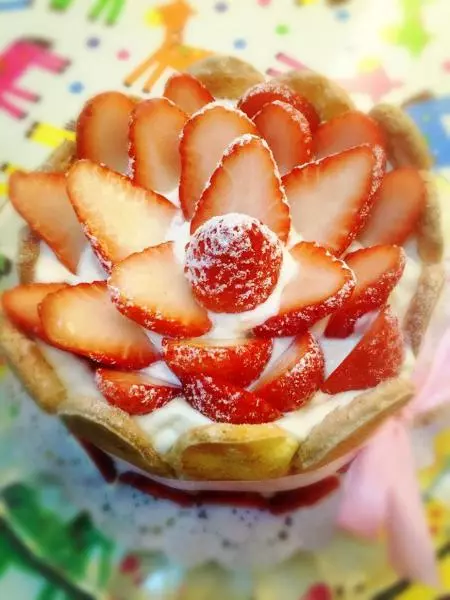
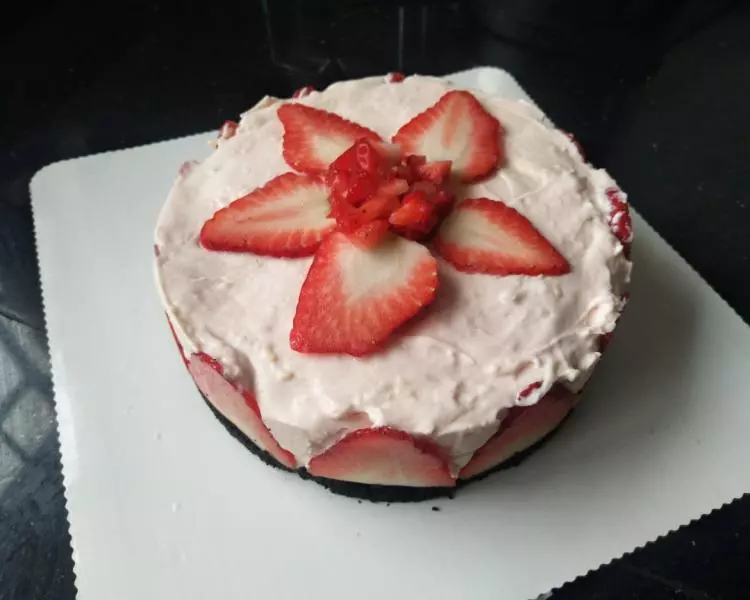
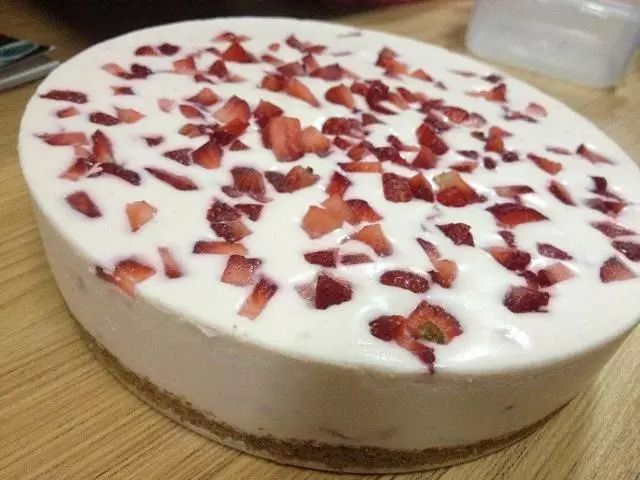
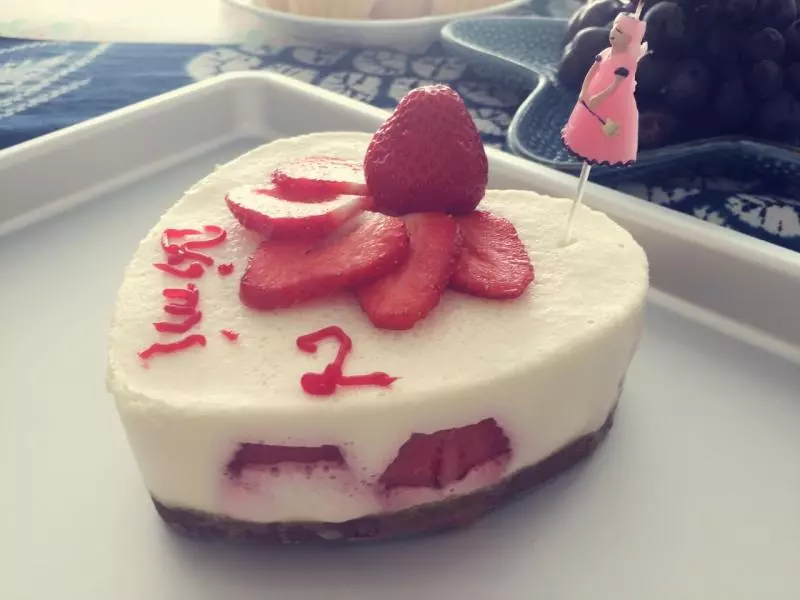
2先把芝士蛋糕中間橫切開,加入一層奶油,接著草莓顆粒一層,再加一層奶油,然後把切開的蛋糕蓋上,再把蛋糕周圍一圈及蛋糕頂上覆蓋一層奶油,接著把手指餅乾圍蛋糕一圈,邦上絲帶?,頂上按照自己喜歡的樣子擺上?,我是還多一點奶油,所以在餅乾的底部也裱了一圈奶油,放了草莓片。

3外觀擺好後,再取點糖粉,篩入草莓蛋糕上面,一下就變的萌萌噠。如果沒有馬上吃,建議放入冰箱冷藏。

4芝士草莓蛋糕三部曲已經完成了,不知道能看明白嗎?