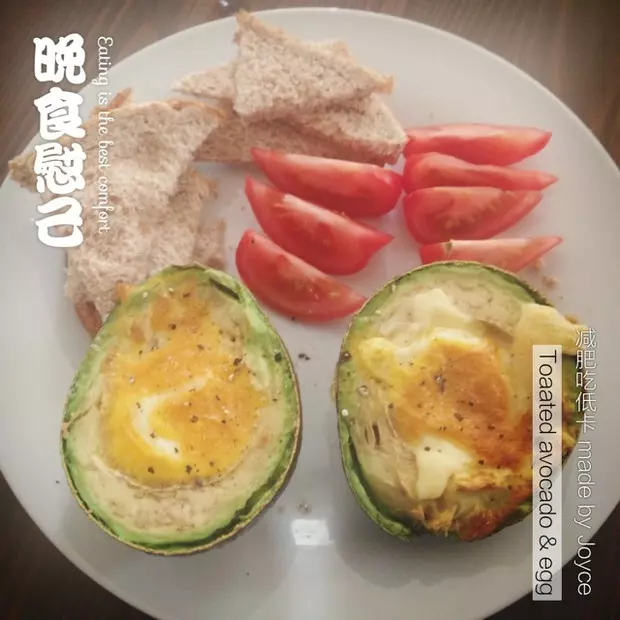
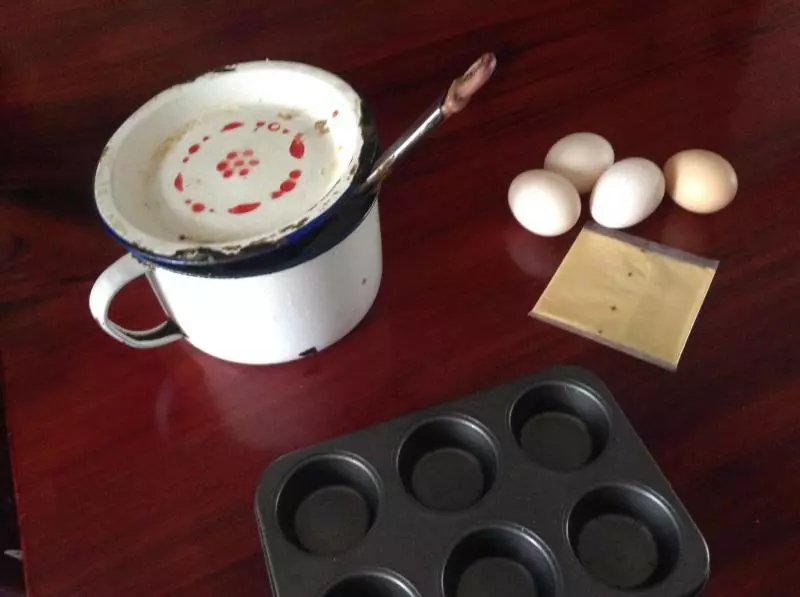
原料
雞蛋(養雞場)(小): 3隻, 食用油: 適量, 芝士片: 一片
步驟
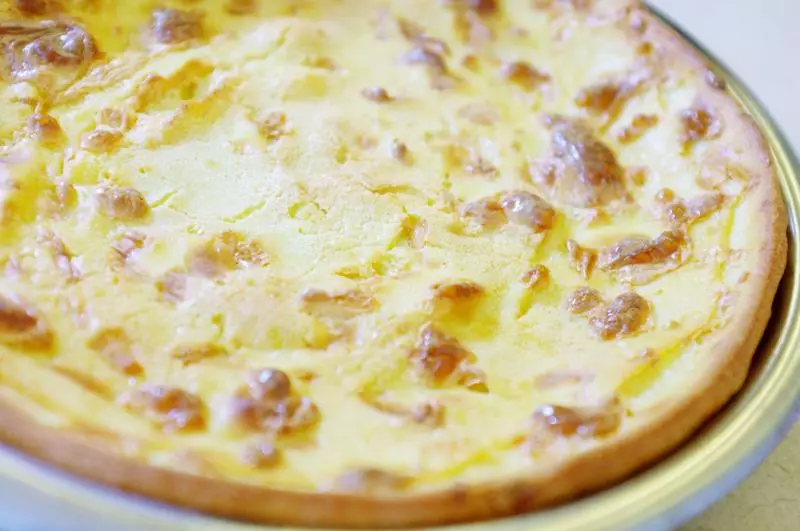
1拿出材料,這裡用的材料⬆️
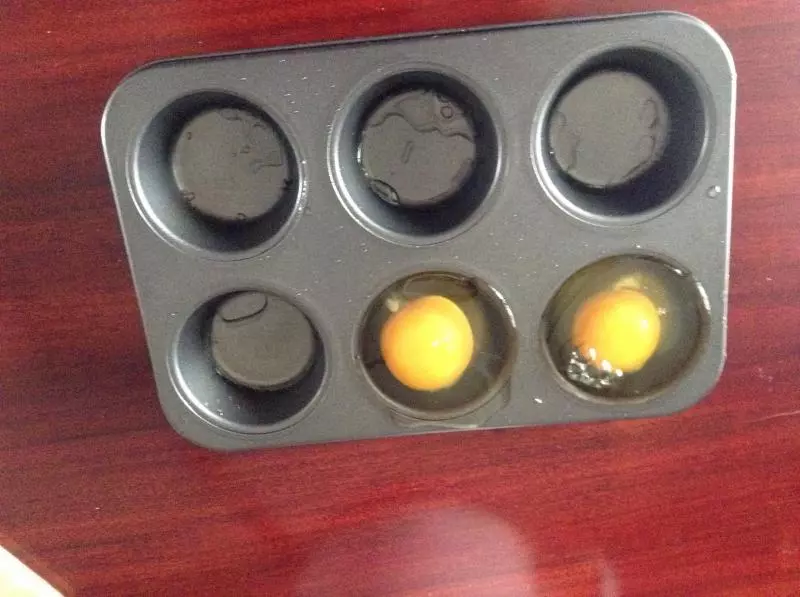
2模具加少許油,把雞蛋磕進去(建議用分蛋器,蛋清往往過量qwq)
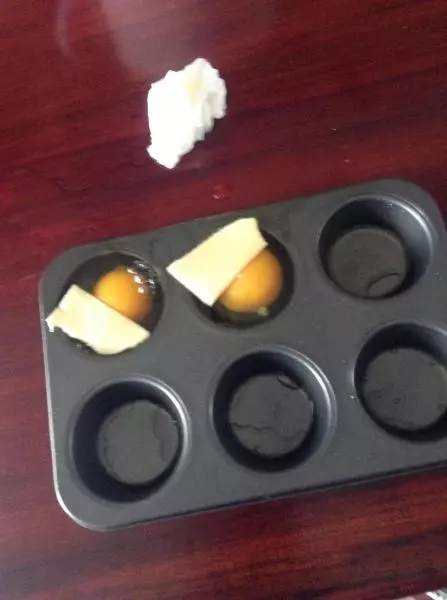
3撕點芝士片放在上面
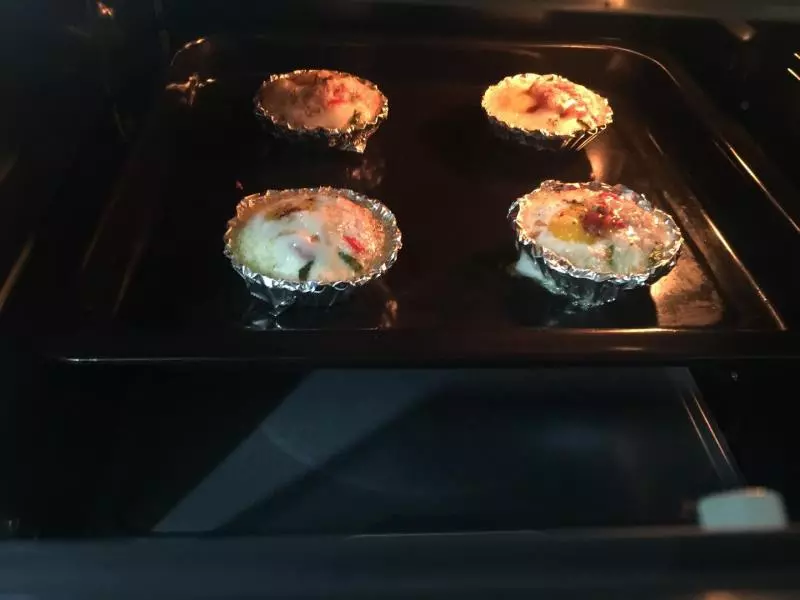
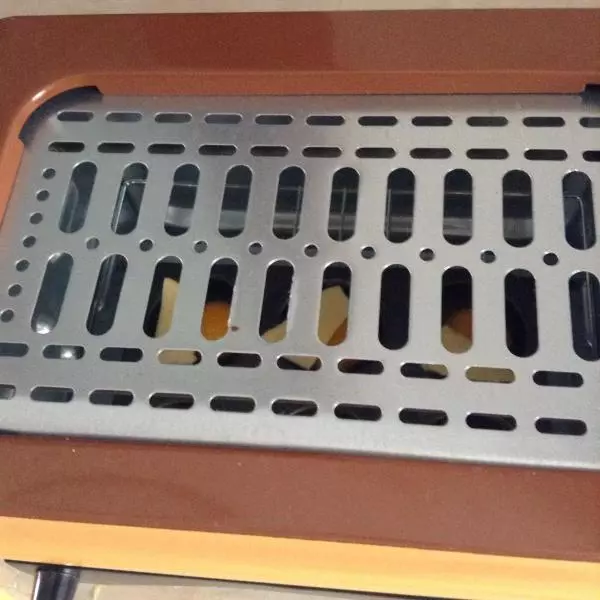
4放進烤箱
5由於我家烤箱不能控溫(哭唧唧)(大概180~200度)就設了20分(包括預熱在內
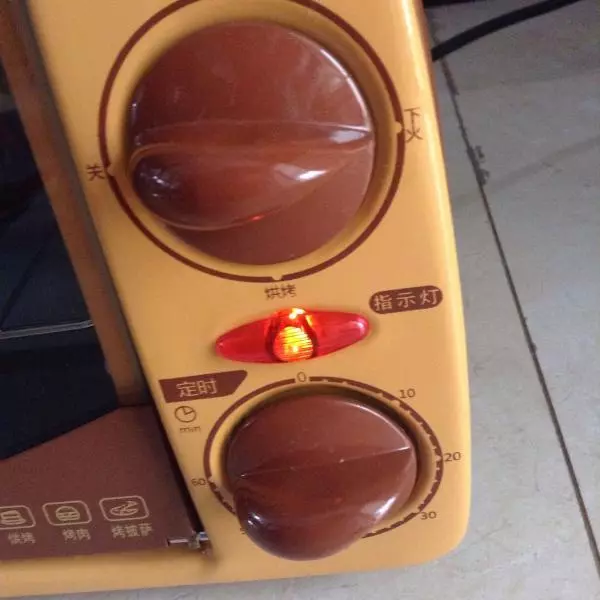
6根據具體情況添加或減少時間吧!

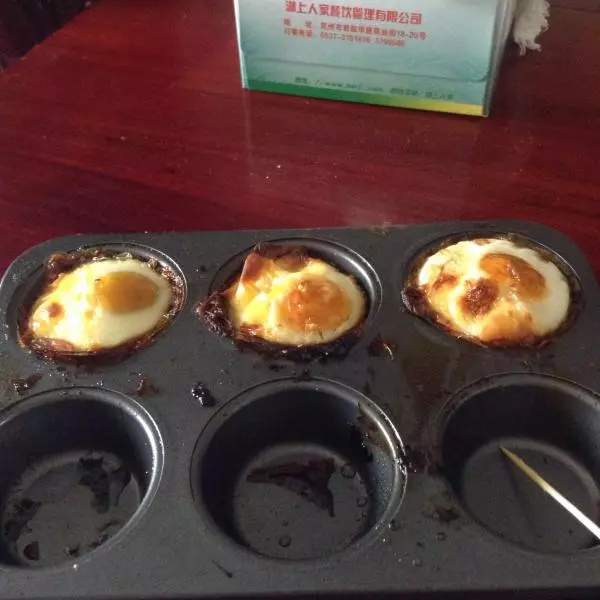
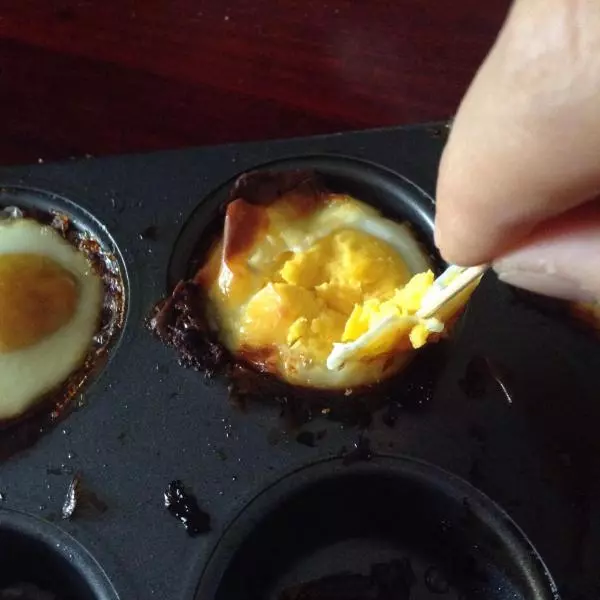
7用牙籤插進去不粘連就可以了(注意芝士容易糊
小技巧
我用的是笨雞蛋,所以效果不是很好w,建議使用分蛋器用養雞場的雞蛋來做,這樣可以形成一個球哦(≧∇≦)一定要注意芝士!非常容易糊