原料
圓形蛋糕胚: 8寸, 淡奶油: , 代可可脂:
步驟
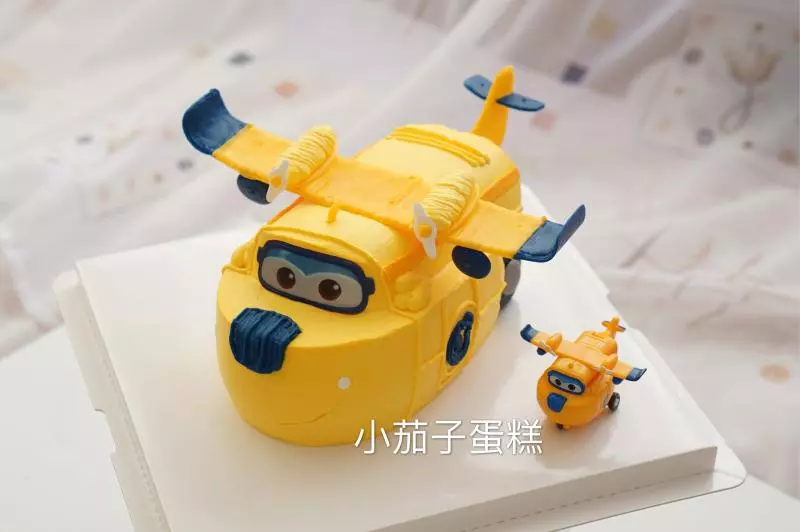
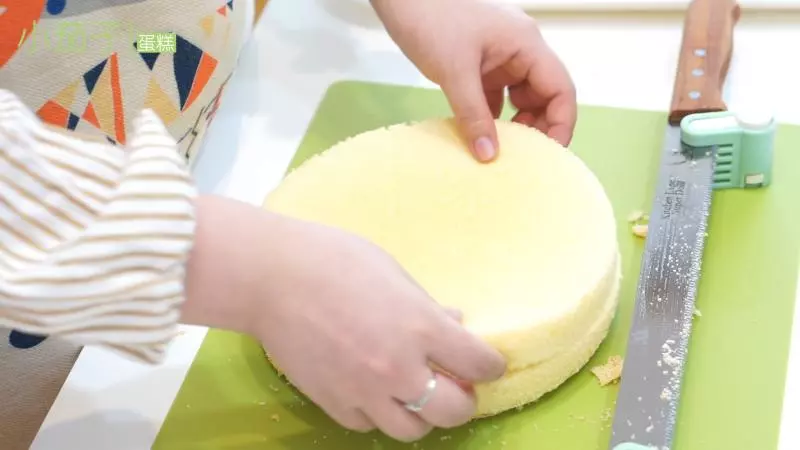
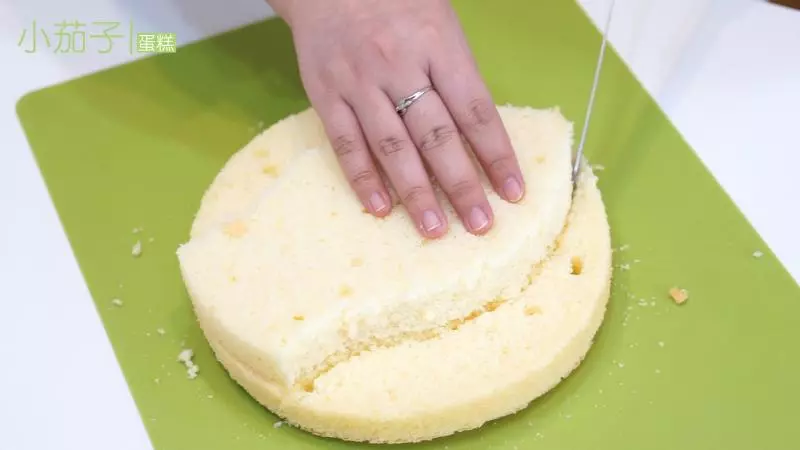
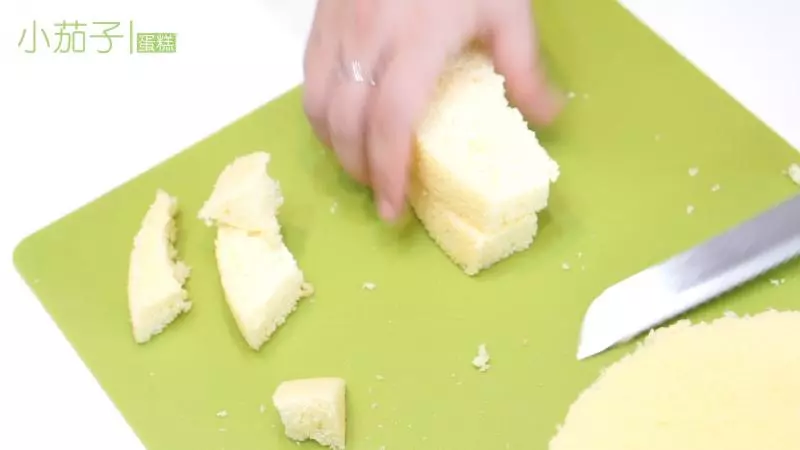
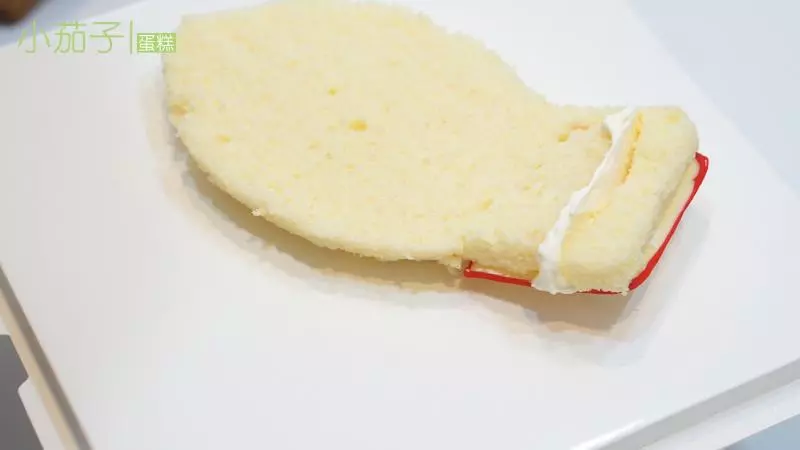
1圓形蛋糕胚分2層
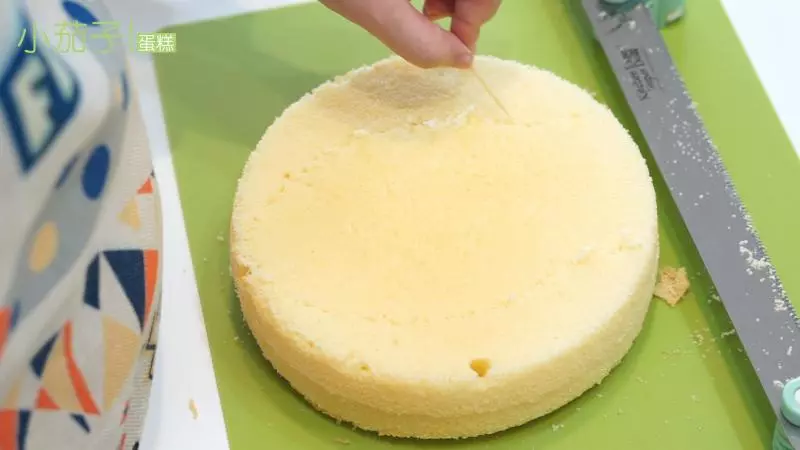
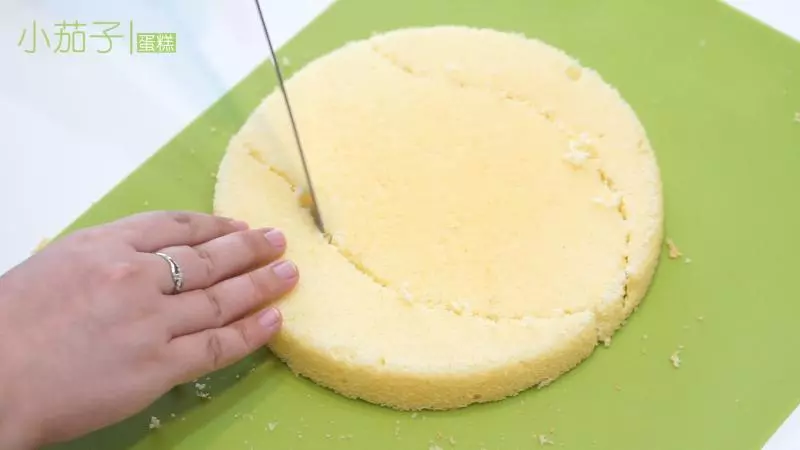
2用牙籤在蛋糕表面畫出樂迪的身體輪廓
3按畫好的輪廓,把蛋糕胚切好
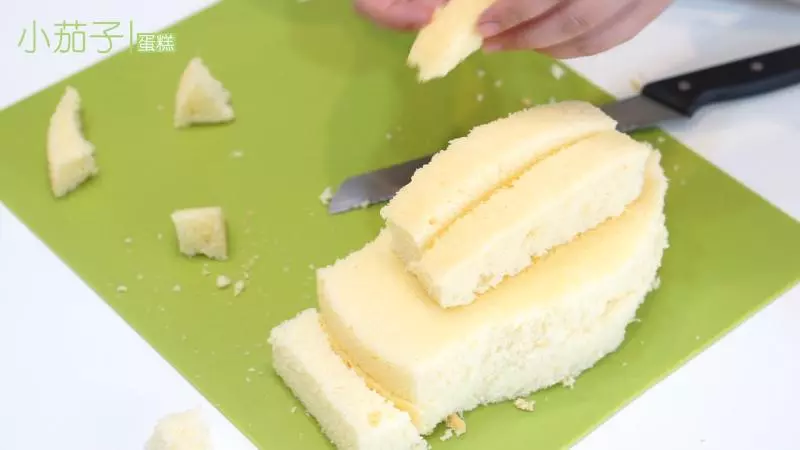
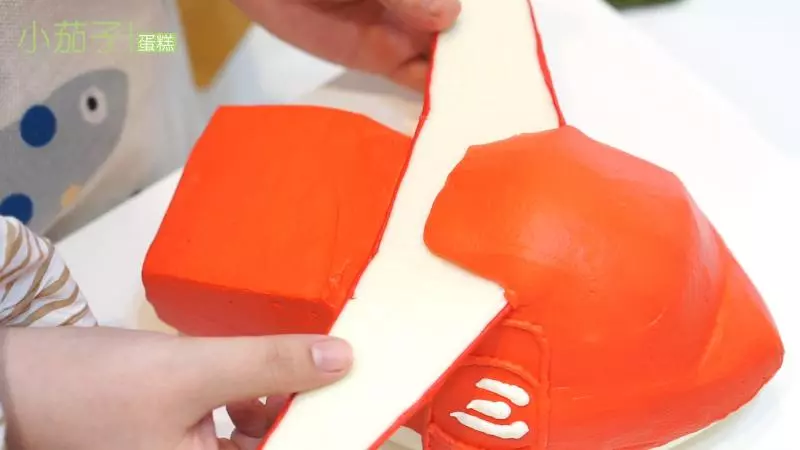
4以第一片蛋糕為基礎,把另外一片蛋糕切成和第一片一樣的形狀
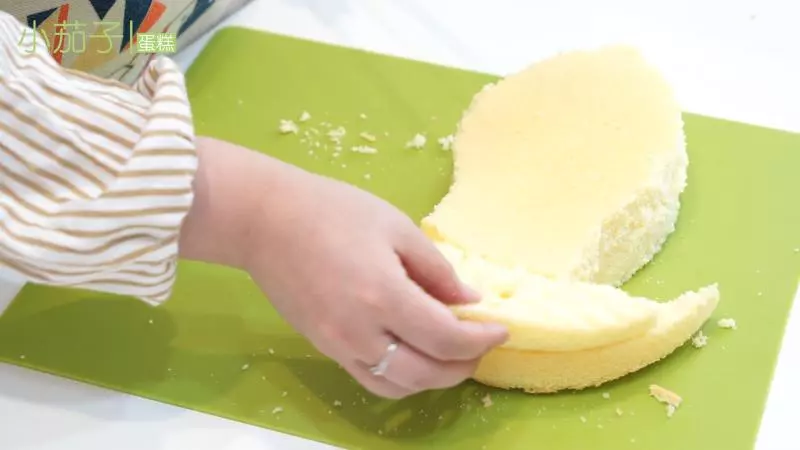
5把切下來,除了機身的蛋糕條,拿其中2條放在小飛機的尾部
6切成如圖的樣紙,讓機尾變長一截
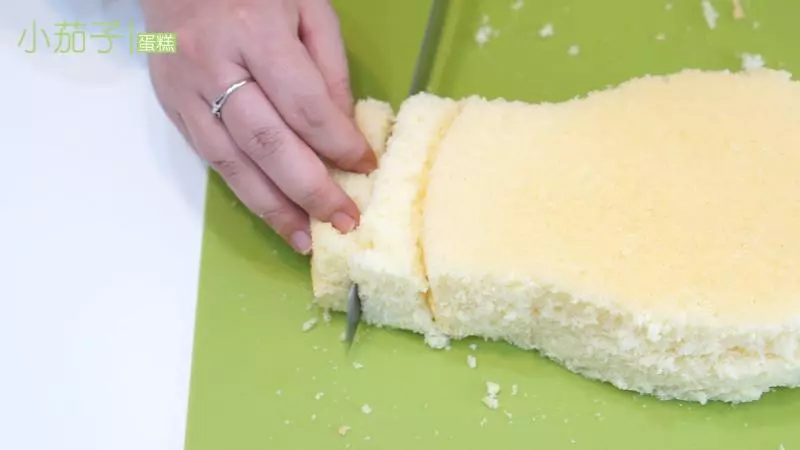
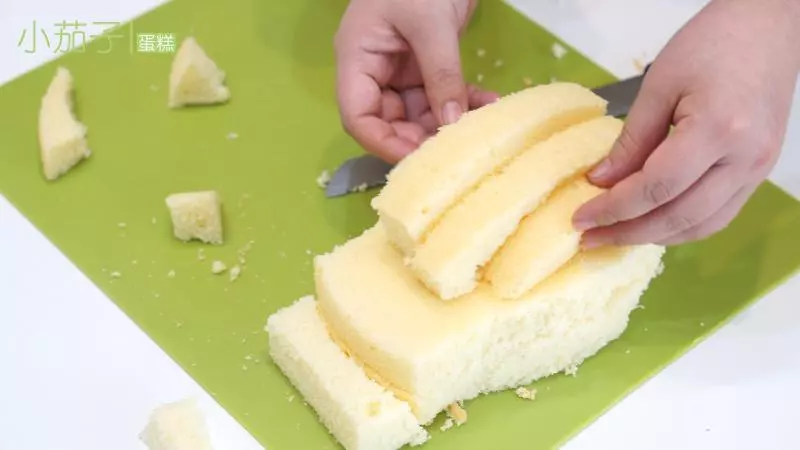
7另外兩條蛋糕,切掉兩端
8把這兩條蛋糕,放在飛機頂部
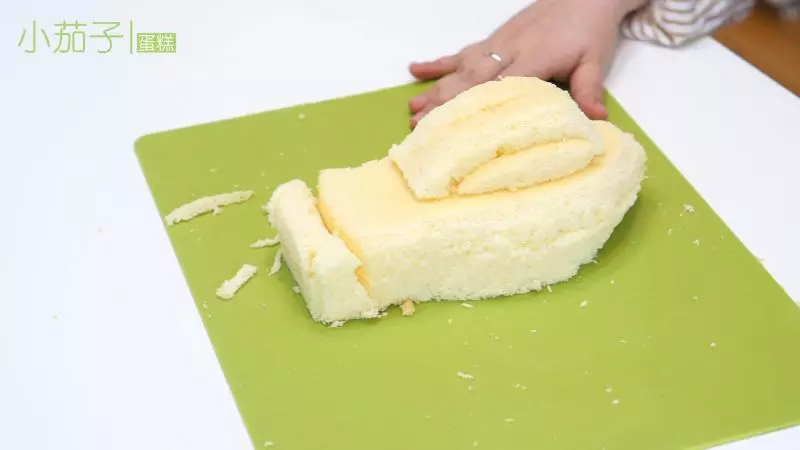
9剛剛切飛機尾部剩的蛋糕條,修剪在放在飛機頂部
10修飛機的形狀
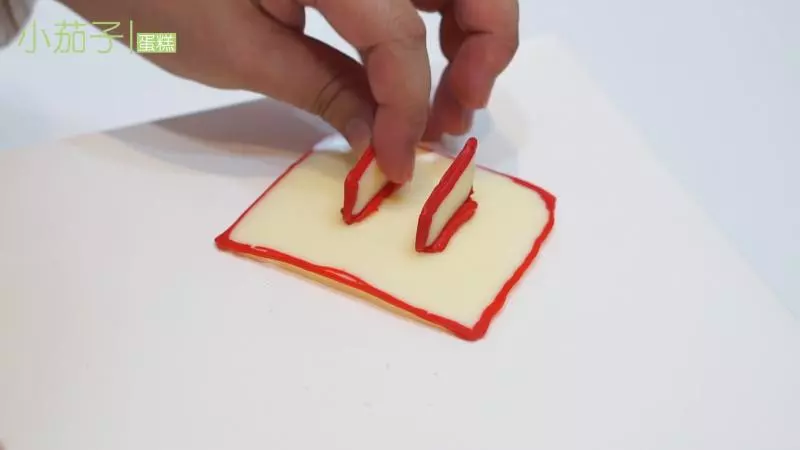
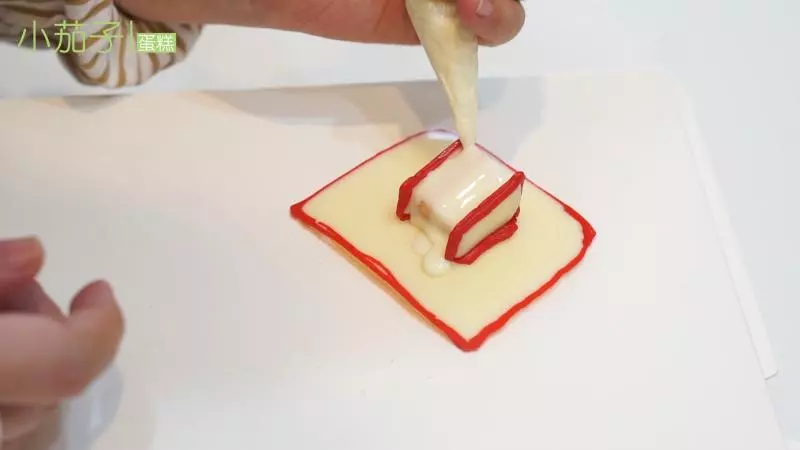
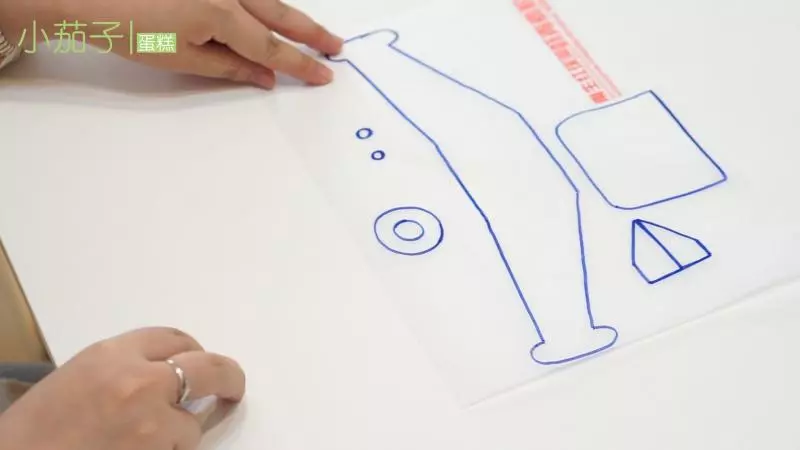
11巧克力轉印配件
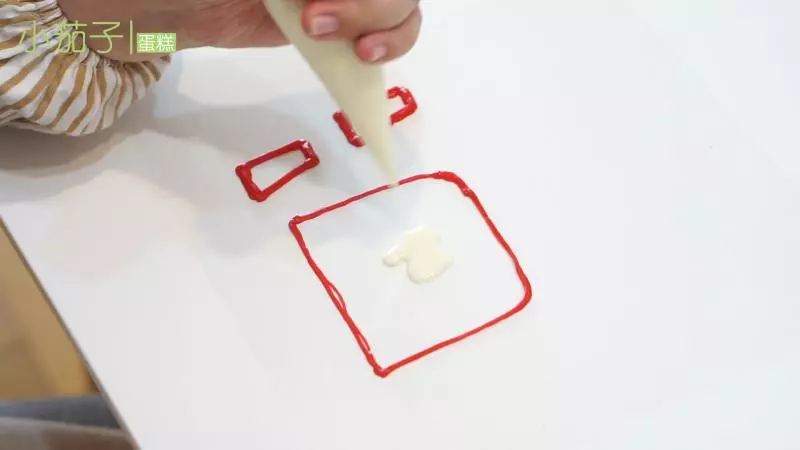
12組裝配件如圖,用作支撐機尾
13支架中間放一塊棉花糖,用巧克力固定,起到穩固支架的作用
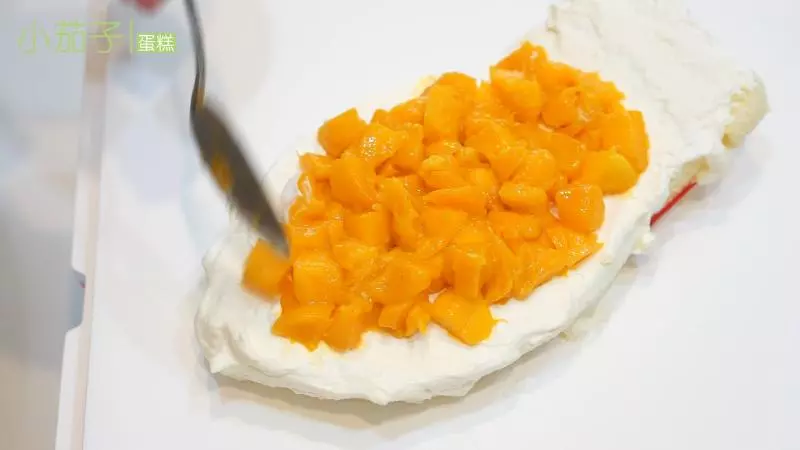
14用巧克力把支架固定在蛋糕托板上

15小飛機放在蛋糕托上,機尾正好放在支撐的巧克力上面
16抹奶油,加水果
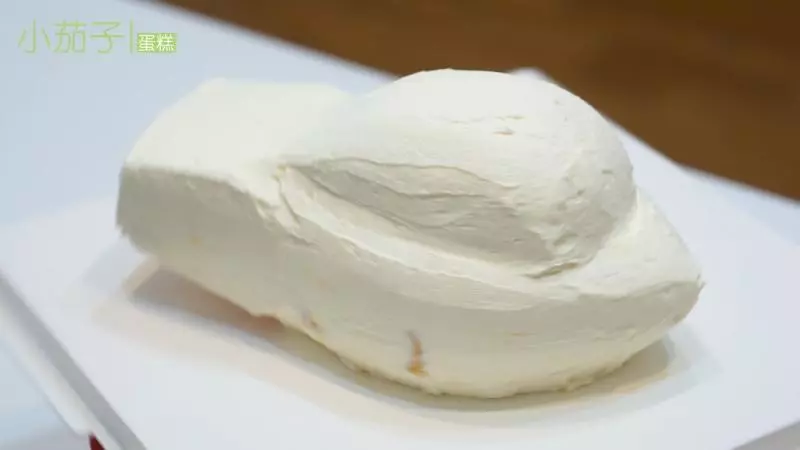
17蛋糕整體覆蓋一層薄薄的奶油
18轉印飛機的巧克力配件,按比例畫圖
19蛋糕頂部切掉三分之二,不切斷
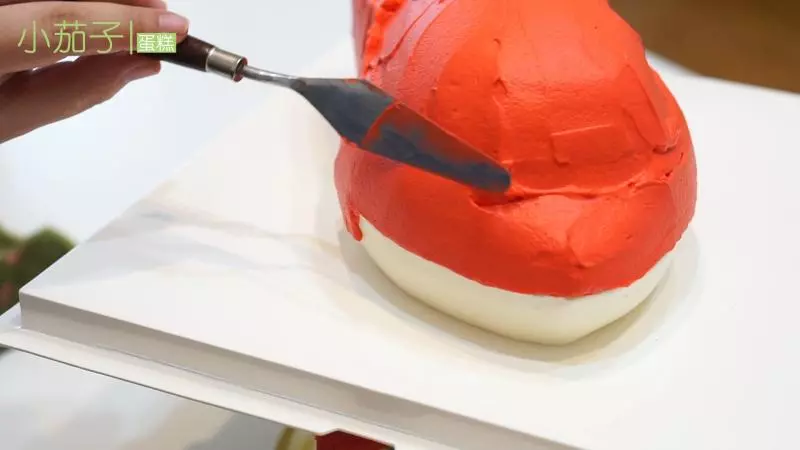
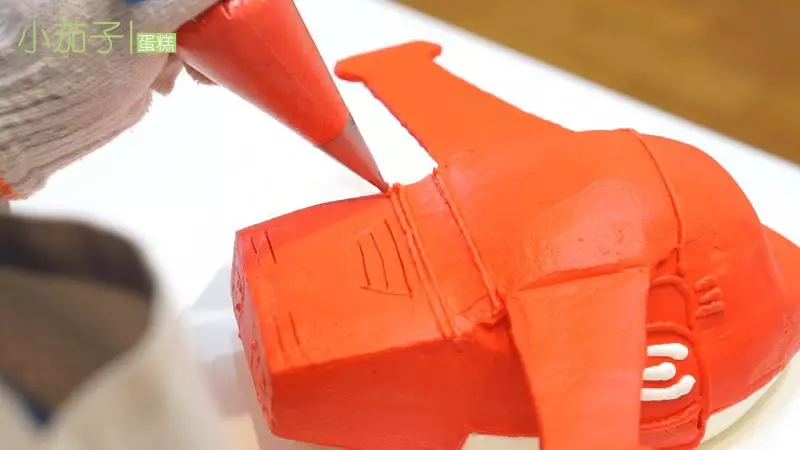
20抹白色飛機底下的奶油

21抹紅色淡奶油的部分
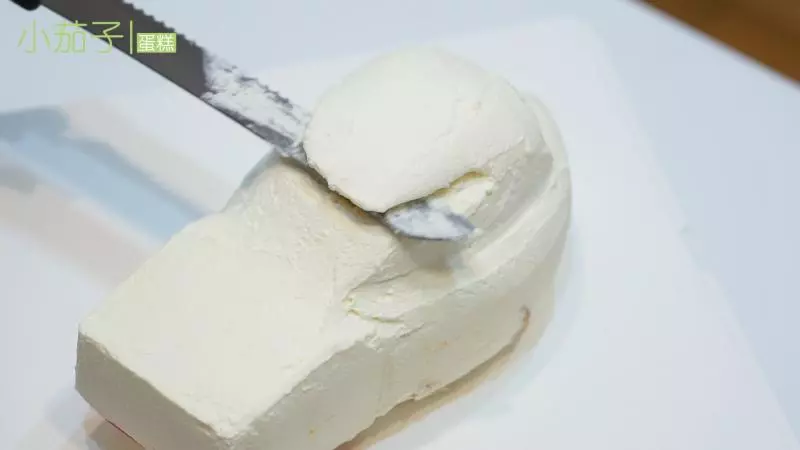
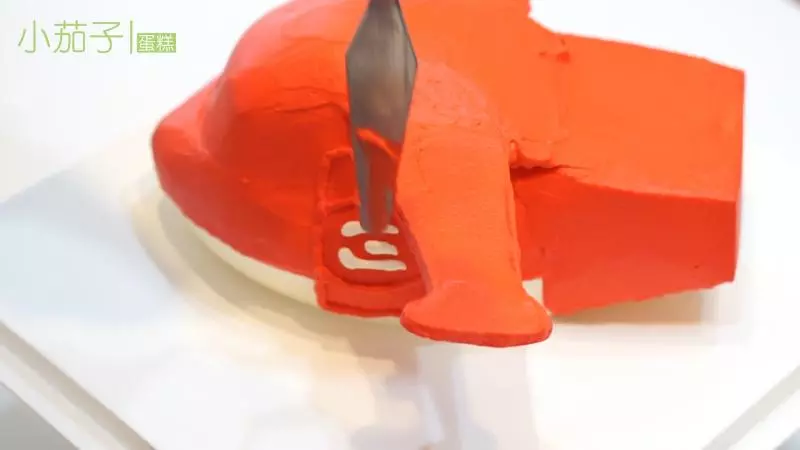
22用牙籤畫出飛機翅膀底下的細節
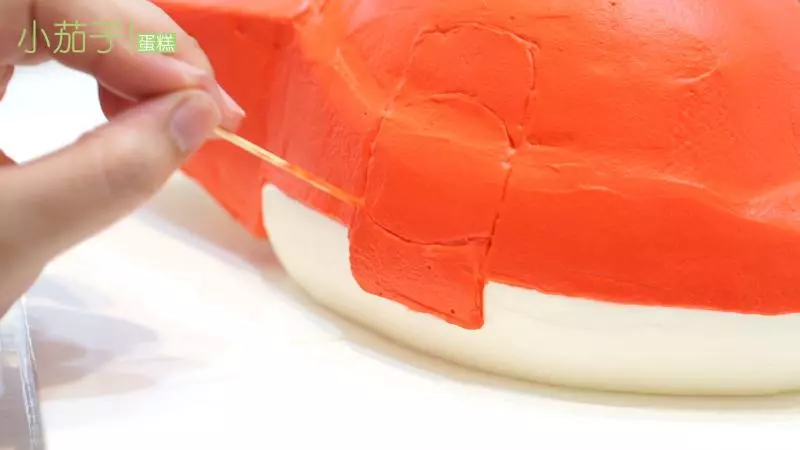
23用1號或者2號圓形裱花嘴把細節描好
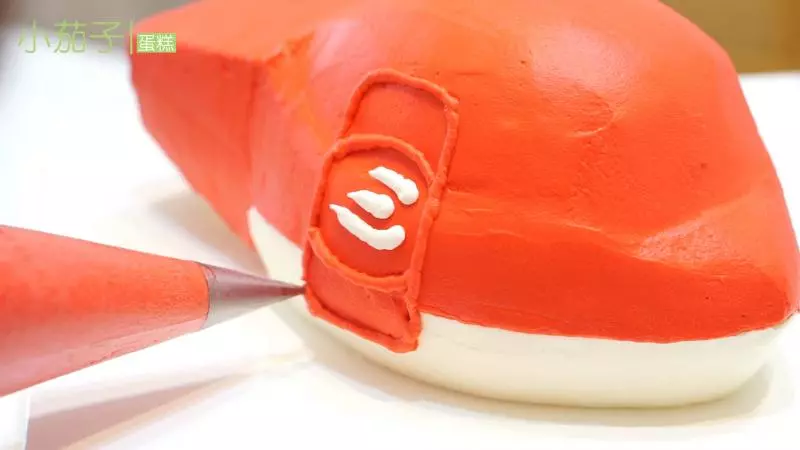
24用刮刀掀起飛機頂部的蛋糕片,把飛機翅膀放上
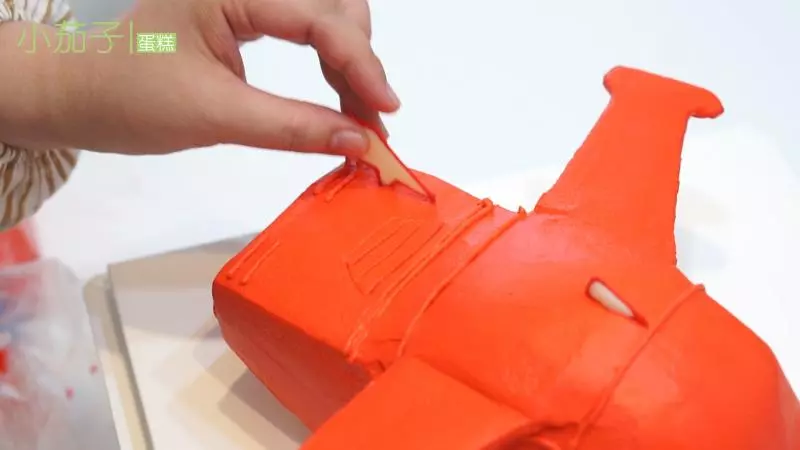
25翅膀抹紅色奶油
26用牙籤畫細節,奶油描好
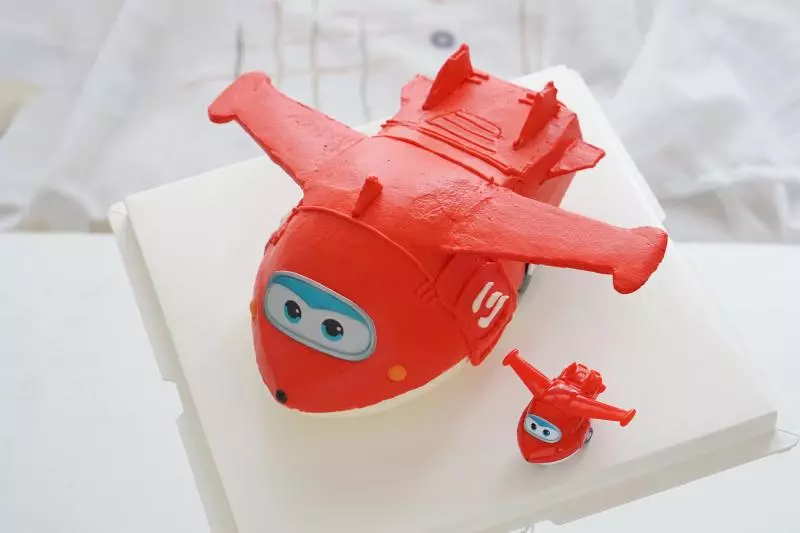
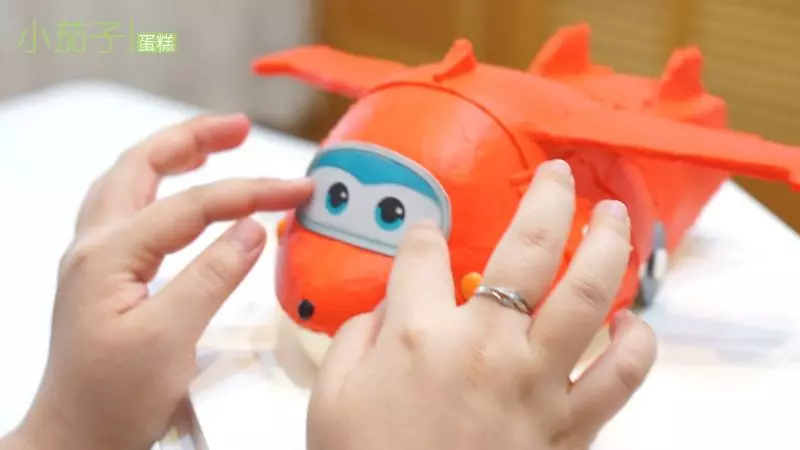
27插上其他巧克力配件
28糯米紙列印好眼睛,貼到蛋糕上
29完工鳥~~~

小技巧
我做得是抹面的 如果覺得抹面比較難也可以做成擠星星的