简介
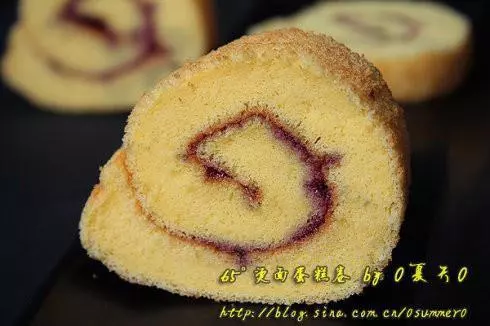
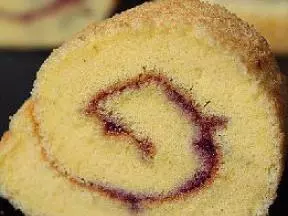
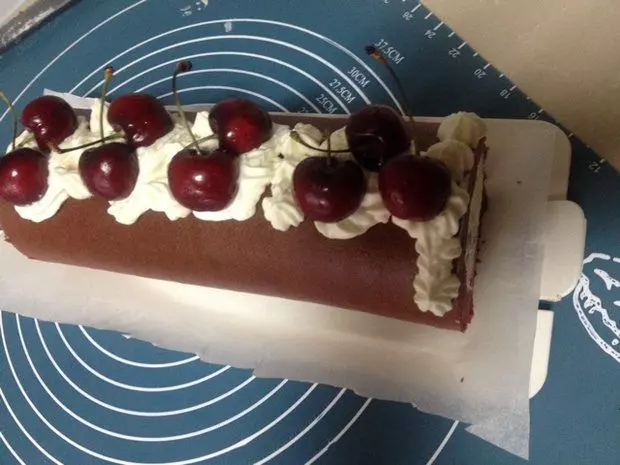
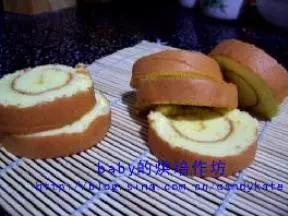
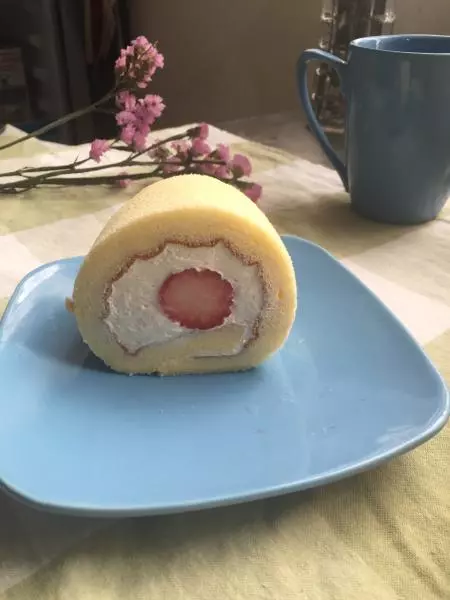
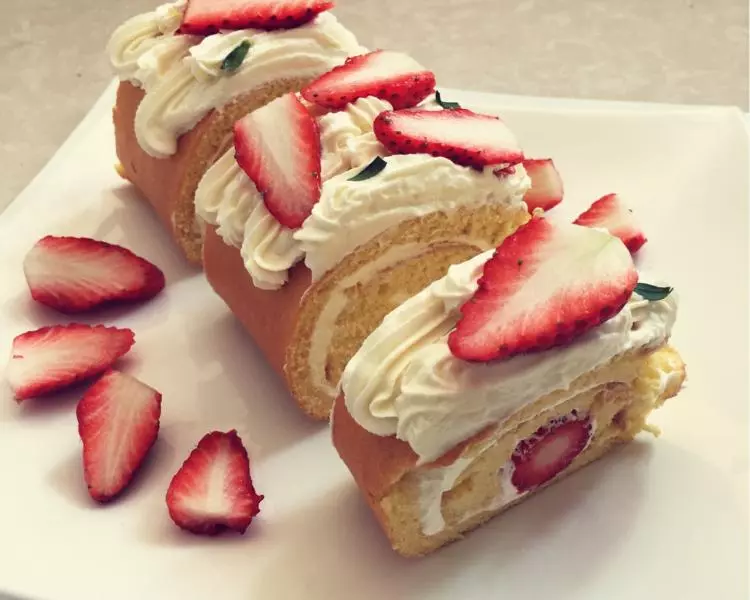
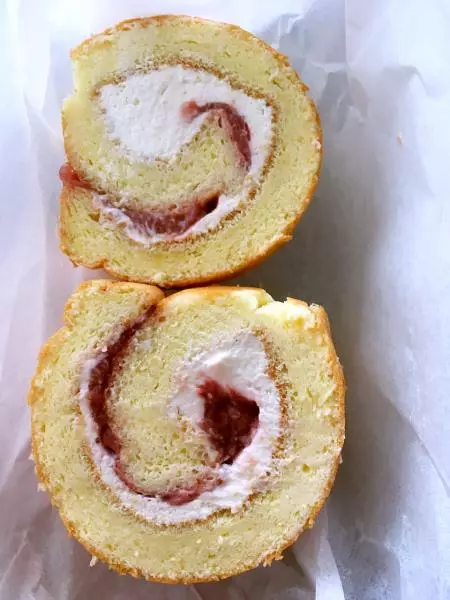
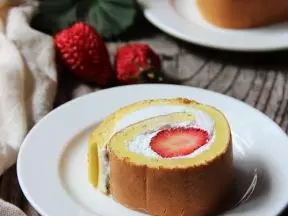
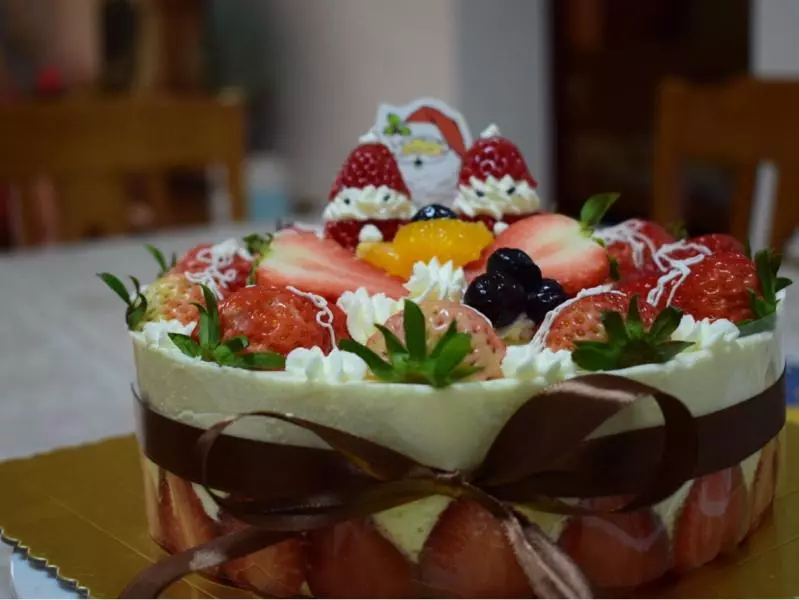
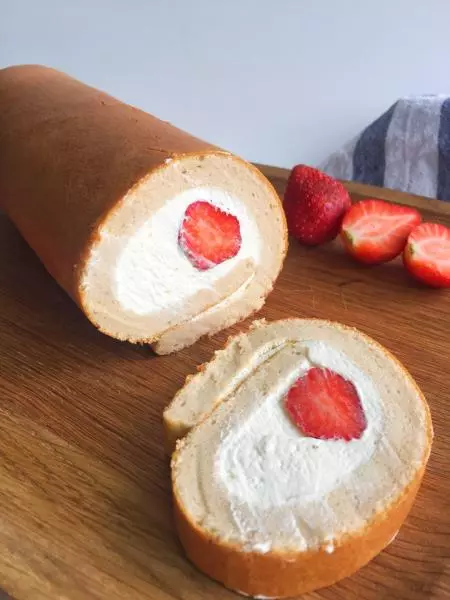
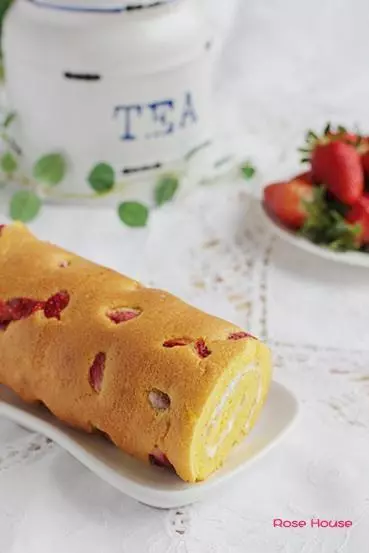
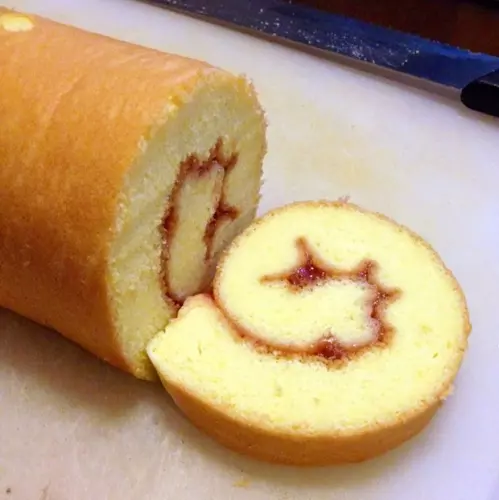
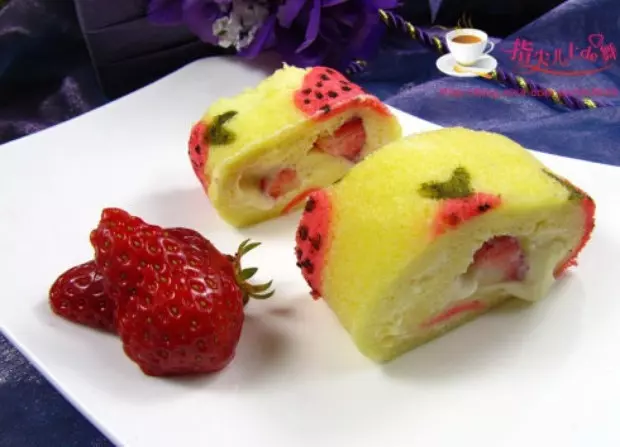
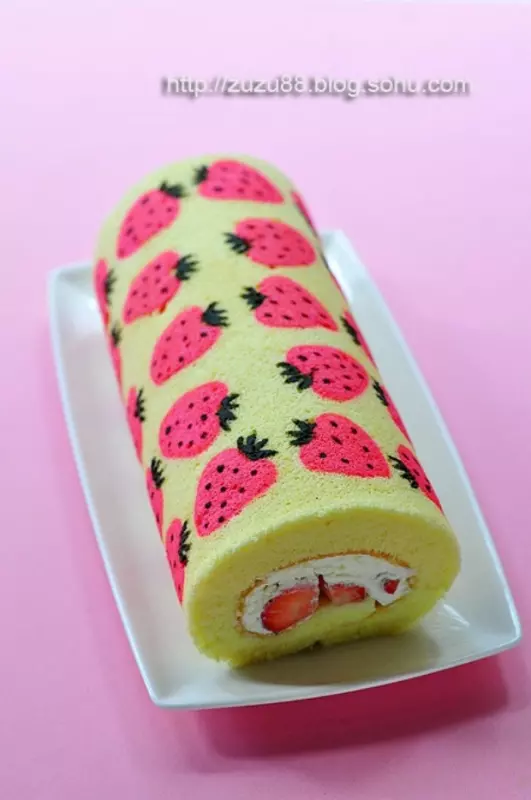
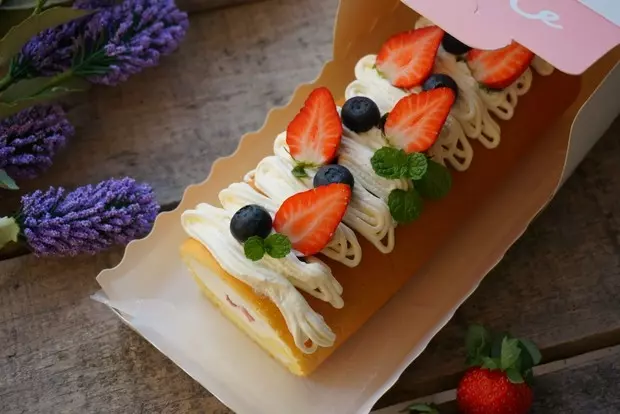
我认为烫面蛋糕卷比普通的蛋糕卷更加的细腻,只需要多花一点点时间即可,其实不难,按著步骤来,你也可以做出完美的蛋糕卷,切开里面亮出草莓粒,还有那厚厚的奶油,蛋糕卷呈现一个可爱的の形,表皮非常的好看。喜欢的话,还能挤上奶油装饰上草莓还有蓝莓(这个草莓的季节怎么能少了草莓呢,你说是吧?)方子用的模具是28×28方盘
原料
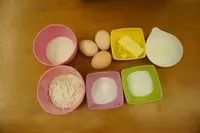
鸡蛋 3个, 低筋面粉 50克, 黄油 30克, 细砂糖 50克, 牛奶 55克, 柠檬汁 几滴, 夹馅以及装饰:, 淡奶油 200克, 细砂糖 20克, 草莓、蓝莓 适量
步骤
1材料准备好
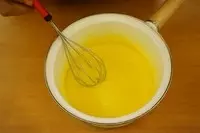
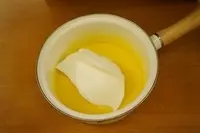
2黄油、20克细砂糖还有牛奶,加入到奶锅中
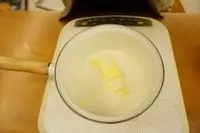
3加热至牛奶沸腾,加热过程中不断搅拌,沸腾后关火,利用余温将黄油融化
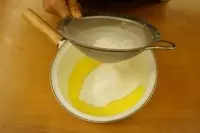
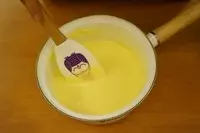
4奶锅离火,筛入低筋面粉
5用蛋抽搅拌均匀
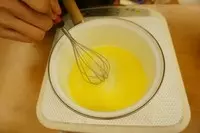
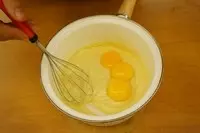
6放入蛋黄
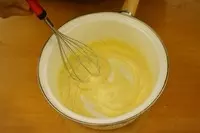
7搅拌均匀,这个时候烫面糊完成
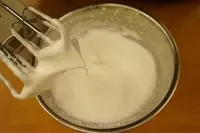
8蛋白加入几滴柠檬汁,用打蛋器打至粗泡后~30克细砂糖分三次加入打发至湿性发泡
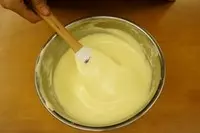
9蛋白霜加入三分一进入烫面糊中
10翻拌均匀
11再将烫面糊倒入剩余的蛋白盘中
12用刮刀翻拌均匀
13面糊倒入已铺好油纸的28×28金盘中
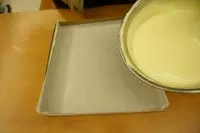
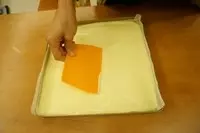
14用刮板将面糊铺平,最后拿起烤盘震一下盘,振平一下蛋糕糊,并且可以防止有大气泡
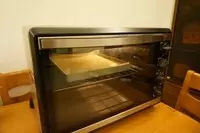
15放入预热好的烤箱中层180度15分钟
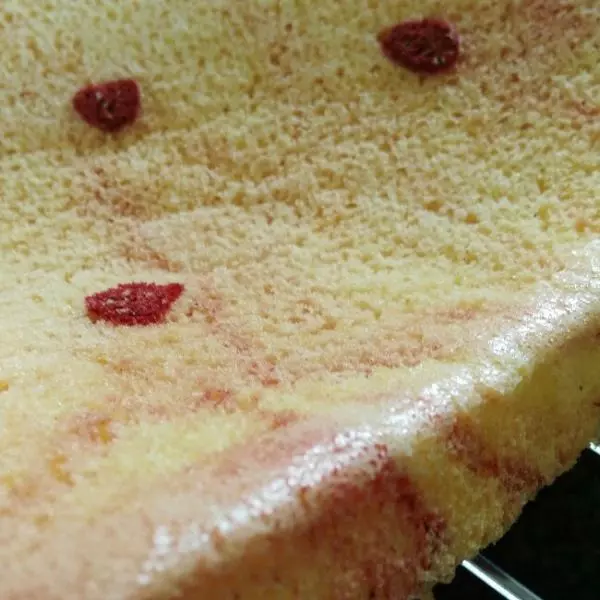
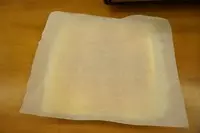
16烤好的蛋糕迅速拿出烤箱,抽住油纸的角落,整块蛋糕抽出,放置在烤盘上,并用一块新油纸盖住表面(防止蛋糕过干,卷的时候会裂开),自然冷却。
17淡奶油加入20克细砂糖打发至八分发,草莓洗干净切粒
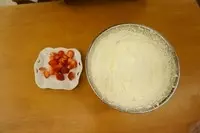
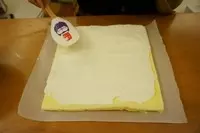
18蛋糕凉好后,桌面铺一张油纸,将蛋糕正面朝下放置,撕开底部的油纸,整片蛋糕抹上淡奶油,朝自己近的一端涂抹厚一点(留一点奶油当装饰)
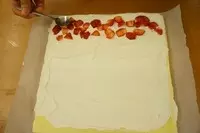
19淡奶油厚的一边放入草莓粒,并用勺子将草莓压进奶油一点
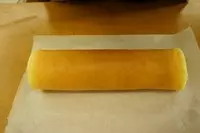
20提起有草莓一端的油纸,利用擀面杖将蛋糕卷卷起
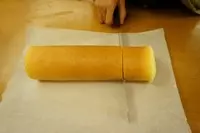
21卷好以后用这张油纸将蛋糕卷包住,放入冰箱冷藏定型20分钟
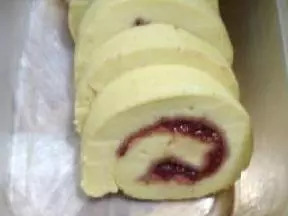
22最后拿出蛋糕卷,将蛋糕卷两端切除,修理整齐
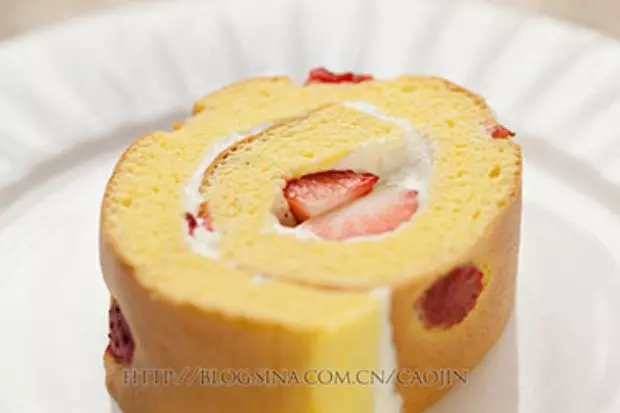
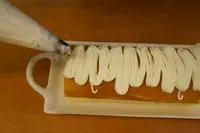
23多余的淡奶油放入裱花袋,在蛋糕卷表面寄出花纹,最后加上草莓、蓝莓装饰即可。
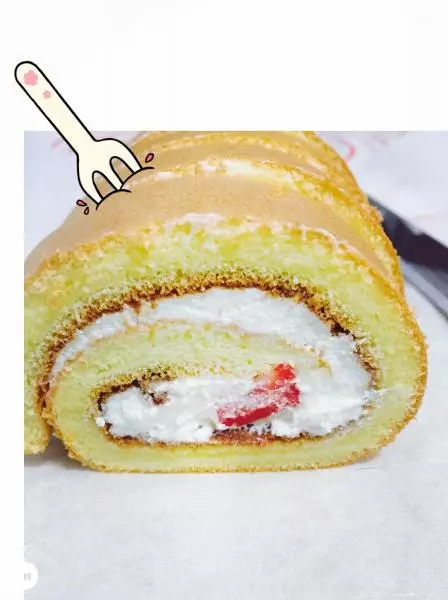
24秀一下成品切面~素颜照

小技巧
1.蛋白霜打至湿性发泡即可,即看到打蛋头上拉出的勾微微往下弯即可,打太久的蛋白烤出来的蛋糕会容易干裂 2.烤好的蛋糕迅速拿出烤箱,抽住油纸的角落,整块蛋糕抽出,放置在烤盘上,并用一块新油纸盖住表面(防止蛋糕过干,卷的时候会裂开),自然冷却。 3.奶油抹的时候卷的那头要铺厚一点,收尾的一段只需要薄薄的一层