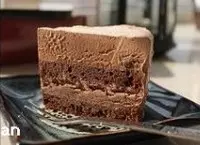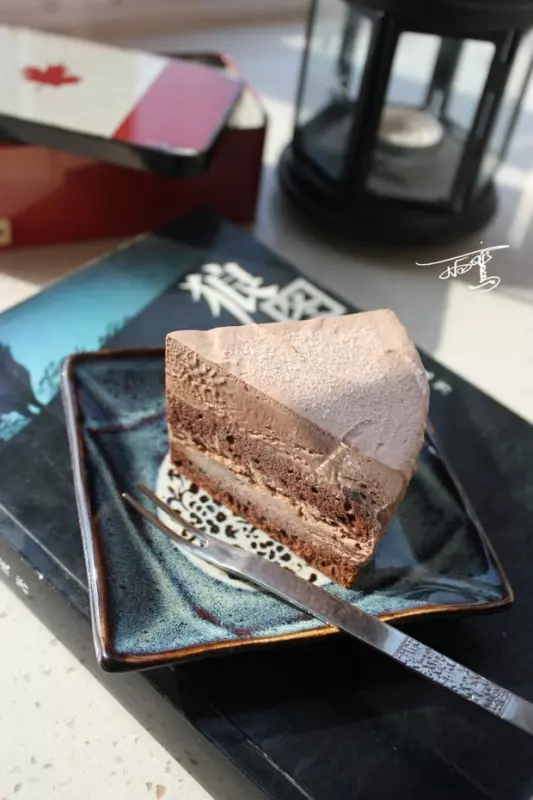
简介
这个蛋糕做好以后,入口极尽丝滑的享受。
原料
低筋面粉 40克, 可可粉 15克, 鸡蛋 2个, 细砂糖 30克(加入蛋清)+20克(加入蛋黄), 葵花籽油 20克, 金钻淡奶油 240克, 黑巧克力 25克, 蛋黄 2个, 细砂糖 35克, 牛奶 25克, 可可粉 15克
步骤
1蛋白和蛋黄分开,盛蛋白的盆要保证无油无水。可可粉和低筋面粉混合过筛
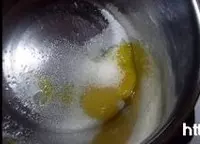
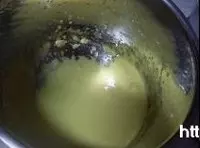
2蛋黄加20克细砂糖,用打蛋器打至颜色变浅,体积蓬松

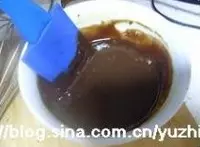
3分三次加入调和油,用打蛋器搅打均匀
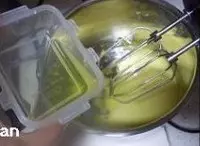
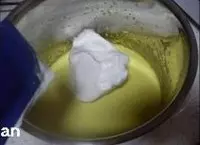
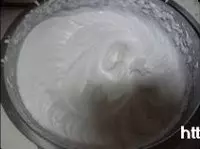
4蛋白用打蛋器打发,分三次加入30克细砂糖
5将蛋白打至湿性发泡就可以,提起打蛋器,蛋白拉出一个弯弯的尖角

6盛1/3的蛋白到蛋黄糊中
7用橡皮刮刀翻拌均匀,(采用翻拌的手法,切不可画圈搅拌)

8将拌好的蛋黄糊倒入蛋白盆中,继续翻拌均匀
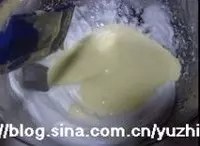
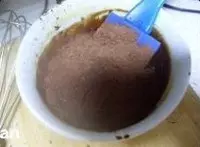
9加入过筛后的粉类,翻拌均匀成蛋糕糊

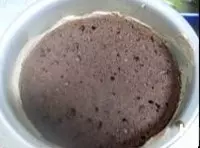
10将拌好的蛋糕糊倒入6寸圆模中,放入预热好的166度的烤箱中,烤25到30分钟左右
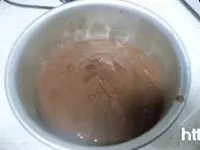
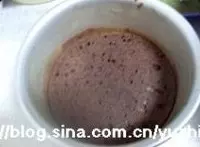
11将蛋黄、牛奶、细砂糖放入碗里

12锅里倒水烧热后,用小火持续加热,并将装蛋黄的碗放入水里隔水加热并不断搅拌,一直搅拌到蛋黄混合物变得浓稠,大约需要七八分钟。一定要控制火候,注意不要加热过度使混合物变成颗粒状,检验加热好的蛋黄混合物是否够浓稠的方法:用刮刀挑起,如果可以在刮刀上挂上厚厚的一层,就说明已经好了

13趁热将切小块的黑巧克力倒入蛋黄混合物里

14搅拌直到黑巧克力完全溶化
15再筛入可可粉,搅拌至均匀。 将拌好的蛋黄可可糊冷却到室温
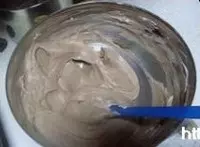
16金钻淡奶油用打蛋器打发,要打到能清晰的保持纹路的状态
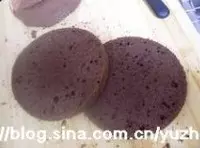
17将烤好的蛋糕片成两片(我这个片两片确实有点厚,不过技术不行,只能两片了,技术好的一定片成三片,用两片)
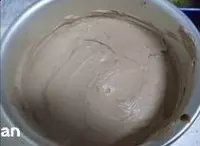
18将1/3的鲜奶油盛入冷却后的蛋黄可可糊里,用刮刀从底部往上翻拌的方式拌匀。拌匀后全部倒回鲜奶油碗里

19再次用从底部往上翻拌的方式拌匀。完全拌匀以后,巧克力芭菲糊就做好了
20一片蛋糕片铺在蛋糕模底部
21然后倒上一半的巧克力芭菲糊,抹平
22放上另外一片蛋糕片,然后倒入剩下的全部巧克力芭菲糊,抹平
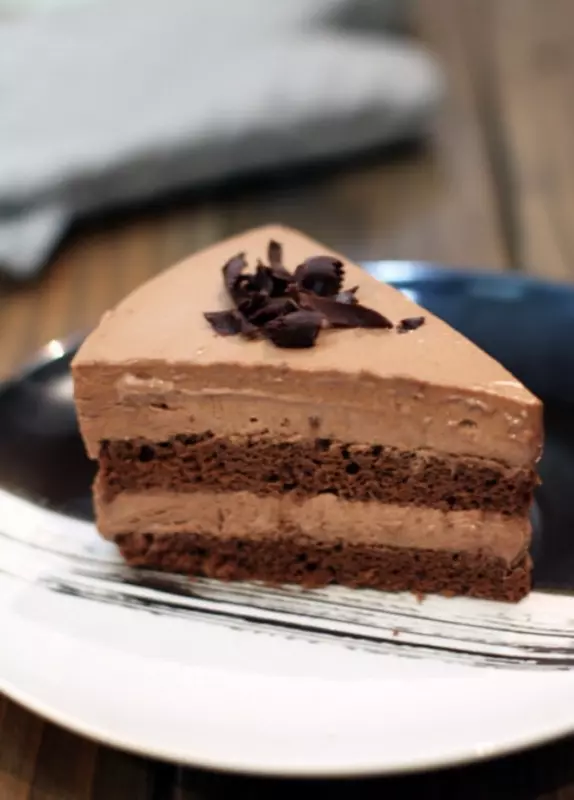
23放冰箱的冷冻室,冷冻一夜,第二天切块吃(蛋糕连模从冷冻室拿出来以后,用热毛巾捂一下,就能很容易的脱模)

24这款蛋糕,可以再冷冻室冷冻保存很长时间