原料
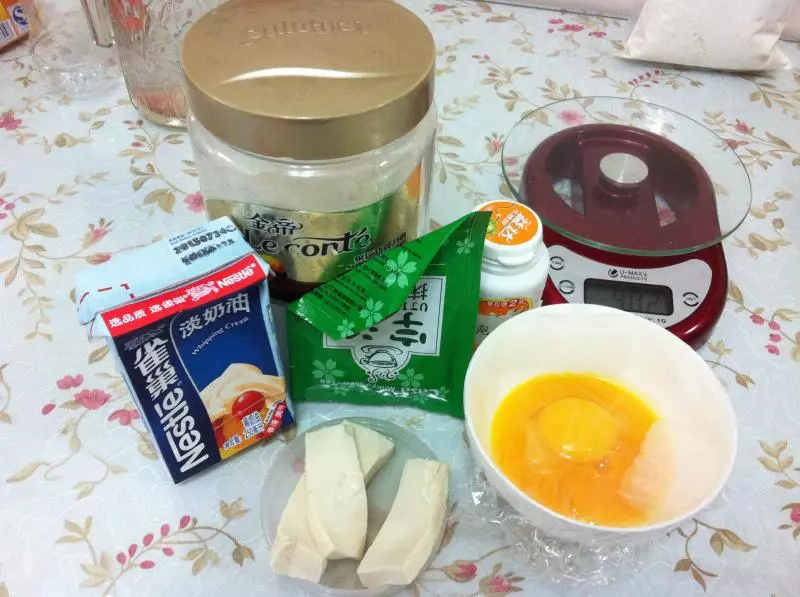
蛋黄: 2个, 淡奶油: 40克, 宇治抹茶粉: 5克, 低筋面粉: 140克, 细白砂糖: 40克(不喜欢太甜的可以酌量减少), 泡打粉: 1/2小勺, 嫩豆腐: 50克
步骤
1准备好材料
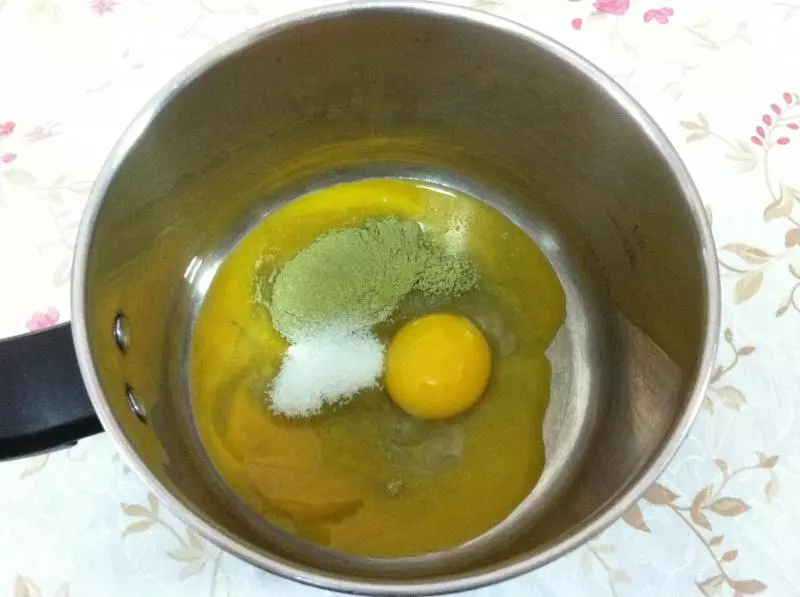
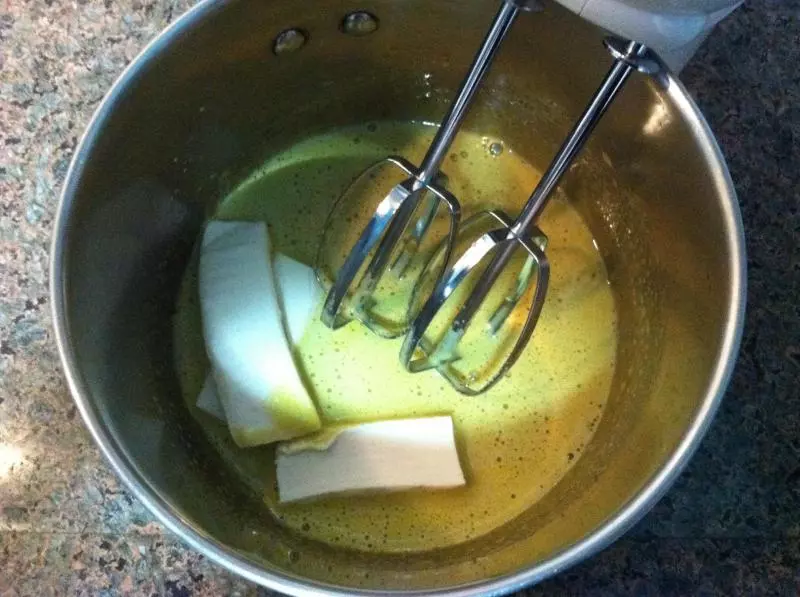
2蛋黄、抹茶粉和糖混合,用打蛋器低速拌均
3加入嫩豆腐继续搅拌,直到豆腐与2中的混合物完全融合在一起
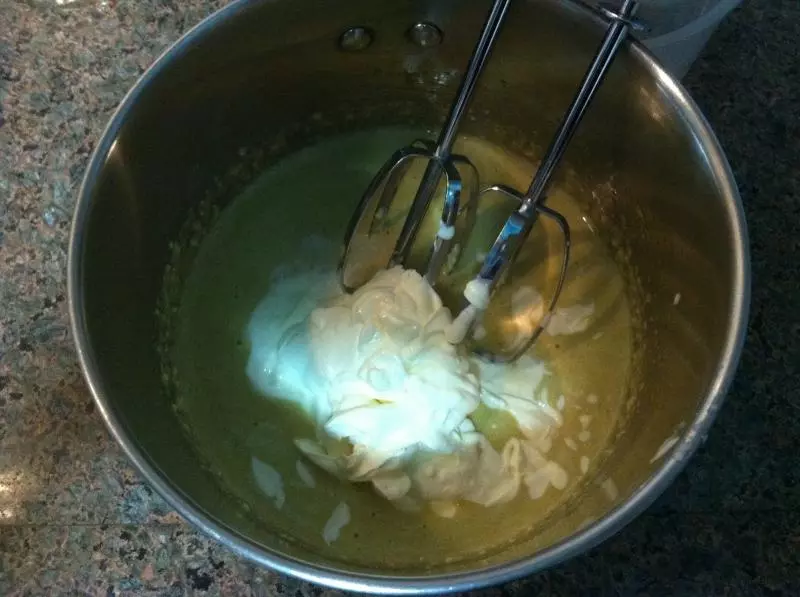
4加入淡奶油继续搅拌
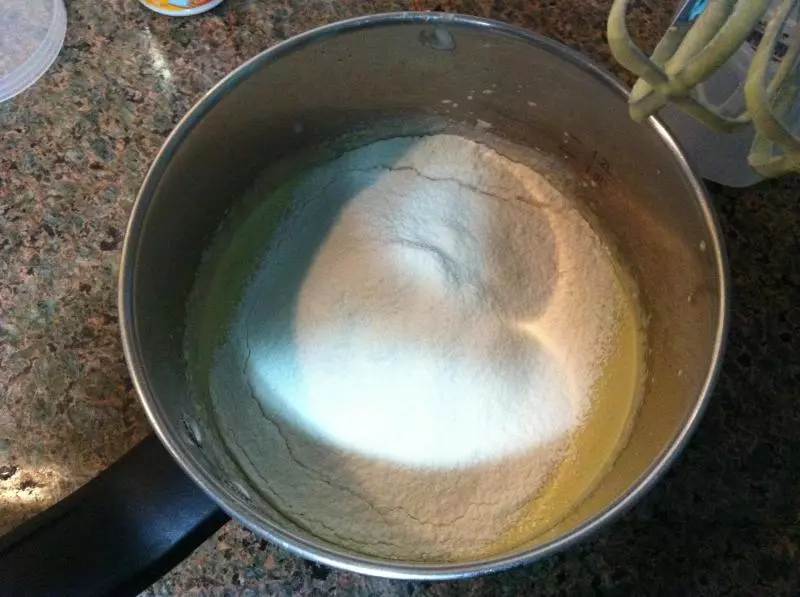
5低粉和泡打粉混合并筛入4中
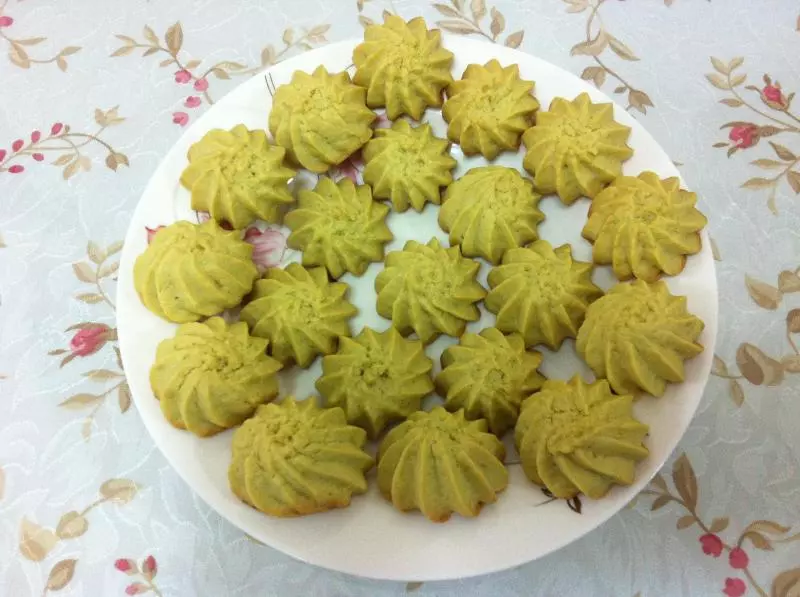
65中搅拌均匀后装入裱花袋,用中号的菊花嘴在烤盘上挤出小饼状
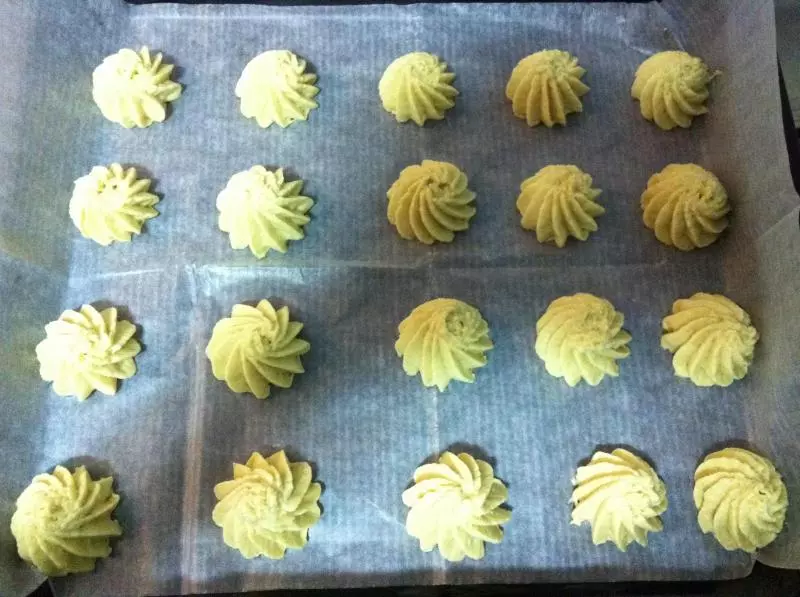
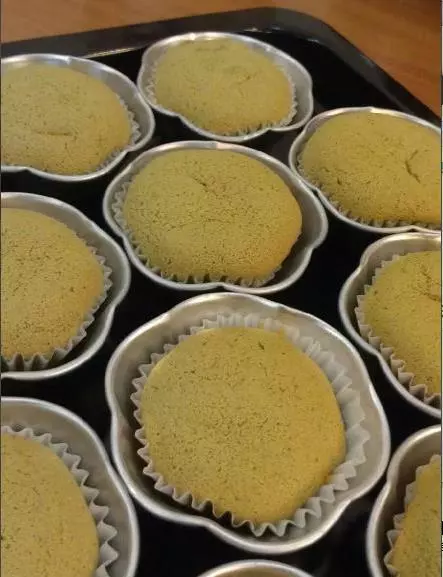
7烤箱预热170度,放入中层烤至表面微微焦黄,大约25分钟
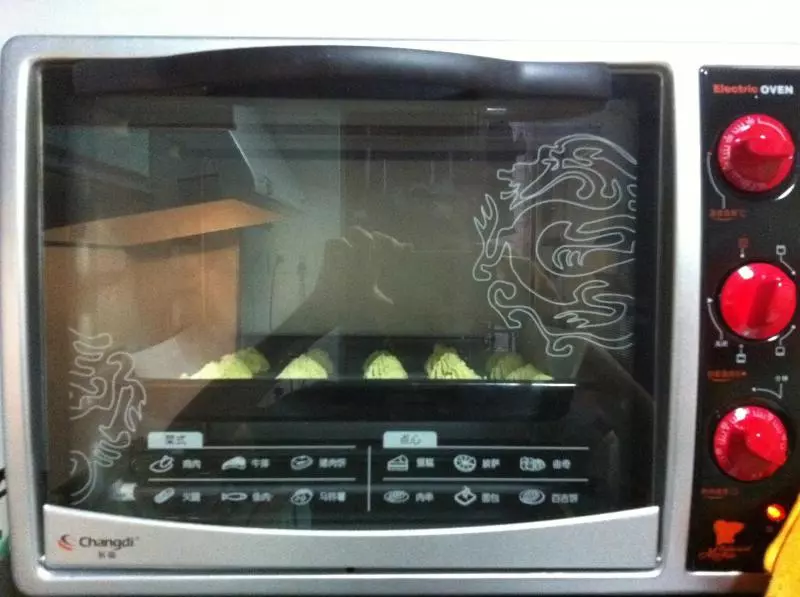
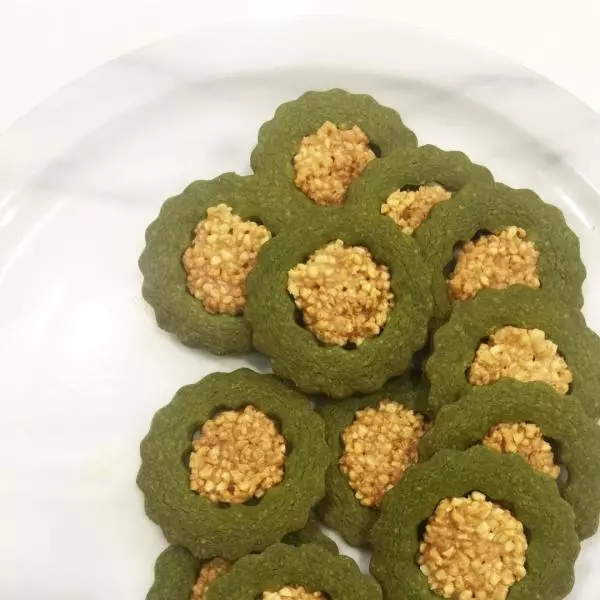
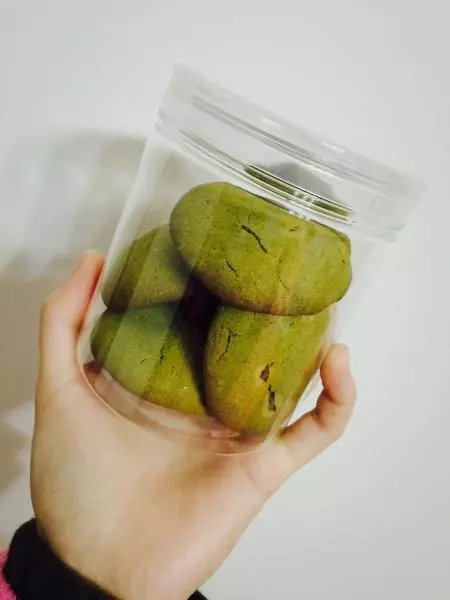
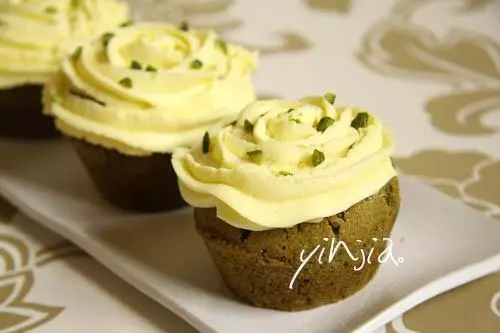
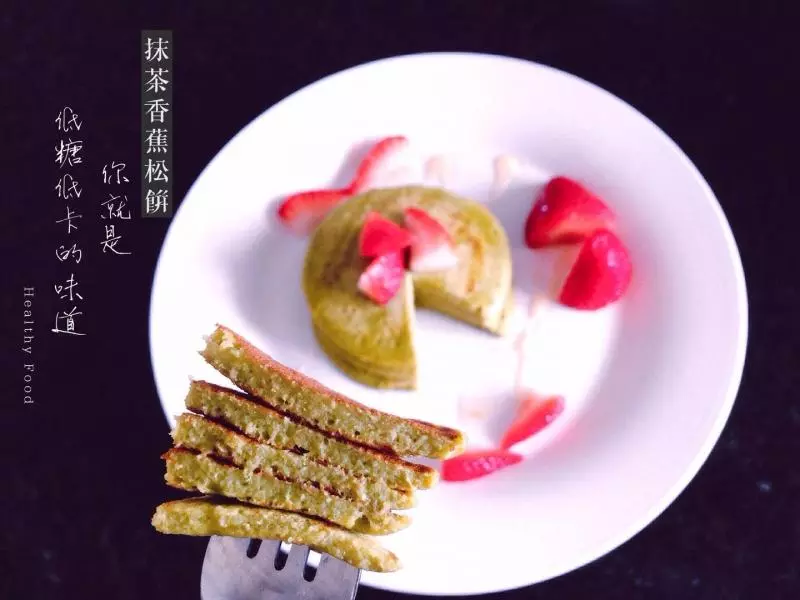
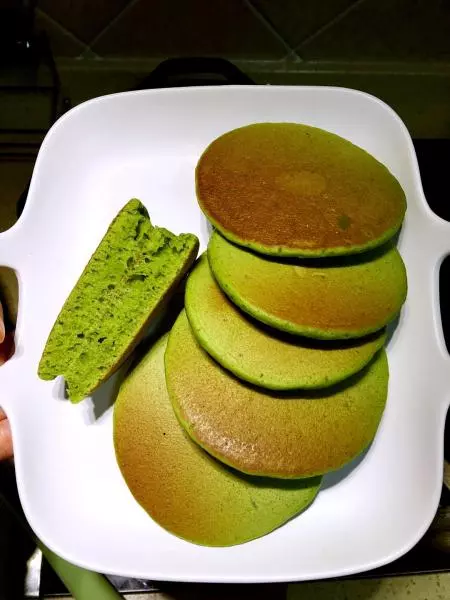
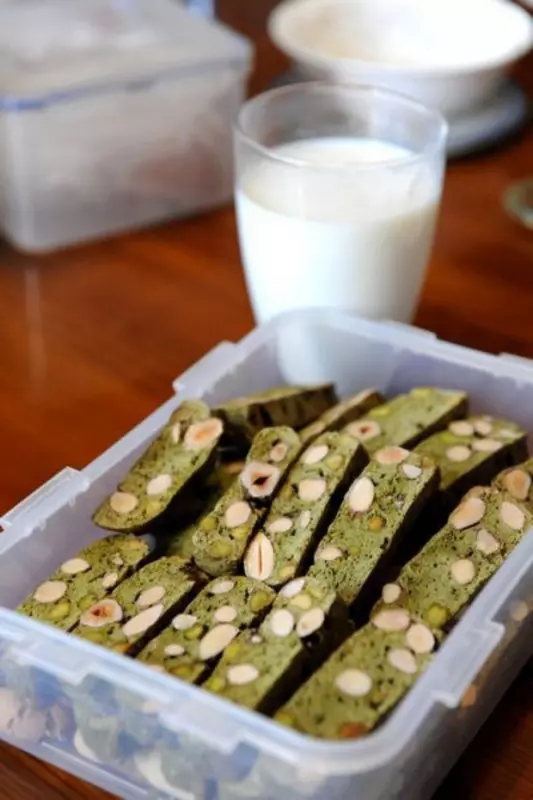
8出炉啦

小技巧
1、小饼的甜度可以自己把握; 2、面糊根据不同牌子的面粉的吸水性加减,调节到可以用裱花嘴挤出来就可以了,慢慢加,一下不要全部加进去; 3、不同烤箱需要的时间不同,在最后几分钟最好在旁边看着,喜欢焦香的可以再烤久一点。