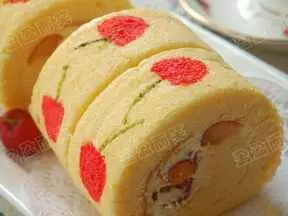
原料
8寸戚风用料: , 鸡蛋: 5个, 玉米油: 60g, 牛奶: 70g, 低筋粉: 100g, 白砂糖(蛋黄): 15g, 白砂糖(蛋白): 60g, 蛋糕装饰用料: , 草莓: 适量, 铁塔鲜奶油: 600g, 食用色素: 适量, 装饰金珠: 适量
步骤
1蛋黄蛋白分离,蛋白要装在无油无水的盆里
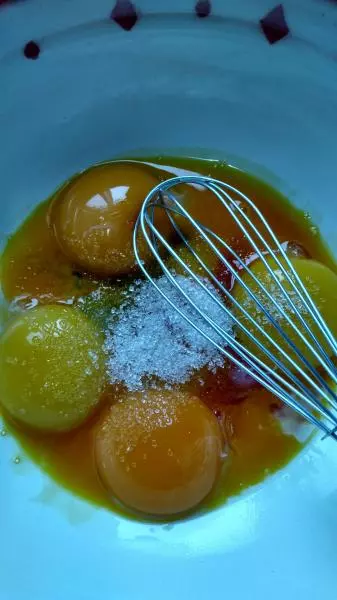
2蛋黄加白砂糖搅拌成浅色状
3玉米油分三次加入蛋黄液中,每次都要搅拌均匀
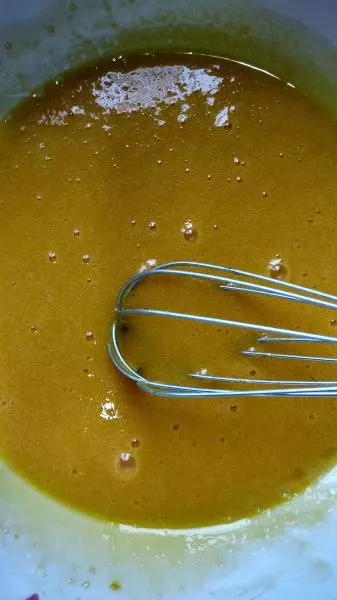
4缓缓加入牛奶,搅拌均匀
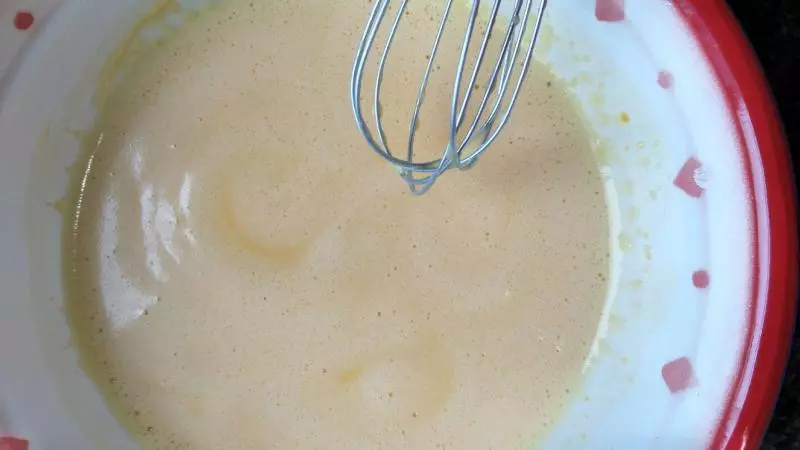
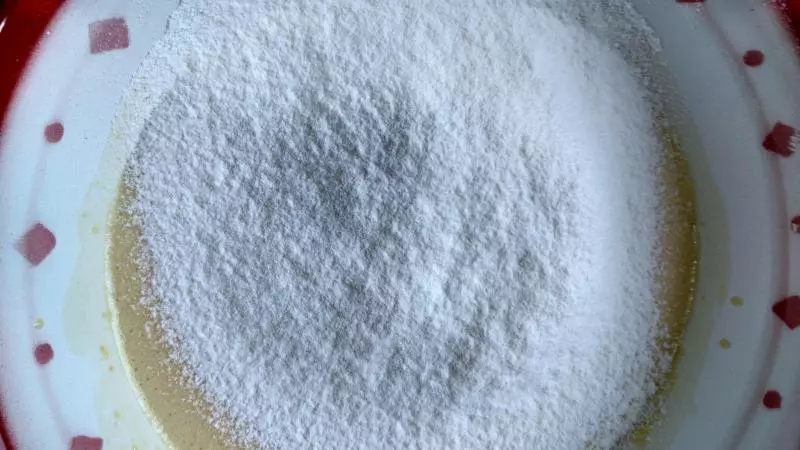
5低筋粉过筛,倒入蛋奶混合液,搅拌均匀
6蛋白打发到粗泡程度,加入三分之一的糖
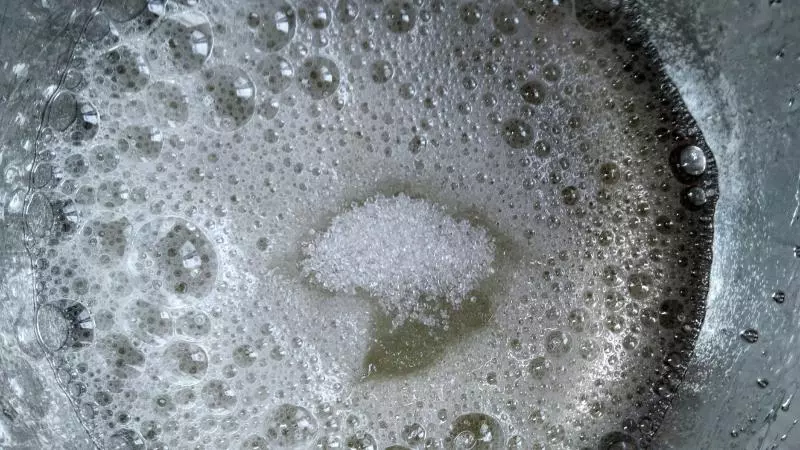
7打到细腻阶段,再加入三分之一的糖
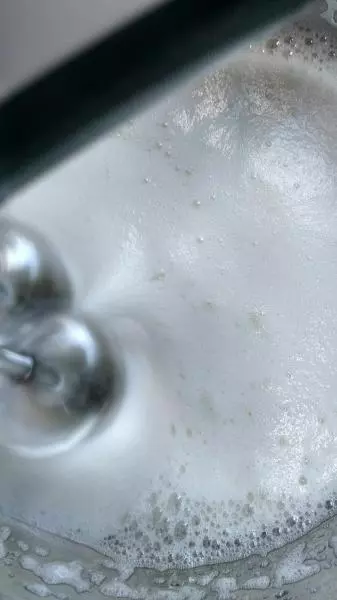
8打到湿性发泡时加入剩下的糖
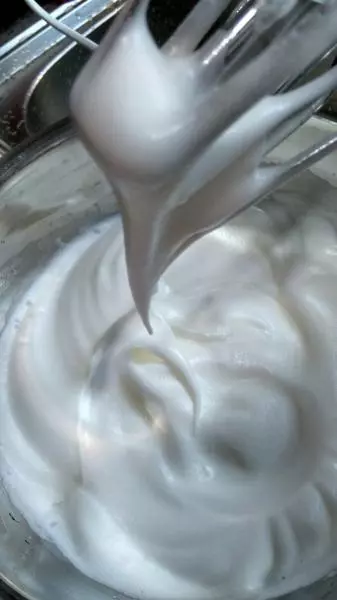
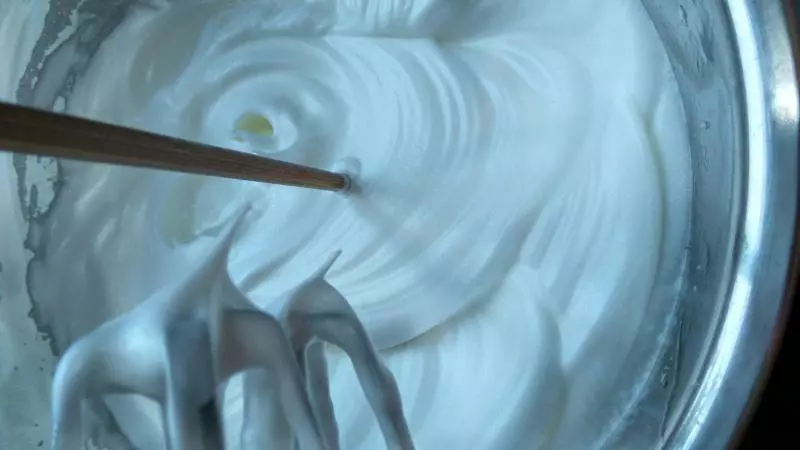
9最后打到硬性发泡,立根筷子不倒就可以了
10将三分之一的蛋白和蛋液搅拌,注意要用上下切拌的手法,不能划圈搅拌。
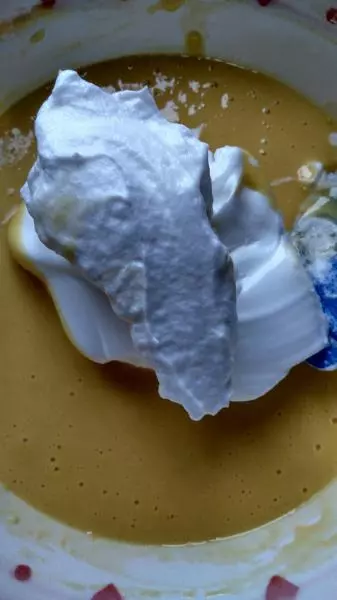
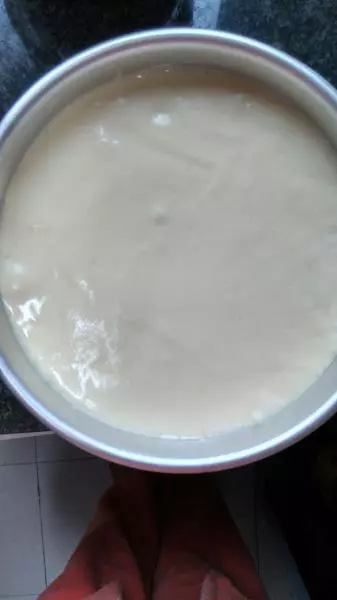
11蛋白分三次加入并搅拌均匀后,倒入戚风模具中,轻轻震一下,把大气泡震掉。烤箱预热135度,将模具放入烤箱中下层烤70分钟。
12烤完后,迅速拿出来倒扣烤网上晾凉
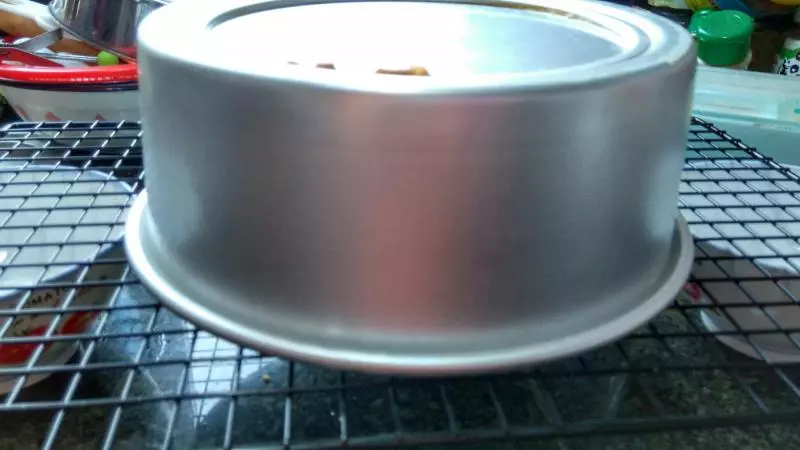
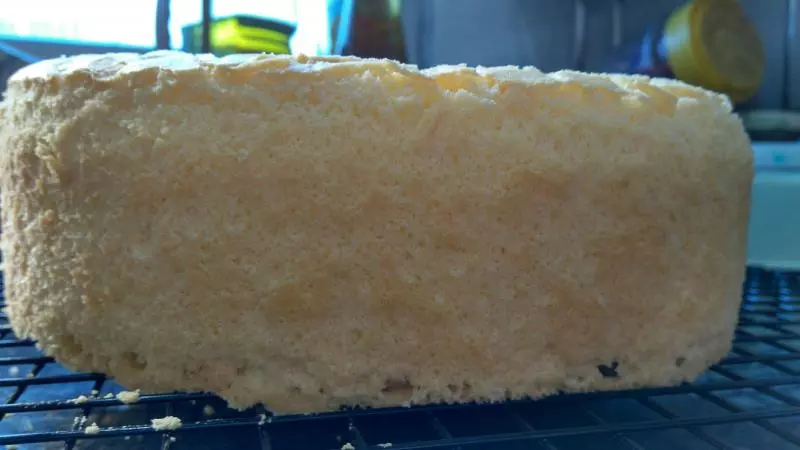
13晾凉后徒手就能脱模了
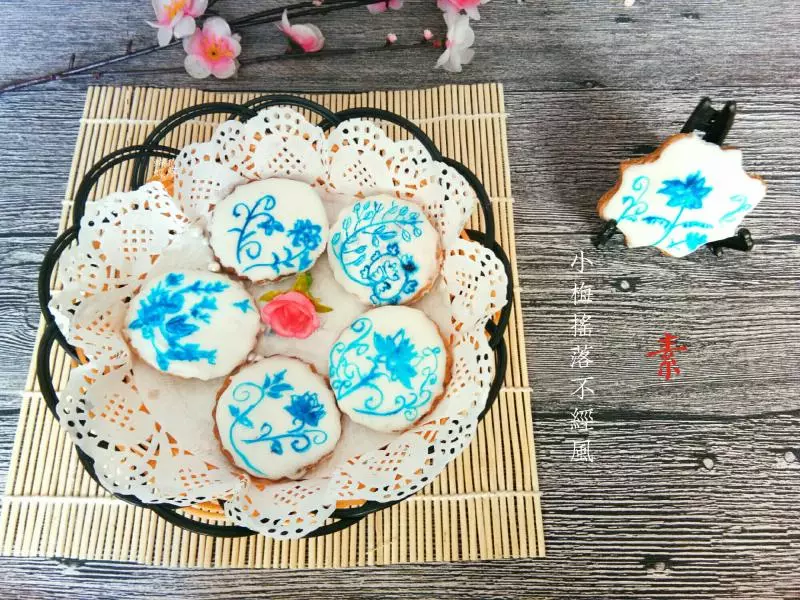
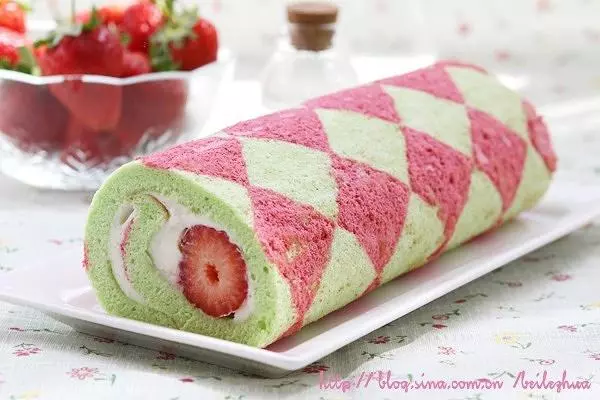
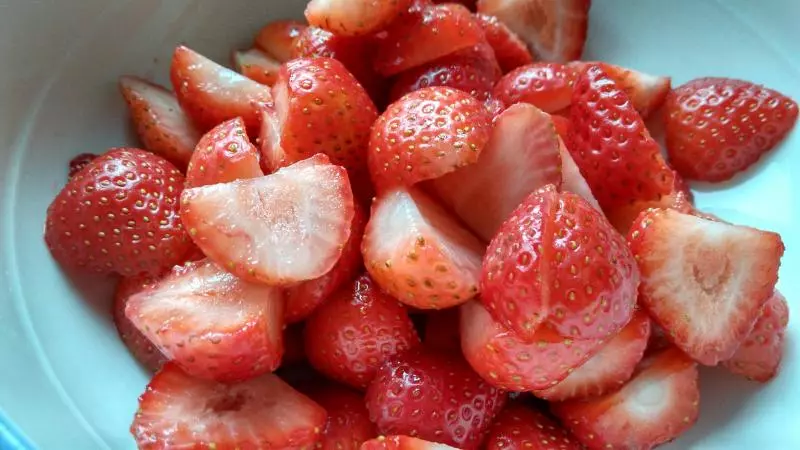
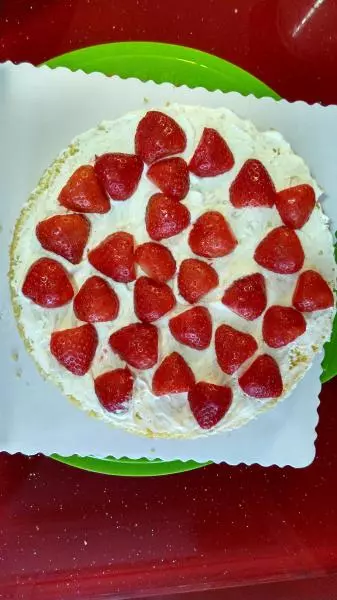
14草莓洗净,用盐水泡20分钟,去除尾部,切半备用
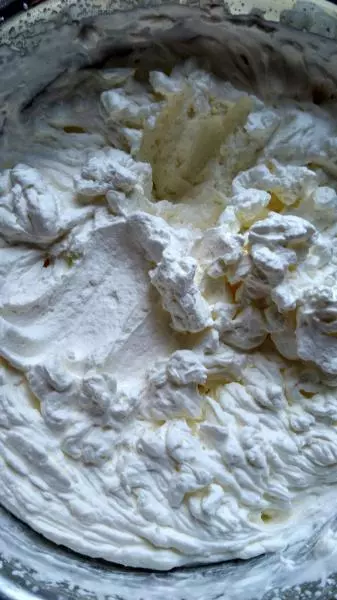
15铁塔奶油打发到硬挺
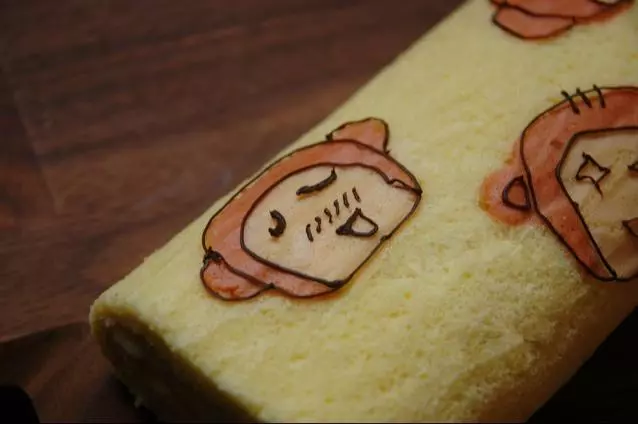
16蛋糕切半,中间抹上奶油,放上草莓夹心
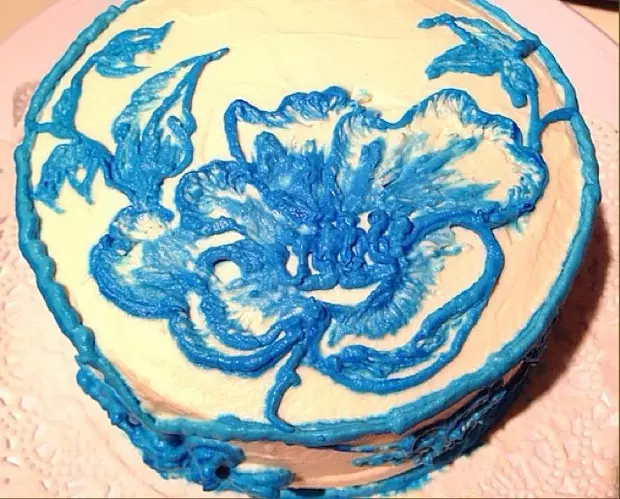
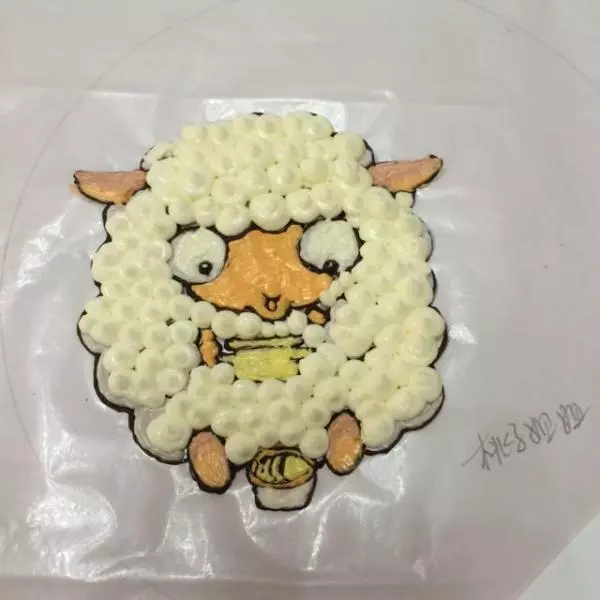
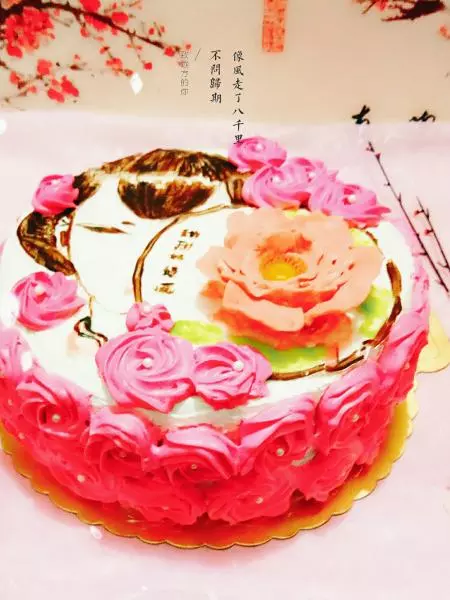
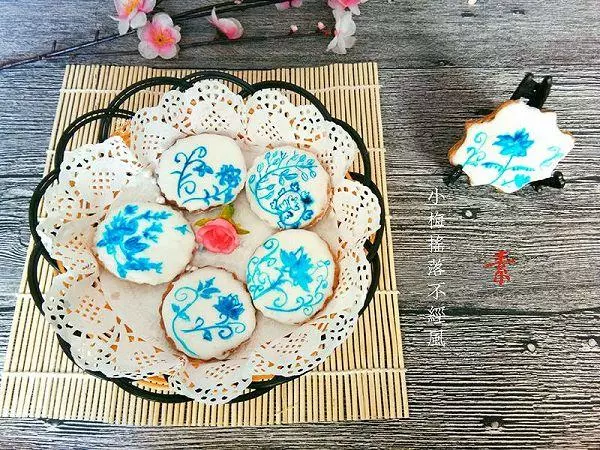
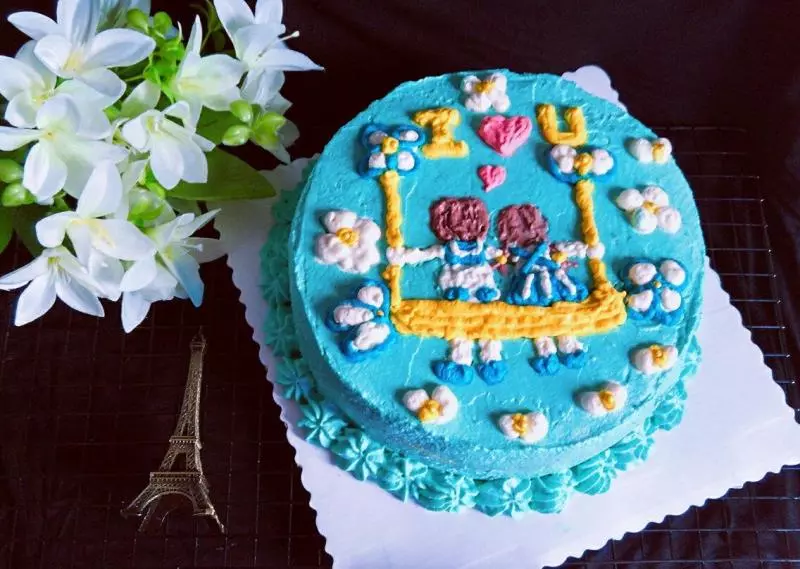
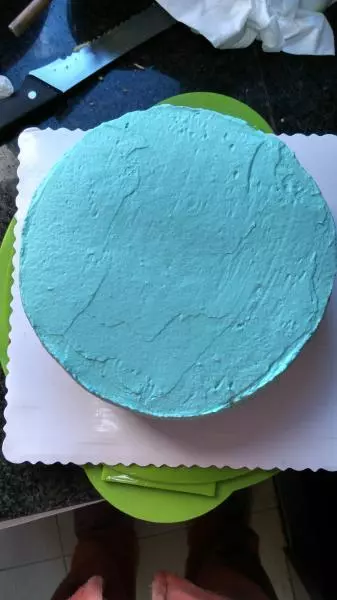
17奶油取部分,加上喜欢的食用色素,抹平蛋糕表面
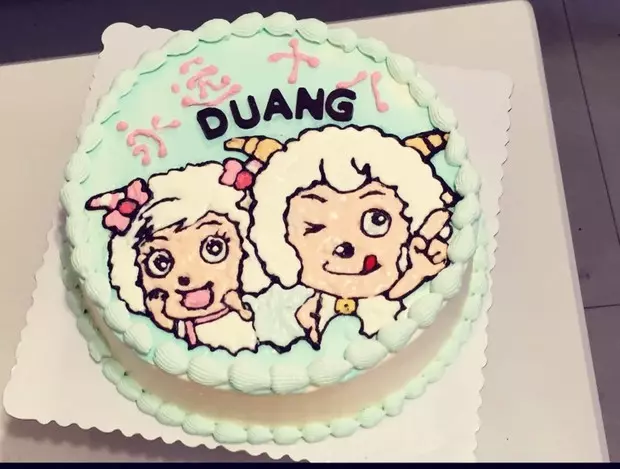
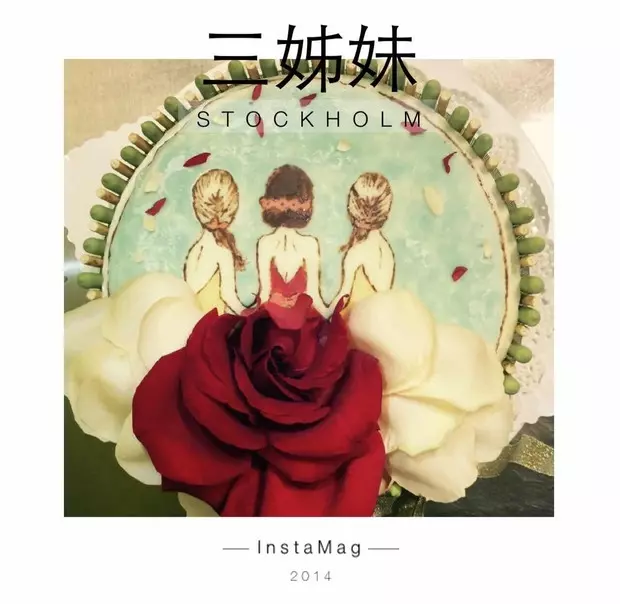
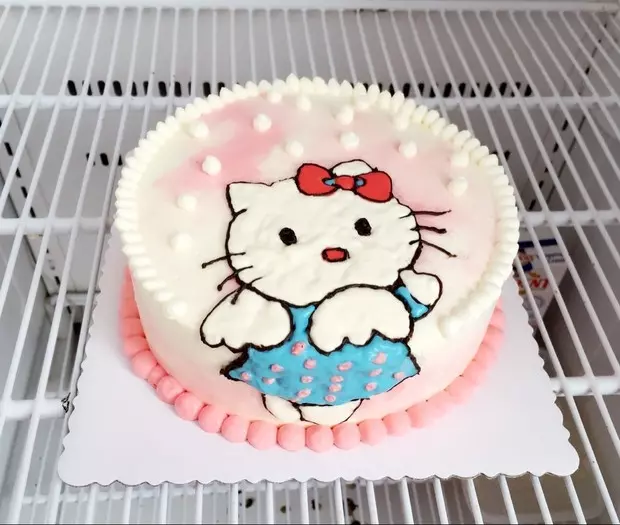
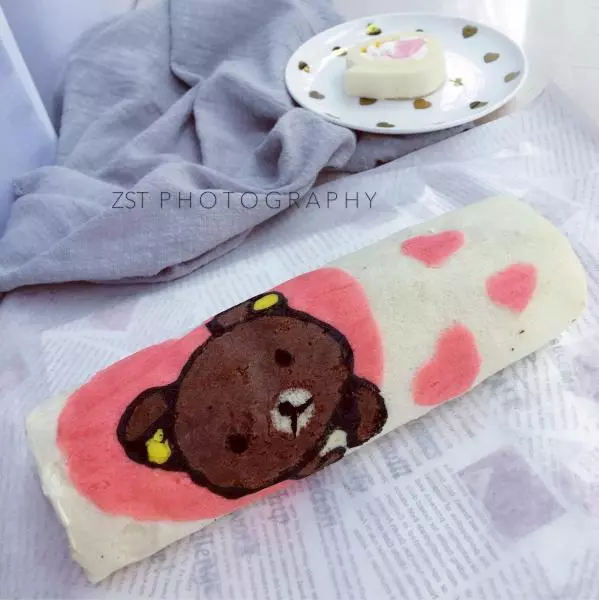
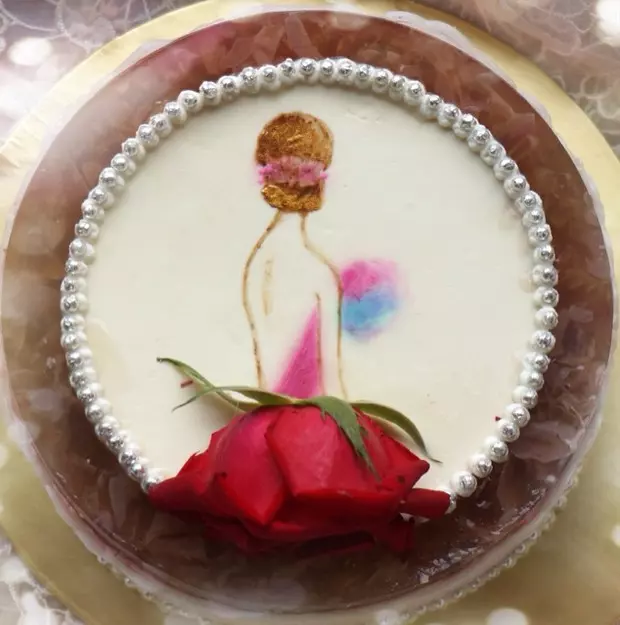
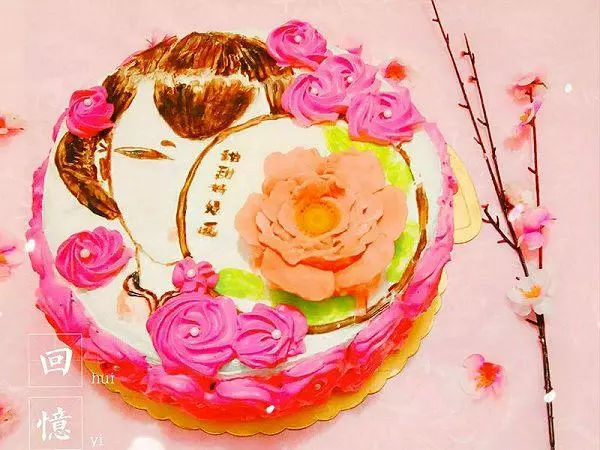
18用牙签画出喜欢的图案,再根据不同的图案选取不同的奶油颜色,用裱花袋填充到图案里,下手要轻,最后再加点金珠装饰下就可以了~

小技巧
1.戚风蛋糕蛋白打发是关键,一定要无油无水无蛋黄且打发到位; 2.戚风蛋糕烤完要记得倒扣,才不会回缩厉害; 3.一定要晾凉脱模,就能轻松徒手脱模; 4.图案可以事先打印出来,照着画; 5.图案也可以用黑巧克力融化了来描边。