原料
奶油奶酪: 300克, 牛奶: 150克, 黄油: 45克, 蛋黄: 57克, 蛋白: 95克, 玉米淀粉: 11克, 砂糖: 70克(其中20入蛋黄中,另50入蛋白中)
步骤
1奶油奶酪室温软化打顺滑,分次加入融化后的黄油拌匀

2将牛奶煮沸

3利用煮牛奶的空隙将砂糖加入蛋黄中拌匀,并筛入玉米淀粉

4煮沸的牛奶迅速加入3中,并隔水加热搅拌至黏稠

5趁热将4加入到拌好的黄油芝士糊中搅拌均匀,再用块拧干的热毛巾盖在盆上

6砂糖分三次加入到蛋白中,打发至蛋白有光泽且提起来尖尖下垂就可以了,比戚风的蛋白还要细腻

7先将三分之一的蛋白加入到5中,由下至上拌匀。再将剩下的蛋白全部加入搅拌好。倒入模具中

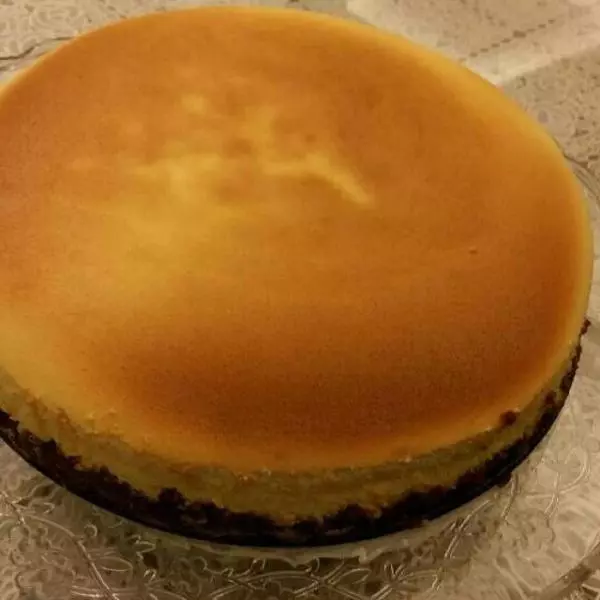
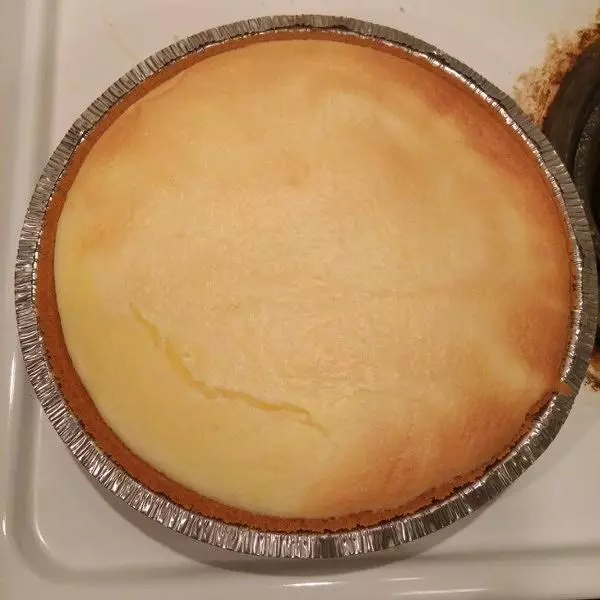
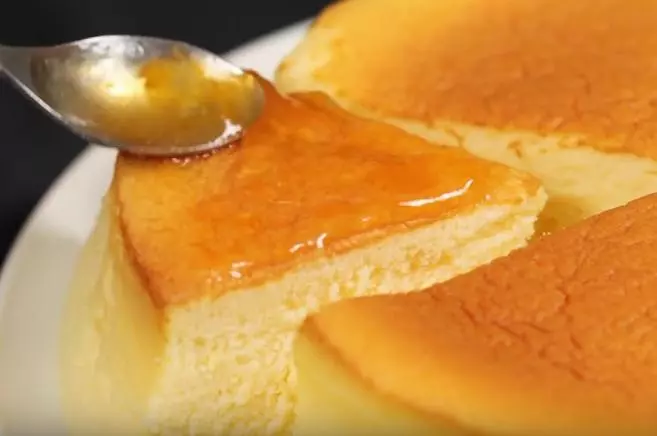
8烤盘加入水,预热至180度,烤盘中放一个披萨盘,模具放在披萨盘上,这样就不用包锡纸了。180度烤15分钟,再转到160度25分钟

9烤好后余温闷一小时再拿出晾凉,包上保鲜膜和模具一起放入冰箱冷藏一夜

小技巧
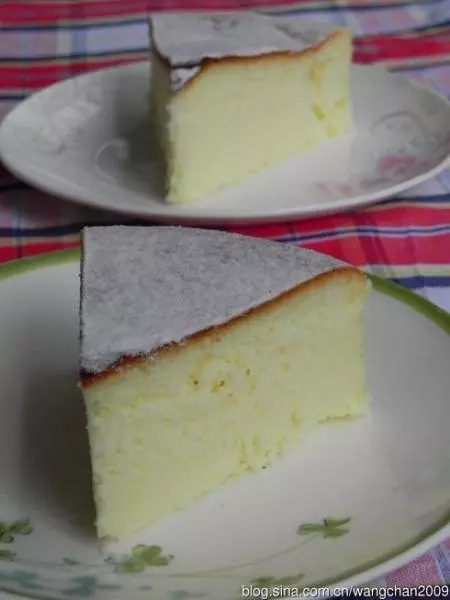
我看很多大师烤芝士蛋糕时都是放在烤箱的中层烤,我之前烤也是跟着放在中层,但烤出来后总感觉蛋糕的底层过于湿了些,但又不是像没烤熟的样子。这次我就把蛋糕放在烤箱的底层,烤出后果然底层好太多,没有那种湿湿的感觉。 当然各家烤箱的脾气都不一样,温度或高或底些,摸准自己的烤箱性格最重要。 烤这个蛋糕时因为最开始的180度高温,蛋糕体有可能会开裂,但素,木有关系,会回缩的,重点是真正会惊艳到的你!!