原料
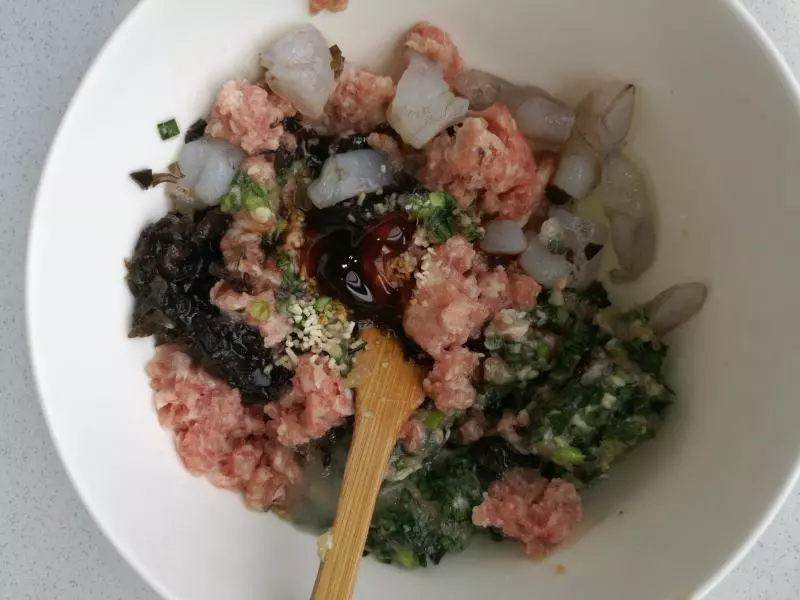
食材: 用量, 鸡蛋: 3个, 肉馅: 100克, 虾仁: 5~6个, 木耳: 3朵, 韭菜: 2、3根, 调味料:耗油 生抽 盐 高汤 香油:
步骤
1木耳切碎,虾仁切丁混入肉馅(最好是夹心肉)加入高汤,快速搅拌使肉馅充分吸收水分,再加入耗油、生抽、盐搅拌,最后加入韭菜和香油调味拌匀。
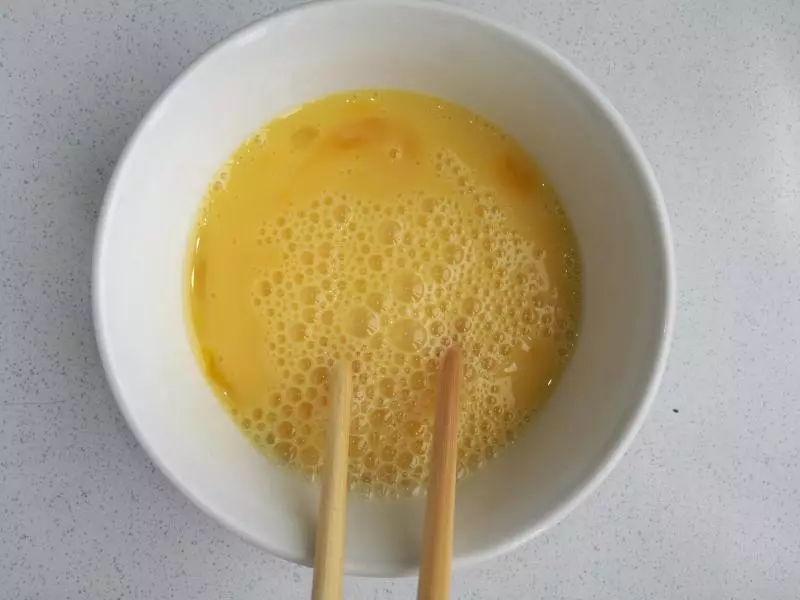
2鸡蛋打成蛋液
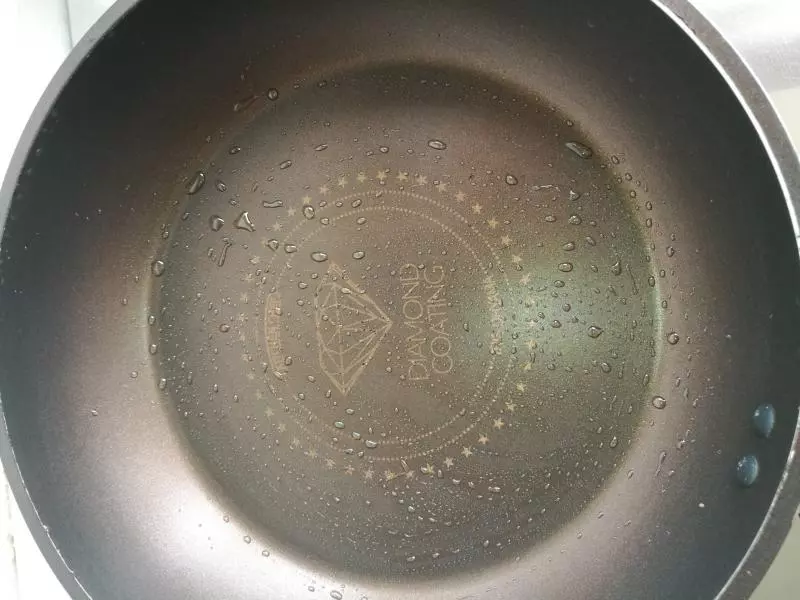
3平底锅开小火,锅底抹油,倒入一半蛋液,转动锅子摊成蛋皮。
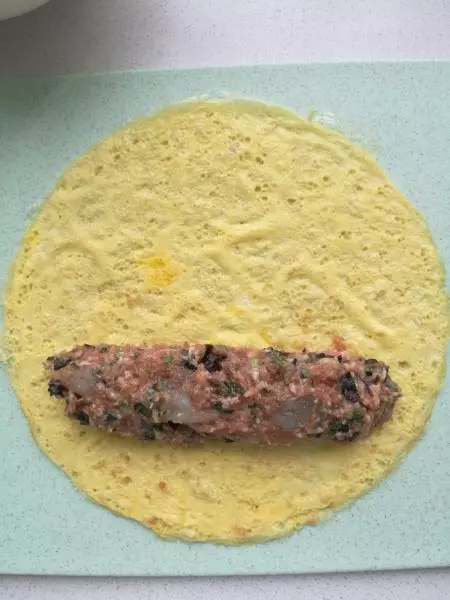
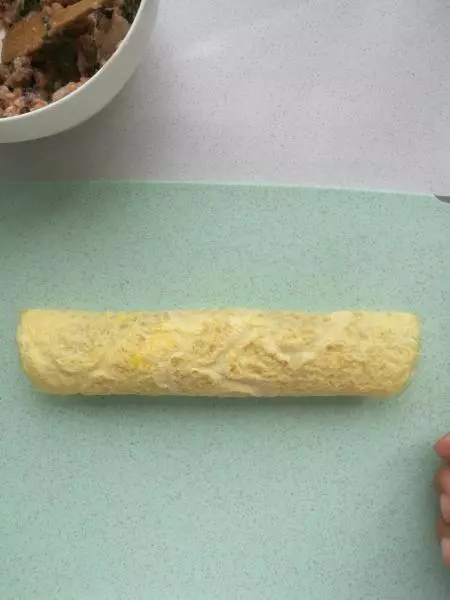
4蛋皮出锅后,将拌好的肉馅卷入
5蛋皮很薄,慢慢卷起
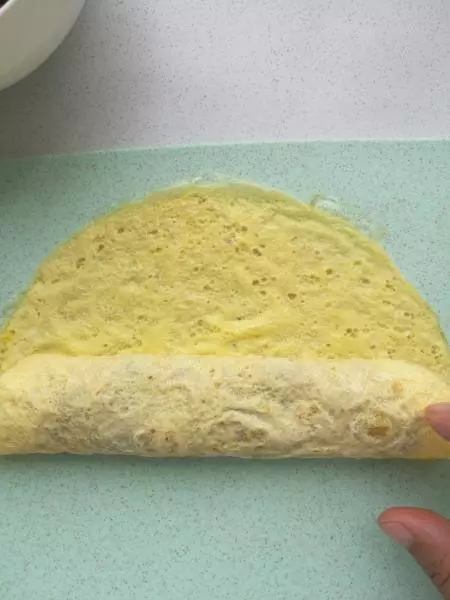
6卷好开口压在底下
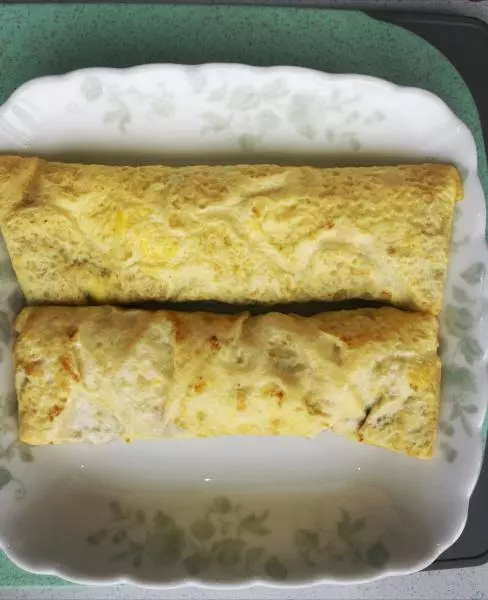
7放人可以微波的盘子里两头开口压到下面
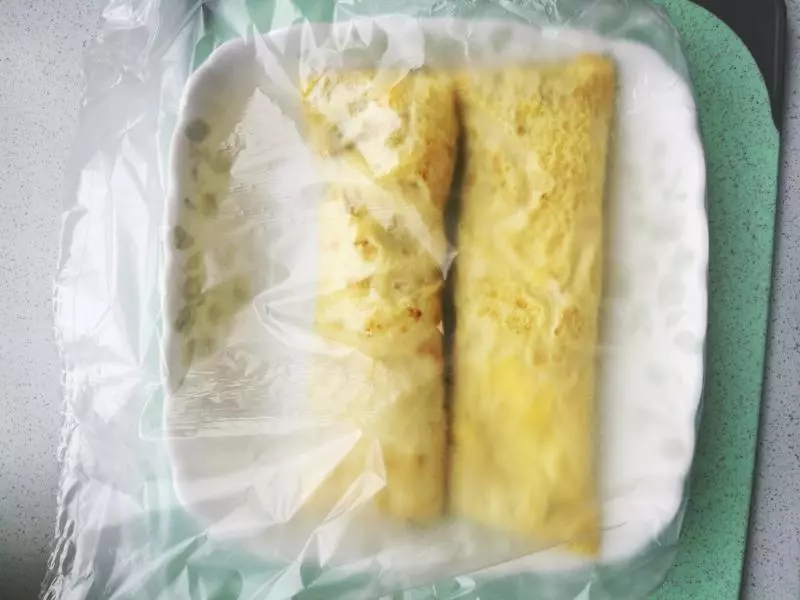
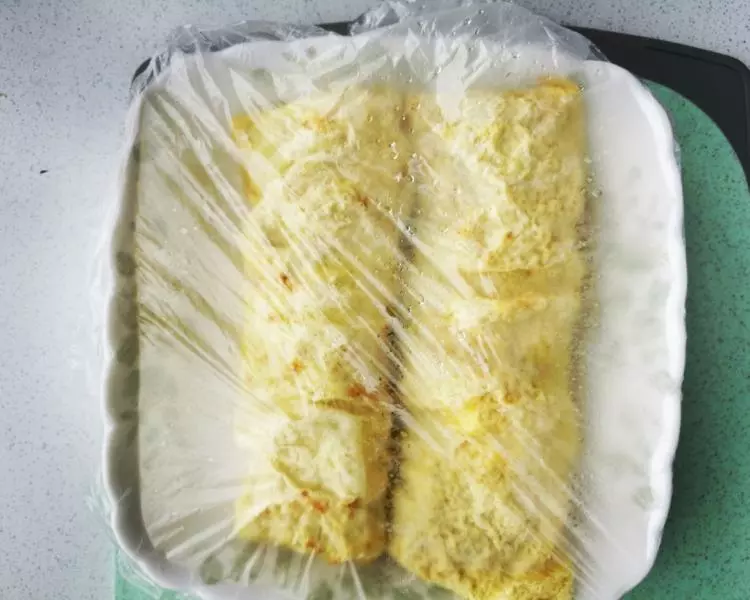
8套一个保鲜袋,不要封口哦!放进微波炉,高火4分钟,时间到后用手指隔着袋子按一下,感觉馅料紧实了就是熟了,如果还软就加1分钟。这时一定要小心蒸汽很烫!!!
9出炉后满满的热气!小心先开口散热
10可以切段装盘了

11满满的汤汁!鲜美!营养!是不是很快!