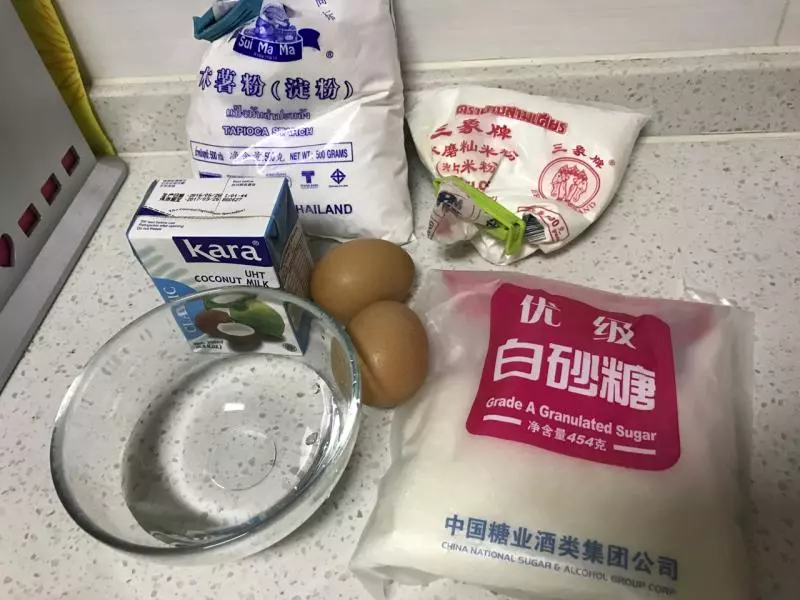
原料
粘米粉: 104克, 鸡蛋: 3个, 木薯粉: 13克, 水: 56克, 白砂糖: 80克, 椰浆: 200克, 蛋卷机:
步骤
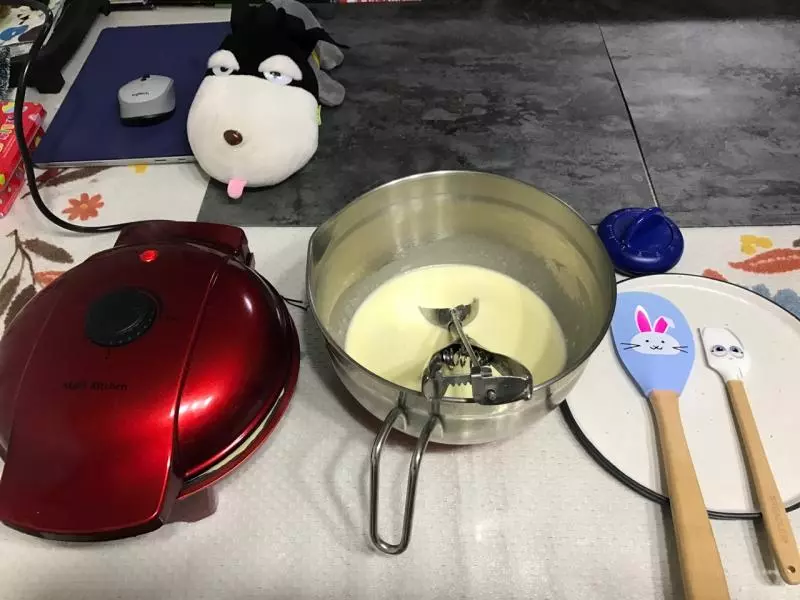
11、这是所有用到的材料。(鸡蛋实际用了三个,图中是示例)
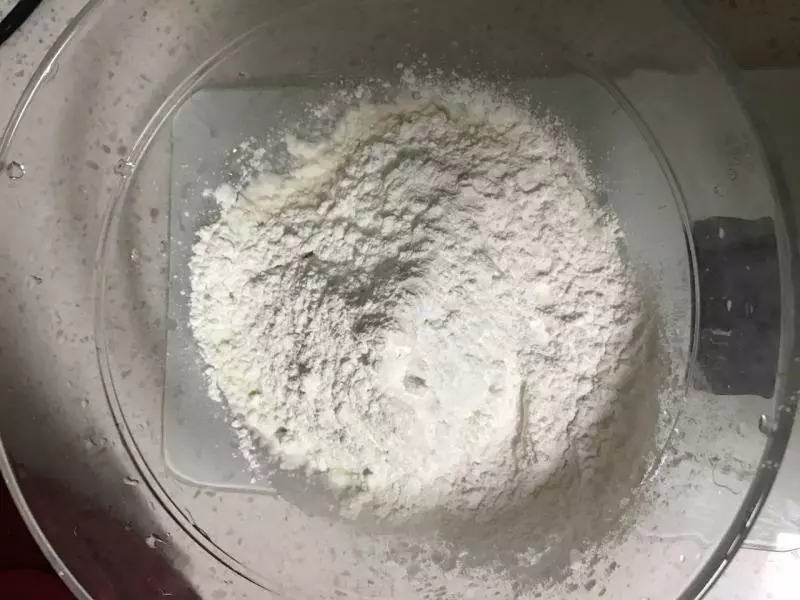
22、首先将粘米粉和木薯粉倒入钢盆中,拌均,加入水,搅拌均匀(其实这步我没拌匀呢,加入水就成疙瘩了… 也没事)
33、再加入白砂糖、鸡蛋和浓椰浆继续搅拌至白砂糖完全溶解。
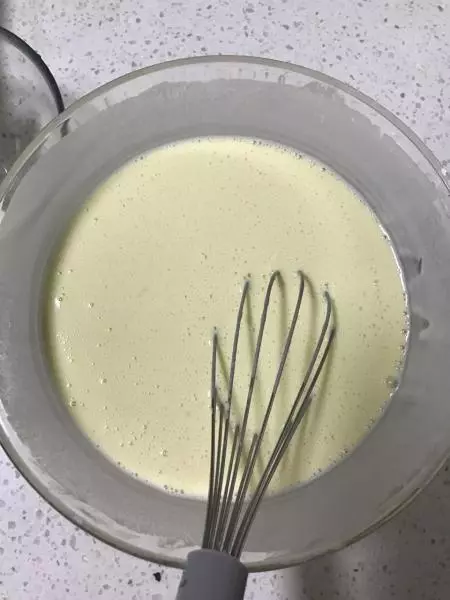
44、将搅拌好的面糊过滤。

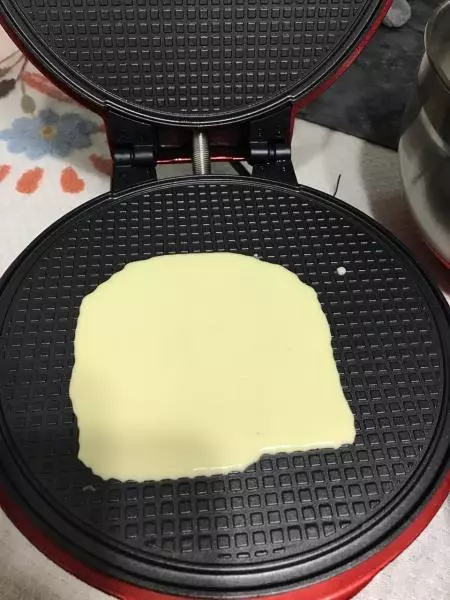
55、装上蛋卷烤盘(别的蛋卷机也行呢,燃气灶上用的那种蛋卷机也一样呢,我用的是麦子厨房的),预热3分钟。
66、使用挖球勺(就是冰淇淋的那种挖球勺)舀一勺(25-30g)面糊倒入机器内,盖上上盖,紧压5秒,继续烘烤3-4分钟至浅棕色。
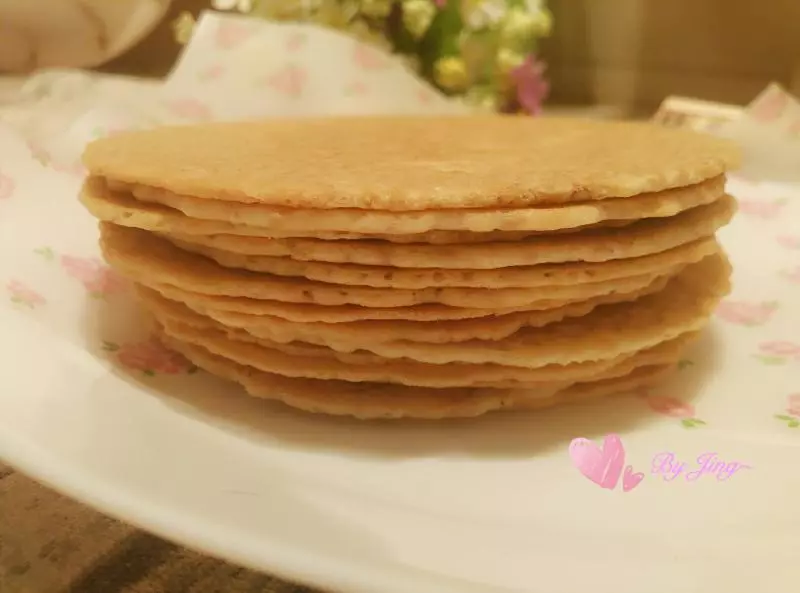
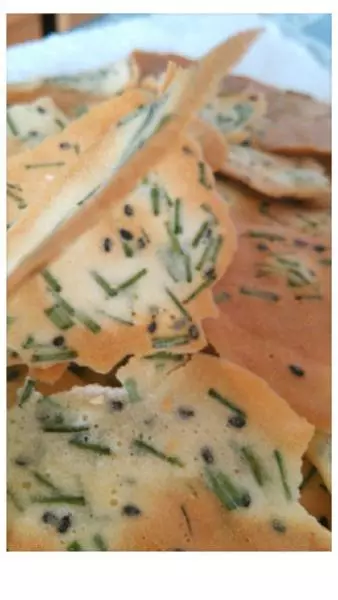
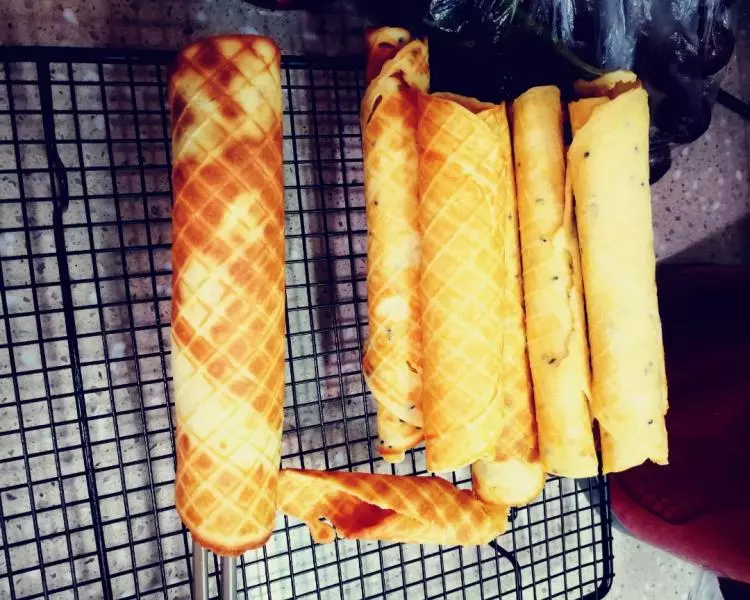
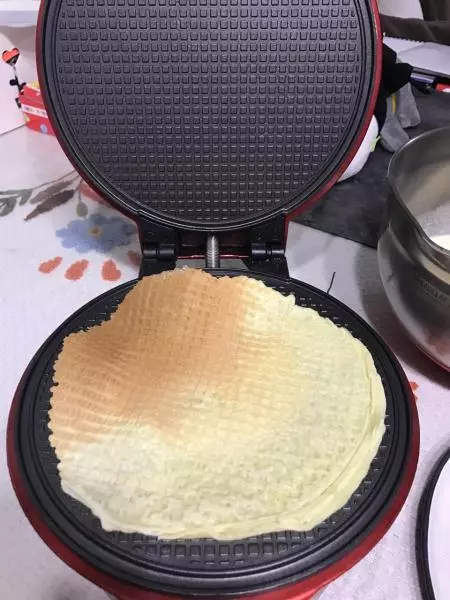
77、打开上盖的时候是这样的。
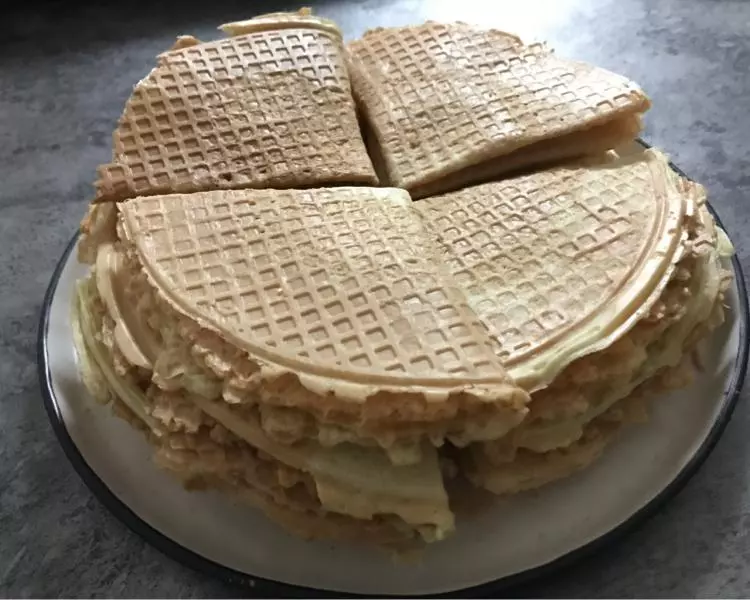
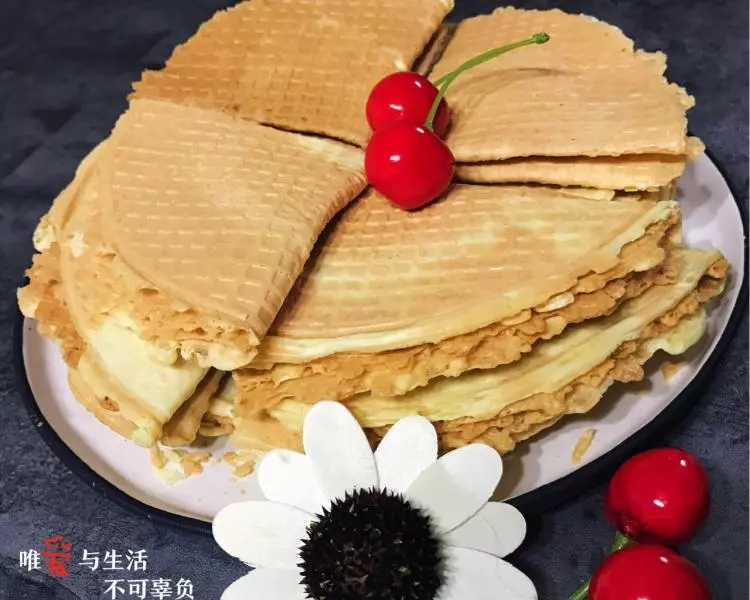
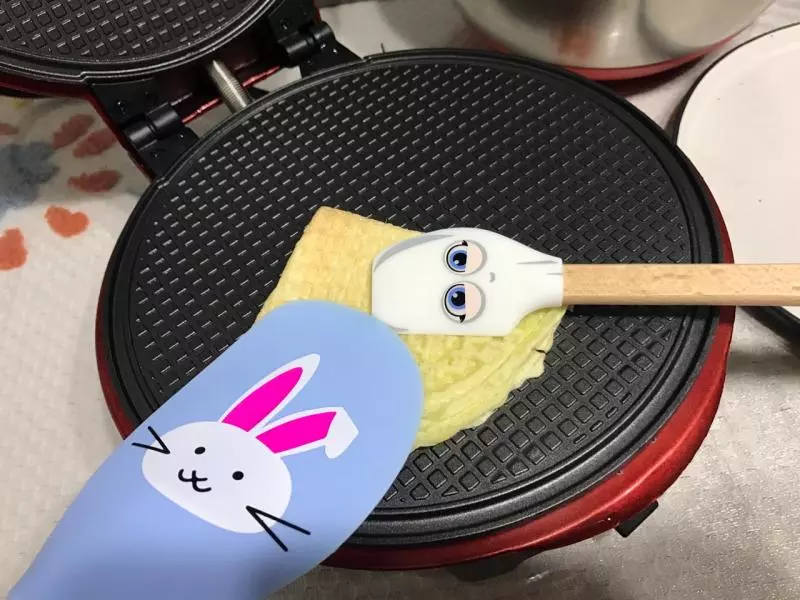
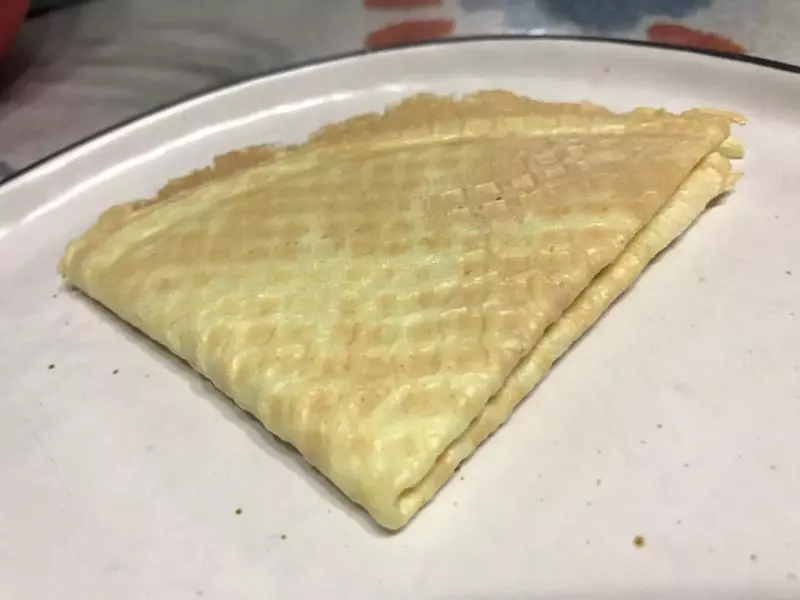
88、迅速将薄饼对折两次成四分之一的圆形,用了一大一小两个硅胶铲,这样不需要上手。
99、单个成品图,颜色可以更深,我的机子是不能超4分钟,超过就是黑的了,焦的了…
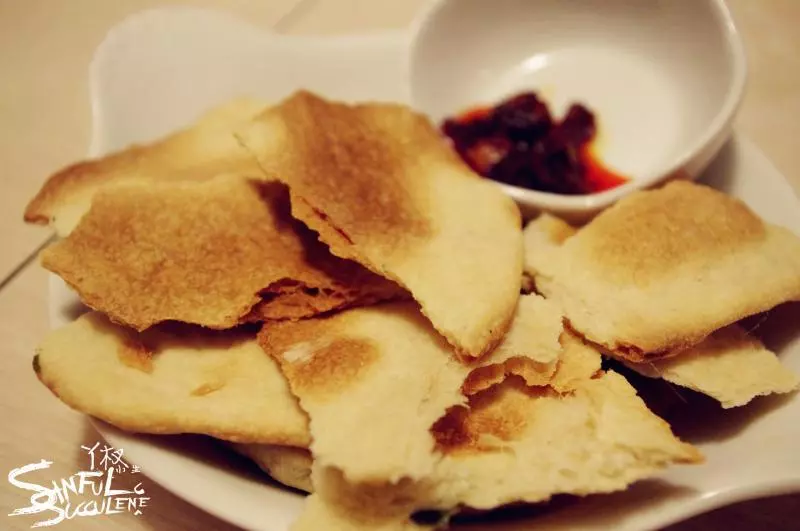
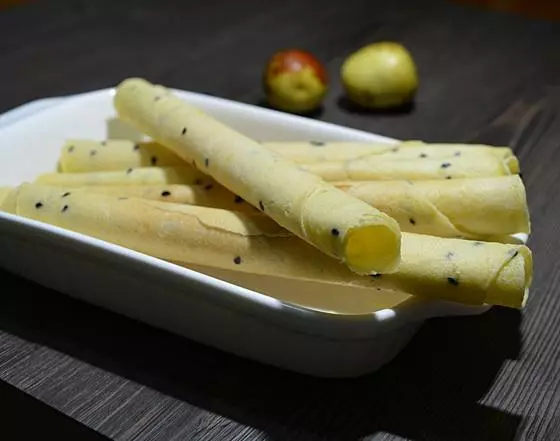
1010、这个量成品最后出了22个。