原料
蛋白: 4个, 蛋黄: 4个, 牛奶: 40克, 幼砂糖: 40克(蛋白放30克,蛋黄里放10克), 玉米油: 40克, 安琪酵母: 1.5克, 塔塔粉: 1克(放蛋清里), 低筋面粉: 40克, 用到的工具:电动打蛋器,手动打蛋器,油纸,量勺,烘焙秤,面粉筛,橡皮刮刀等:
步骤
1备好所有材料

2先进行蛋清的打发 打发前放1克塔塔粉在蛋清里;

330克幼砂糖分三次加入蛋清里,每加一下要搅拌再加一下次;
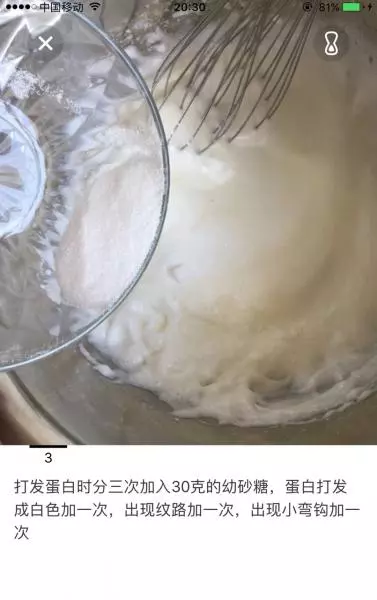
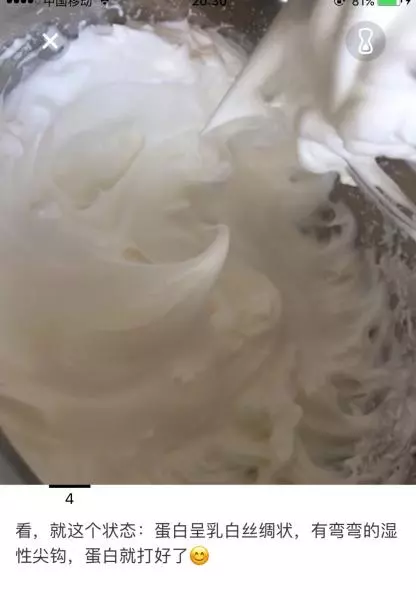
4打发呈湿性状态,就是打蛋头上面有软软的小尖钩,就可以了,蛋清打发结束
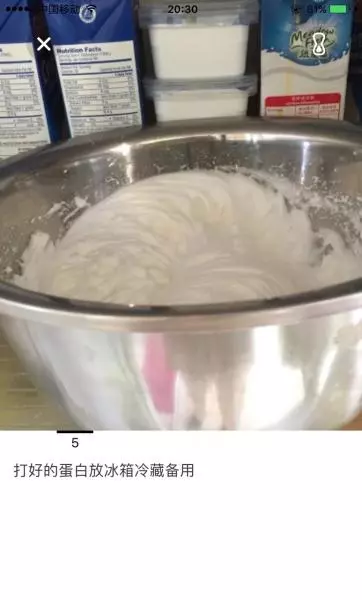
5将蛋清放到冰箱冷藏一会儿
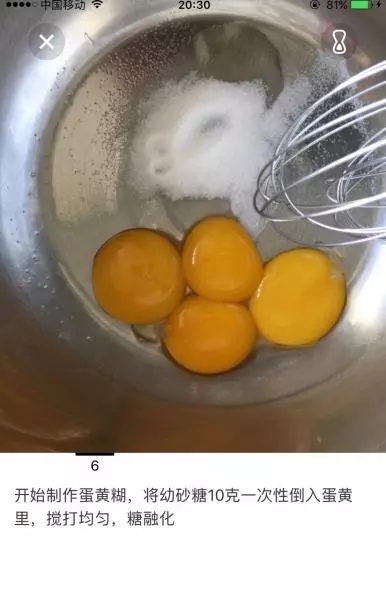
6接下来进行蛋黄糊的制作,将10克幼砂糖倒入蛋黄盆中电动打蛋器进行搅打,糖融化
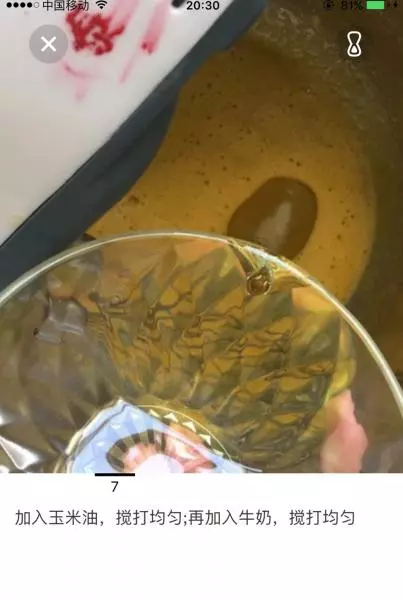
7再倒入玉米油,搅打均匀
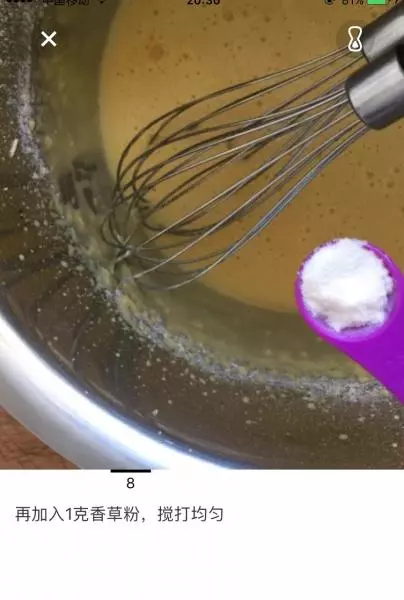
8放入一克香草粉,再加入牛奶,继续搅打均匀
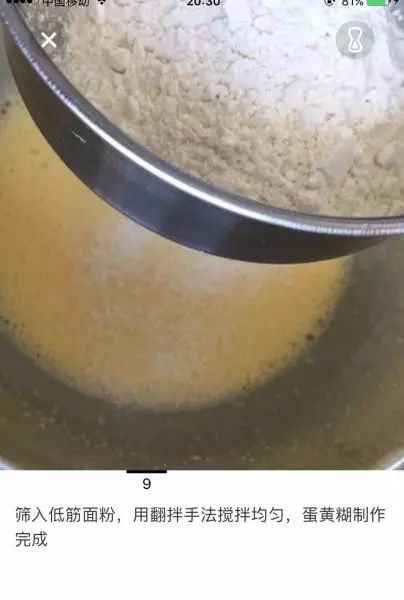
9将1.5克酵母加入低筋粉中,过筛,加入蛋黄糊 用橡皮刮刀搅拌均匀
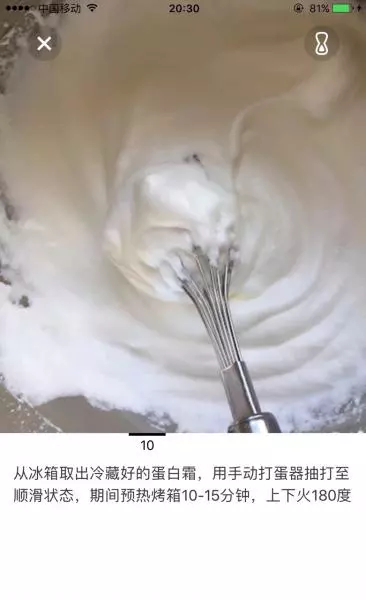
10从冰箱取出冷藏好的蛋白霜,用手动打蛋器搅打至顺滑状态,期间预热烤箱上下火180度,十分钟
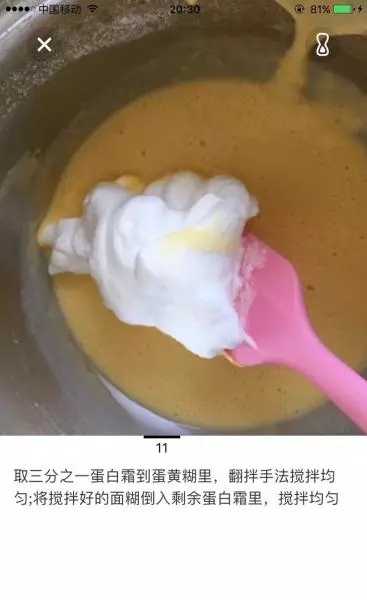
11先取三分之一蛋白霜到蛋黄糊里,用翻拌的手法搅拌均匀,之后将搅拌好的蛋黄糊全部倒入剩余的蛋白霜里搅拌均匀,蛋糕糊做好了
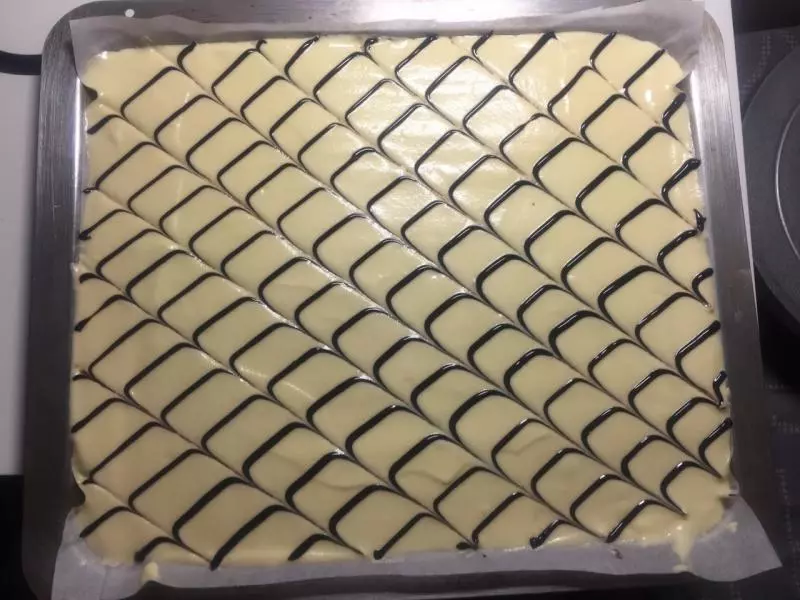
12烤盘里面铺好油纸,倒入蛋糕糊

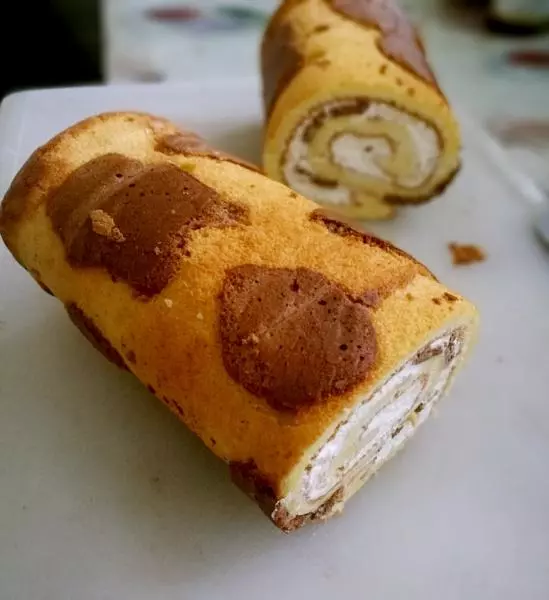
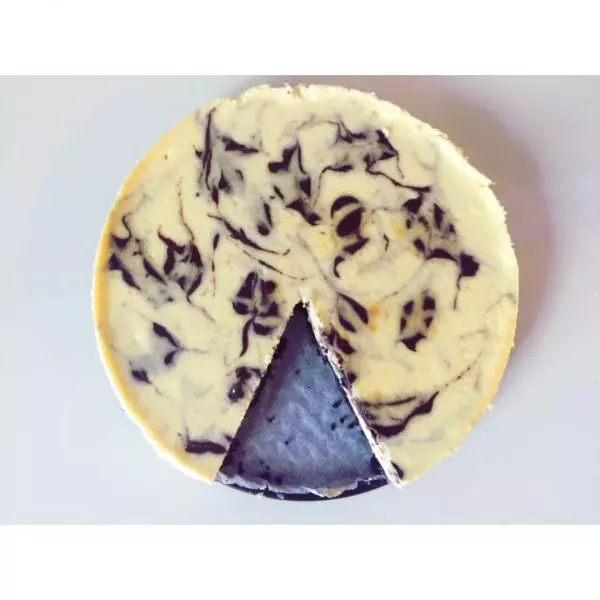
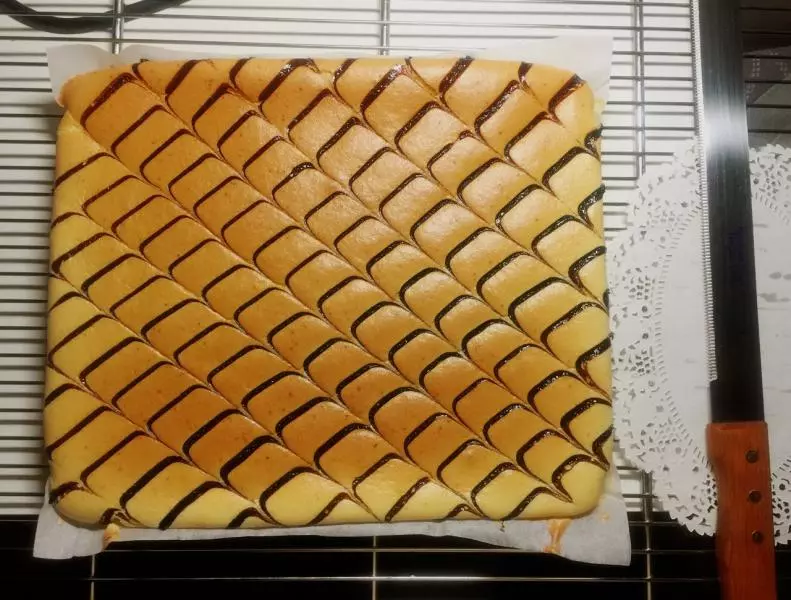
13裱花袋里装入巧克力酱,裱花袋花嘴部位剪一个小口,在蛋糕表面划出斜纹
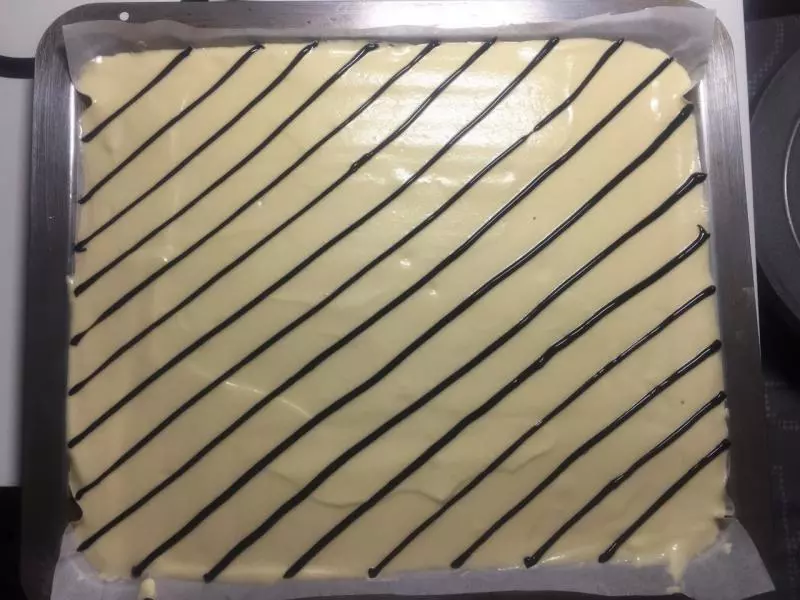
14然后再用牙签从反方向划横道
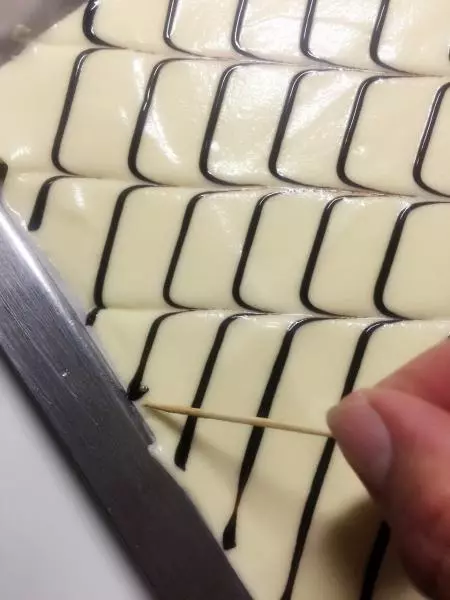
15就是这样的
16预热结束,放入烤箱上下火180度,烘烤18分钟左右,中层

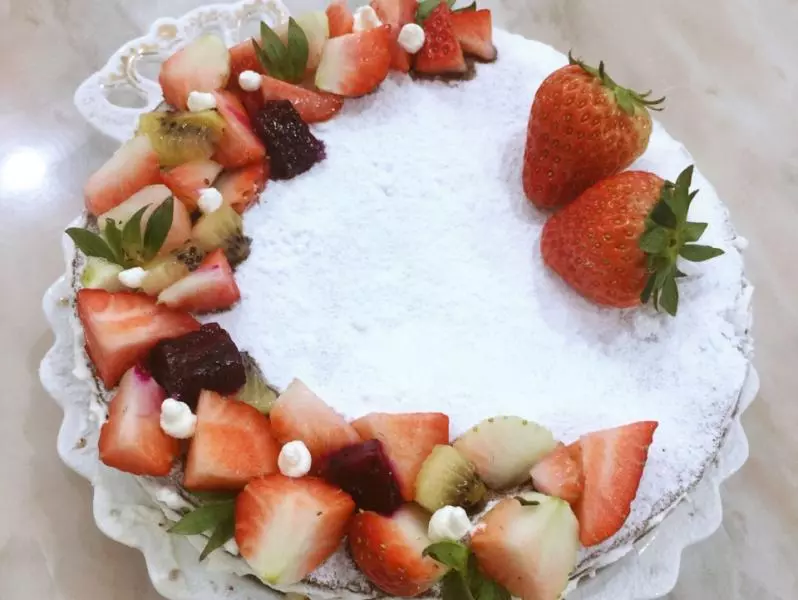
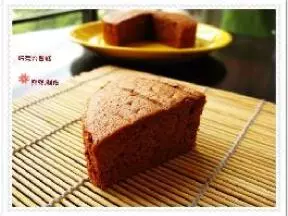
17无需倒扣 漂漂亮亮的出炉啦!晾凉就可以享用了

小技巧
没有巧克力酱的亲们可以用可可粉与适量蛋糕糊混合装入裱花袋,挤出花纹即可