原料
馅料: , 后腿磨肉: 250克, 净马蹄(荸荠)碎: 150克, 白胡椒: 适量, 盐: 3克, 姜茸: 一勺, 芝麻油: 一勺, 生抽: 半勺, 纯净水: 60ml, 蛋皮: , 土鸡蛋: 8个, 淀粉: 4个3克, 菠菜汁: 2个25克, 纯净水: 2个25克
步骤
1小耳猪后腿一份去皮,留下一小块肥肉,去筋膜,打成肉末

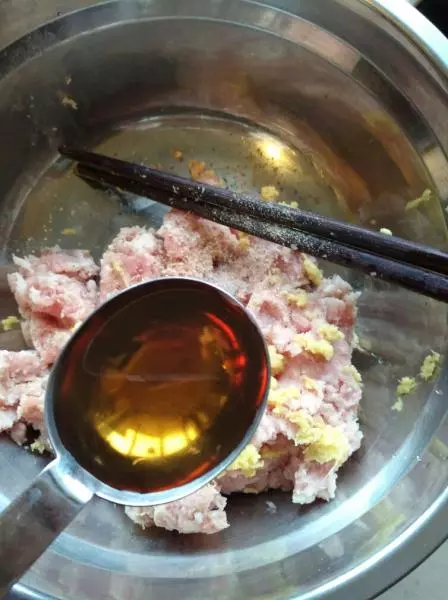
2取250克,加姜茸一勺,白胡椒磨转10下,盐3克,芝麻油一勺,生抽半勺,顺一个方向搅,边搅边加纯净水,我加了4勺(共60ml),搅上劲。 小耳猪肉不注水,我加的水多,用其它猪肉可适量减少加水量,上劲即可。
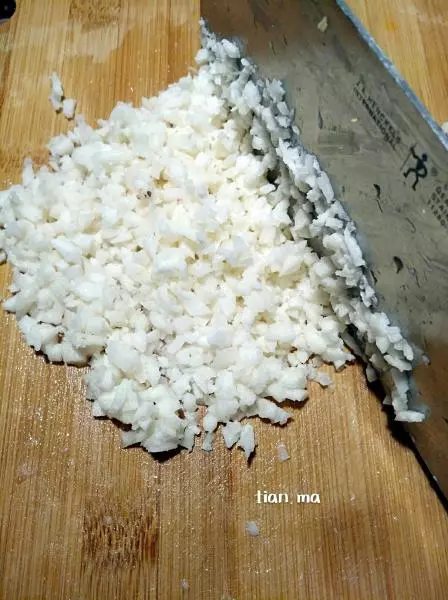
3去皮净马蹄(荸荠)150克切碎成绿豆大小
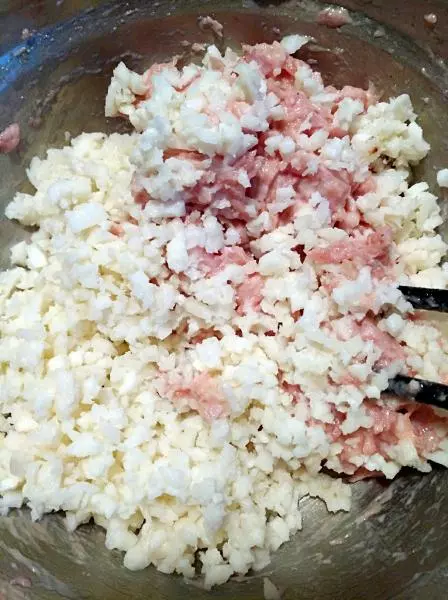
4加入肉末中
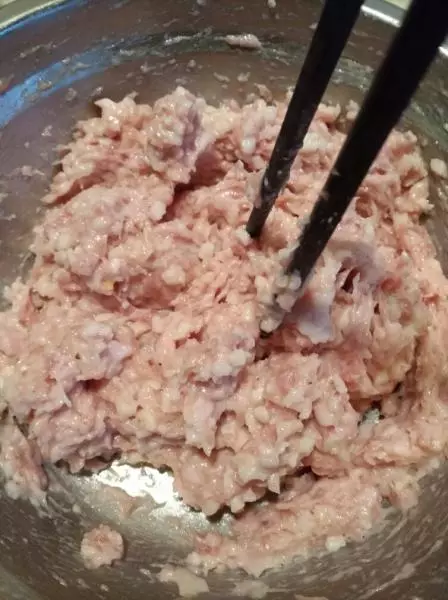
5搅拌均匀,搅匀以后筷子是可以站在马蹄肉茸里的
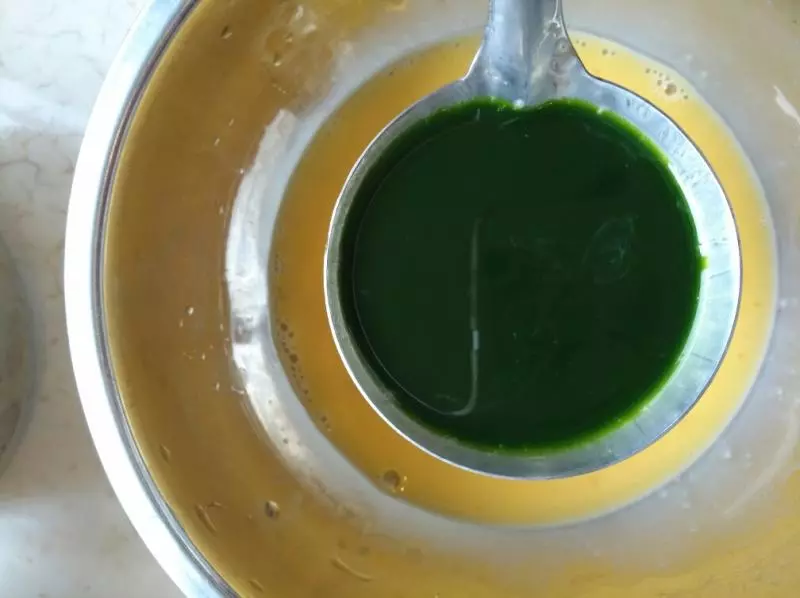
6取两个鸡蛋,加菠菜汁25ml,一点点盐,淀粉3克调匀,另外一个小碗打两个鸡蛋加淀粉3克,一点点盐,清水25ml调匀,偷偷告诉你我用电动打蛋器5秒就打匀了?
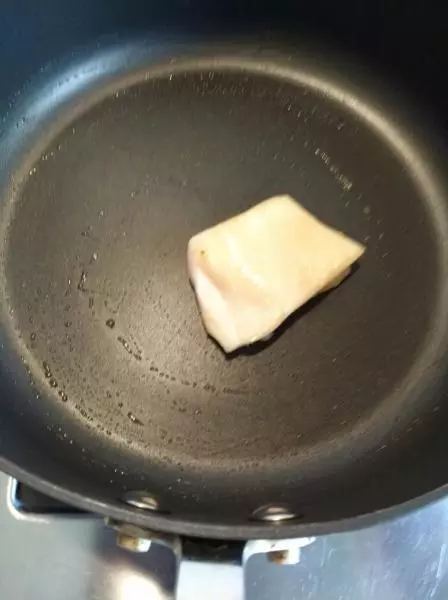
7开中小火,步骤1取出的肥肉块搽平底锅
8倒入蛋液,小火,一定要上面基本凝固才能翻面,把另外一面煎熟
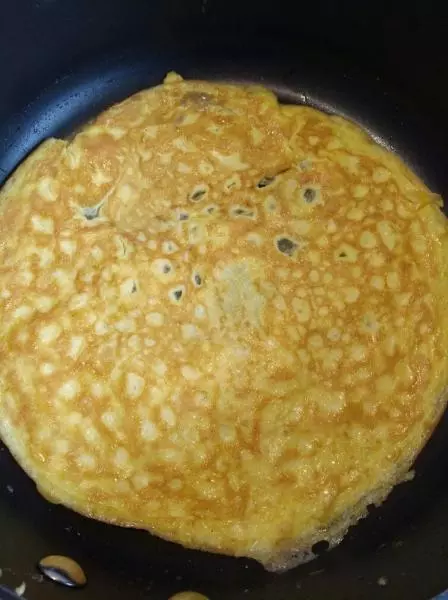
9菠菜蛋液重复步骤8~9 蛋皮我做了两个原色的,两个菠菜的
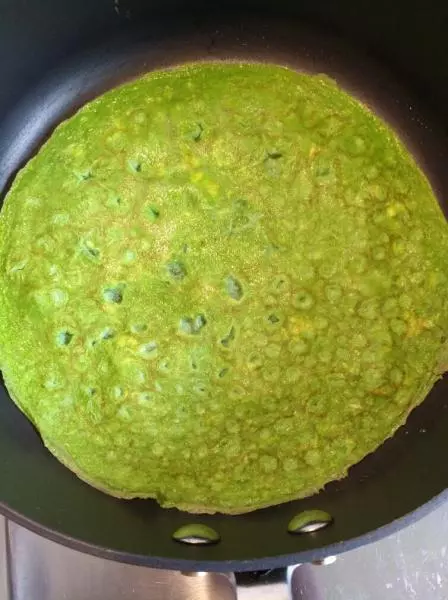
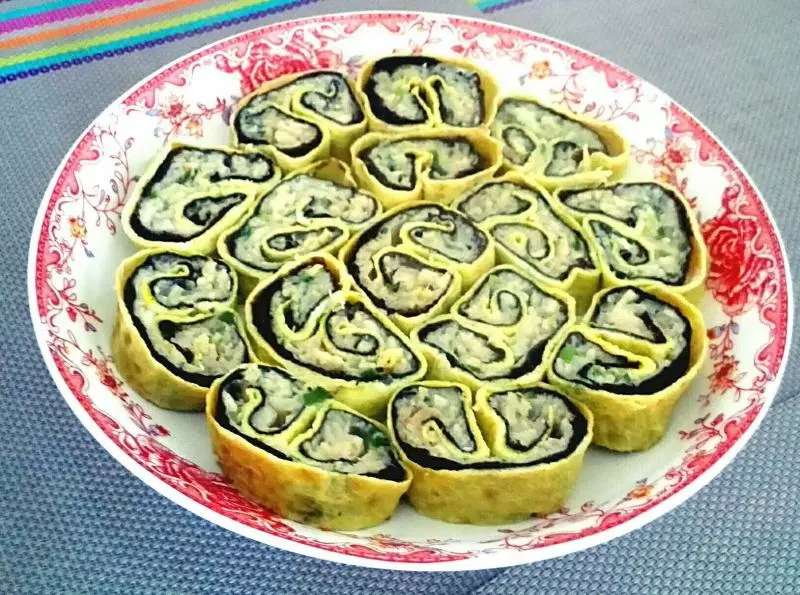
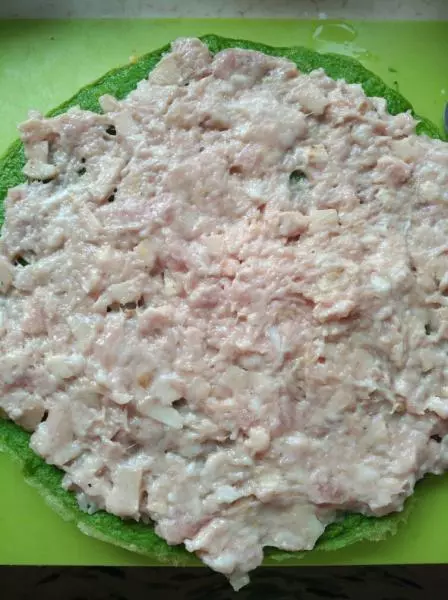
10把原色蛋皮放下面,菠菜蛋皮叠在上面,把一半马蹄肉茸抹平,不要太厚,否则不好卷。
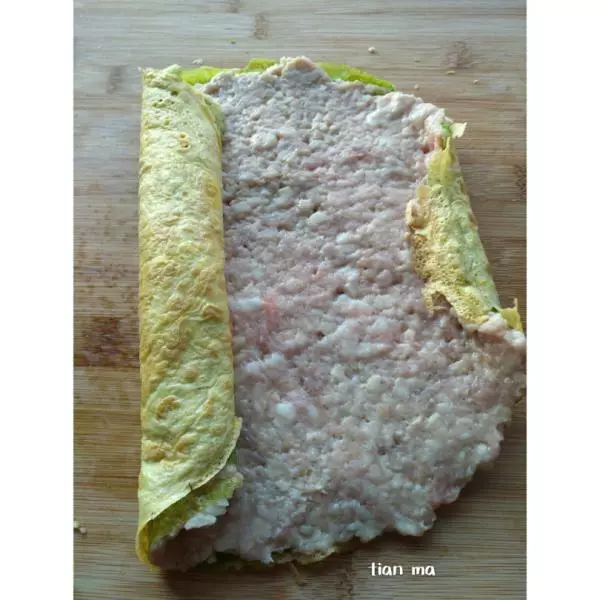
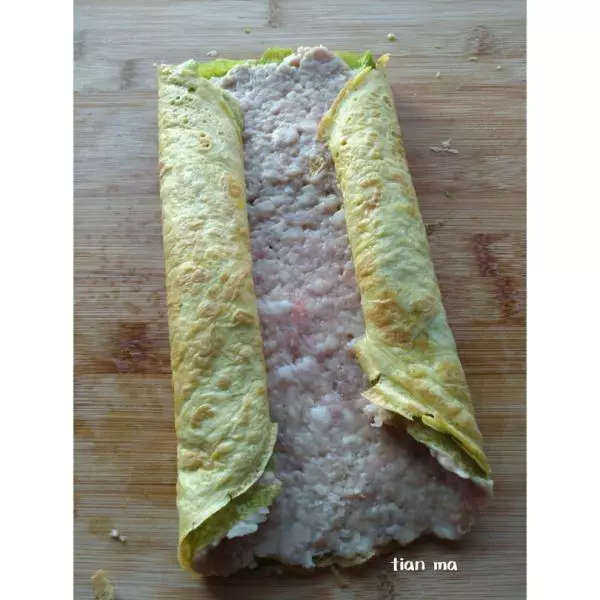
11然后从两边往中间卷
12肉馅打上劲到这一步才好操作,卷好不会散开
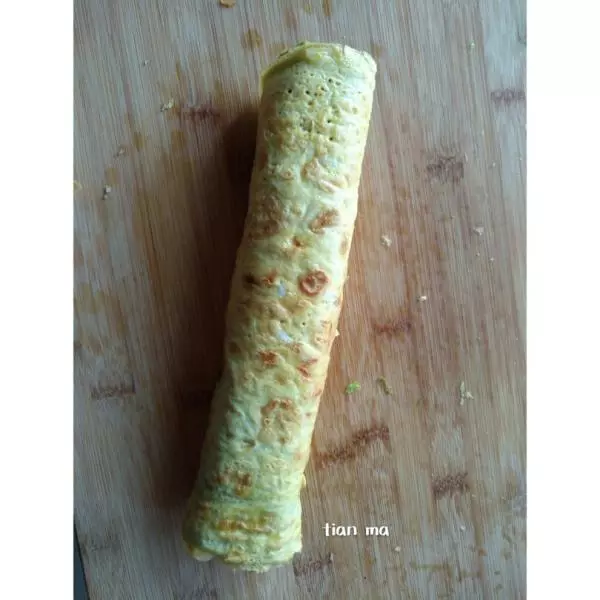
13卷紧后卷口朝下放进盘子,猛火上汽后蒸15分钟,关火后焖到蒸锅温度下降,摸上去不烫手
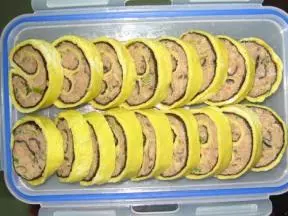
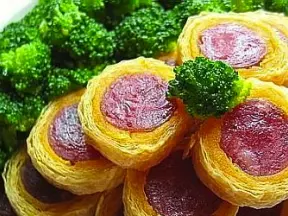
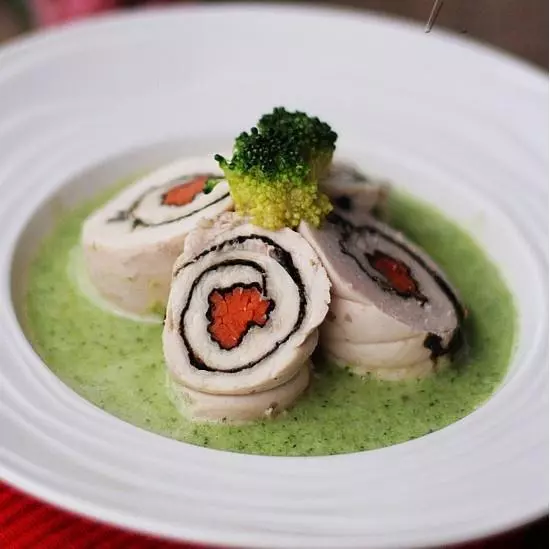
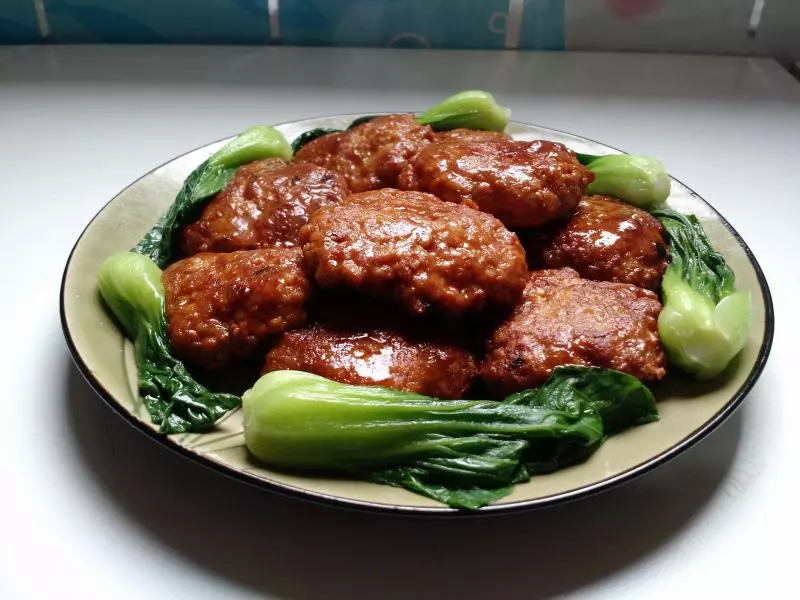
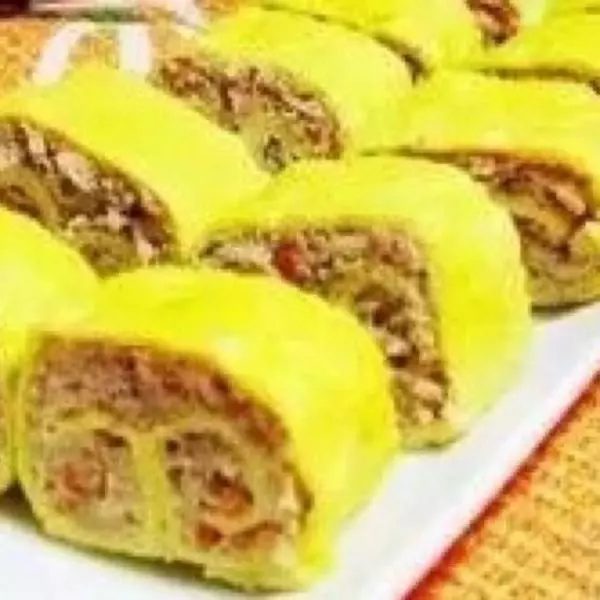
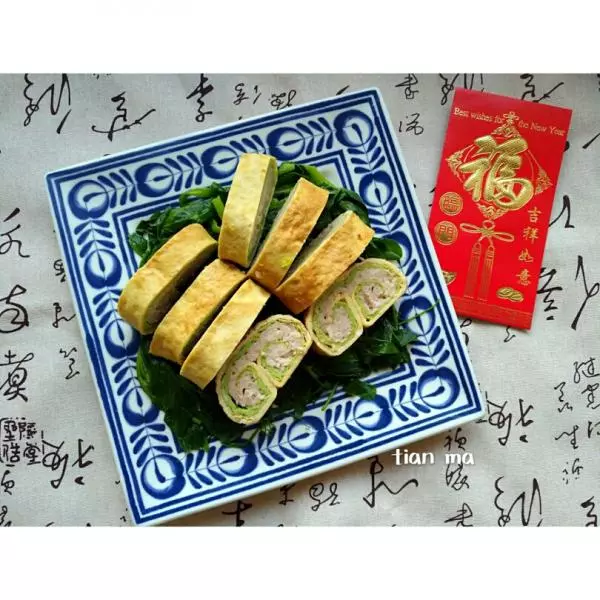
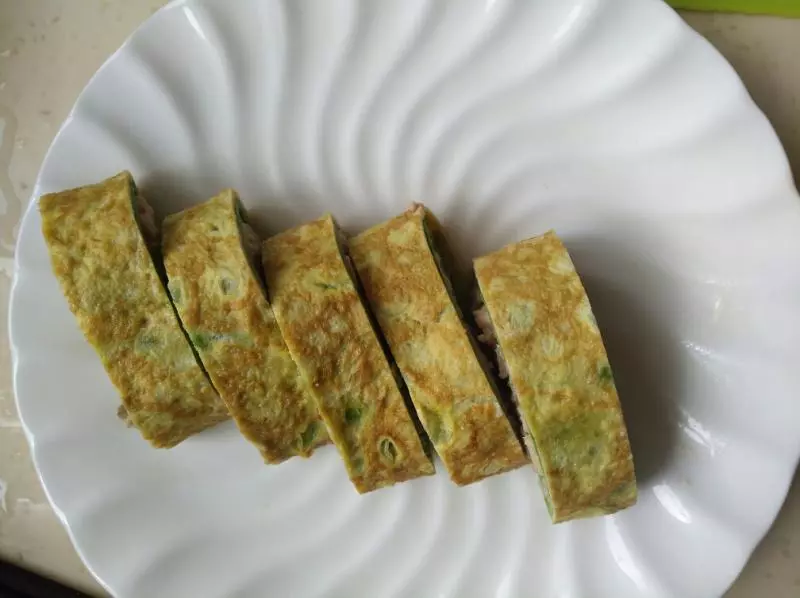
14切件摆盘 这个可以提前两三天做好蒸熟,不切冷藏,年夜饭的时候拿出来蒸热,烫个青菜垫底,切一下摆盘,五分钟搞定,显得你多牛???
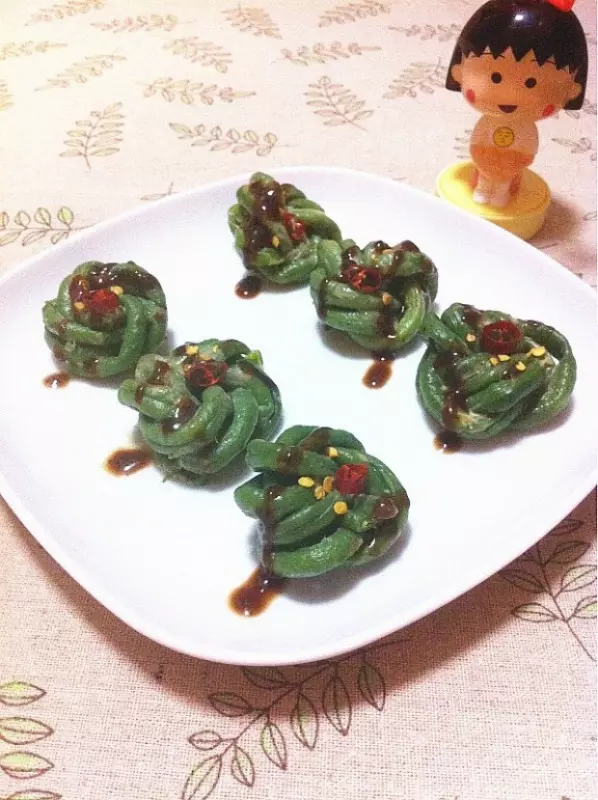
15好不容易凹个造型,当然要各种摆,配各种盘????

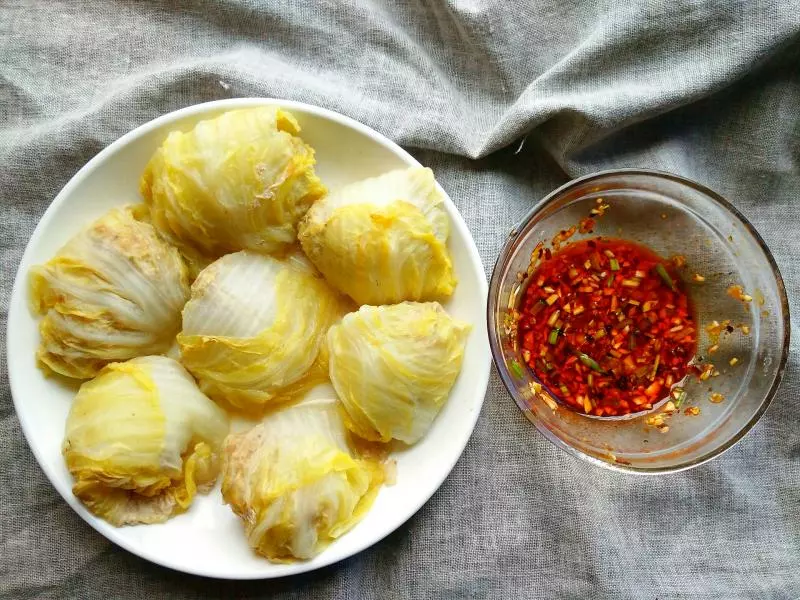
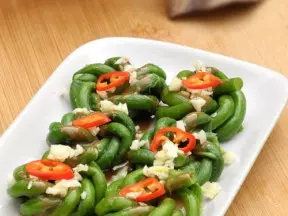
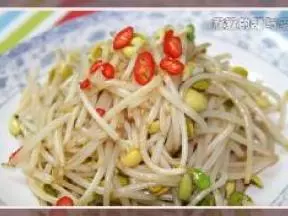
16下面可以垫喜欢的绿菜,我垫的豌豆尖,焯烫的时候水里放点盐和两滴无味植物油,烫熟滤去多余水分,摆上蛋卷,淋上蒸蛋卷的汤汁。 美好的寓意代表美好的祝福,祝友友们春节好???

小技巧
1.蛋皮卷肉觉得费劲可以借助寿司帘,肉茸不要太厚,两边要均匀往中间卷,做出来切面才漂亮。 2.菠菜和水是2:1,打成汁后滤渣取汁。 3.我用的是土鸡蛋,每个净重37~8克,如果用特别大的鸡蛋,每个蛋皮一个蛋就可以。