簡介
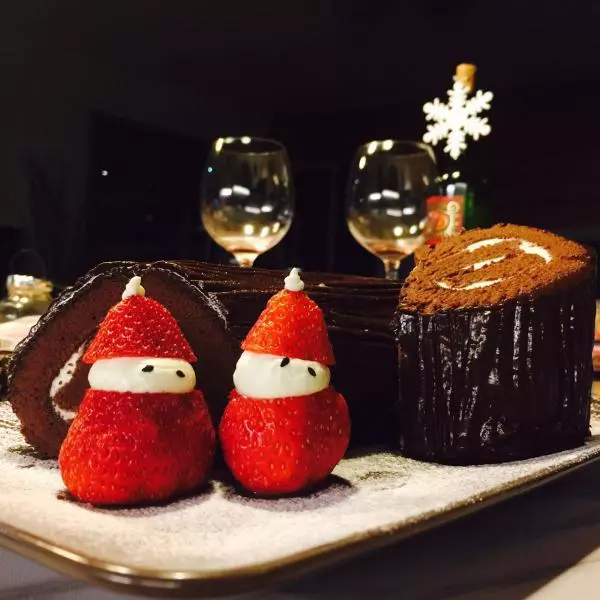
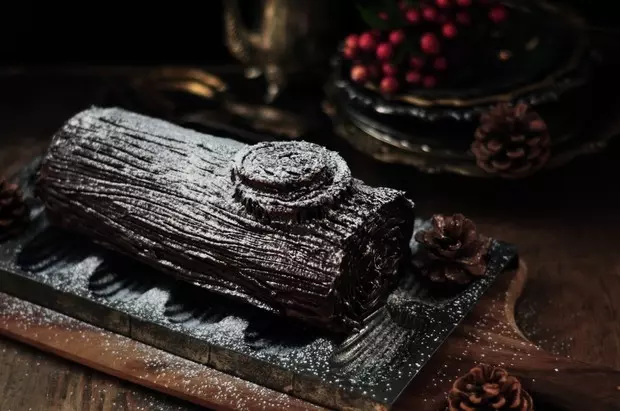
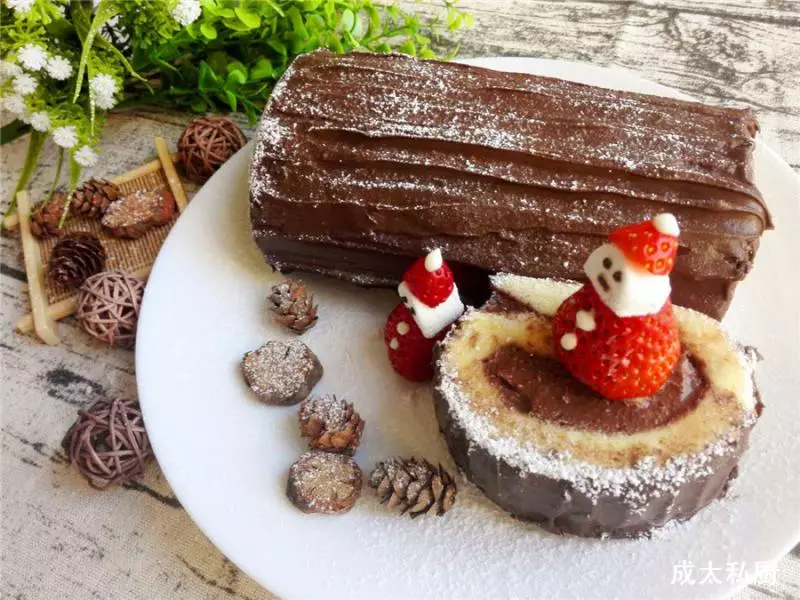
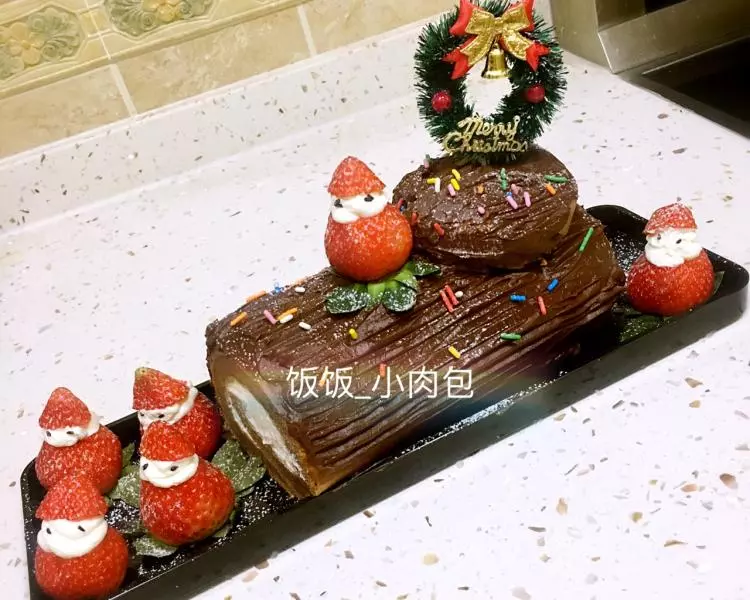
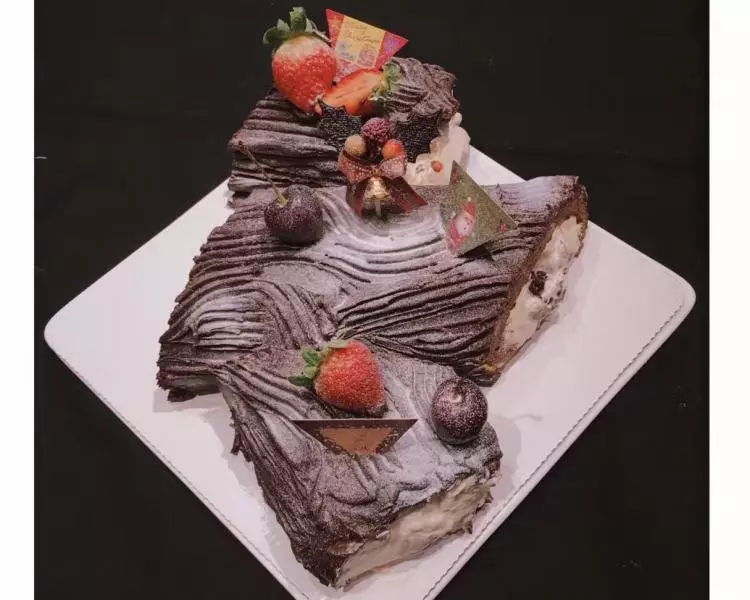
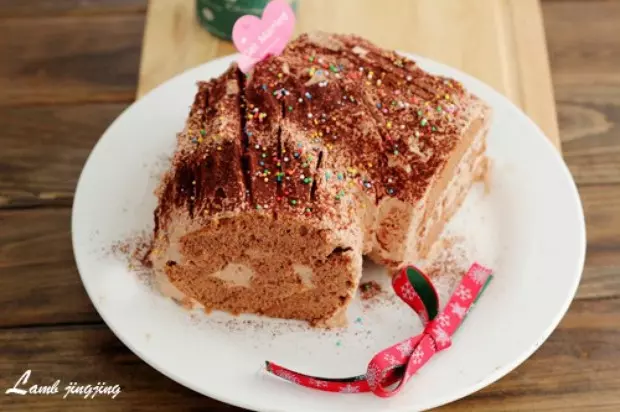
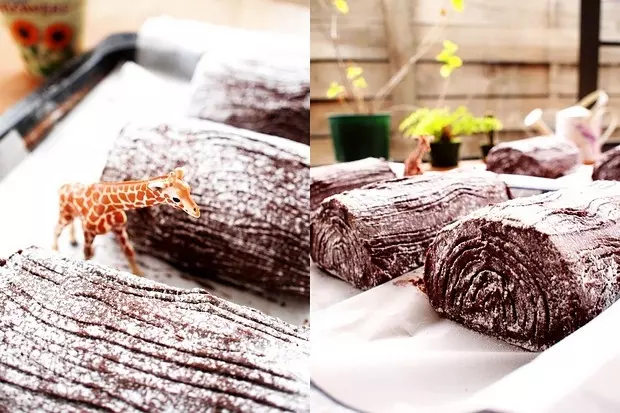
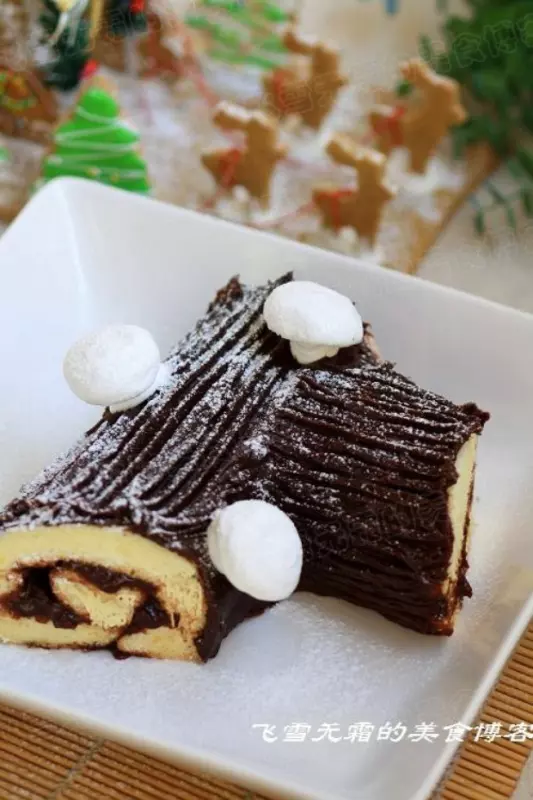
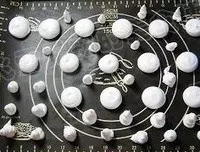
聖誕節里製作聖誕樹根蛋糕,是非常簡單又非常應景的蛋糕了。 在樹根上面撒些飄飄的雪花,這節日的氣氛就有了!
原料
蛋白 一個, 白糖 10+60克, 水 15克, 巧克力 80克,果醬巧克力, 低筋麵粉 40克, 淡奶油 80克,表面裝飾巧克力醬, 雞蛋 兩個, 白糖 40克, 植物油 20克, 水 20克, 鹽 1克, 果醬 50克,果醬巧克力, 水 50克,果醬巧克力, 巧克力 120克,表面裝飾巧克力醬
步驟
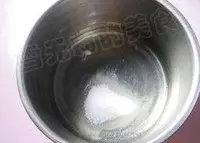
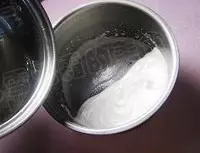
1蛋白一個加入白糖10克放入無油無水的容器中
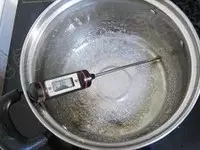
2水15克加入白糖60克放入小鍋中
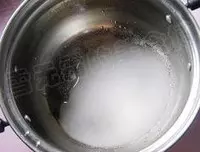
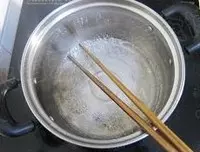
3糖水開始用小火煮
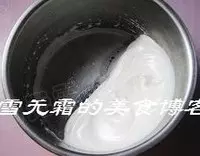
4蛋白打至濕性發泡
5等糖水煮至117度左右
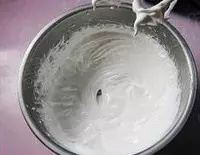
6快速地倒入蛋白中
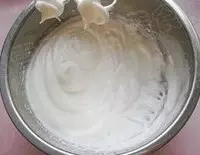
7將蛋白霜打至硬性發泡
8再倒入擠花袋中

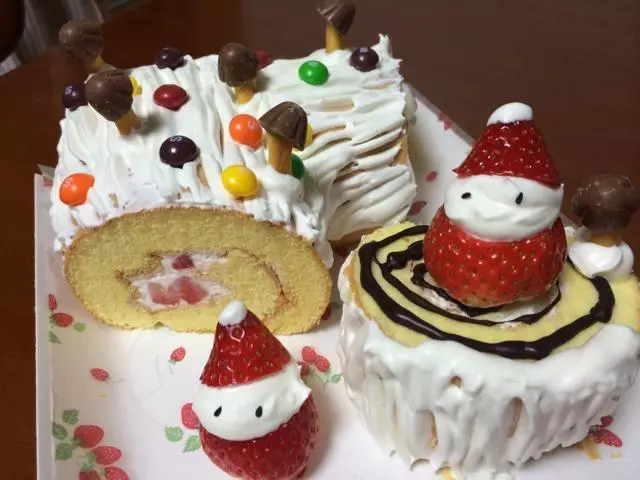
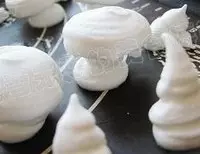
9擠出圓形(蘑菇頭)和聖誕帽形(蘑菇根)的各一些,然後烤箱100度預熱,中層放進去烤30分鐘
10烤至小的蘑菇根發硬,然後把蘑菇頭安在蘑菇根上繼續烤硬(還要30-50分鐘)即可。如果覺得操作麻煩,可以烤好後,取出來用融化的巧克力安裝
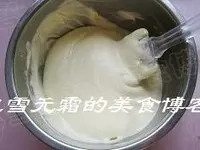
11蛋糕體原料中的雞蛋分成蛋白和蛋黃。蛋白分三次加入白糖30克打至硬性發泡。容器里要保證無油無水
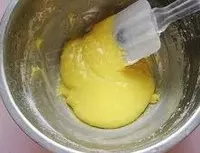
12蛋黃加入白糖10克,植物油,水,和鹽攪拌均勻

13再加入過篩後的低筋麵粉混合均勻
14蛋白霜分兩次加入蛋黃糊中自下而上攪拌均勻
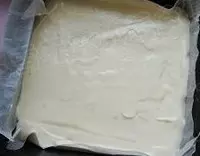
15然後倒入鋪好油紙的八寸方形烤盤中,烤箱180度預熱
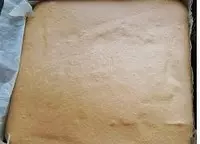
16中層20分鐘左右取出來,放涼
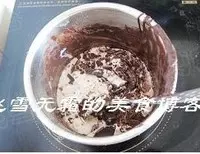
17果醬加入水先煮開
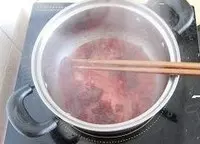
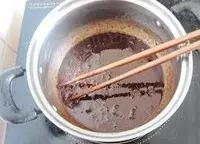
18再倒入切碎的巧克力
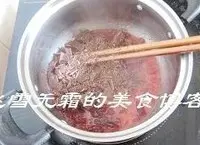
19將果醬和巧克力混合均勻放涼備用
20將果醬擠到去掉油紙的蛋糕體的表面,用抹刀抹平
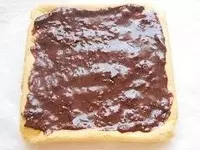
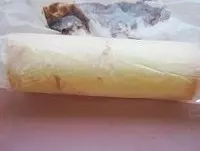
21然後將蛋糕藉助於油紙捲起。固定幾分鐘定型
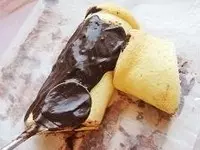
22巧克力加入淡奶油加熱融化
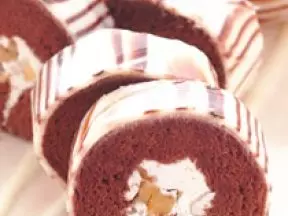
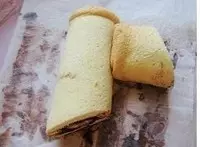
23卷好的蛋糕捲去掉外面的油紙

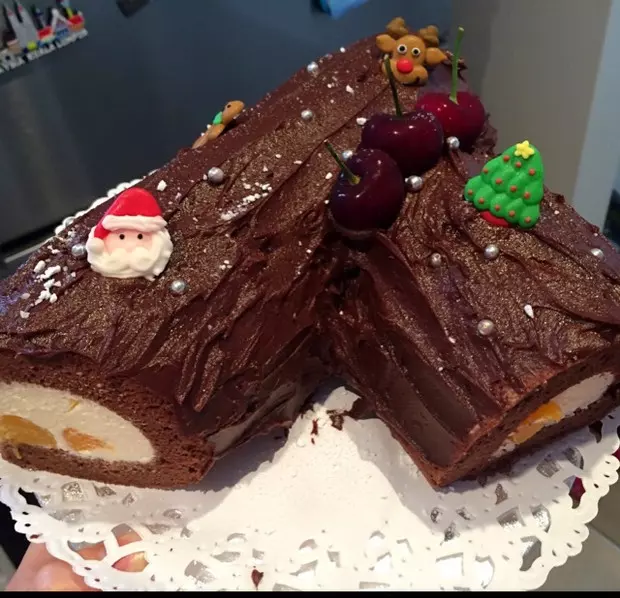
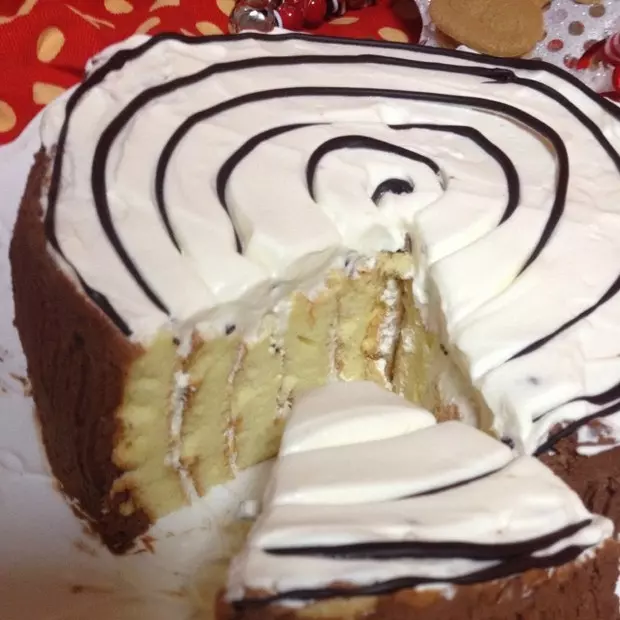
24斜切成一大一小兩塊
25將融化的巧克力奶油用小勺子塗在上面
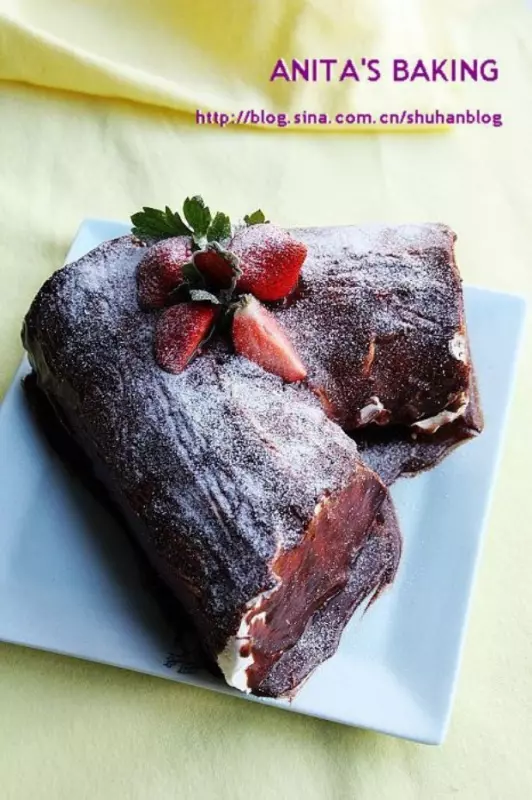
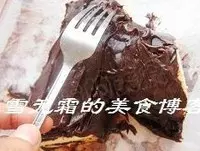
26塗好後,再用小叉子畫出紋路。然後沾上小蘑菇,灑上糖粉即可
小技巧
1,有些人說蛋糕卷表層容易撕掉,應該是你還沒烤熟。 2,如果蛋糕卷捲起的時候開列,說明烤的時間過了。 3,巧克力融化後,如果不加淡奶油會立刻凝固,所以加些淡奶油可以更好的操作,也會顯現樹根的紋路。