原料
黃油: 75克, 蛋黃: 1個, 低筋麵粉: 120克, 嬰兒奶粉: 12克, 蛋清: 1個
步驟
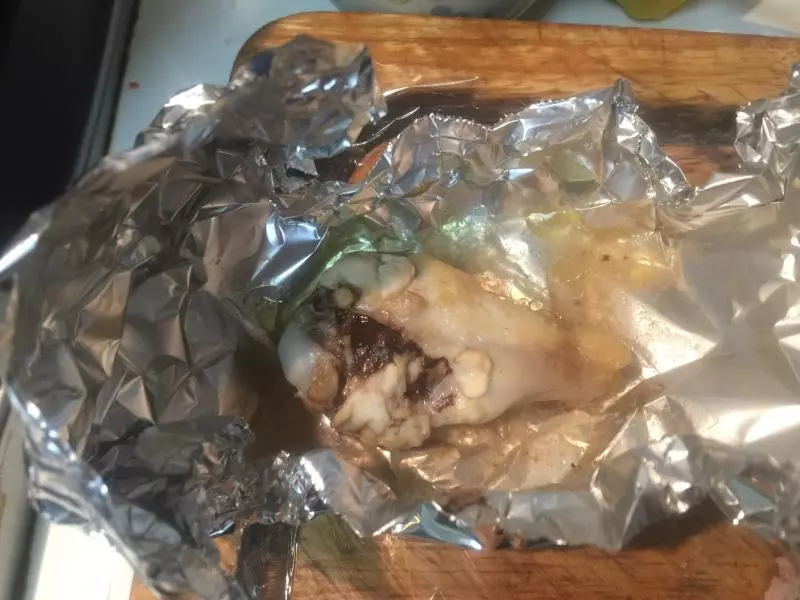
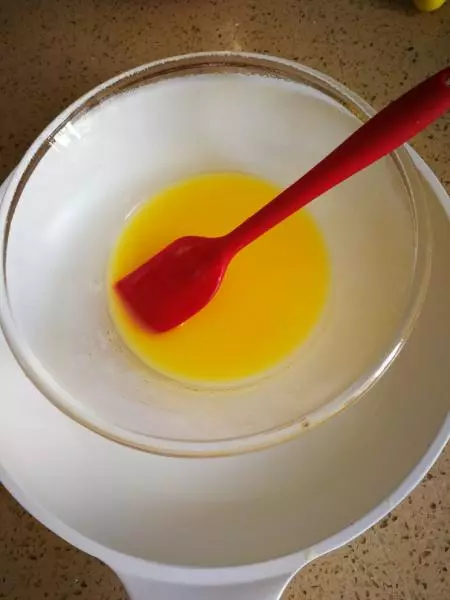
175克黃油隔熱水融化。
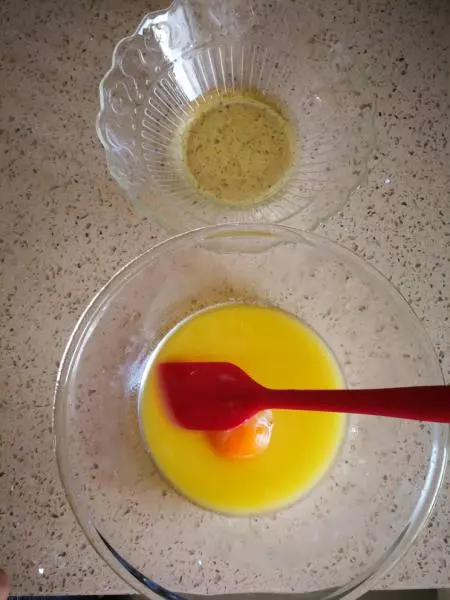
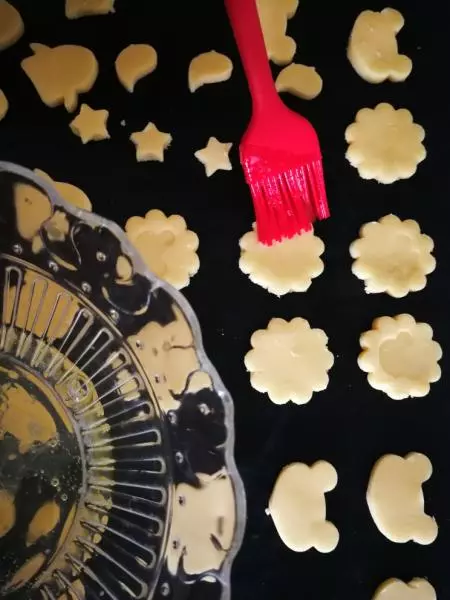
2蛋清與蛋黃分離,將蛋黃加入黃油中,蛋清等待一會兒塗抹餅乾表面備用(PS不浪費材料)~
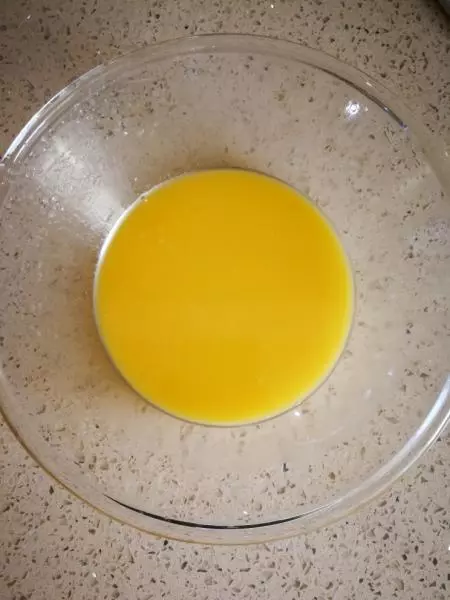
3用打蛋器將蛋黃和黃油攪打均勻,液體微微泛白。
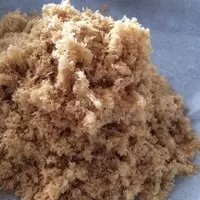
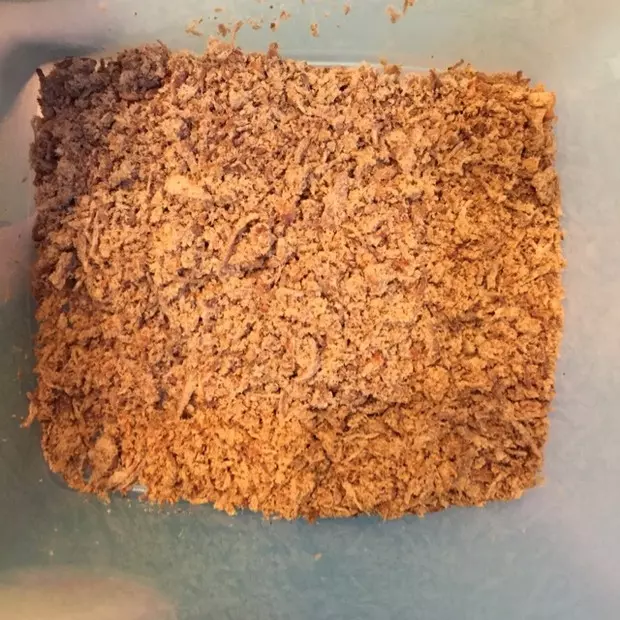
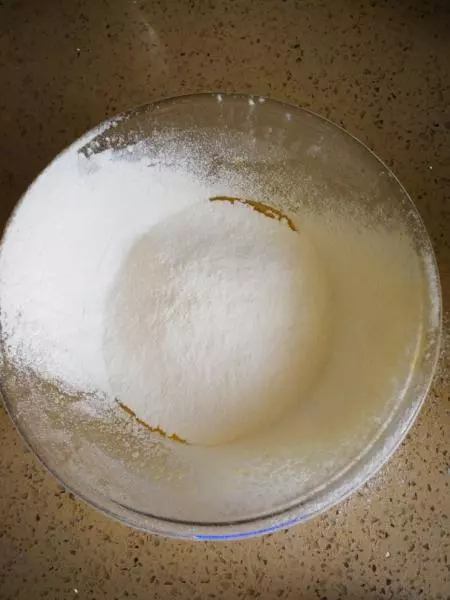
4將12克嬰兒奶粉篩入並用刮刀翻拌均勻。

5繼續篩入120克低筋粉,先用刮刀翻拌一下,後面可以用手揣一揣~
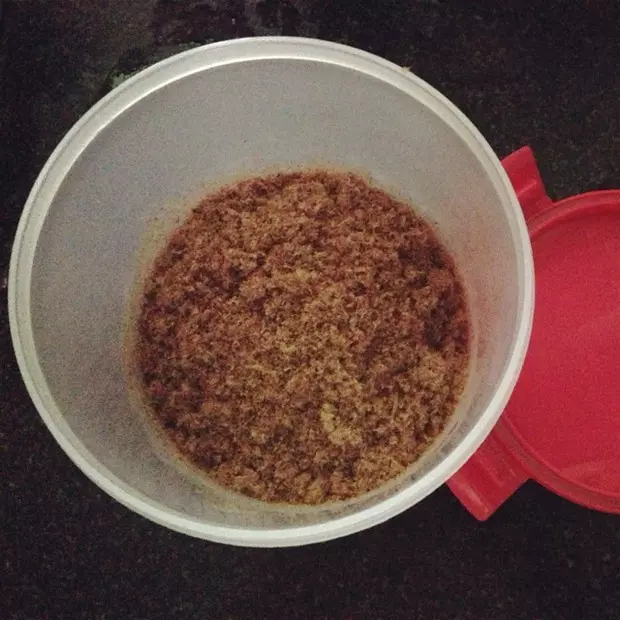
6揉成一個麵糰,封上保鮮膜放進冰箱冷藏30分鐘。

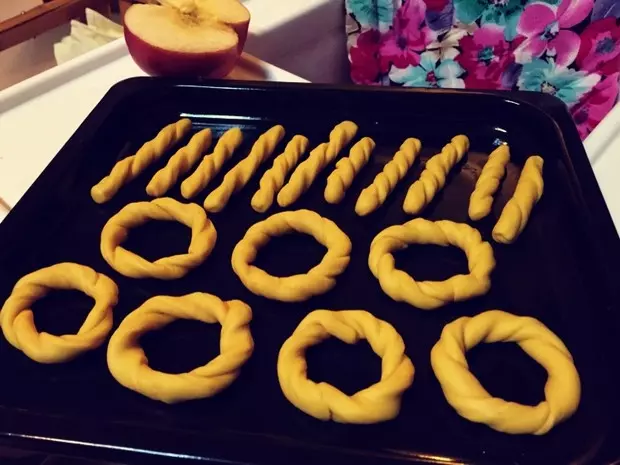
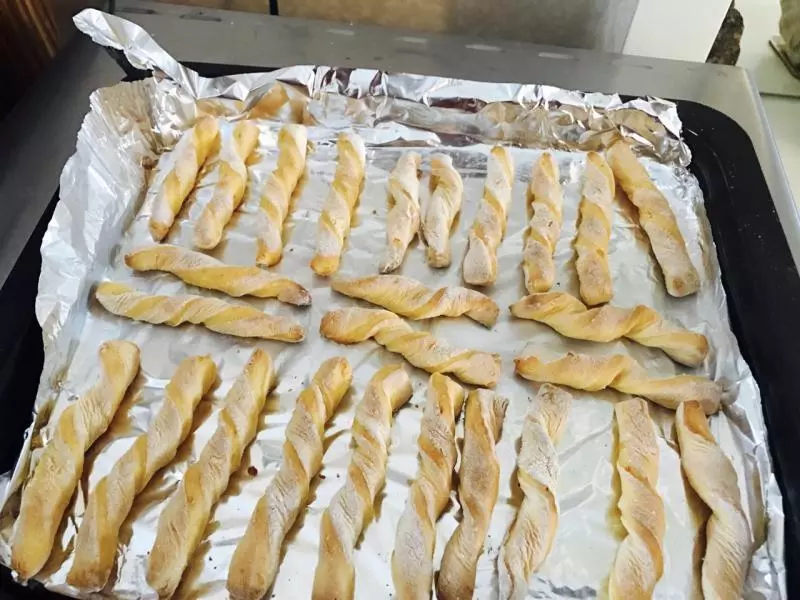
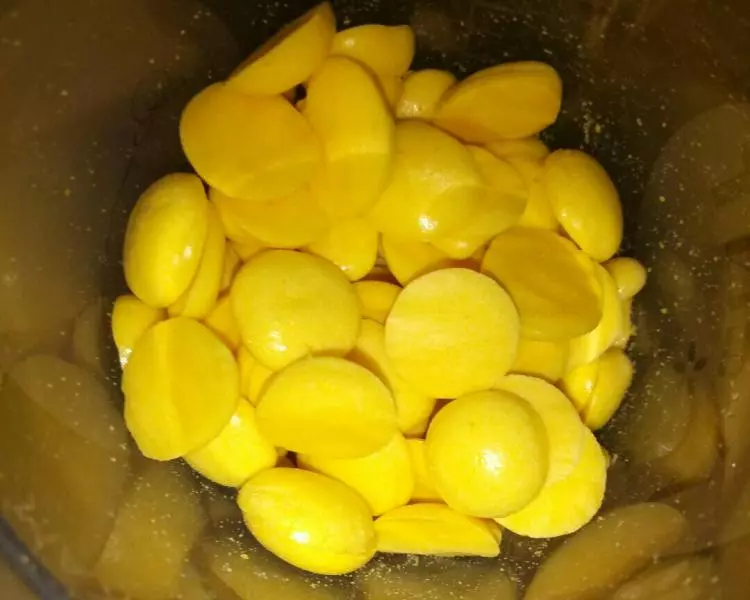
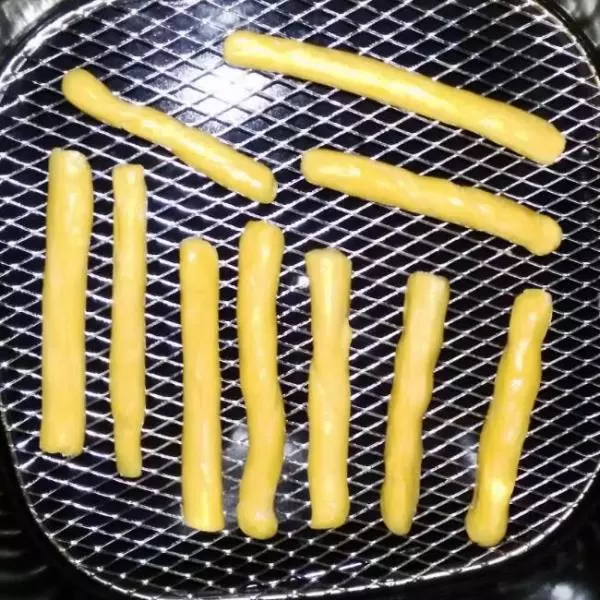
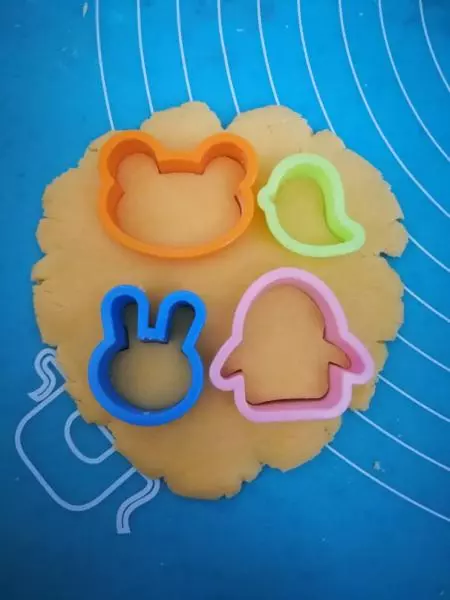
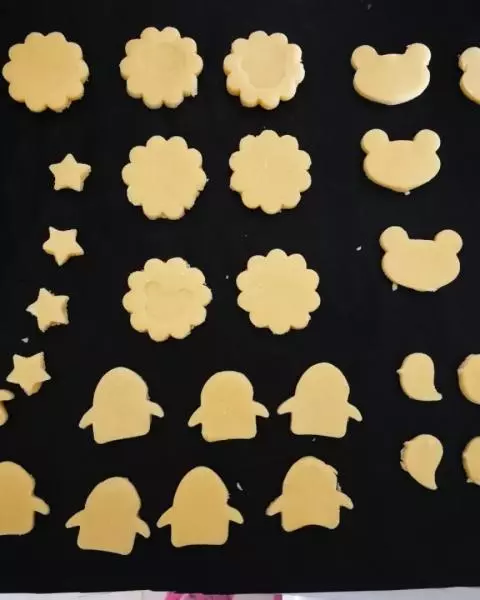
7將麵糰用手壓及擀麵杖擀成約0.5厘米厚的餅皮,用模具一個一個按壓成型。
8中途將烤箱上下管180度預熱~
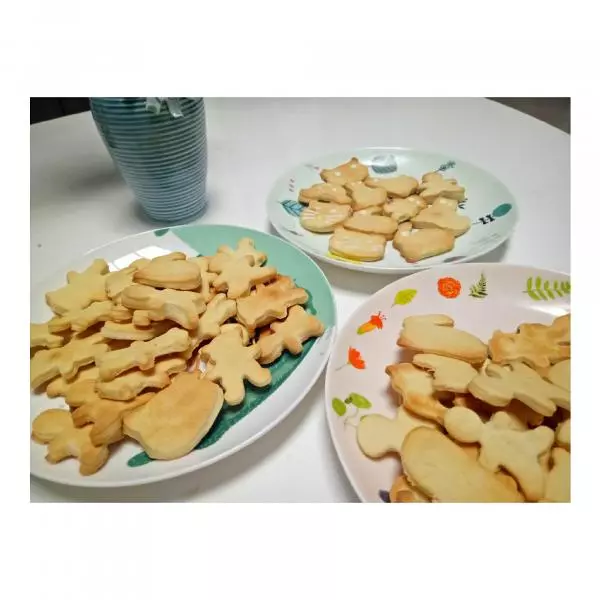
9將前面剩餘的蛋清均勻塗刷至餅乾表面。放進烤箱180度15分鐘左右靜候~這個期間要密切觀察餅乾表面烤至金黃即可,切忌烤過頭將餅乾烤糊!
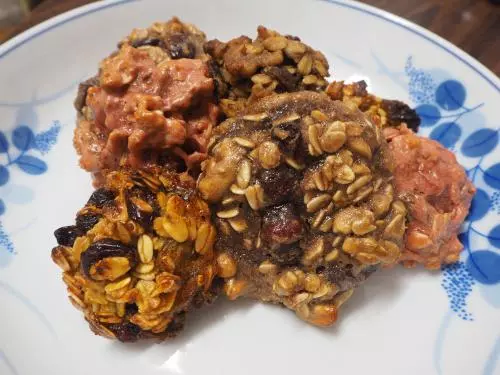
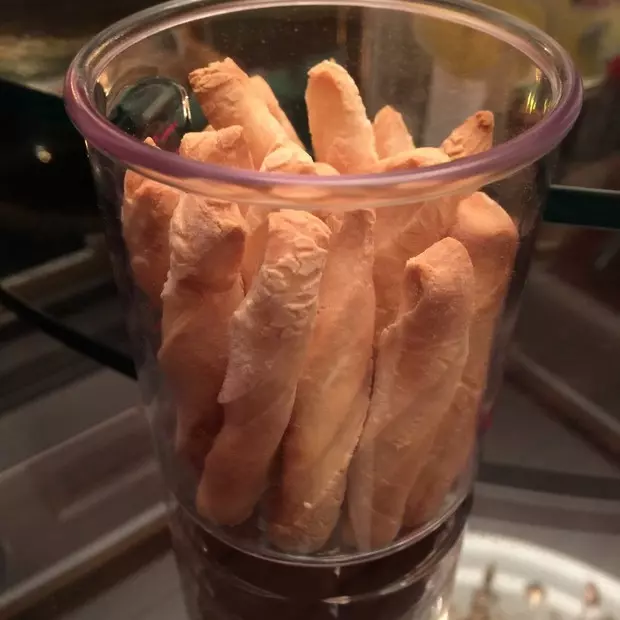
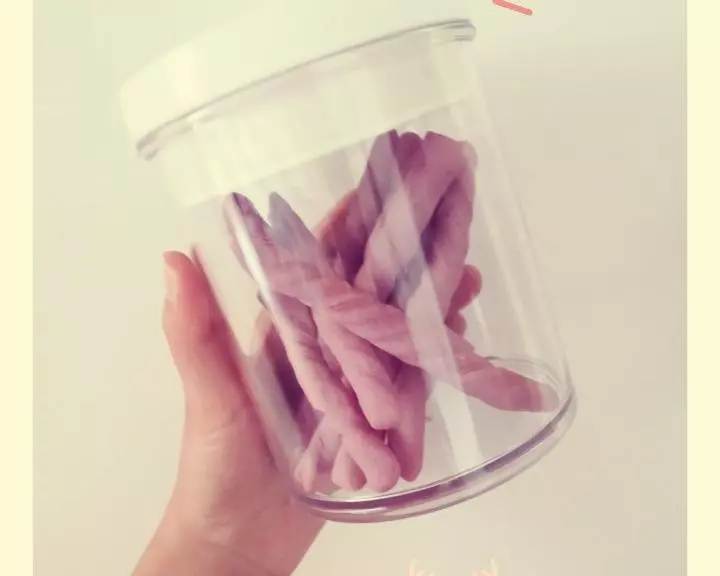
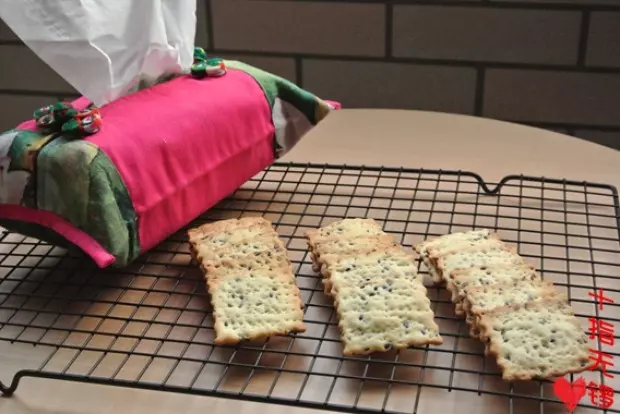
10大功告成,入口即化,酥軟且脆的嬰兒餅乾出爐了~大人吃了也上癮噢?

小技巧
在用模具擠壓成型的時候要有耐心,不能著急!怎麼樣?是不是很簡單!趕快來試一試上傳你的作品吧~