原料
雞蛋: 個2, 麵粉: 200克, 油: 20克, 鹽: 10克
步驟
1和面,我用了3張餅的量。
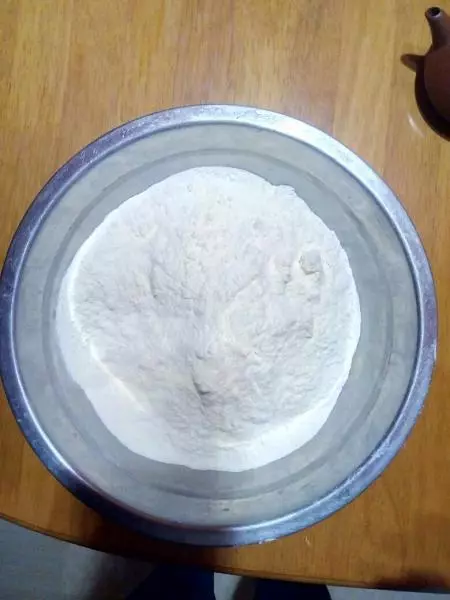
2溫水和面,水少量多次添加。和面水平不高的話,堅持一原則:面多了加水,水多了加面。
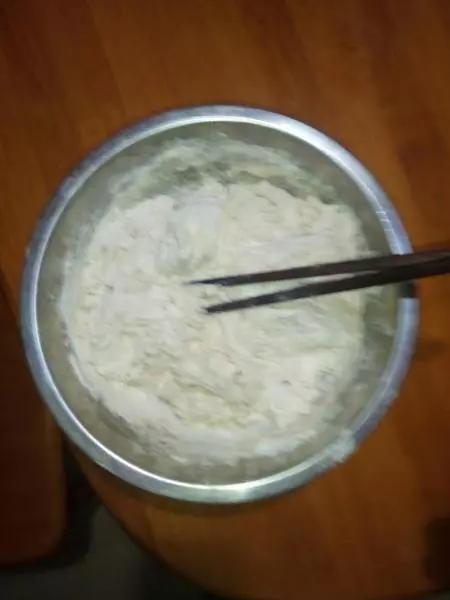
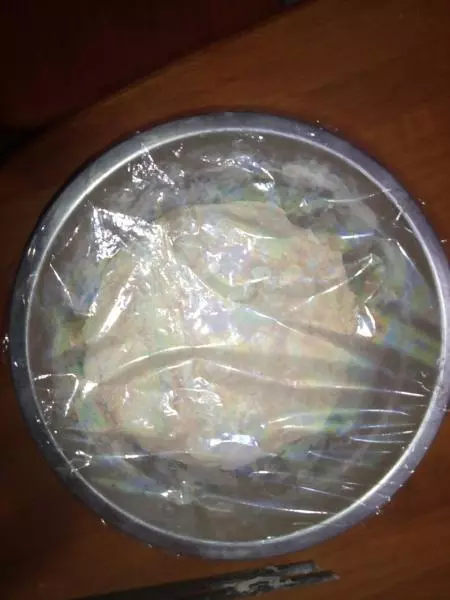
3和好面後,放盆里蓋上保鮮膜餳上20分鐘。
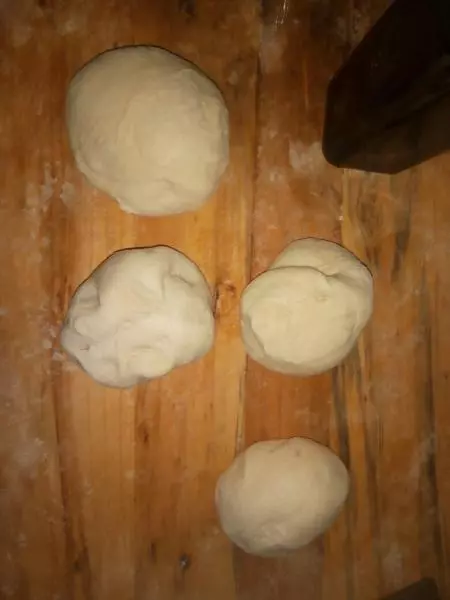
4然後可以分成幾個劑子,反覆揉一揉。
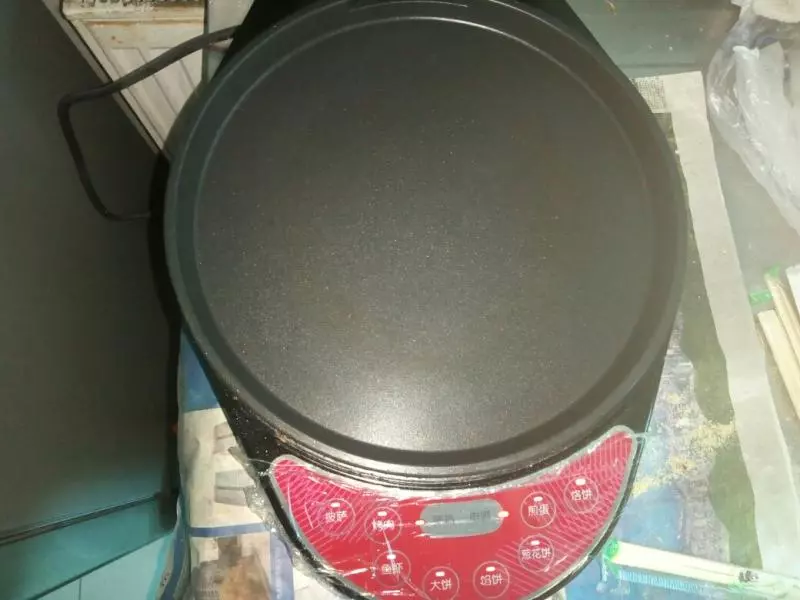
5為了省事,當然電餅鐺是最好的,雙面加熱,選擇烙餅檔,先預熱。
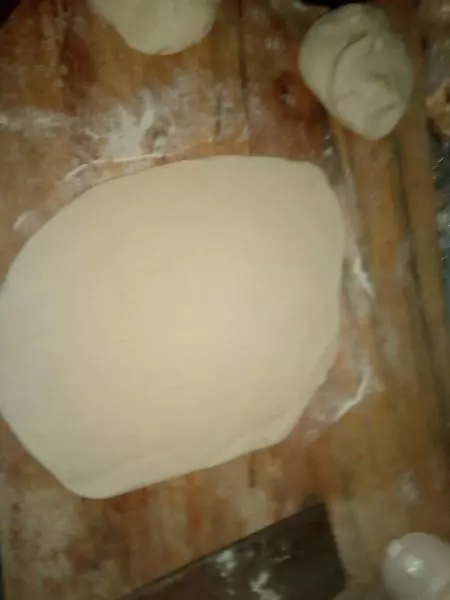
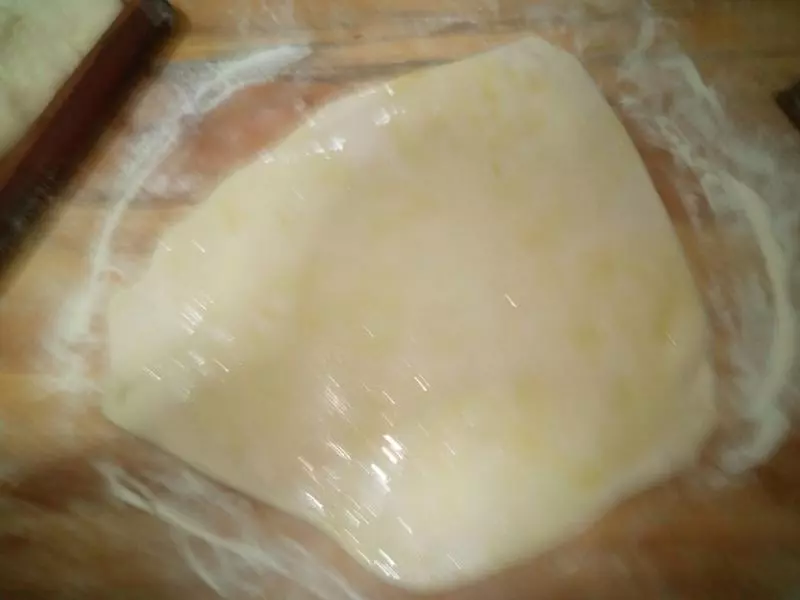
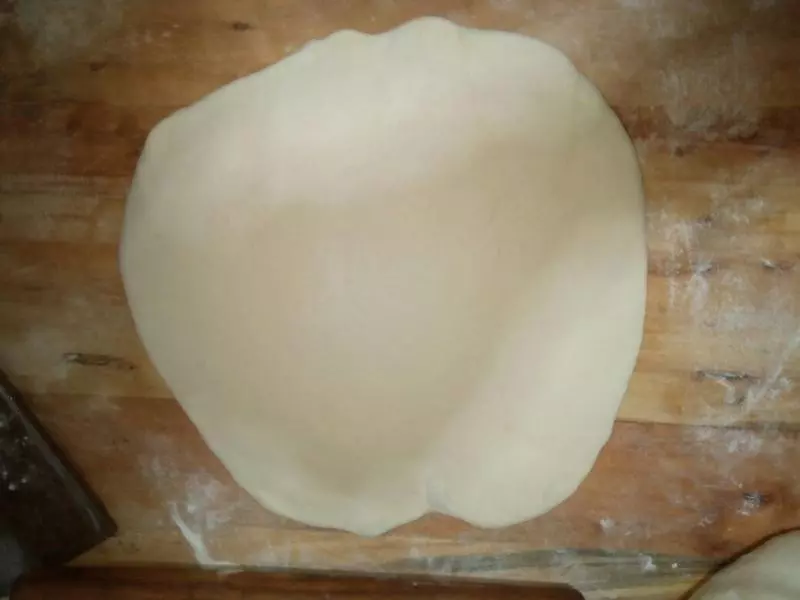
6把劑子用擀麵杖擀開,怕粘案板,可以少撒點麵粉。
7把擀開的餅上,倒點橄欖油,其實食用油就行。
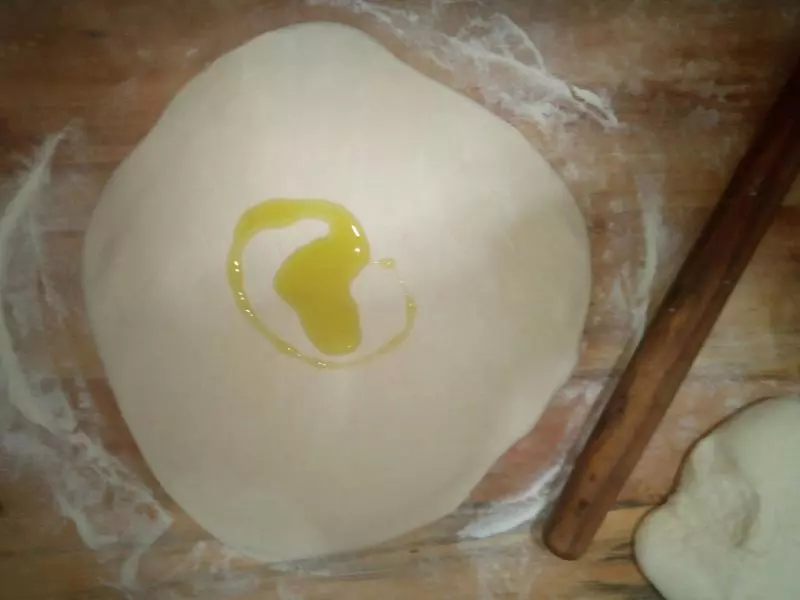
8把油在餅上抹均勻,我是反覆粘的,刷均勻也行。
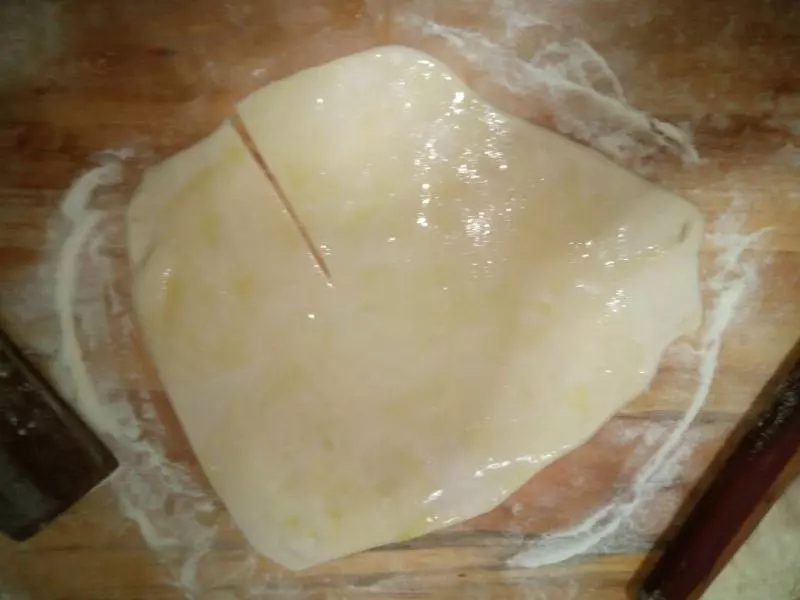
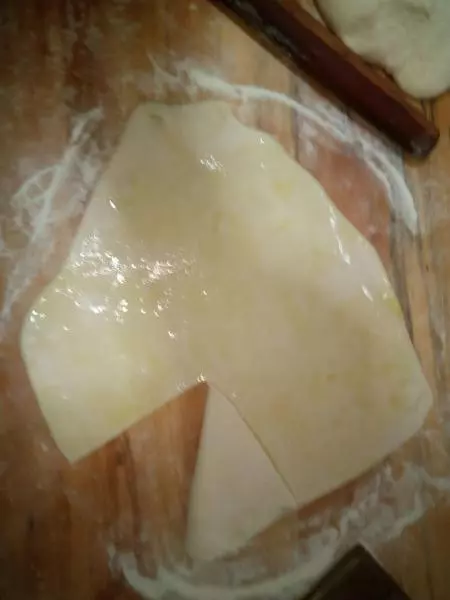
9用刀切個口,切到中心位置,為了一會對摺捲起來方便。
10然後就是捲起來了,順著一側卷,兩邊同時卷都可以。
11折到一起。
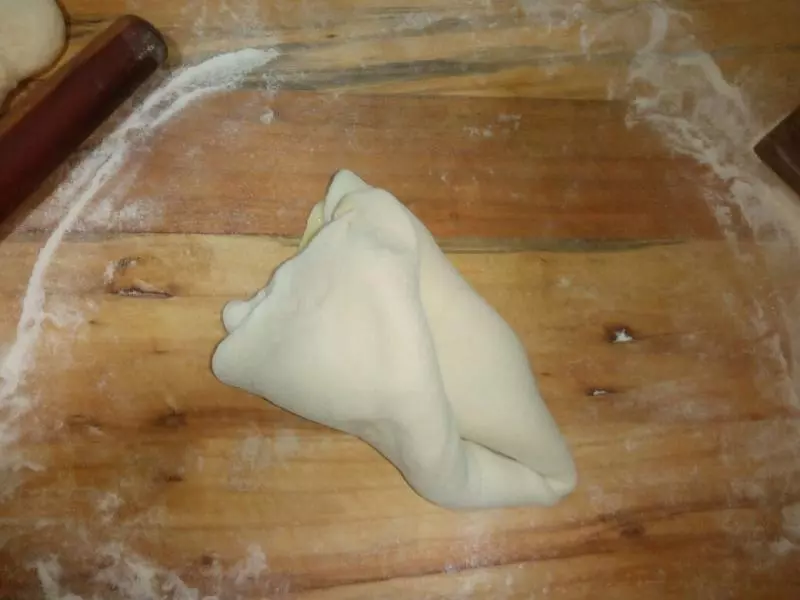
12折到一起,不能露出來油呀,有油一面給它包嚴實。
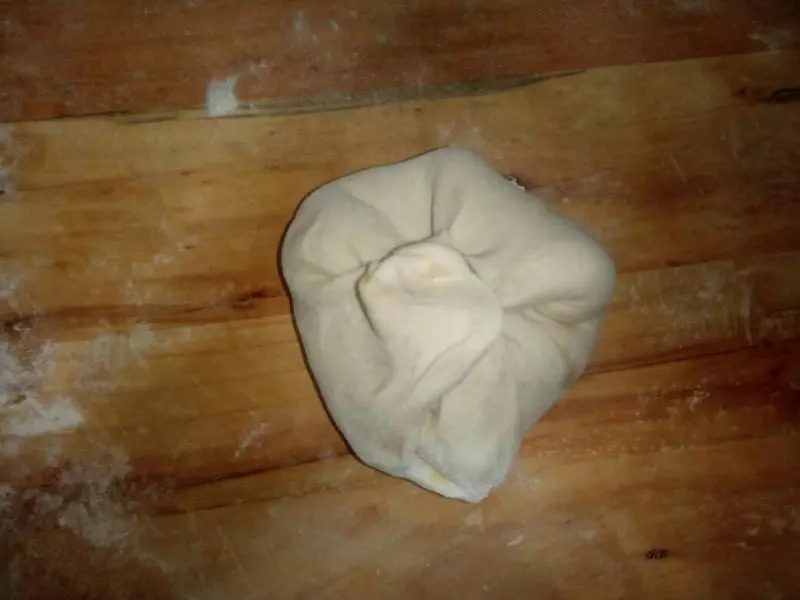
13然後,翻過來,對摺的那面朝下放置。
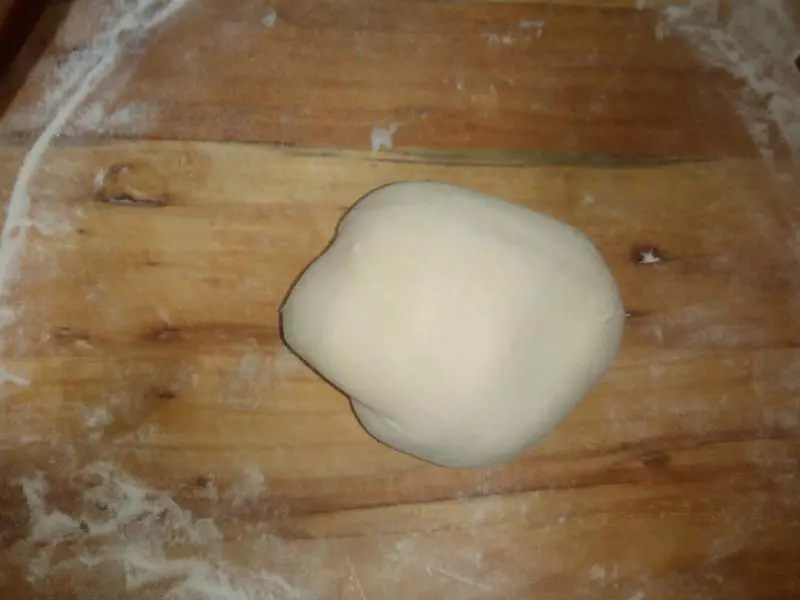
14再給團起來的麵糰擀開。
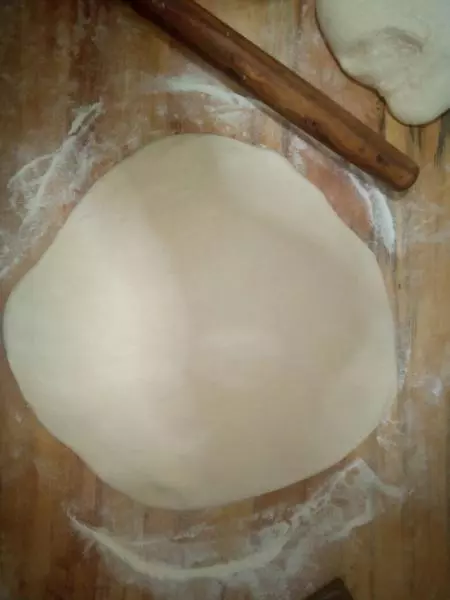
15轉個角度看看。
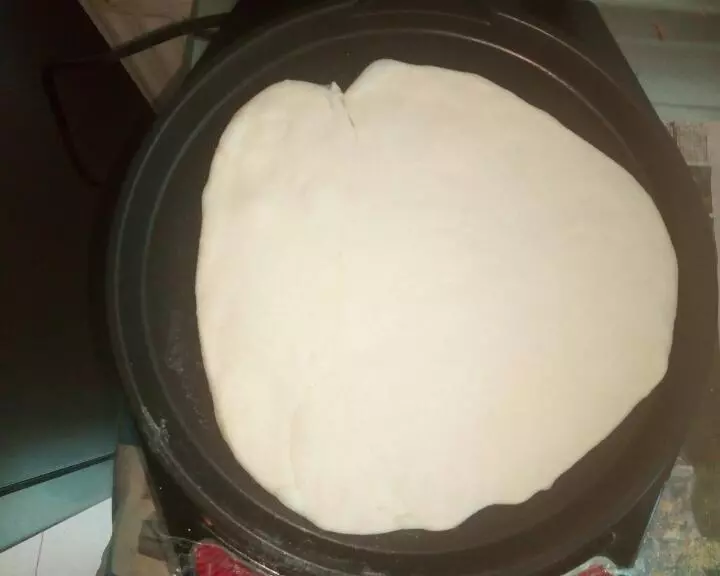
16電餅鐺預熱後,可以刷點油,我一般不放油,熱3分鐘翻面後再2分鐘。
17碗里打上雞蛋2個,使勁攪散。

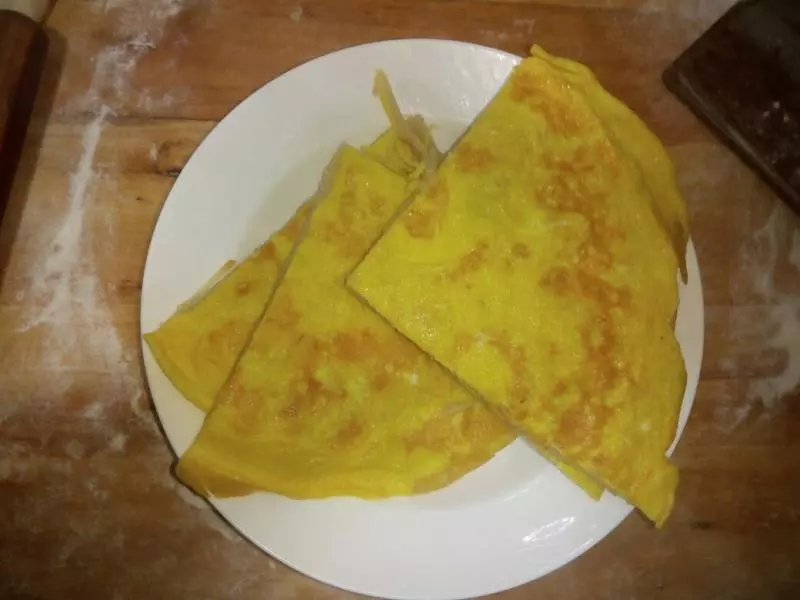
18把餅拿出來後,把打好的雞蛋放電餅鐺里。
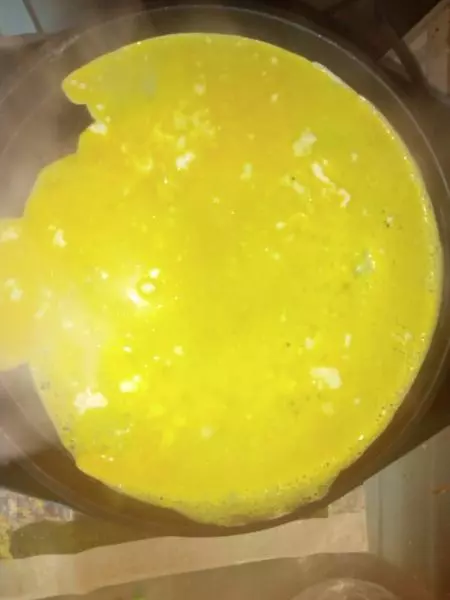
19等雞蛋稍稍凝固,很快的,然後把烙好的餅放上,蓋上蓋燜一下。
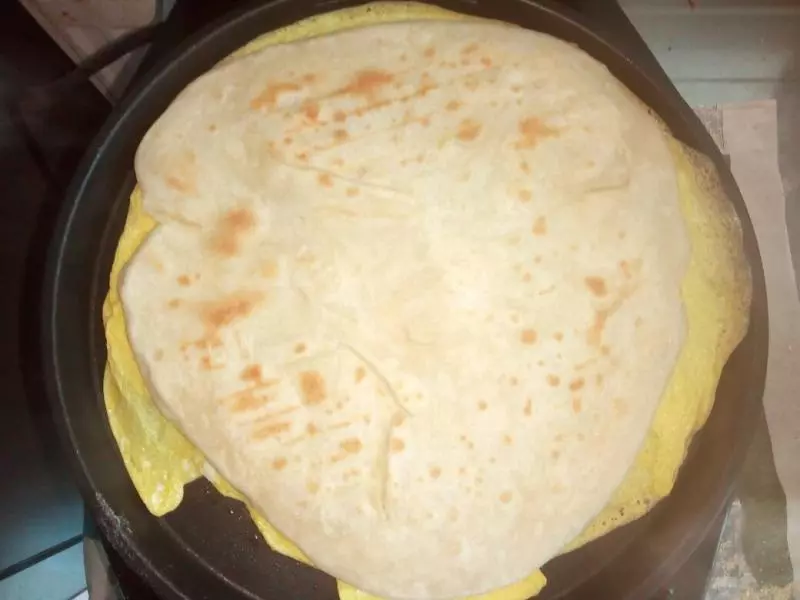
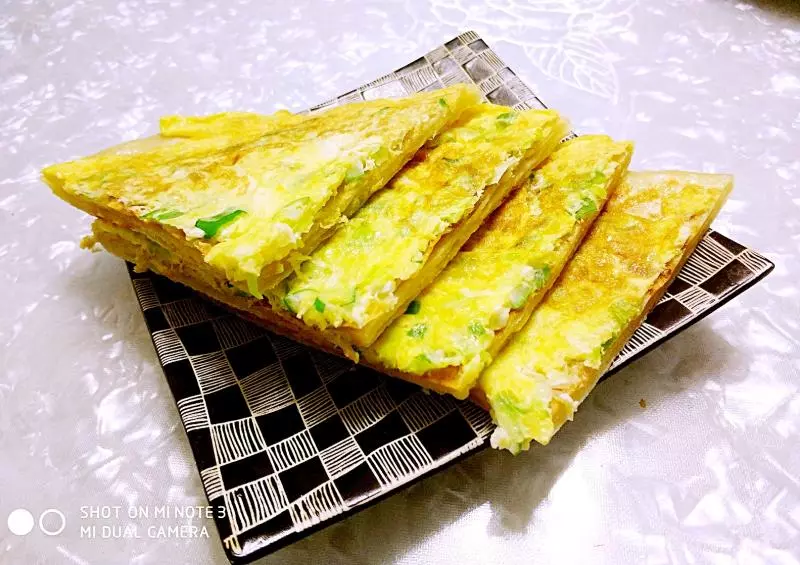
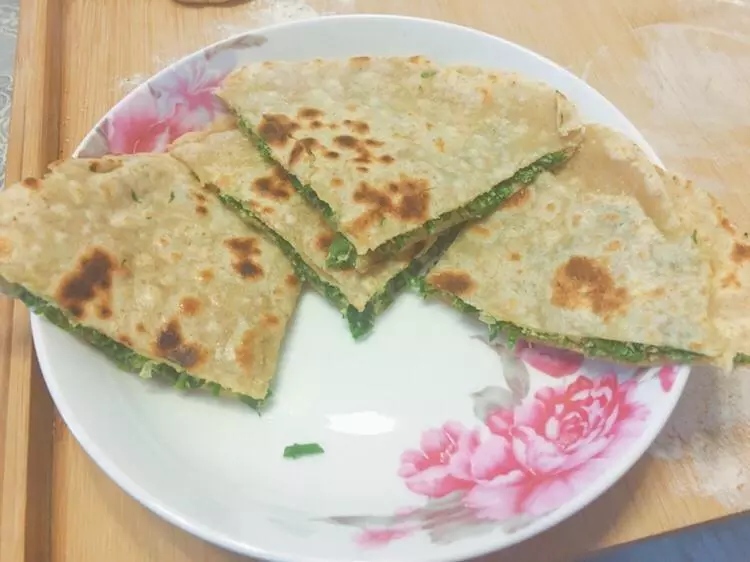
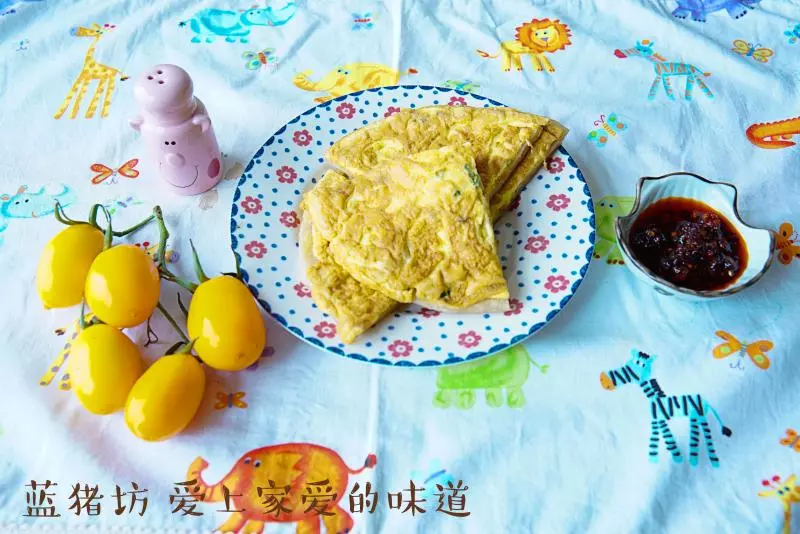
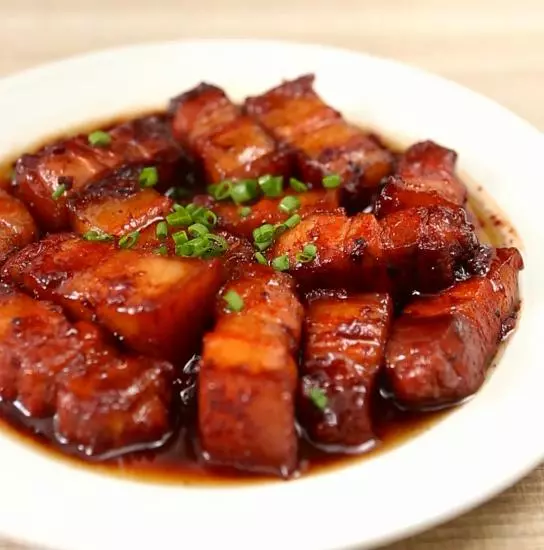
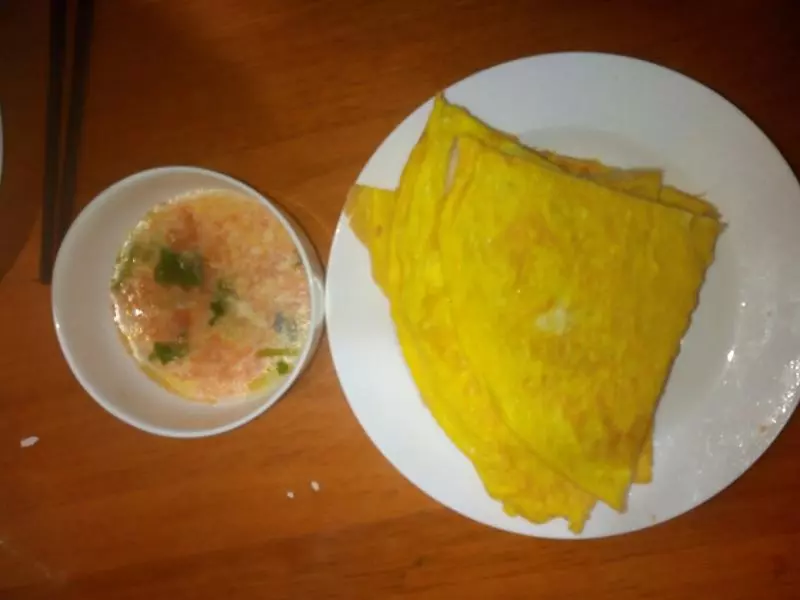
20表面脆脆的烙餅粘雞蛋出鍋,切成四份。

21不粘雞蛋和粘雞蛋的,當然是粘雞蛋的好吃了。

22人多可以多做幾份,好吃呀。
小技巧
1.烙餅翻面時,可以等一面烙黃些比較好。 2.烙餅一定要擀薄一些,否則不脆。 3.電餅鐺選上下加熱的,這樣速度快點。 4.和面都是要餳的,道理不多說。