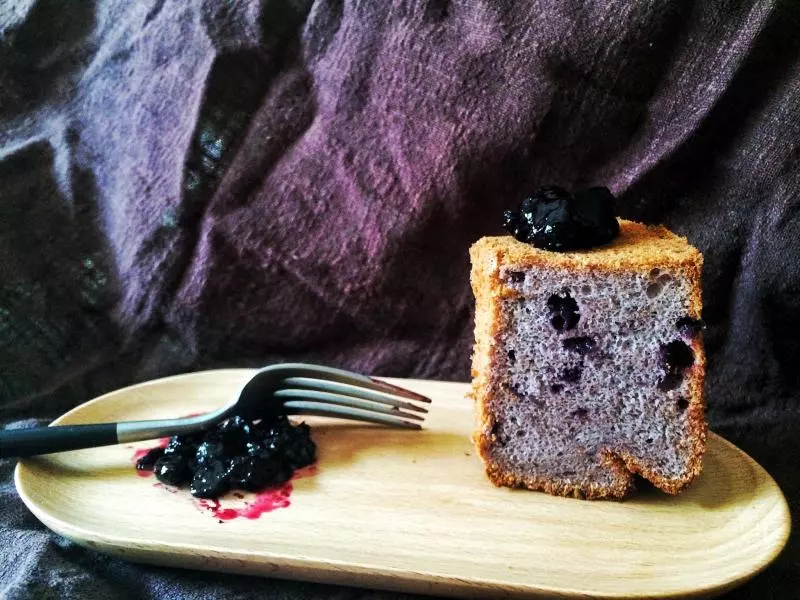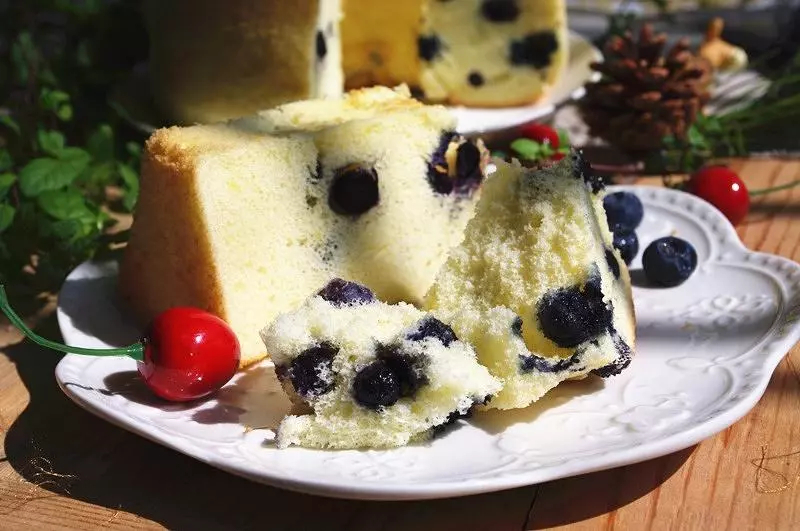
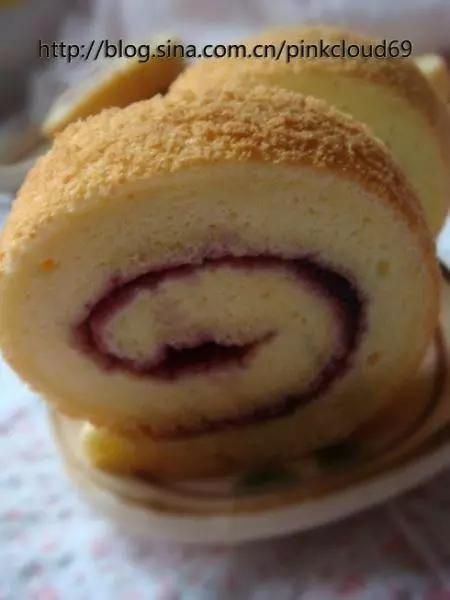
原料
雞蛋: 4個, 無味植物油: 40g, 純牛奶: 60g, 低筋麵粉: 75g, 白糖: 60g, 藍莓: 90g
步驟
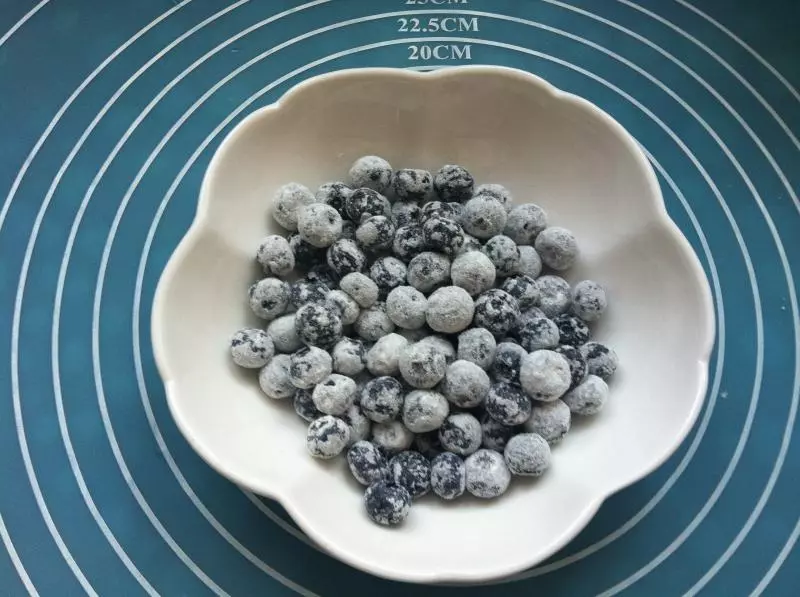
1藍莓洗凈,稍晾表面水分,與少量份量外低粉拌合,使藍莓表面沾上低粉。 如果是冷凍的藍莓要在室溫放置一段時間,藍莓互相不沾連即可。
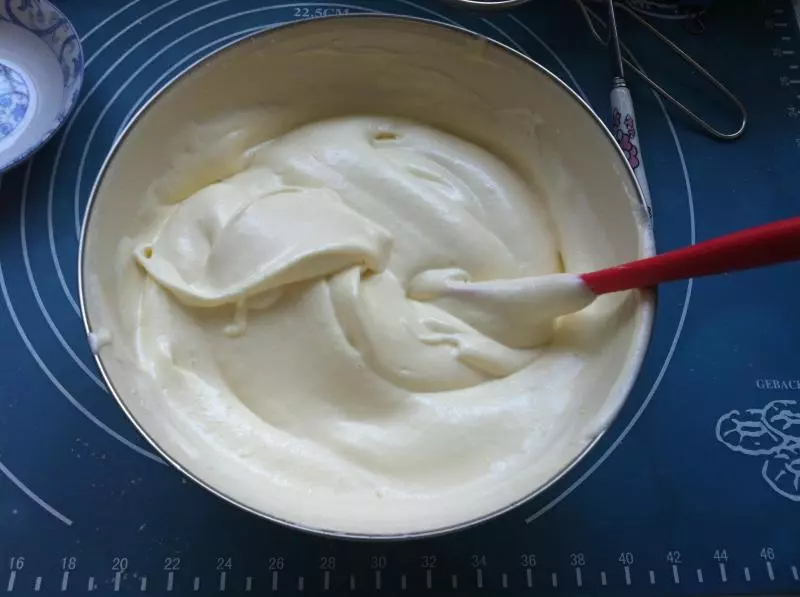
2分蛋。 蛋黃內加油、純牛奶,每次都攪拌均勻後,篩入低筋,十字切拌以免起筋,拌至麵糊順滑。

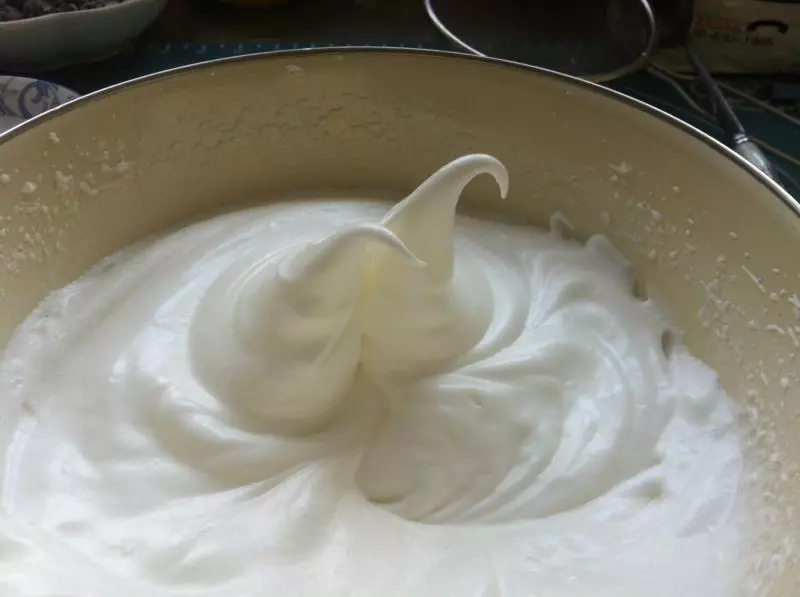
3蛋白分三次加糖,打至提起打蛋頭可以打出小彎鉤。
4將三分之一蛋白放入蛋黃糊內。
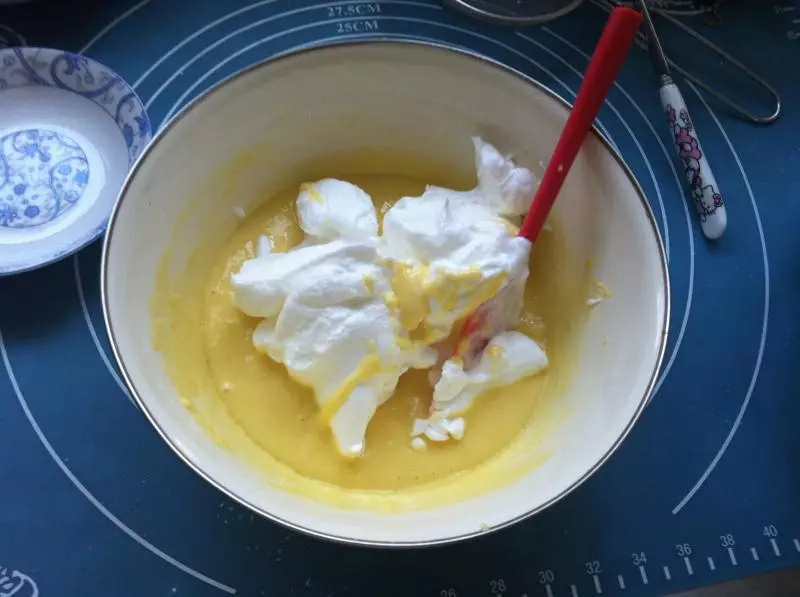
5切拌均勻後倒回蛋白盆中。
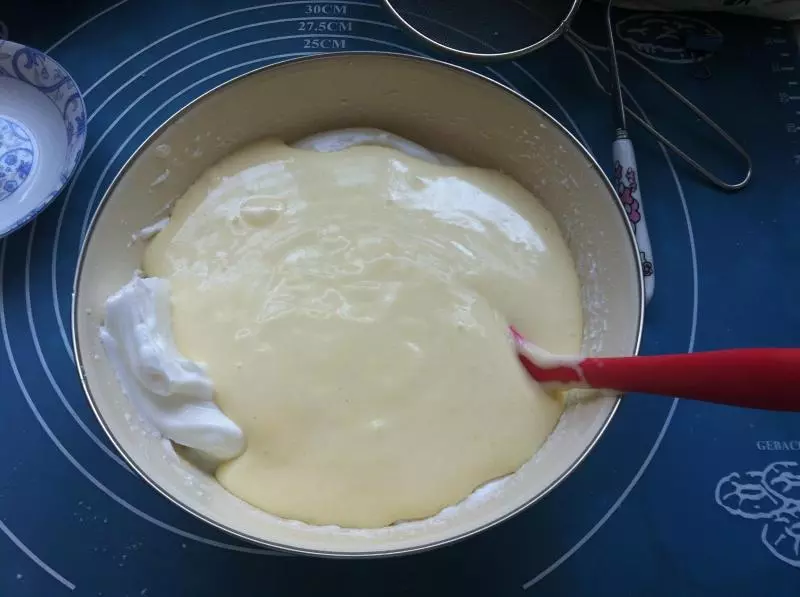
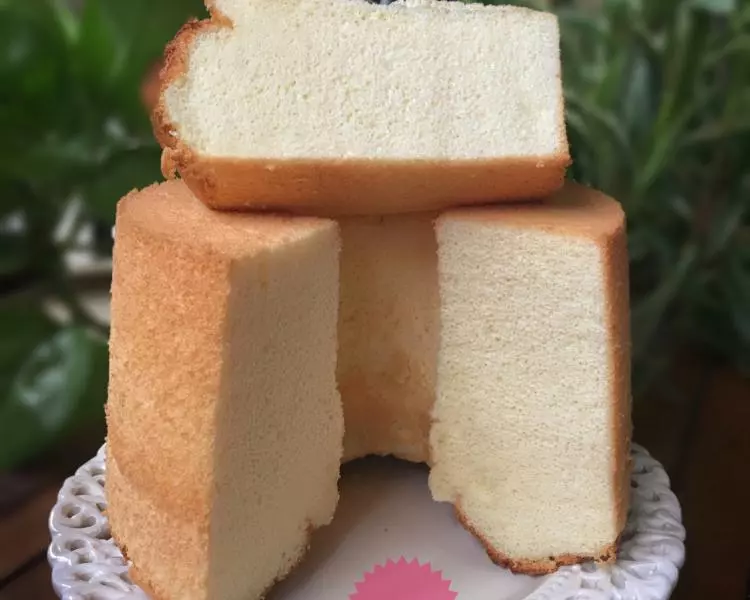
6再次切拌均勻。 麵糊是濃稠的,如圖。
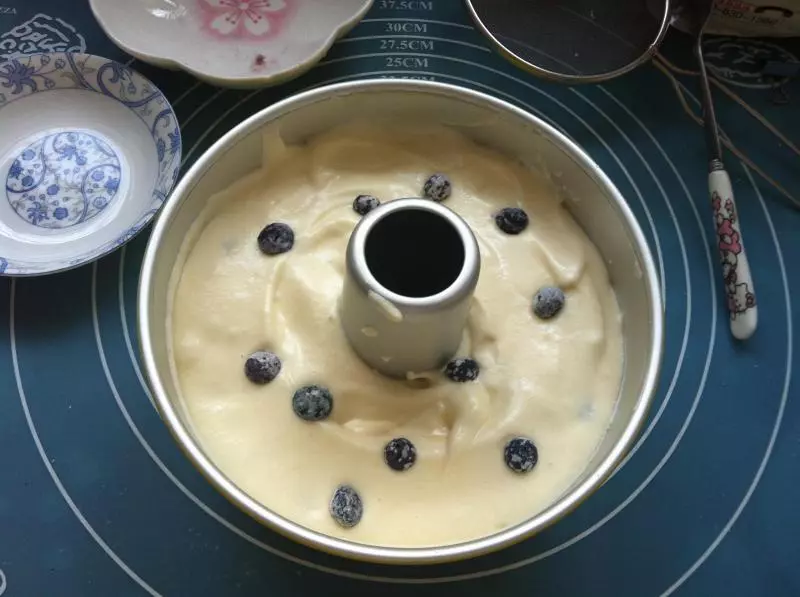
7將1/3麵糊倒入模具內,表面沾有低粉的藍莓輕輕放在麵糊上面,再次倒入1/3麵糊,放藍莓。
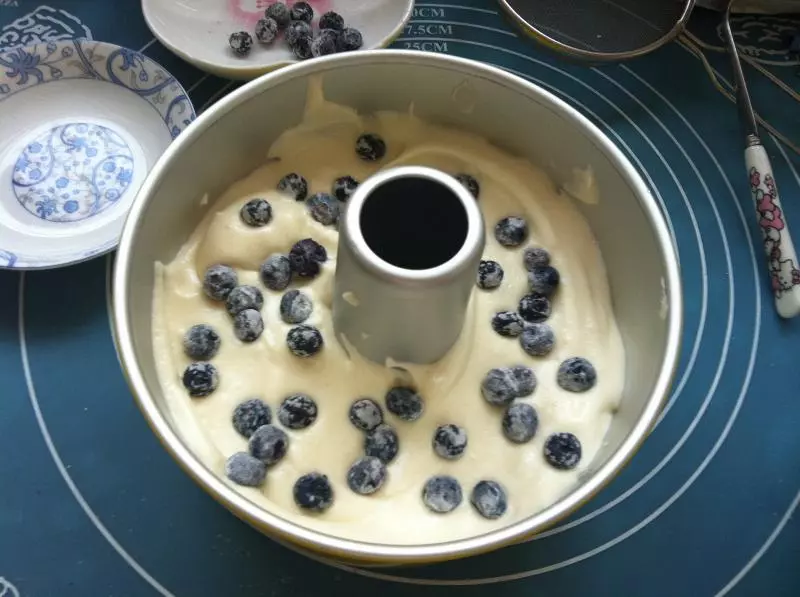
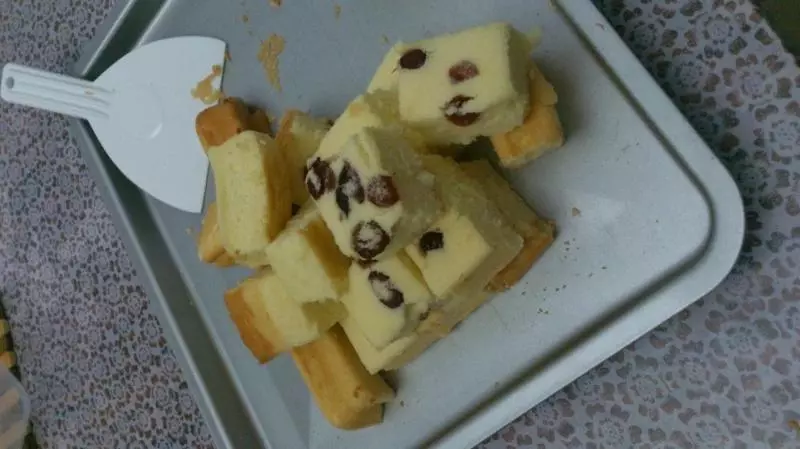
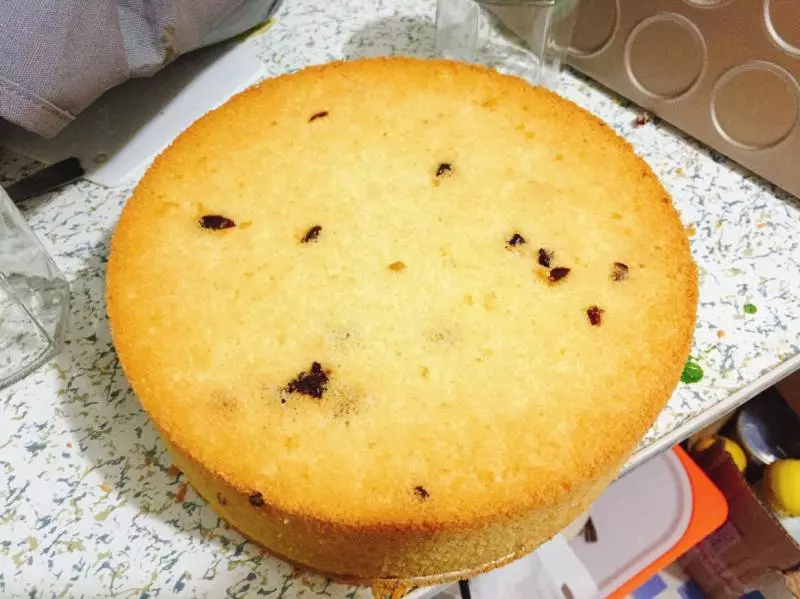
8剩餘的三分之一麵糊蓋住第二層藍莓。我留了幾顆放在麵糊表面。
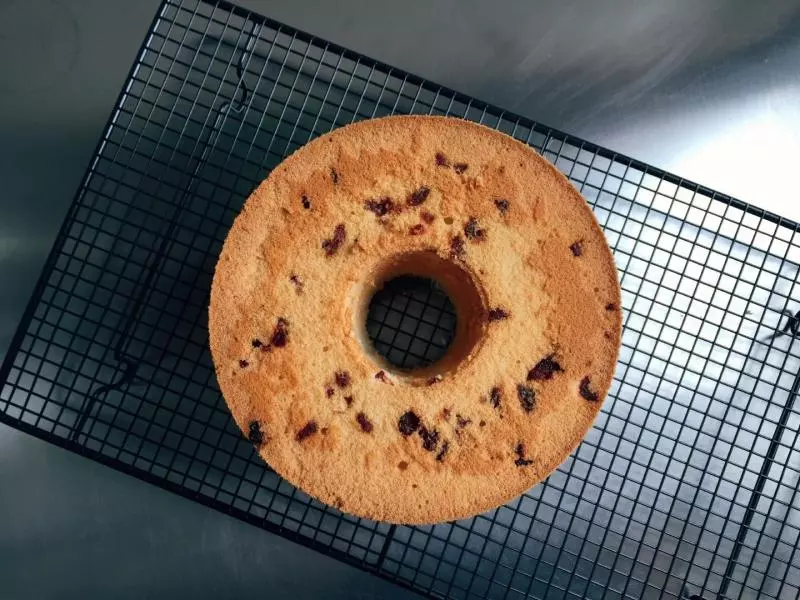
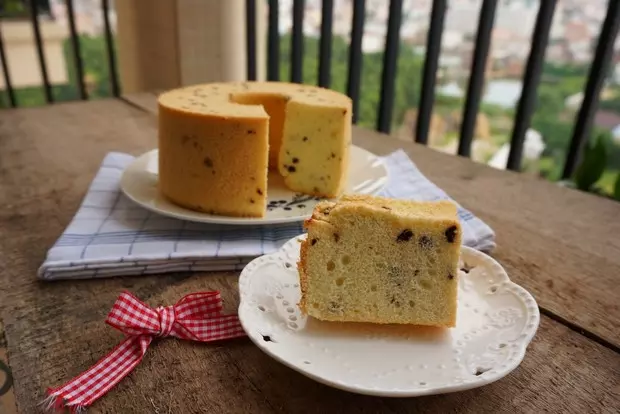
9170度烤30-35分鐘,倒扣至涼。

小技巧
都是日常戚風的步驟。 1、蛋白要打發到位,又不能打過頭。 2、拌合麵糊的時候不要起筋。 3、藍莓表面沾低粉不會下沉。

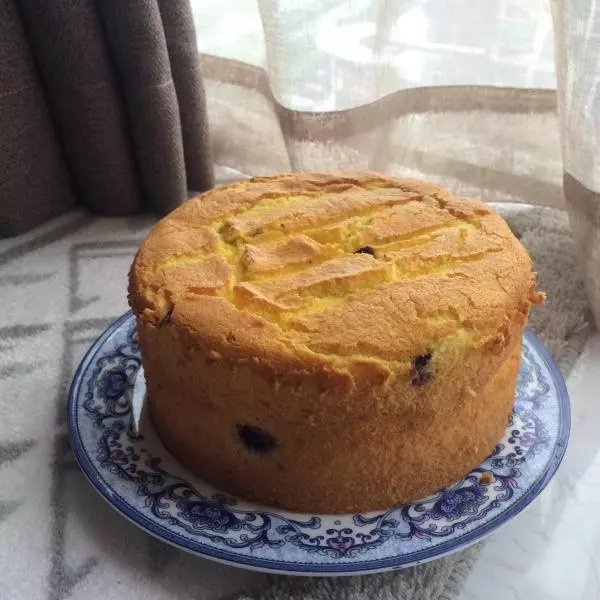
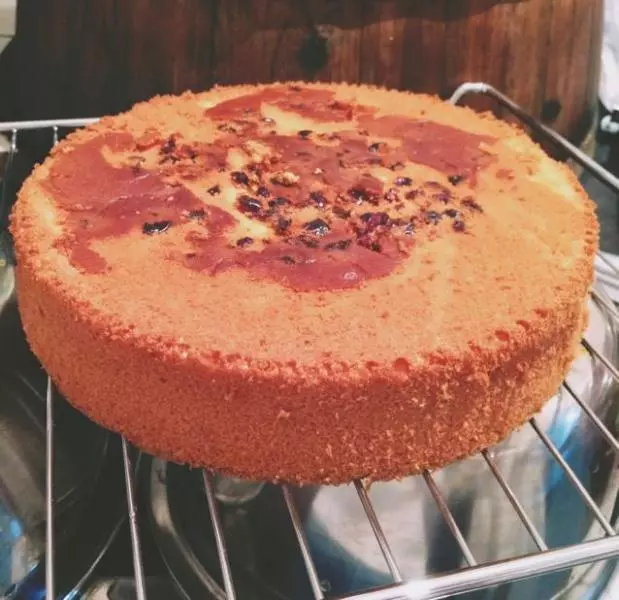
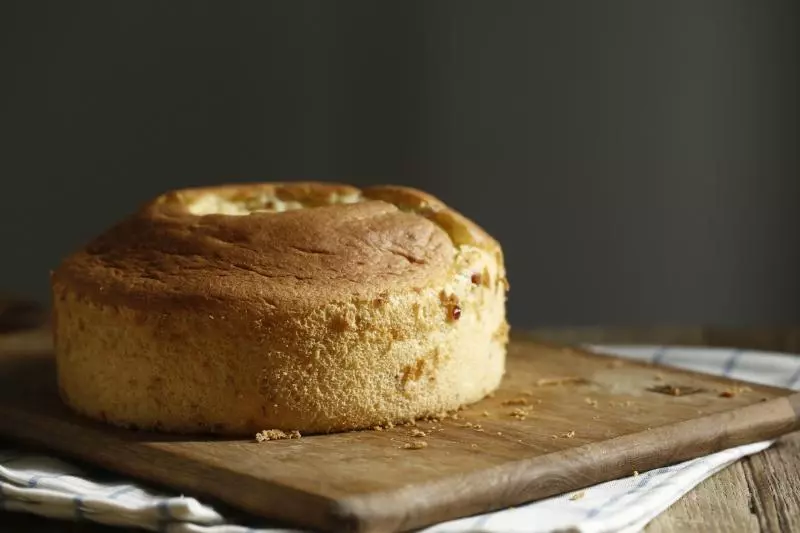
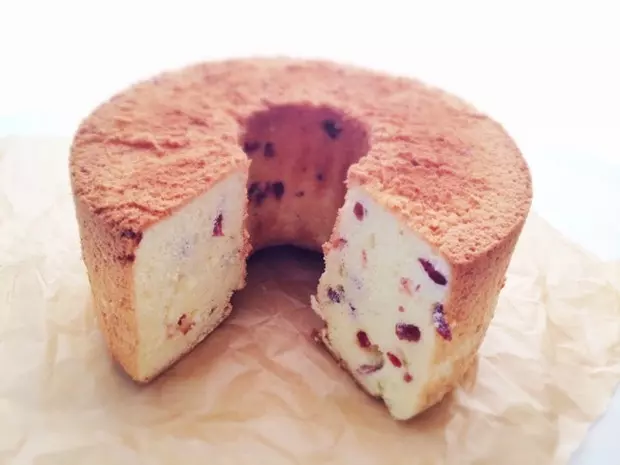
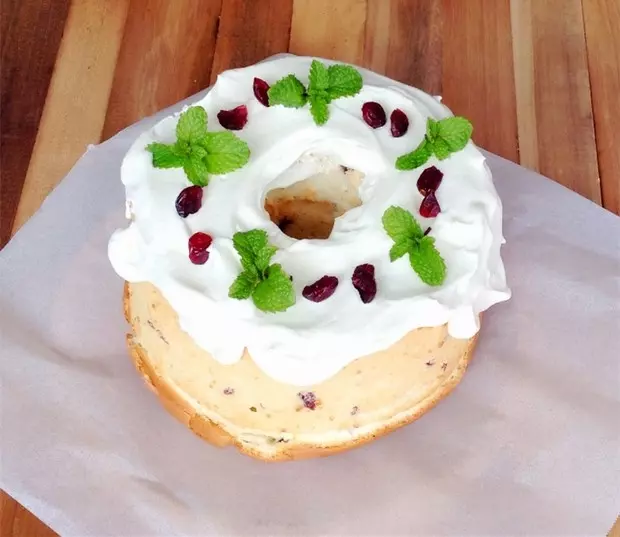
![[香蘭世家]藍莓戚風](/images/node/32/320183.webp?1638109124)