原料
低筋麵粉: 60克, 檸檬汁: 幾滴, 細砂糖: 60克, 雞蛋: 4個, 牛奶: 50克, 鹽: 1克, 植物油: 40克, 淡奶油: 120克, 白砂糖: 12克, 紅絲絨溶液: 5克, 表面裝飾:淡奶油: 50克, 白砂糖: 5克, 樹莓或草莓: 適量
步驟
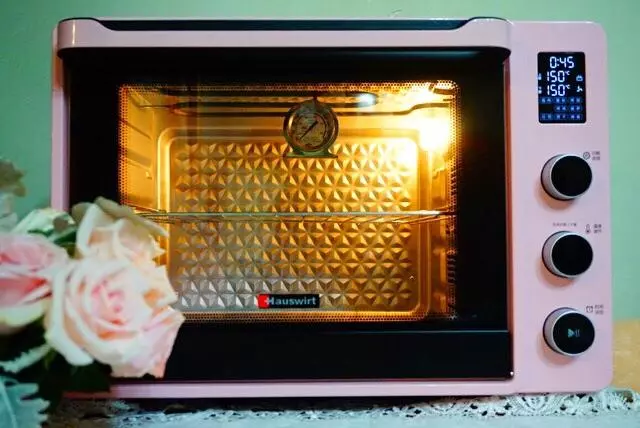
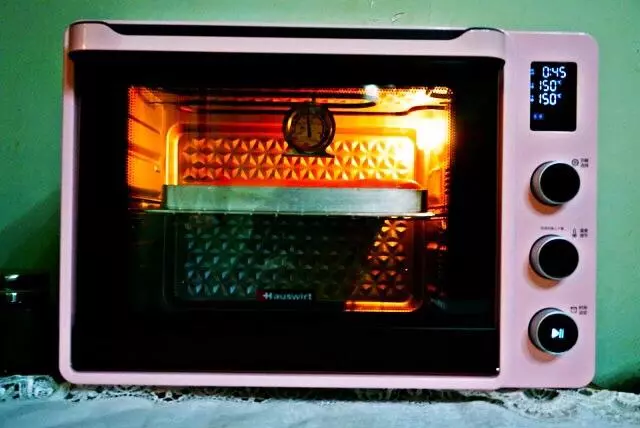
1首先提前先烤箱預熱,選擇烤箱自動模式蛋糕功能150度!
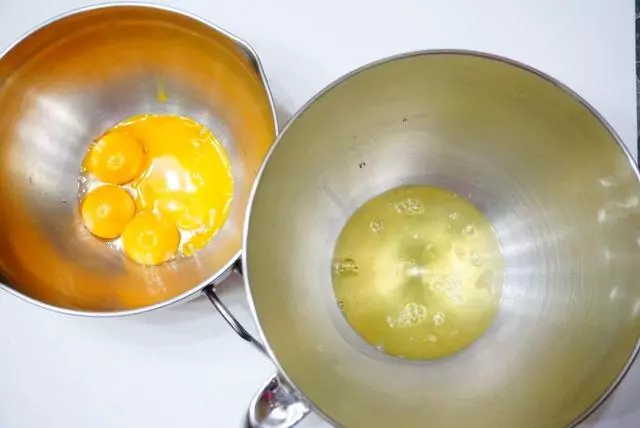
2準備好材料後分別稱重,雞蛋用兩個乾淨的盆子進行分離,蛋白可以直接分離到廚師機的打蛋盆中
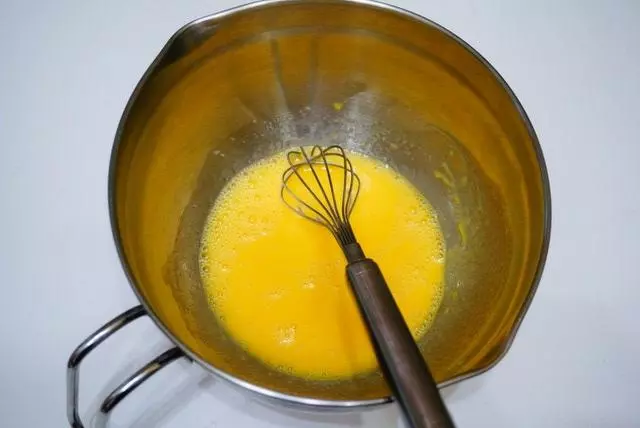
3在蛋黃中分別加入牛奶和植物油和鹽將其攪拌均勻

4直到蛋黃和牛奶植物油完全融合
5再篩入低筋麵粉,進行翻拌
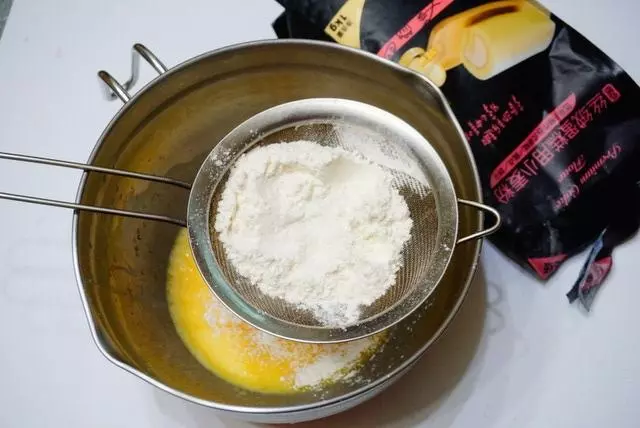
6將蛋黃麵糊攪拌成無顆粒,並且細膩的麵糊
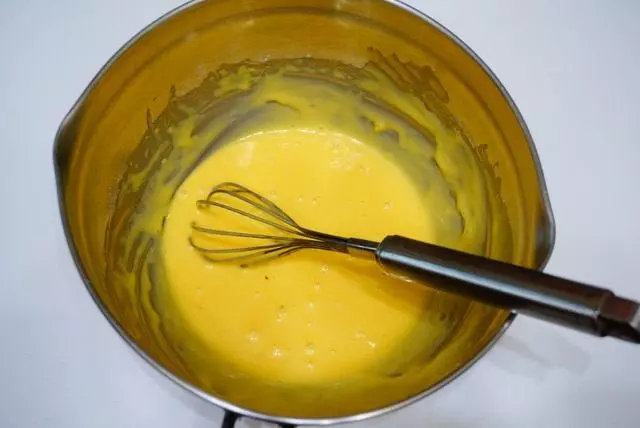
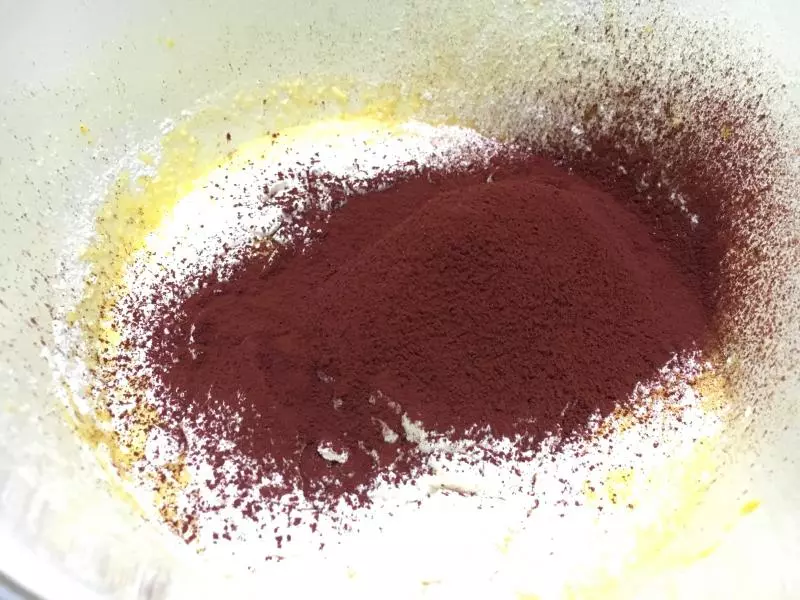
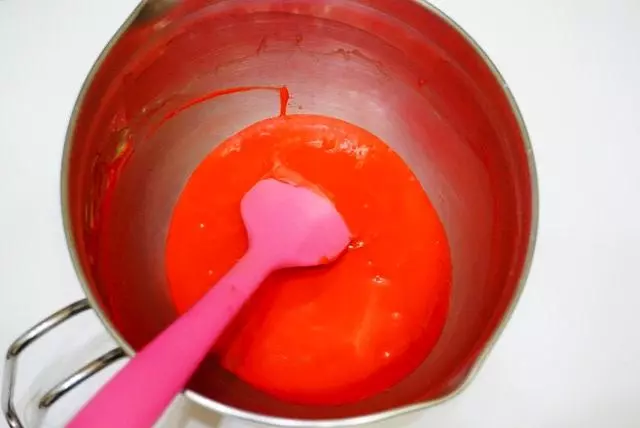
7加入紅絲絨溶液來上色,如果沒有紅絲絨溶液可以用,甜菜根粉,草莓粉,紅曲粉,紅色斑斕液代替,攪拌至紅絲絨溶液與麵糊完全融合
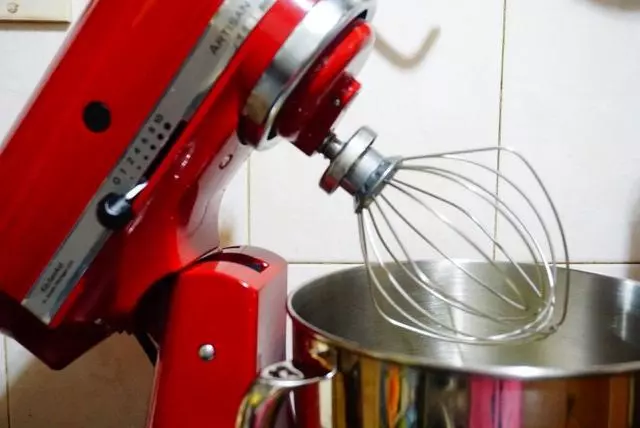
8在蛋白中加入白砂糖和檸檬汁在廚師機中進行打發,如果使用手持電動打蛋器要分三步將蛋白打發,先用低速將蛋白打發出魚眼的狀態加第一次糖,慢慢加速當蛋白開始變白沒有明顯的氣泡後加第二次糖,略出紋路時加第三次糖,直到蛋白呈乾性發泡
9如圖中的狀態,蛋白可以直立出尖角

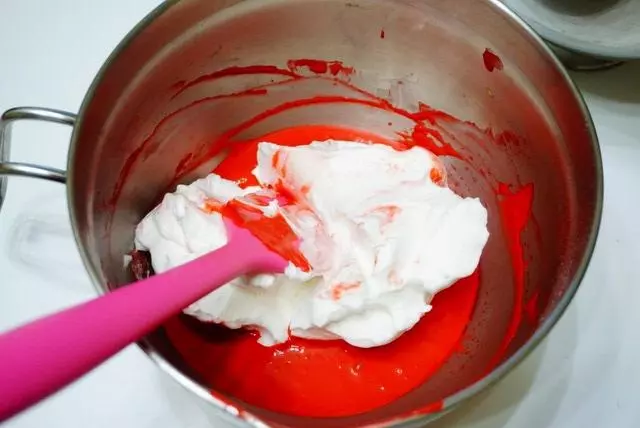
10再將蛋白分三次加入到麵糊中進行翻拌,每加一次蛋白翻拌均勻後再加下一次,直到蛋白與麵糊完全融合
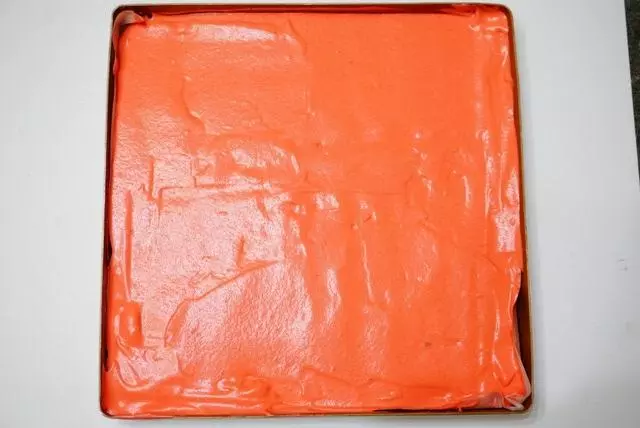
11在烤盤中墊上一張油紙,倒入麵糊用抹刀抹平整
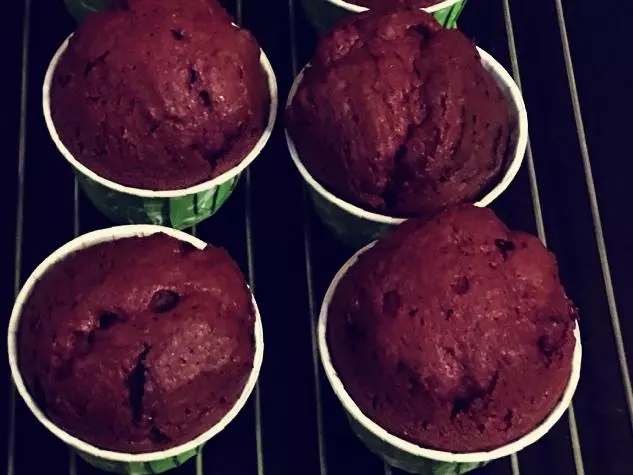
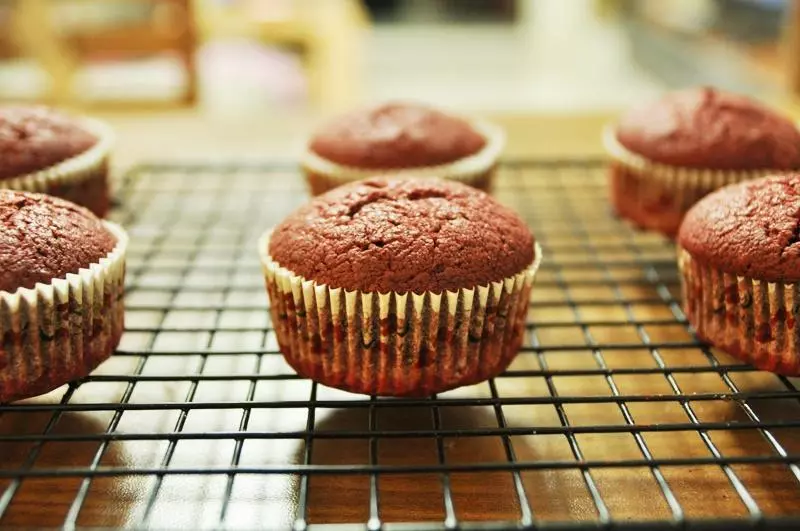
12放入烤箱中層150度烤30分鐘即可
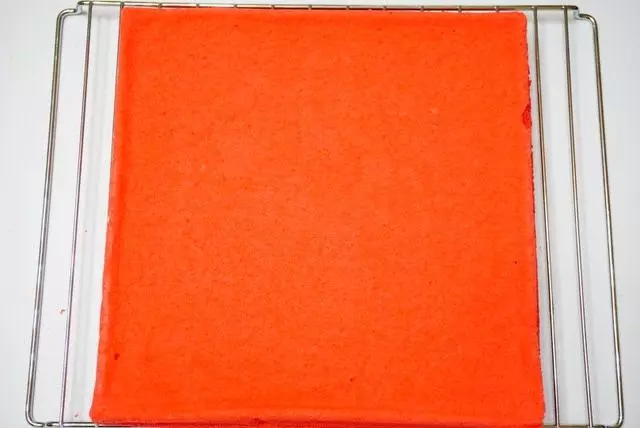
13烤好的蛋糕撕掉油紙放在烤架上放涼
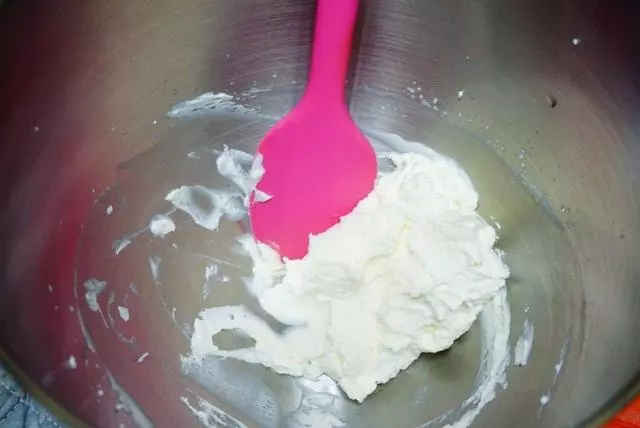
14淡奶油加入糖進行打發,打到奶油出現明顯紋路就可以了
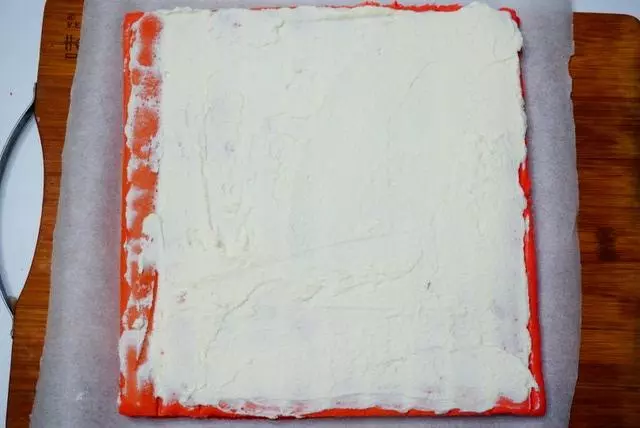
15用刀切掉蛋糕的邊緣處,抹上奶油
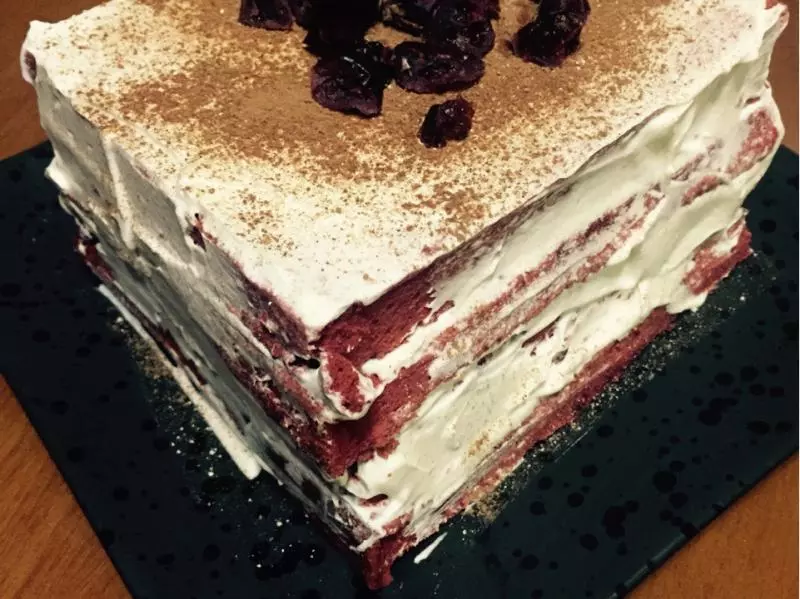
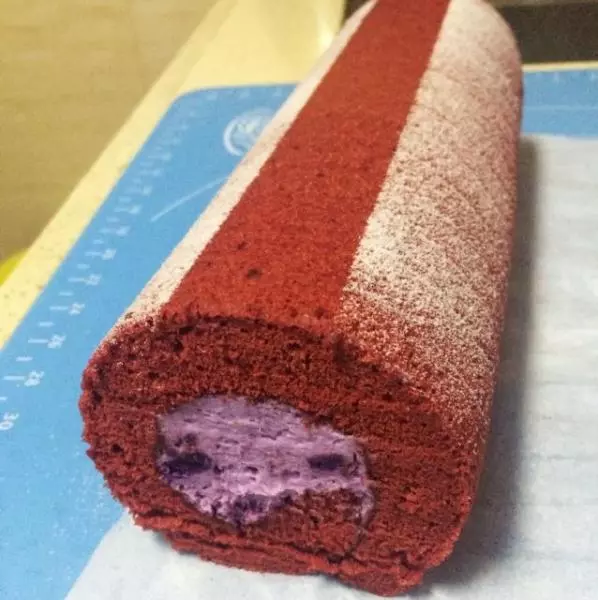
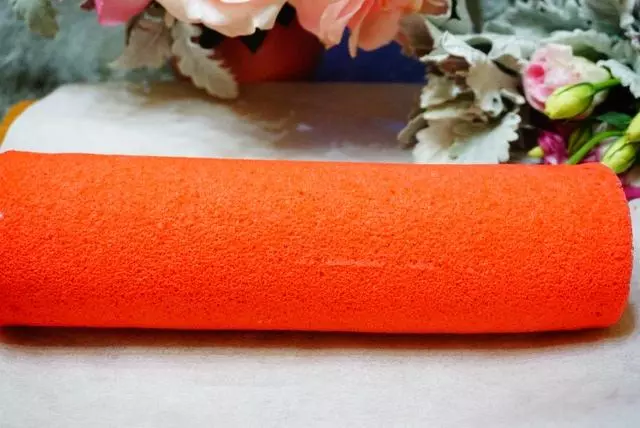
16用油紙將其捲起,放入冰箱冷藏半小時,將蛋糕切成三段,或是切成厚片都可以
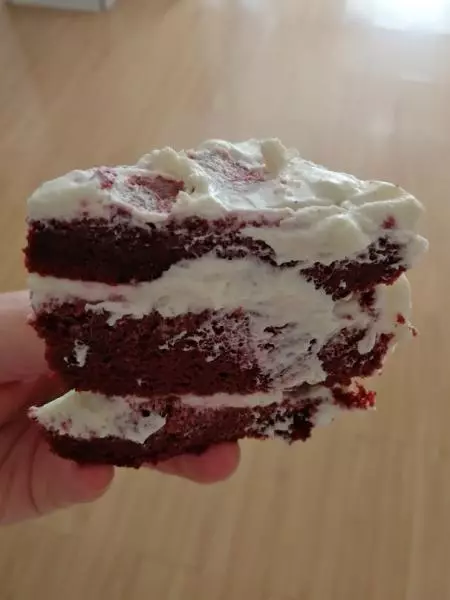
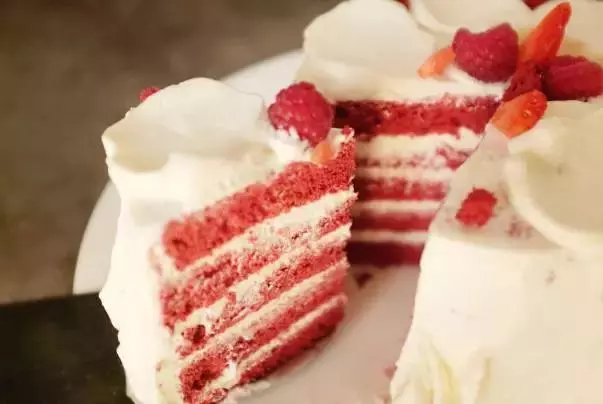
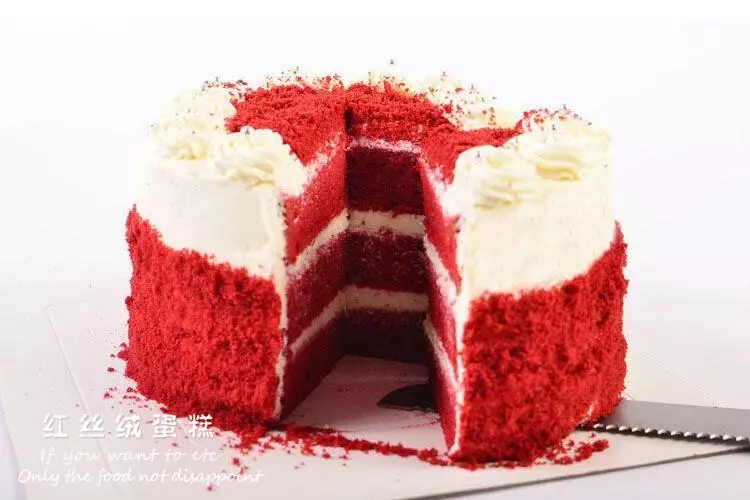
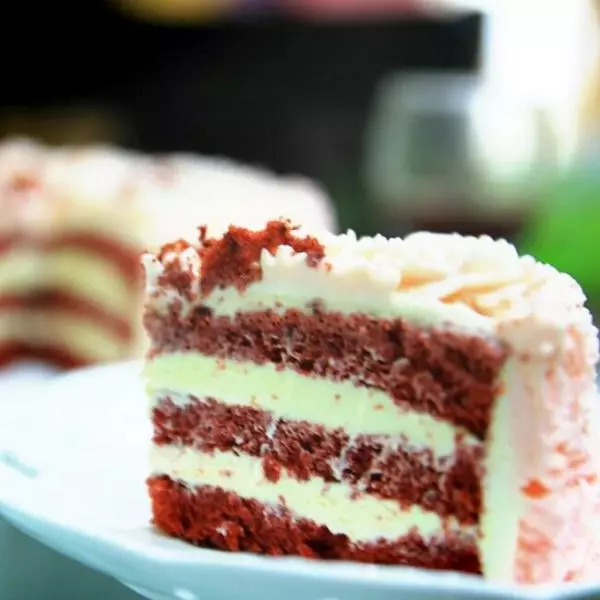
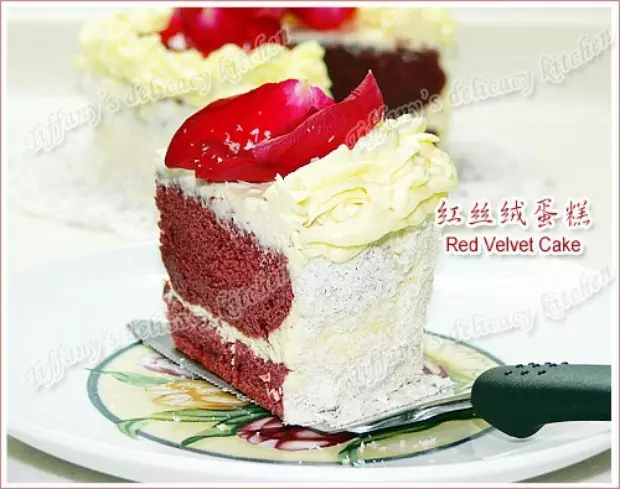
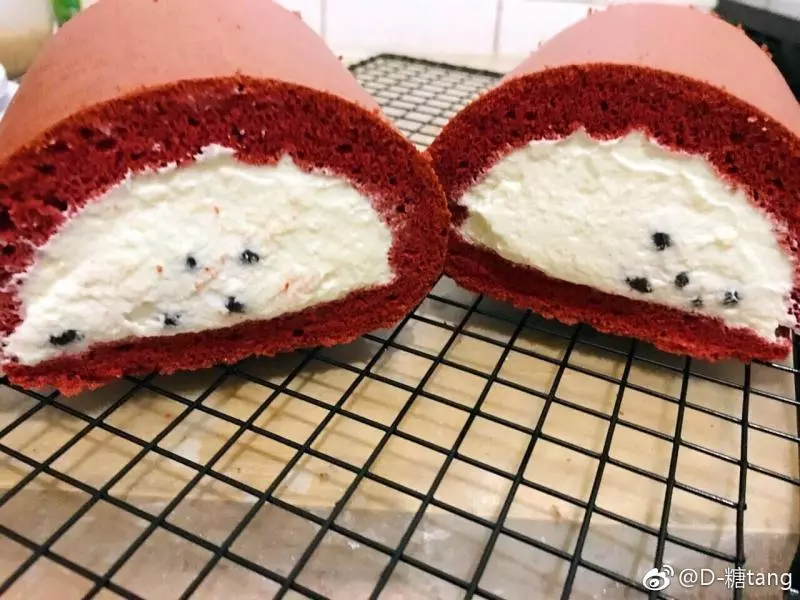
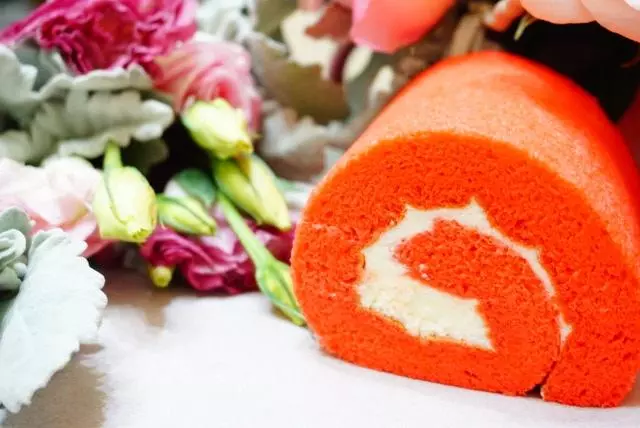
17切開的內部組織
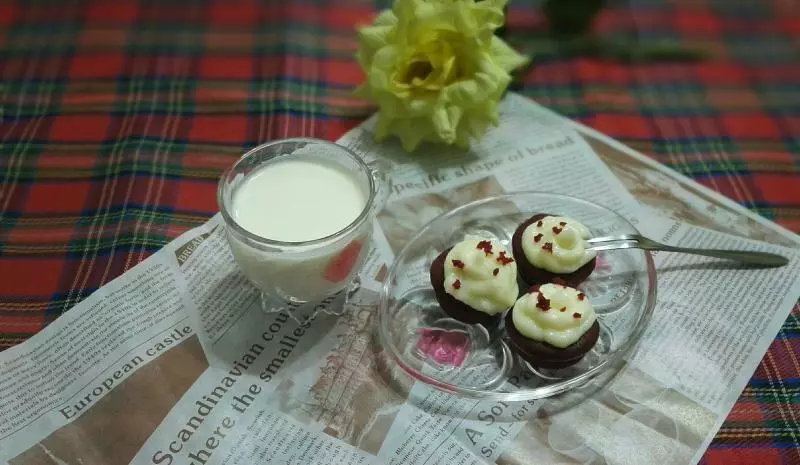
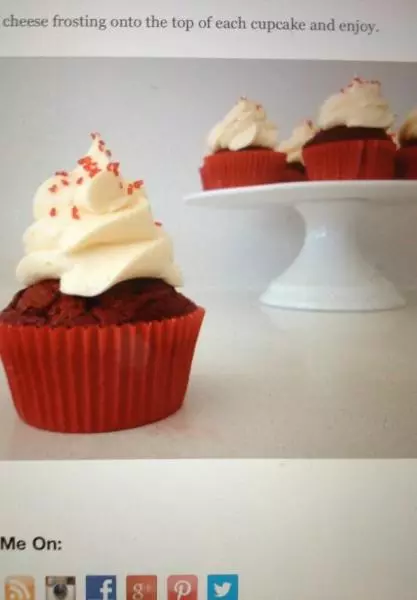
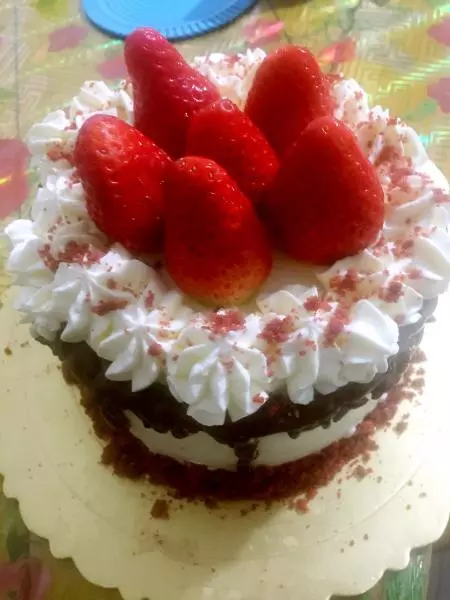
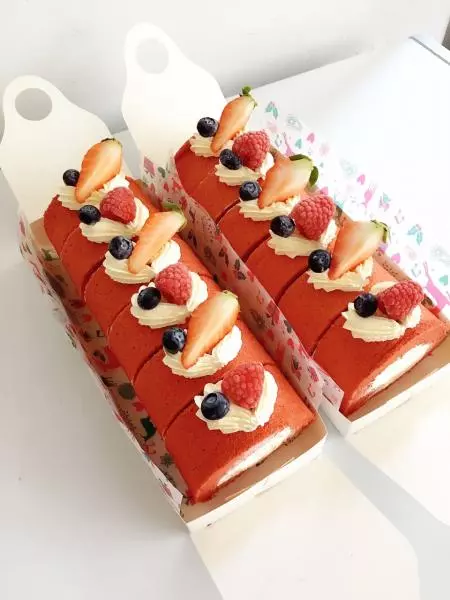
18抹剩下的淡奶油在裱花袋中放入裱花嘴,裝飾蛋糕
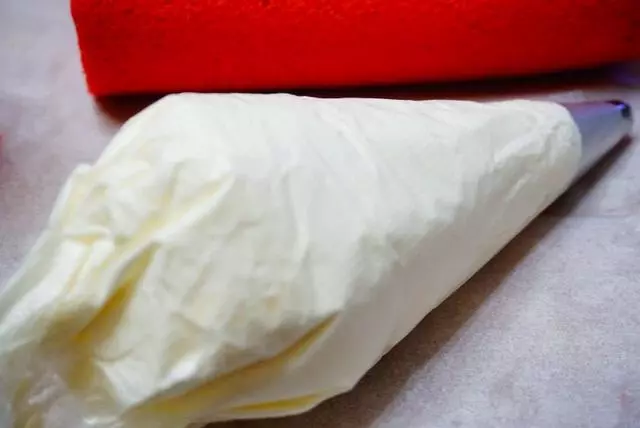
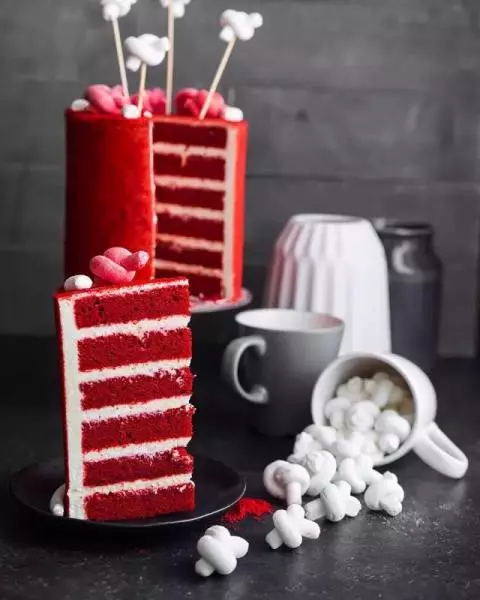
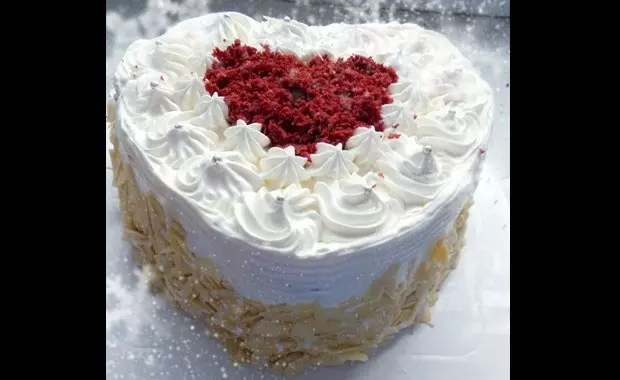
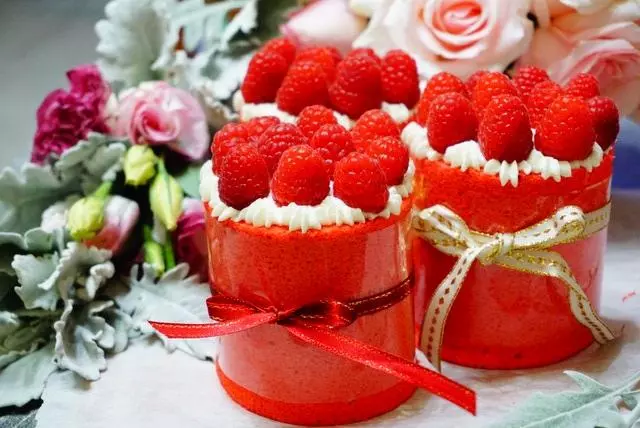
19可以用圍邊紙在蛋糕體上圍一圈,系個蝴蝶結,擠上淡奶油後擺上樹莓或草莓就完成了!或者你用其他的方法裝飾都可以!

小技巧
小貼士:烤箱由於品牌不同都有不同程度的偏差,所以不是海氏C40電烤箱可以按照自己的烤箱溫度操作,也可以170度25分鐘。 製作麵糊的過程中不要隨時針畫圈攪拌,那樣會產生筋性!加入蛋白後要上下翻拌麵糊進行攪拌,不易用力攪拌