原料
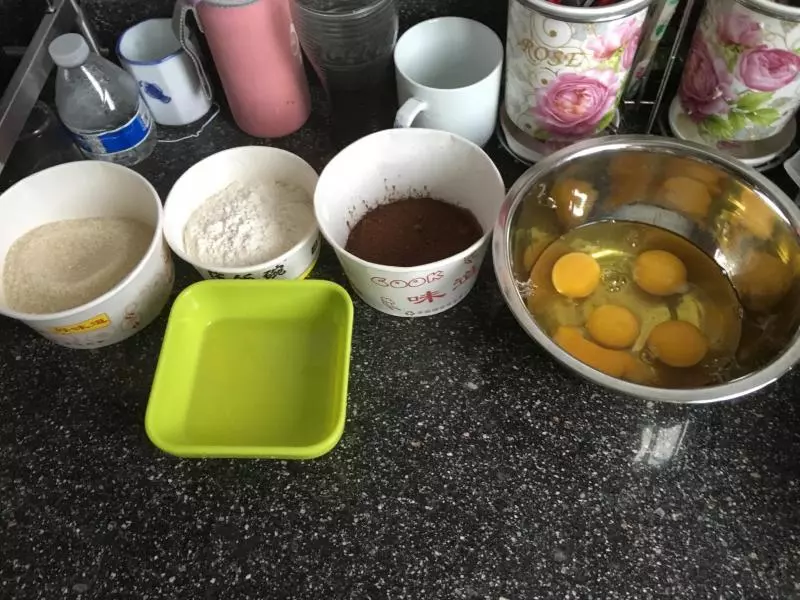
蛋糕模2個:: , 雞蛋: 5隻2, 糖: 150g2, 低筋麵粉: 100g2, 可可粉: 30g2, 油: 42g*2, 夾心:: , 草莓: 75g, 吉利丁: 5g, 淡奶油: 250g, 糖: 25g
步驟
1準備好一個蛋糕模材料,同時準備好熱水
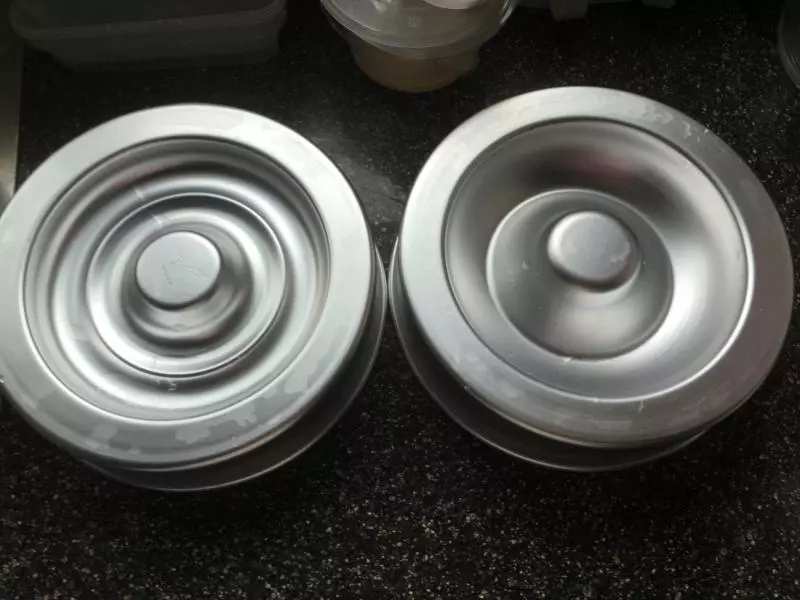
2流星蛋糕模具也準備好
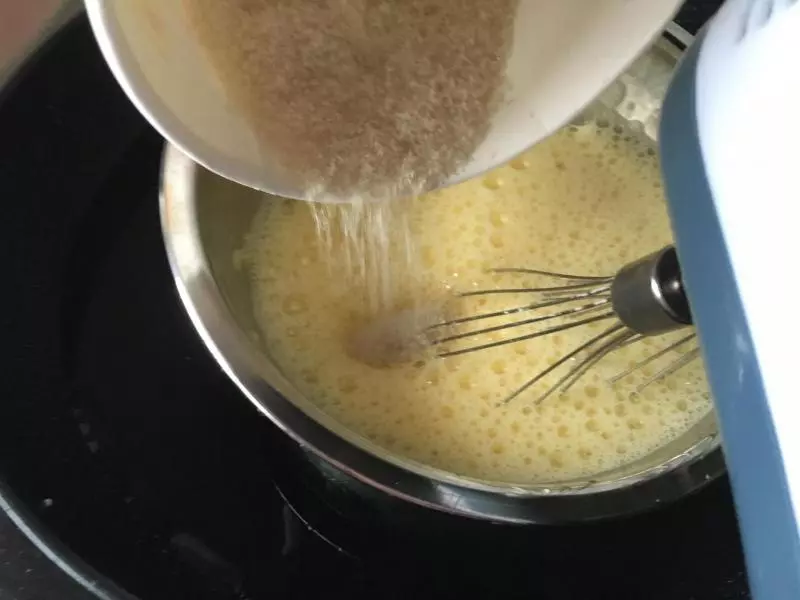
3加入糖用打蛋打蛋(放在熱水中)
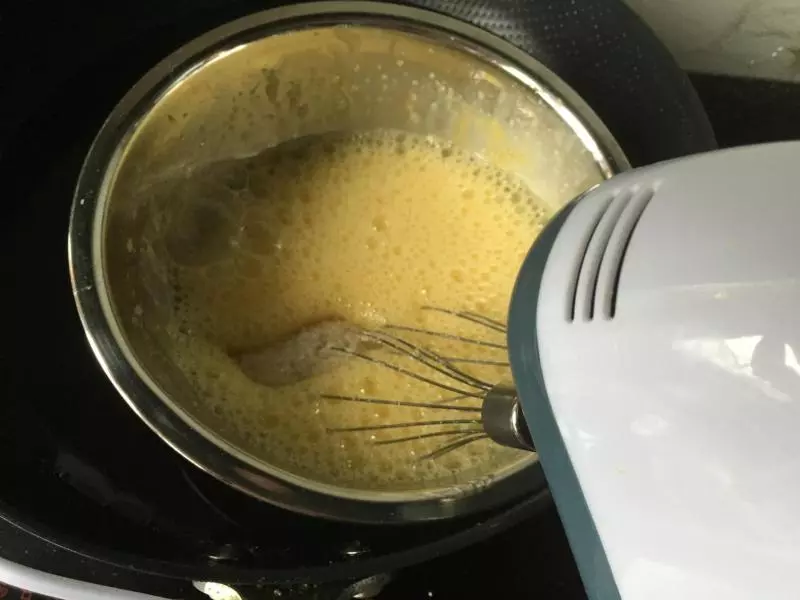
4分次加糖打蛋
5繼續打蛋
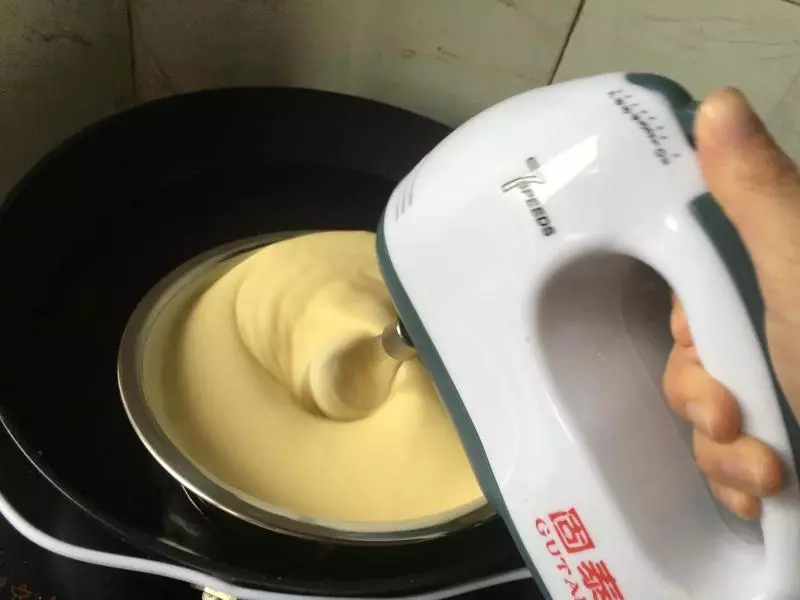
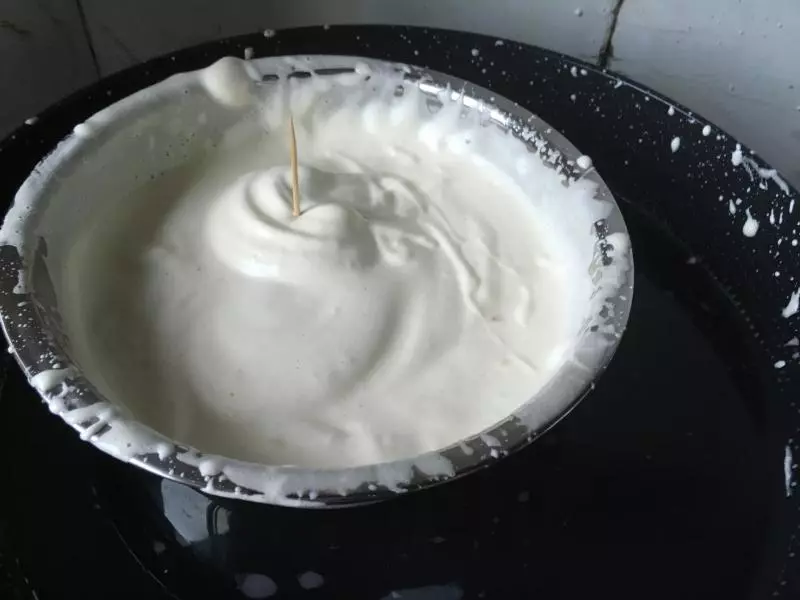
6打到牙籤插入可豎直立起就可以了
7可以稍微繼續打一下
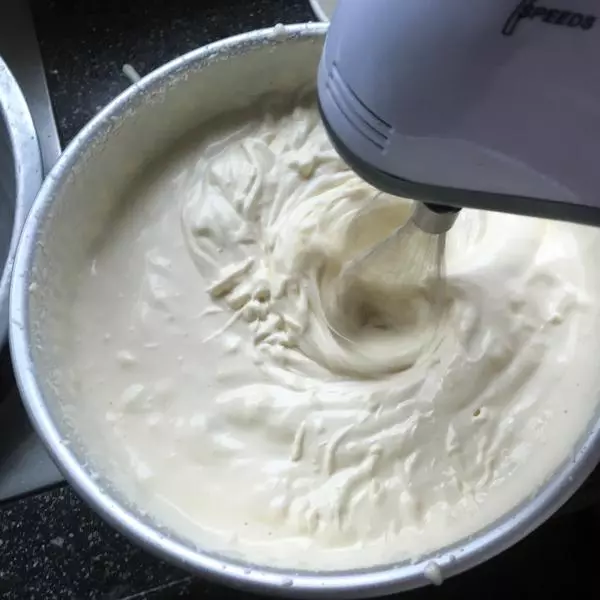
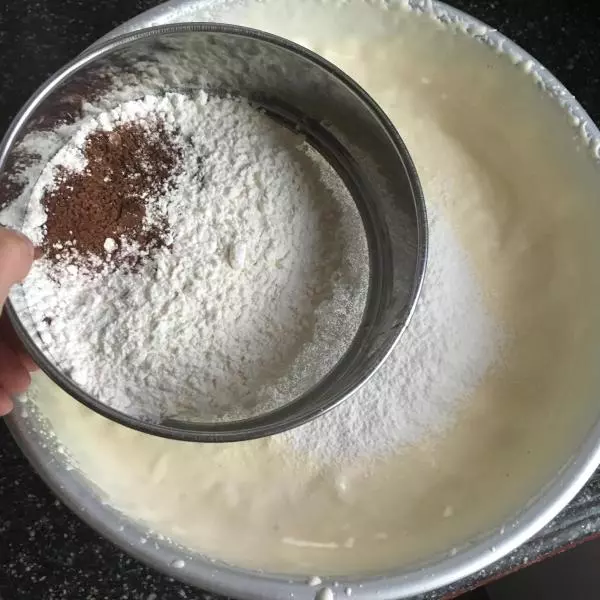
8低筋麵粉加入可可粉,篩後入蛋盆(分四次加入並攪拌)
9攪拌

10攪拌完畢,烤箱預熱
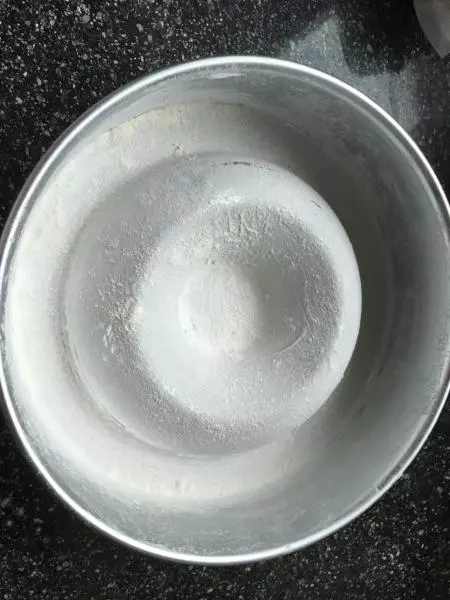
11模具里抹上一層白油

12均勻撒入麵粉
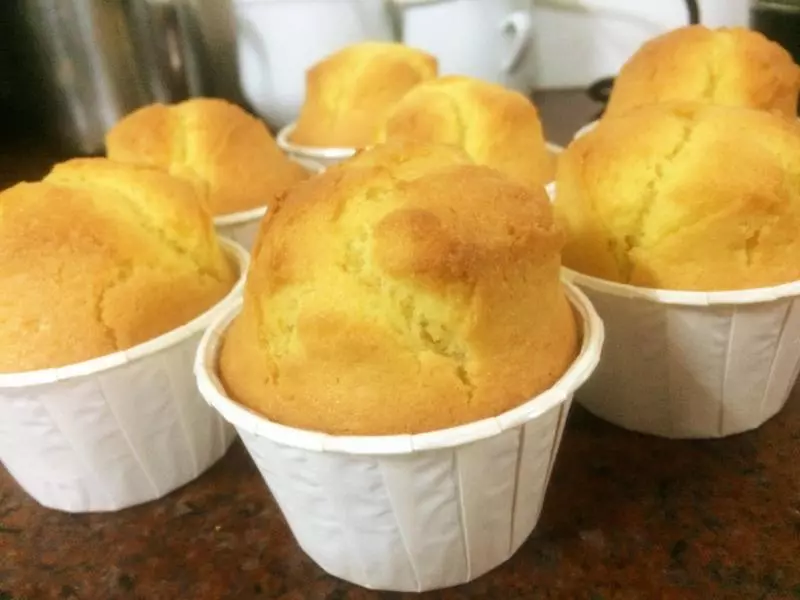
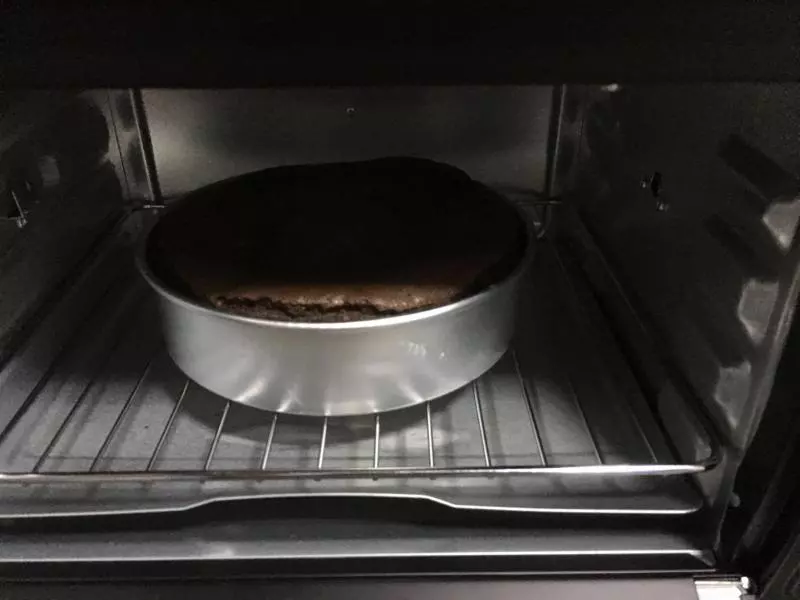
13把攪拌好的入模具,入烤箱(烤箱170℃,35分鐘)
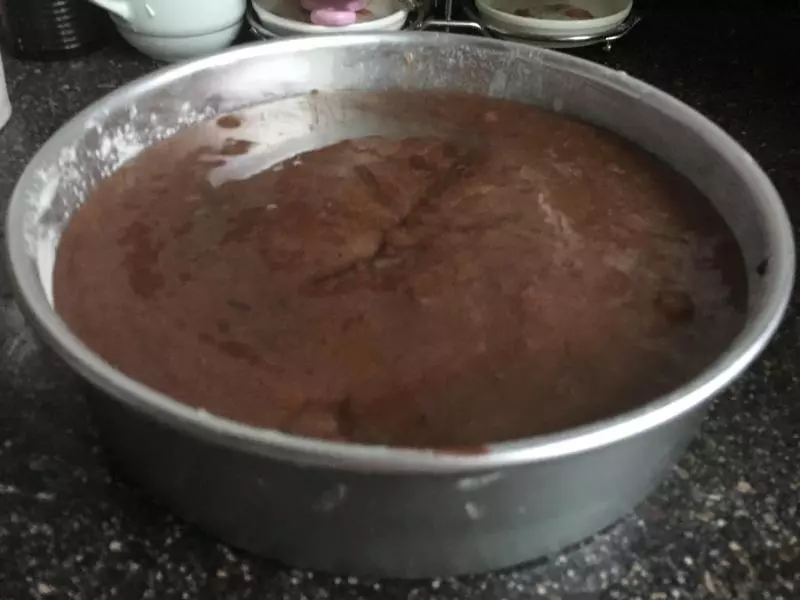
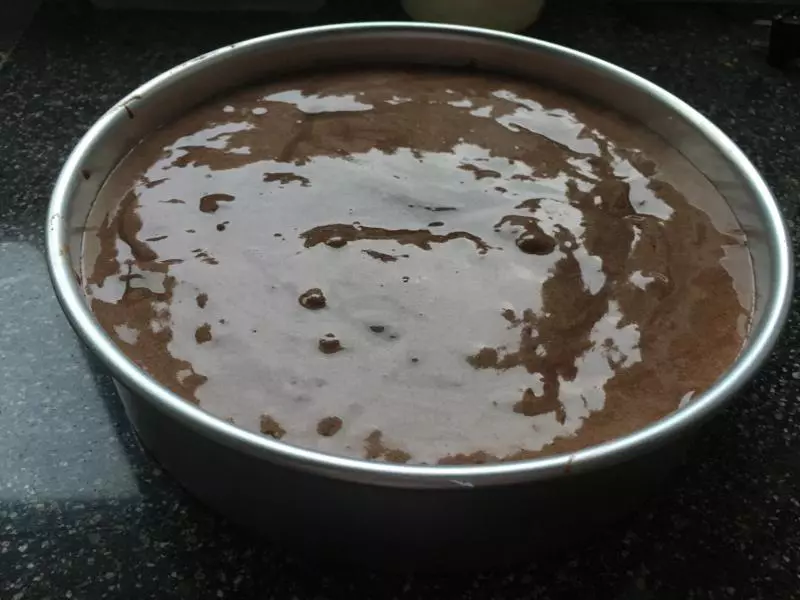
14烘烤完畢
15取出冷卻
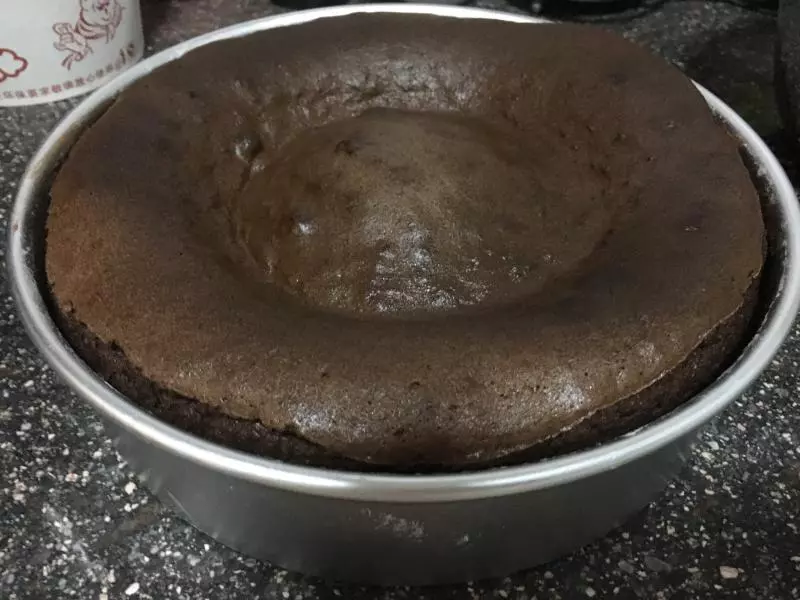
16同樣的步驟烤好第二個
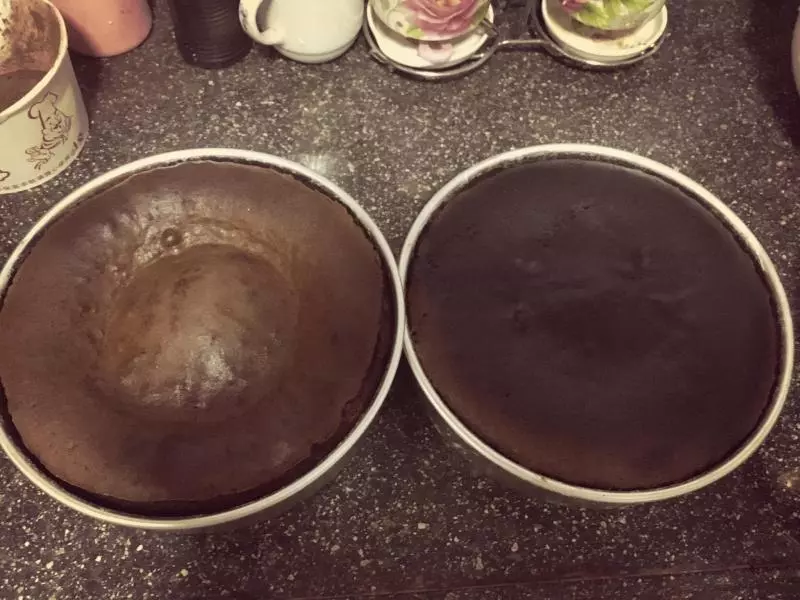
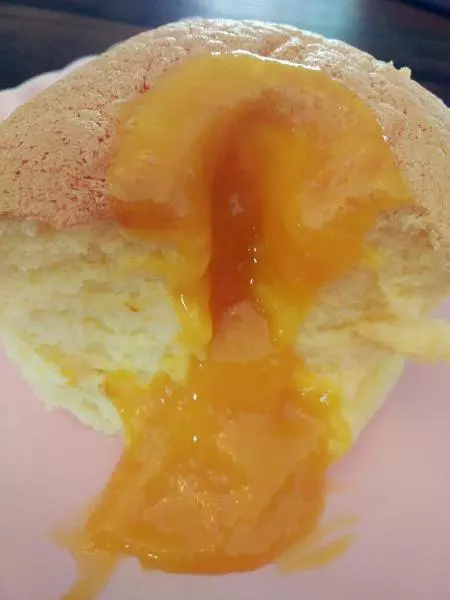
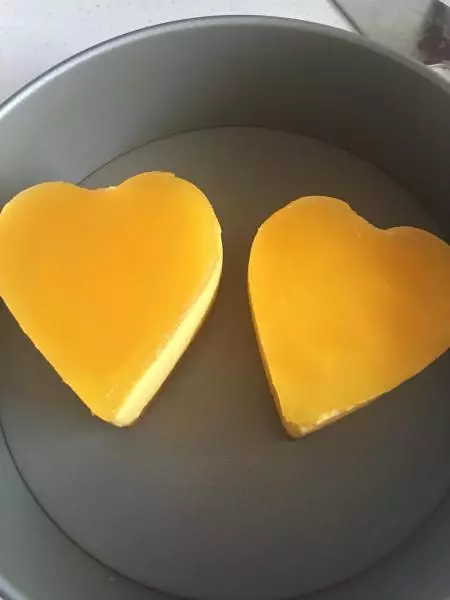
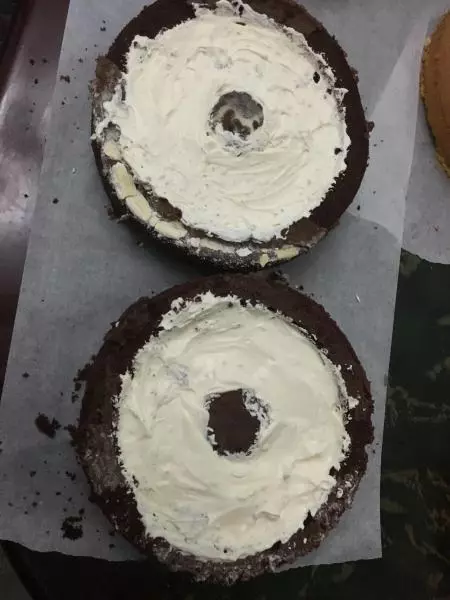
17脫模,翻轉過來(上圖為上部,下圖為下部)
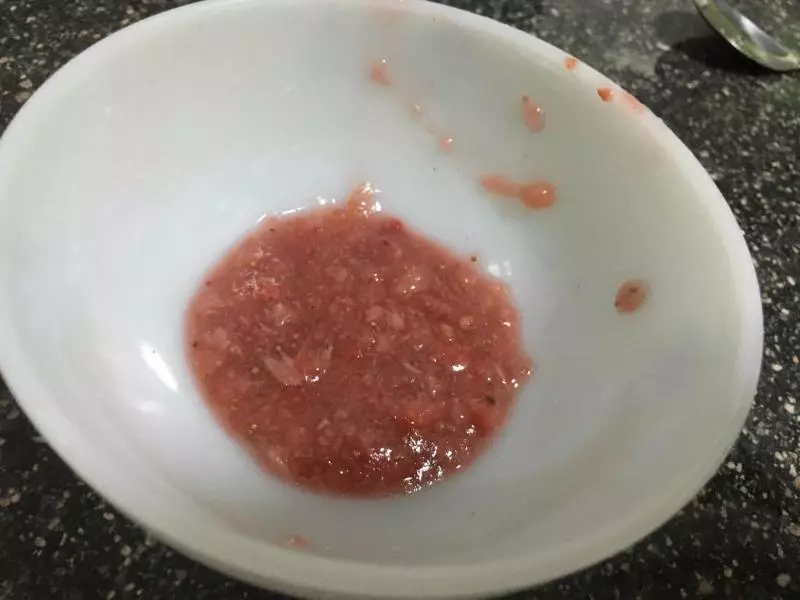
18草莓打成泥,入鍋加熱後加入吉利丁,攪拌,稍微繼續加熱,取出冷卻待用(應該比圖上更多些,更稀點才好)
19準備打發淡奶油(奶油多準備些以防不夠),打發前加入10ml的朗姆酒。打發成八分時加入冷卻好的草莓醬(我草莓醬這部沒處理好,奶油沒變色,正常應該是變粉色了)

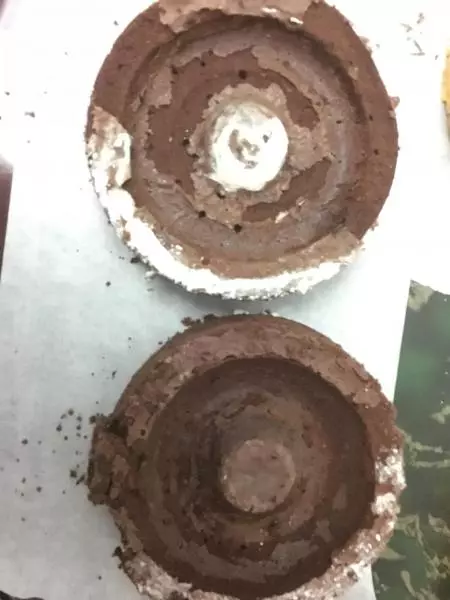
20把打發好的奶油入模具,填滿空隙(注意模具的上部和下部要區分好) 把模具放入冰箱冷藏10分鐘以上
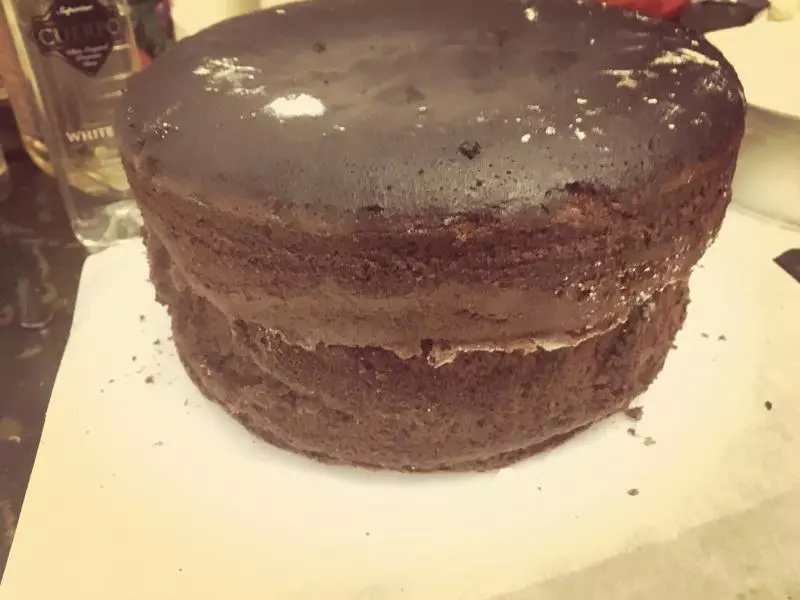
21冰箱取出,按上部和下部把倆個貼合,調整好
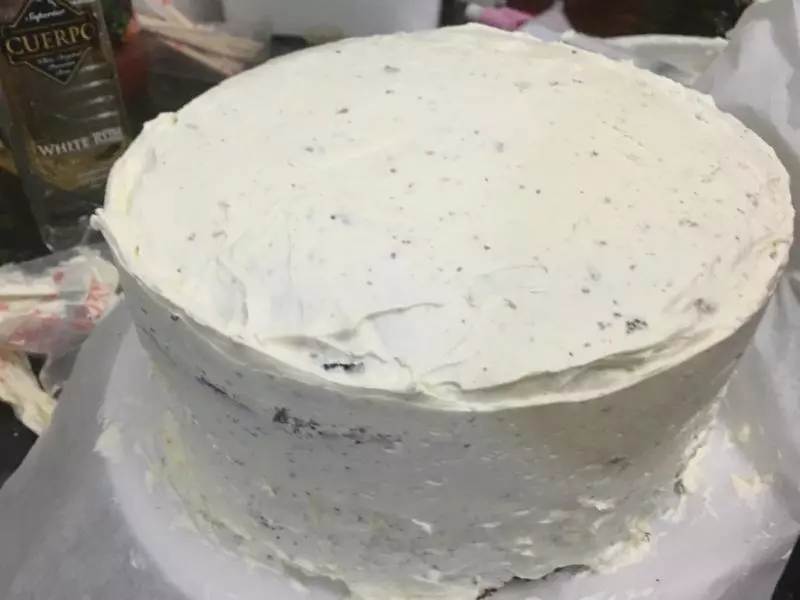
22抹奶油
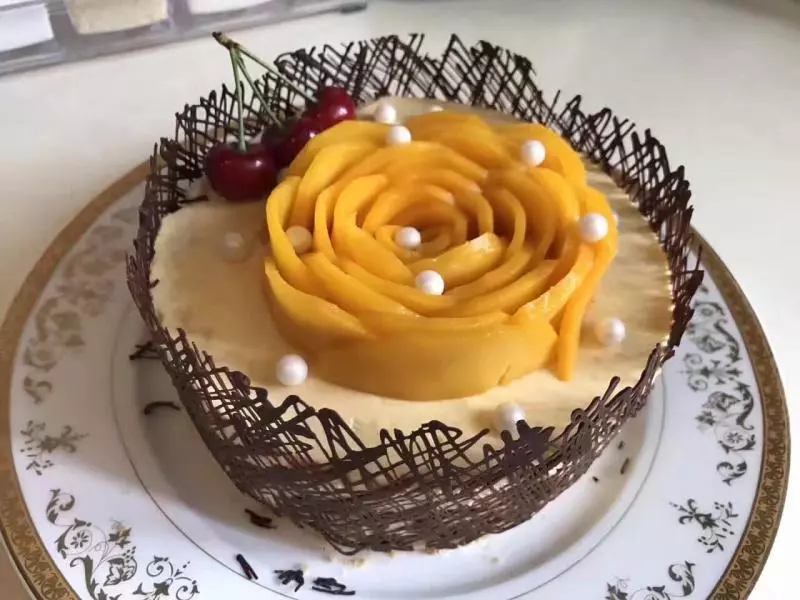
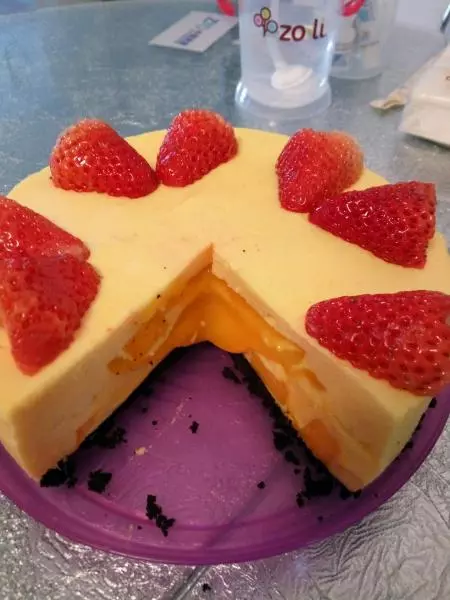
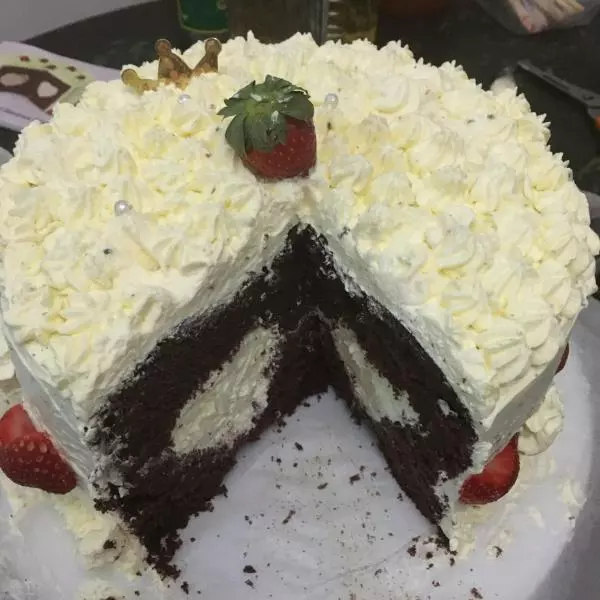
23裱花,裝飾

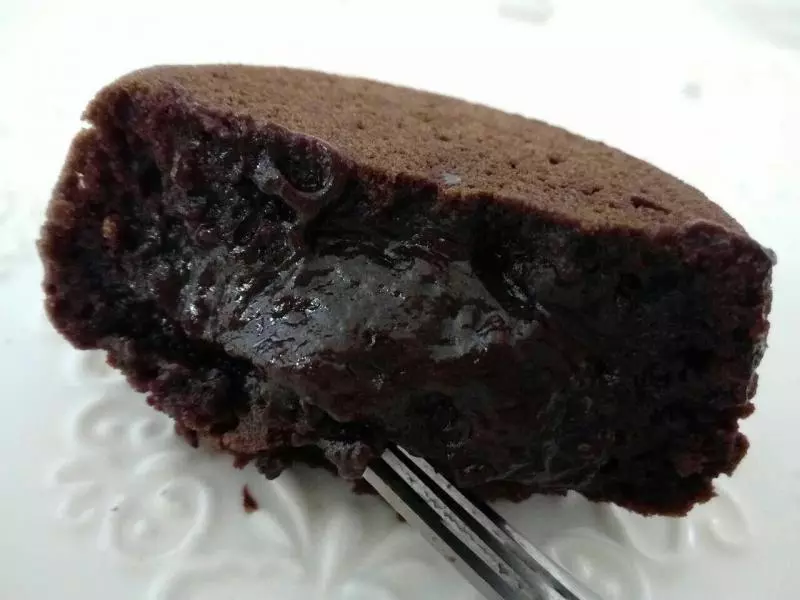
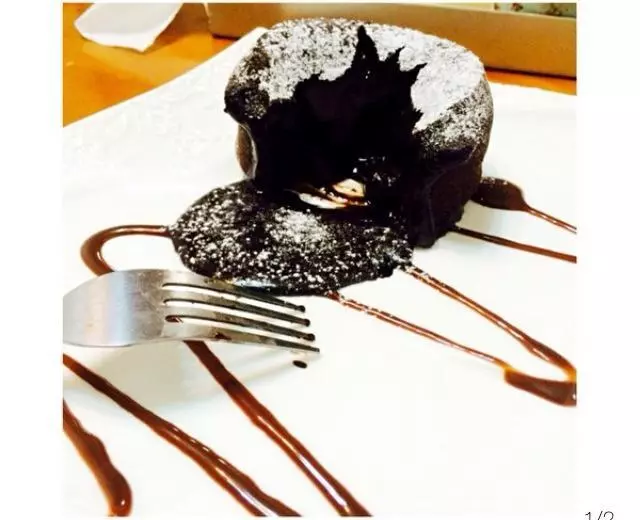
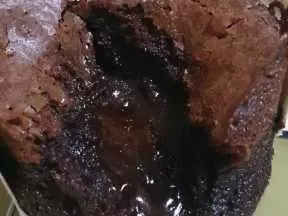
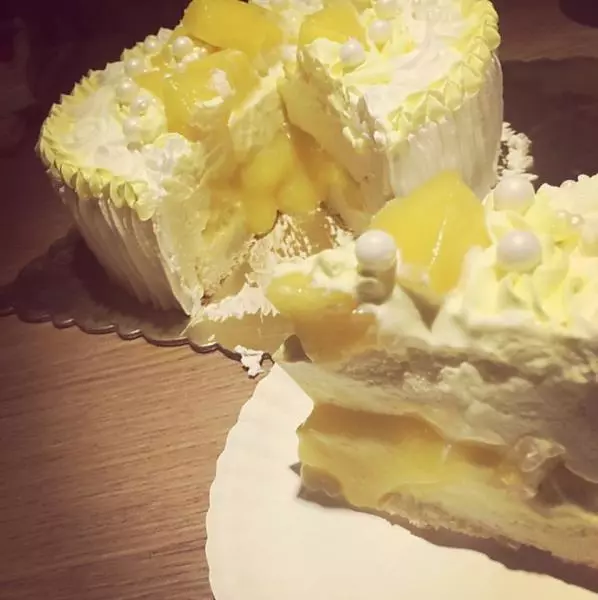
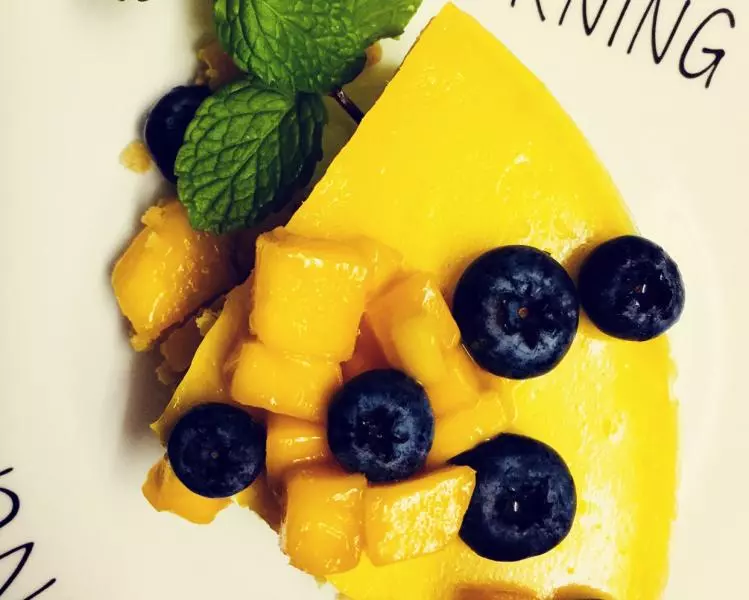
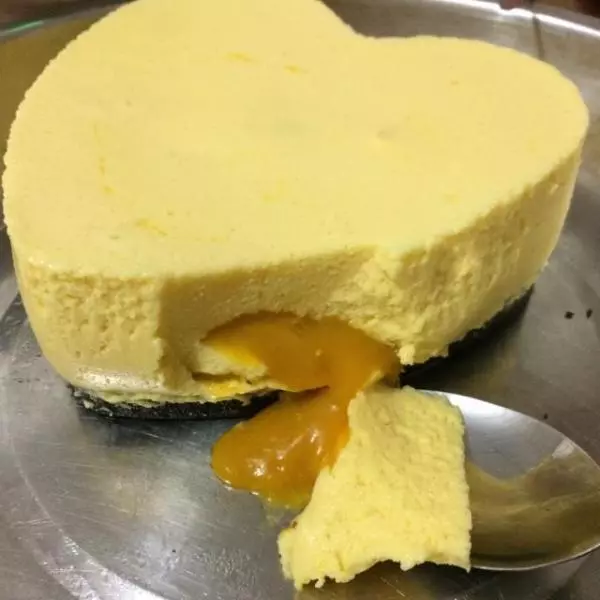
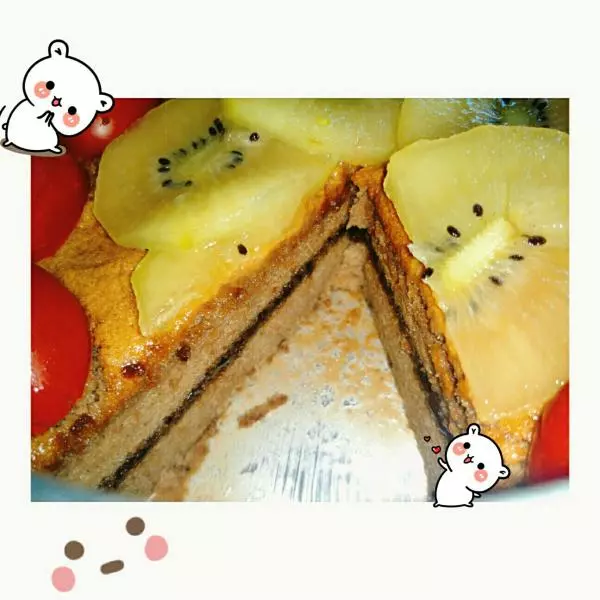
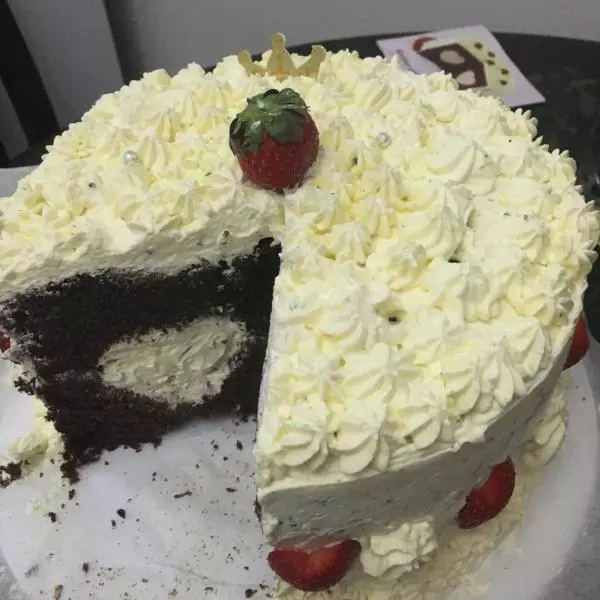
24切開,成功!
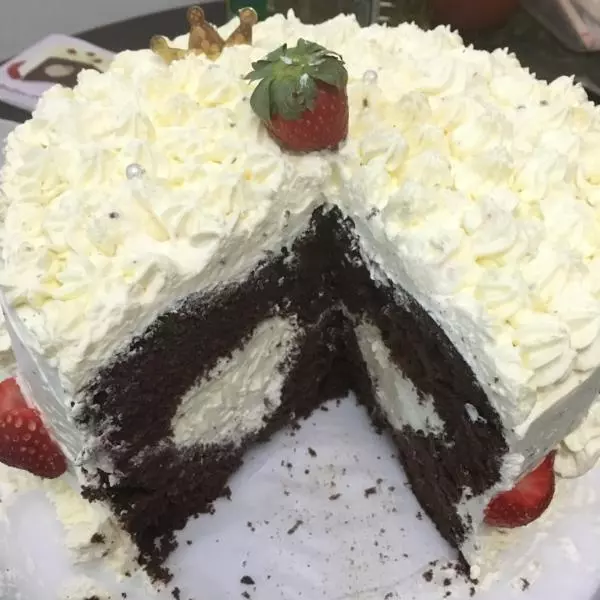
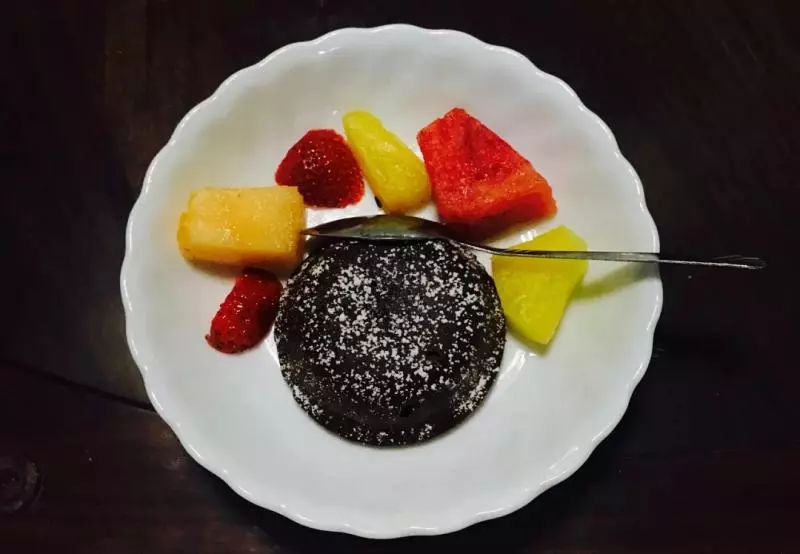
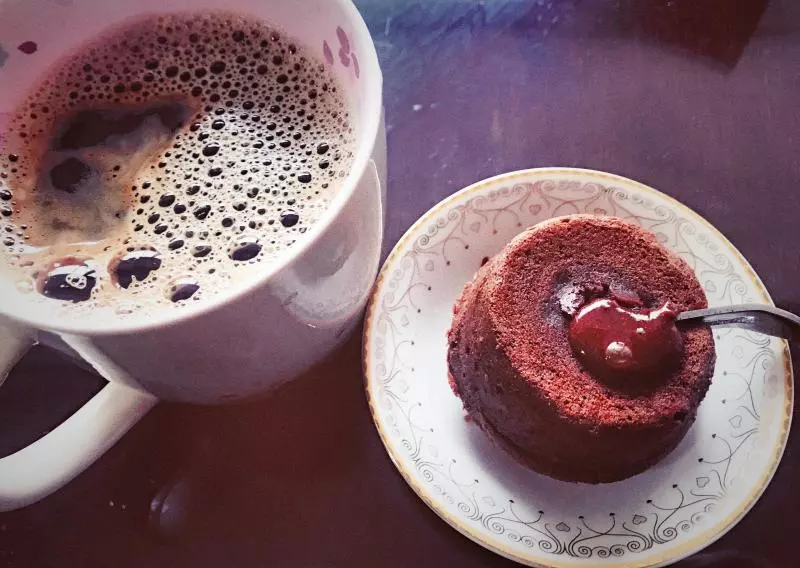
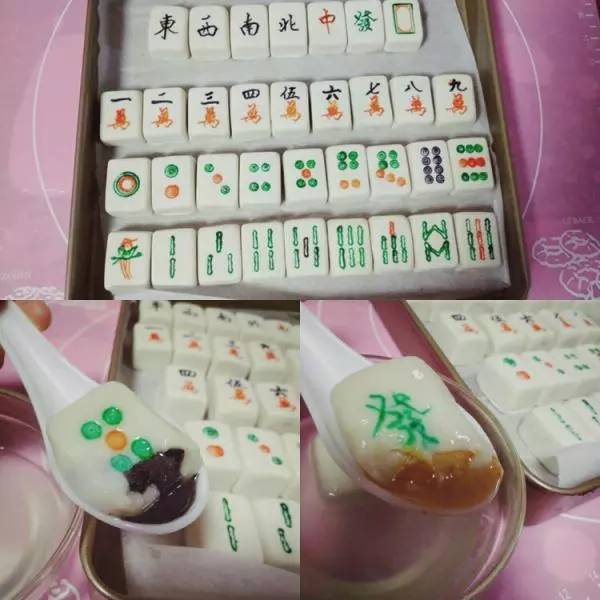
25展示
小技巧
1.打蛋要在溫水中 2.草莓醬加入奶油要和時機,不然無法入色 3.脫模是關鍵,要在模具上塗白油,撒麵粉 4.模具內塗草莓醬奶油要貼合邊邊 5.模具上下部要區別清楚,這樣心形才能完成