简介
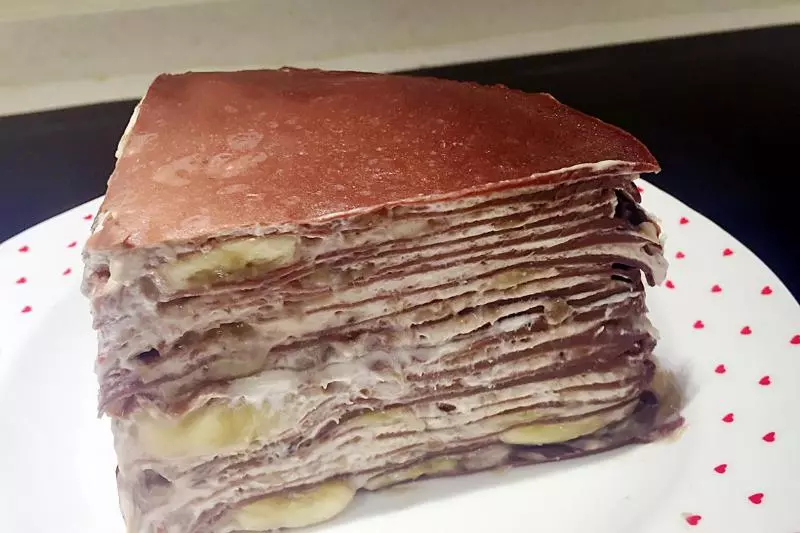
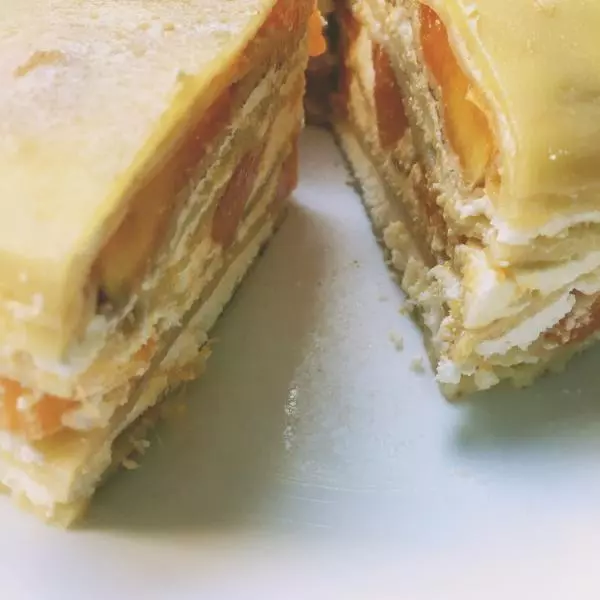
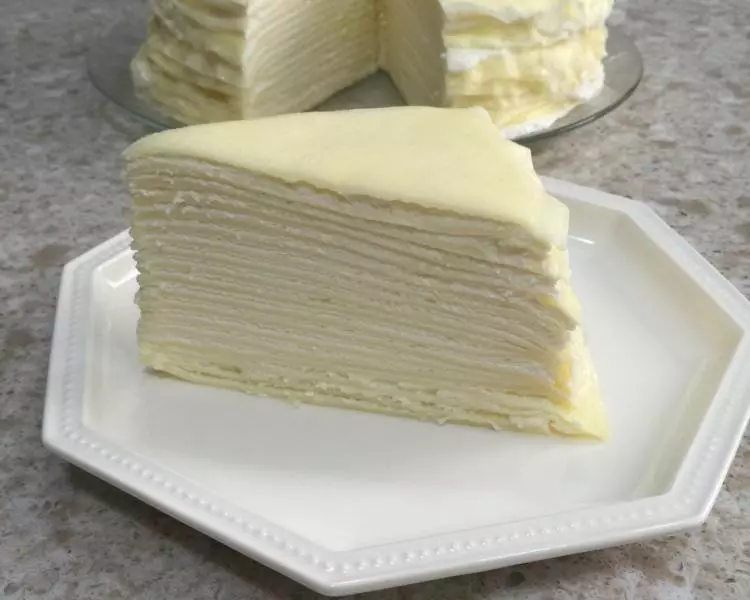
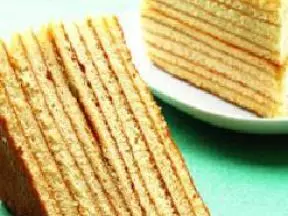
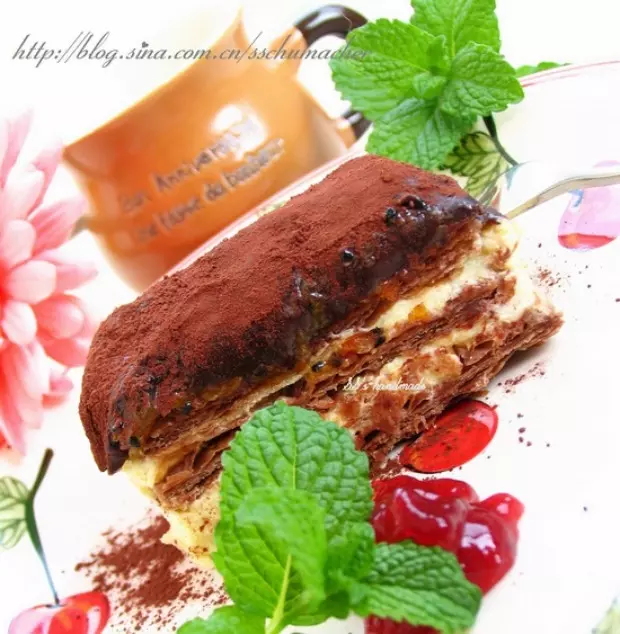
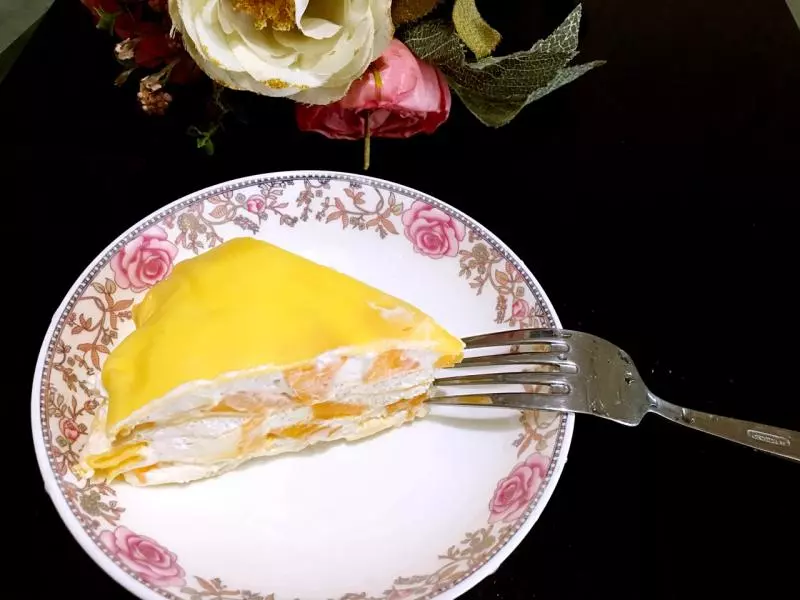
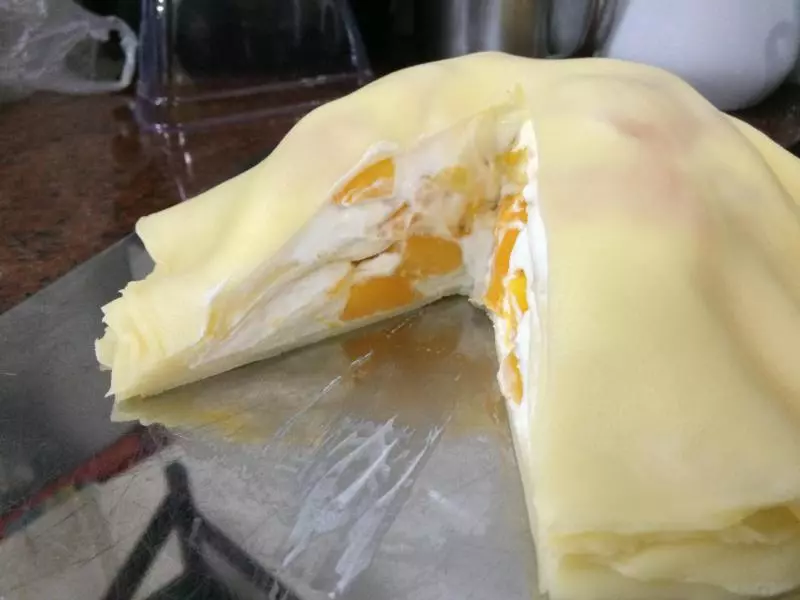
喜欢吃蛋糕的人都知道,蛋糕皮的口感是最香的,千层蛋糕,层层都有蛋糕皮的焦香,扎实的口感与众不同,虽然制作比较费时,但当一口咬下,浓郁的香味在口中回旋时,感觉一切都是值的!
原料
主料低筋面粉90g牛奶270g鸡蛋2个 辅料白糖60g水15g鲜奶油310g白巧克力130g可可粉10g黄油15g白糖30g盐3g
步骤
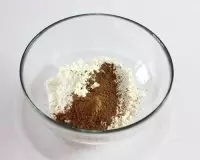
1低粉,可可粉,白糖放入一个大的碗里
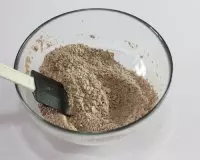
2混合均匀
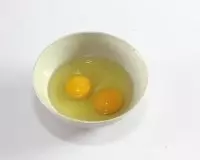
3鸡蛋打在碗里
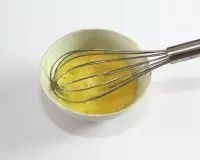
4用手动打蛋器打散
5打散的蛋液倒进混合好的低粉中

6充分搅拌

7倒入溶化的黄油搅拌均匀

8分次少量的往蛋糊中加入牛奶

9混拌均匀并溶入其中
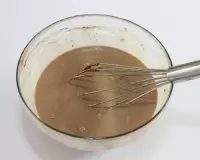
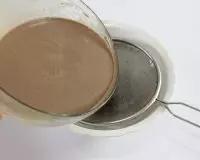
10当面糊变得平滑后,用滤网过滤。即成可丽饼糊
11平底锅中放入模具

12倒入30ml的面糊,动作要快,摊平和摊均匀
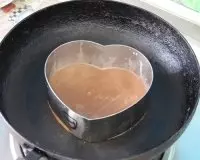
13待面糊凝结后,取出模具

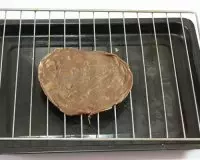
14翻面烘制

15烘制完成后,放置在晾晒架上冷却,为避免干燥,用布巾覆蓋备用
16以同样的程续,摊完所有的蛋液饼,一共为18张。
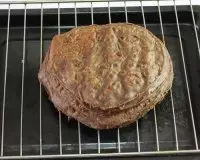
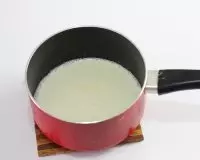
17奶锅内加入水和砂糖

18以大火加热;不停的搅拌,直至加热至液体呈焦糖色泽为止

19关火后,倒入烧开的鲜奶油混合,然后冷却备用

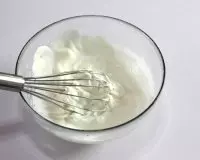
20将打发用的鲜奶油倒入碗中

21打发至6分发
22量加入焦糖液中,搅拌均匀融合

23倒入打发的奶油中
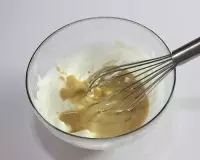
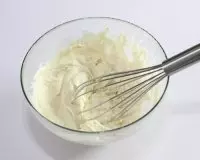
24继续打发至8分发左右,放冰箱里冷却备用。
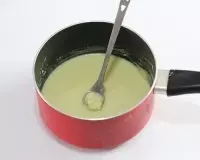
25在沾湿的锅中放入鲜奶油,以大火加热

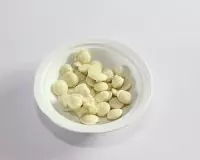
26切碎的巧克力
27加热至沸腾
28加入切碎的巧克力
29待巧克力整体温热后,再开始搅拌至完全融化,并放凉备用

30将冷却后的巧克力奶油放至冰水盆上,隔水冷却,打发至8分,方便涂面状,备用

31将1片可丽饼面皮摆放在架子上

32涂抹焦糖鲜奶油

33然后重叠放置可丽饼,涂上白巧克力鲜奶油。

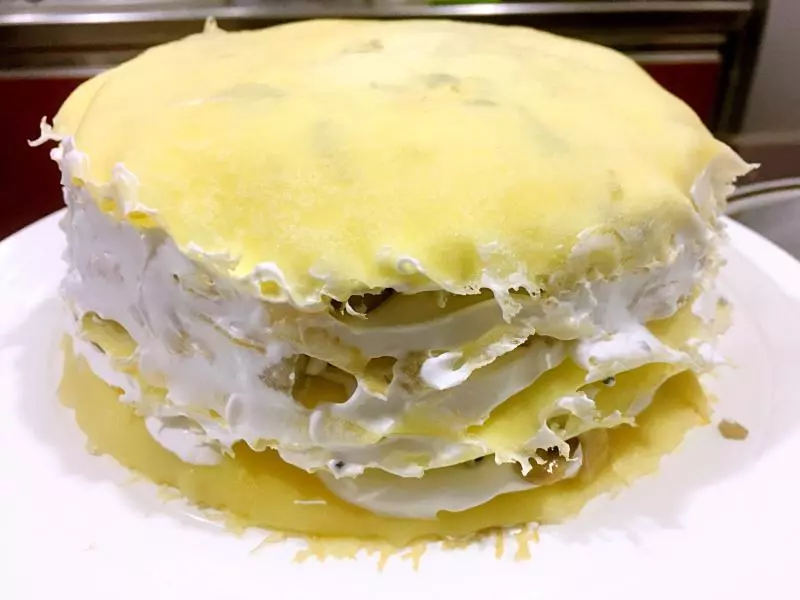
34如此重复步骤,一直将所有的可丽饼全部用完

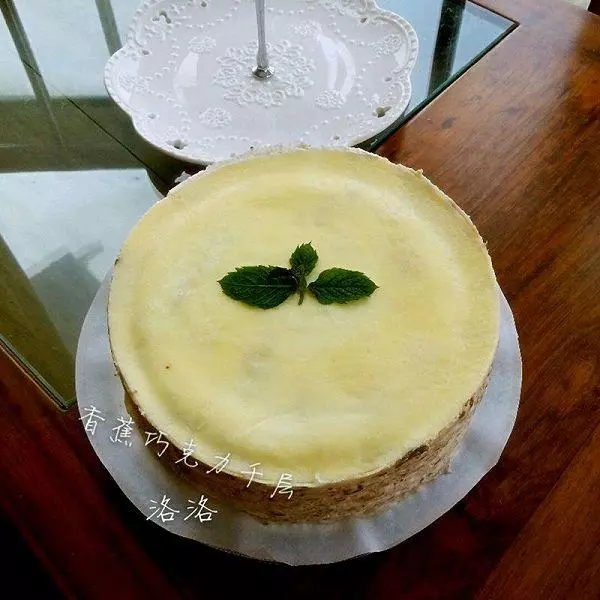
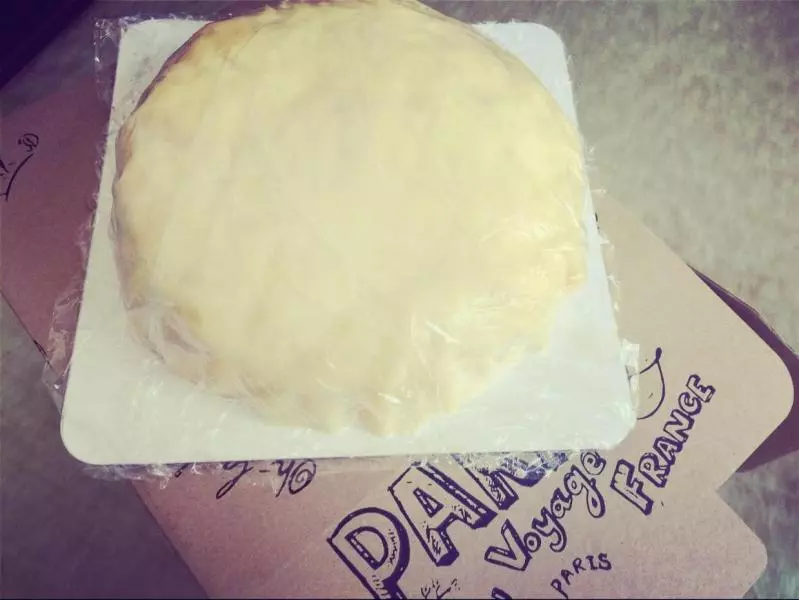
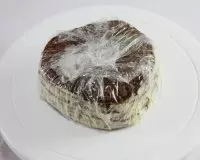
35包保鲜膜,固定形状,放置于冰箱冷藏1小时;
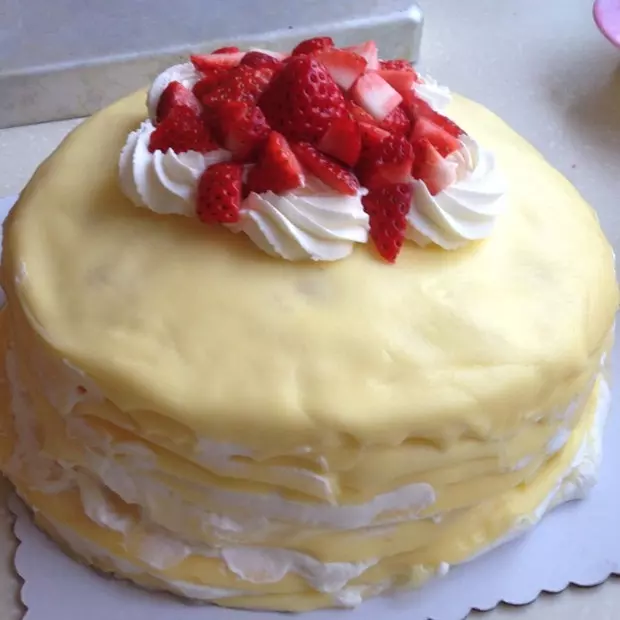
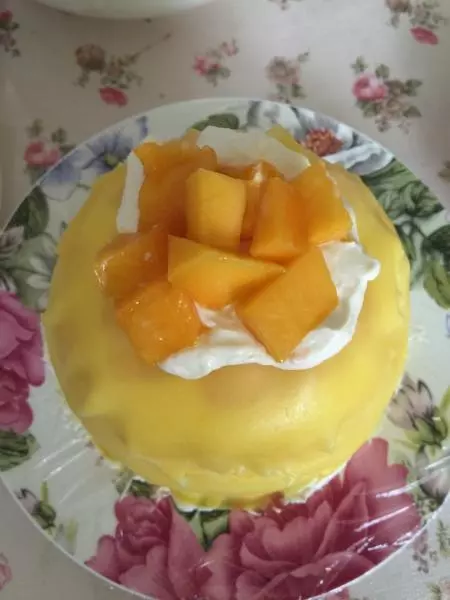
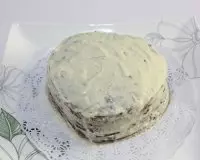
36定好型后,取出脱去保鲜膜,用剩余的焦糖巧克力酱涂抹蛋糕顶层及围边
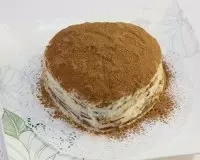
37在蛋糕上用滤网筛上可可粉
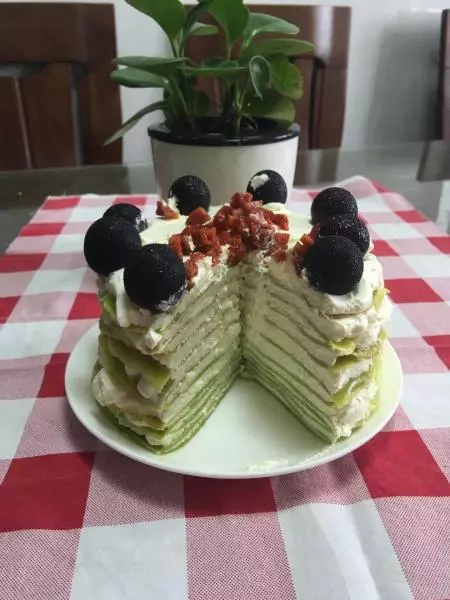
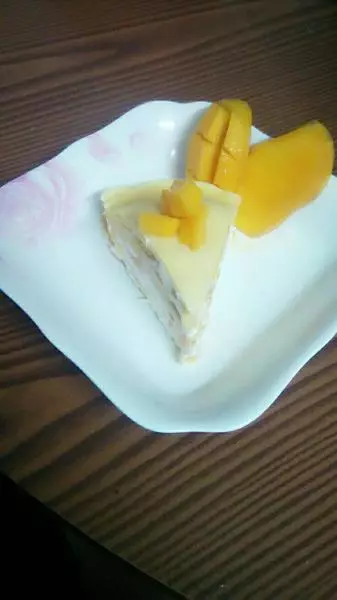
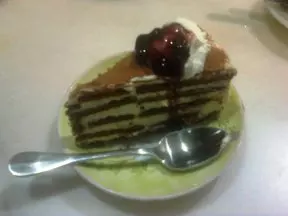
38摆上草莓用装饰,完成。