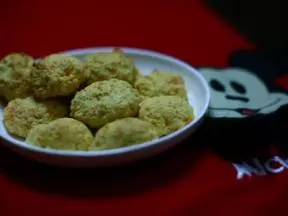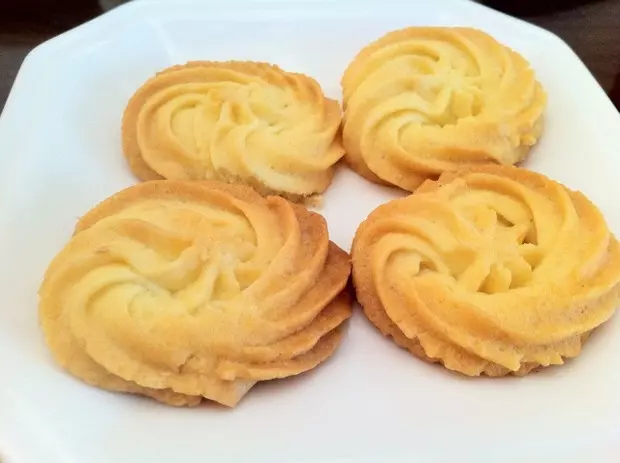
原料
黄油50g, 细砂糖50g, 奶油奶酪50g, 全蛋液50g, 低粉100g, 泡打粉1/2t, 椰蓉50g
步骤
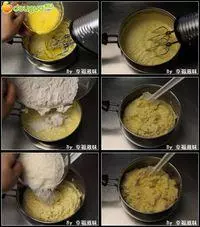
1 黄油、奶酪分别切小块 → 软化备用; 低粉100g 泡打粉1/2t → 混合过筛备用; 软化黄油50g 细砂糖50g → 打发 → 加入 软化奶油奶酪50g → 打匀;
2 分次加入 全蛋液50g → 打匀 → 加入过筛好粉类 → 轻轻拌匀 → 加入 椰蓉50g → 轻轻拌匀 → 密封冷藏至硬;
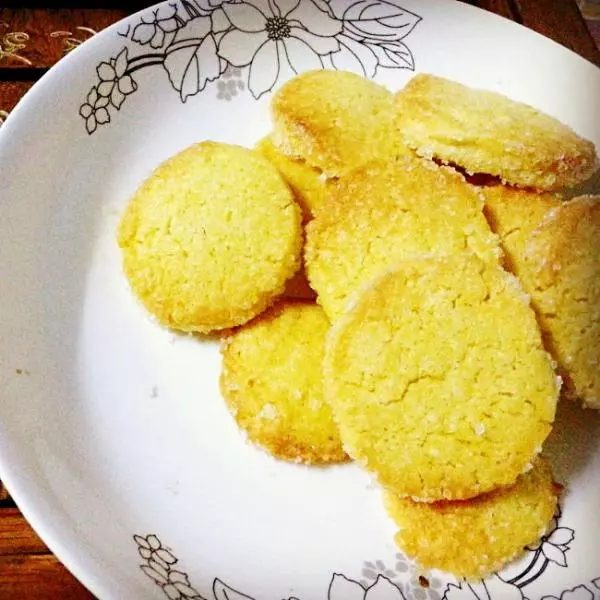
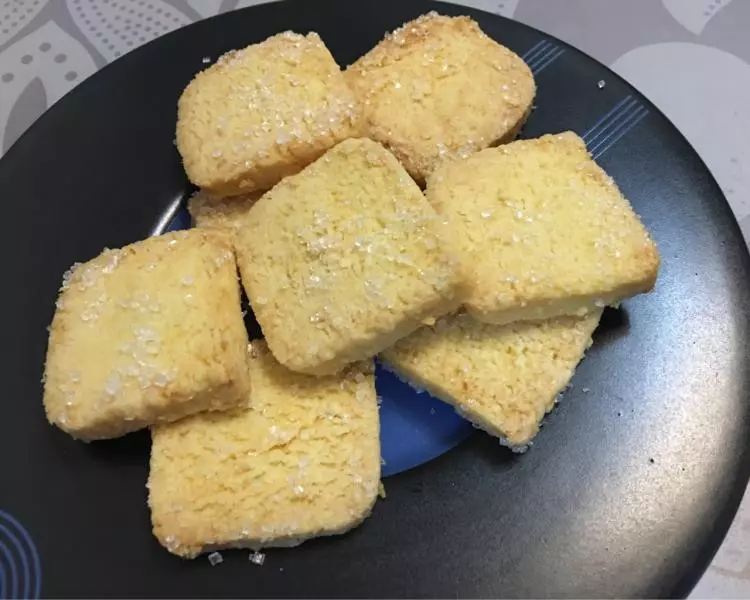
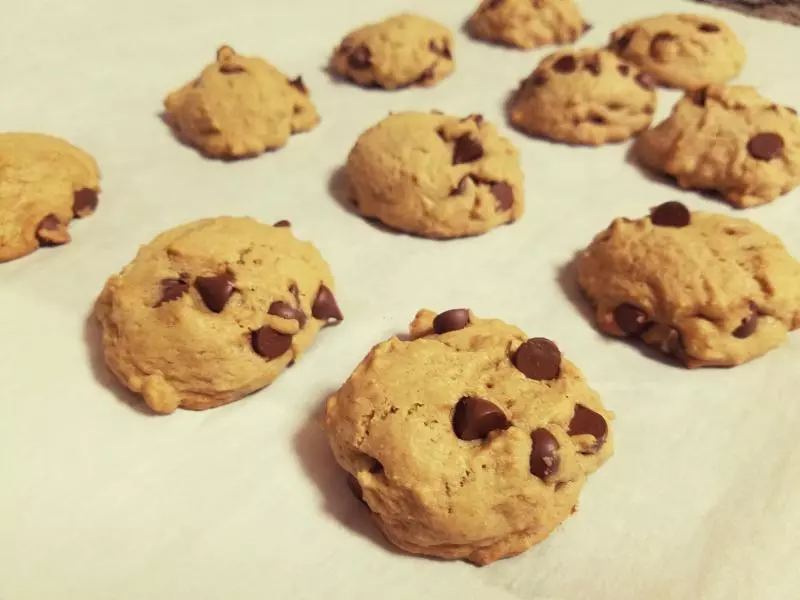
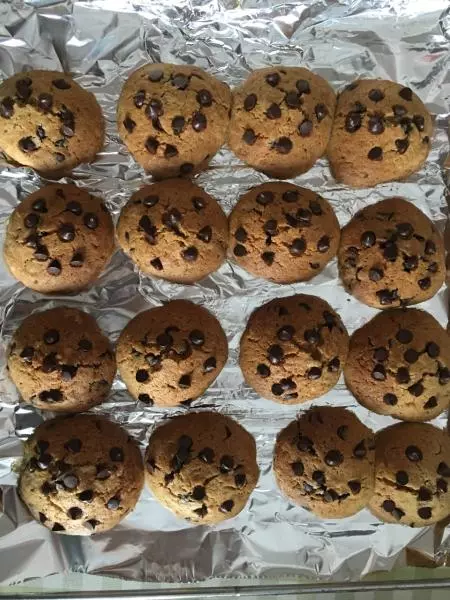
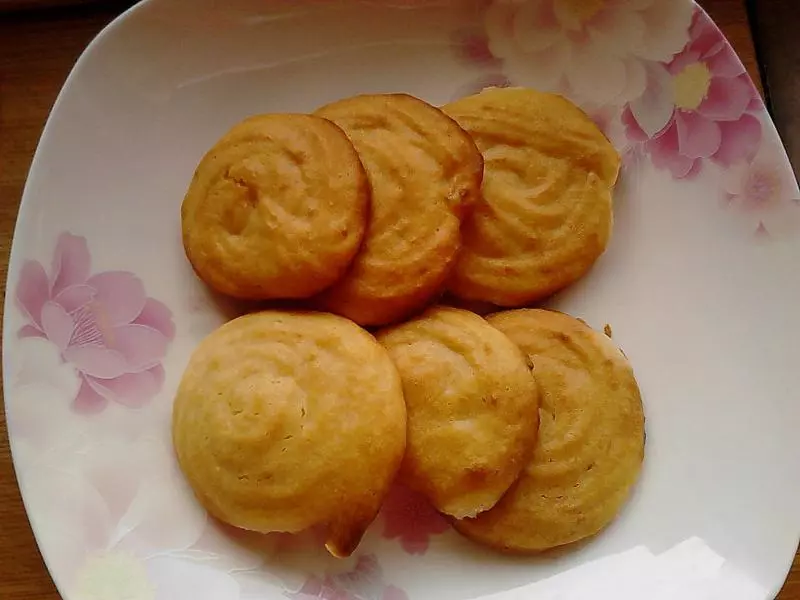
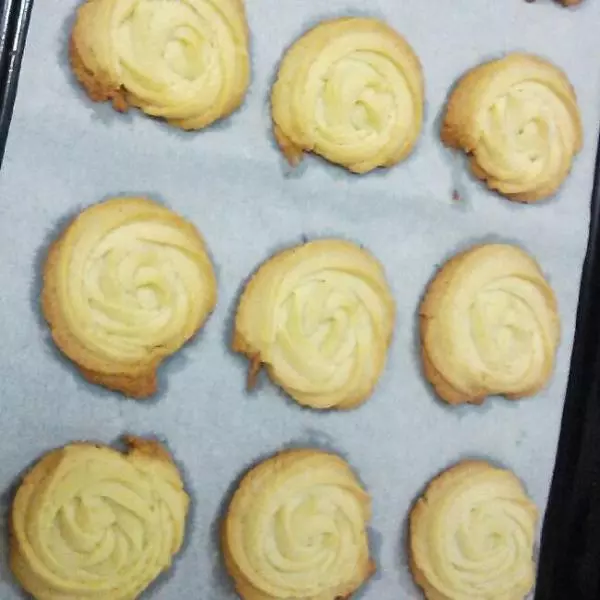
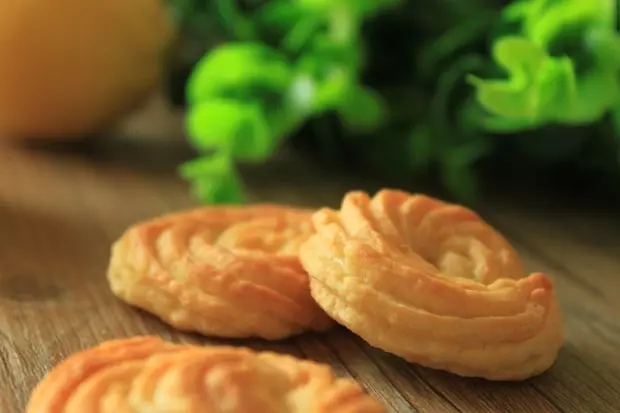
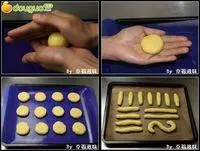
3 将面团塑型成圆饼或棒状 → 排入烤盘 → 180度,中上层,15分钟左右。
小技巧
做了35L烤盘 2盘 1. 蛋液分2-3次加入,更容易拌匀; 2. 做好的面糊密封冷藏,除了有利于塑型外,还可以使椰蓉充分吸收配方中的液体。