原料
脱皮绿豆: 250g, 淡奶油: 120g, 牛奶: 120g, 黄油: 80g, 细砂糖: 80g
步骤
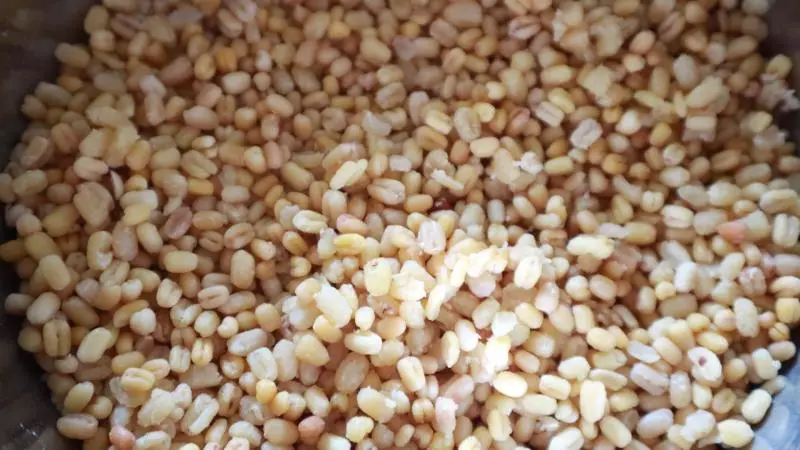
1脱皮绿豆洗干净,可以提前浸泡一夜,如果和我一样没浸泡的话,蒸的时候要放一些水

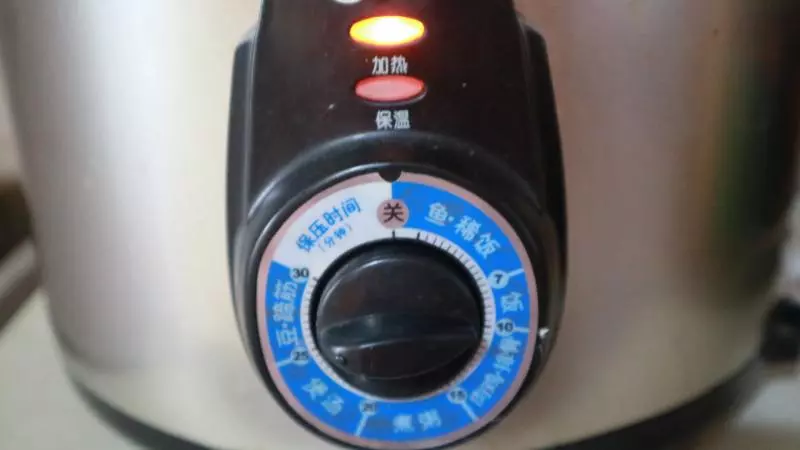
2用高压锅的豆子一档隔水蒸熟
3蒸熟的豆子可以很轻易的捏碎
4我蒸出来的比较干,加了淡奶油和牛奶
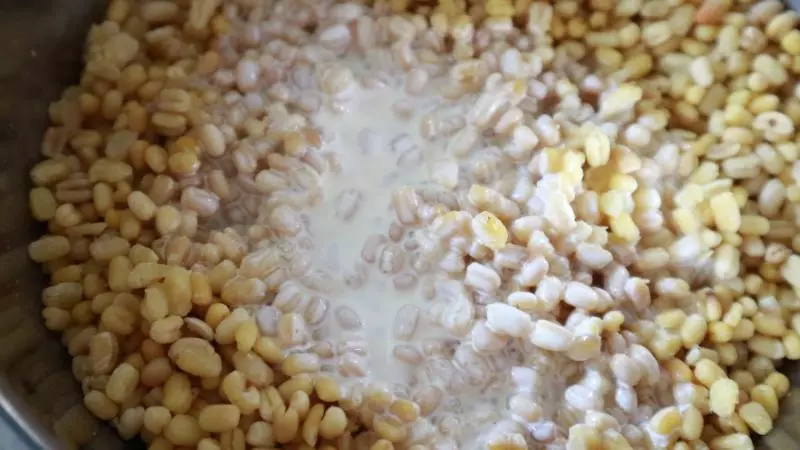
5然后用料理棒打碎
6打碎以后再过筛一次

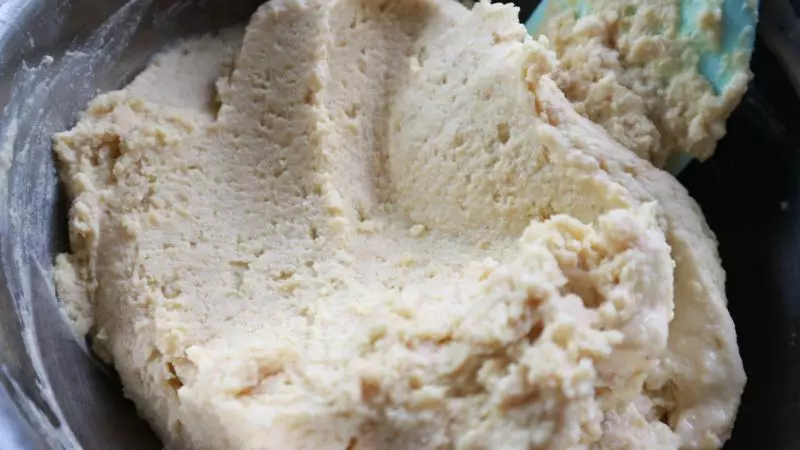
7过筛后的绿豆沙倒入锅内
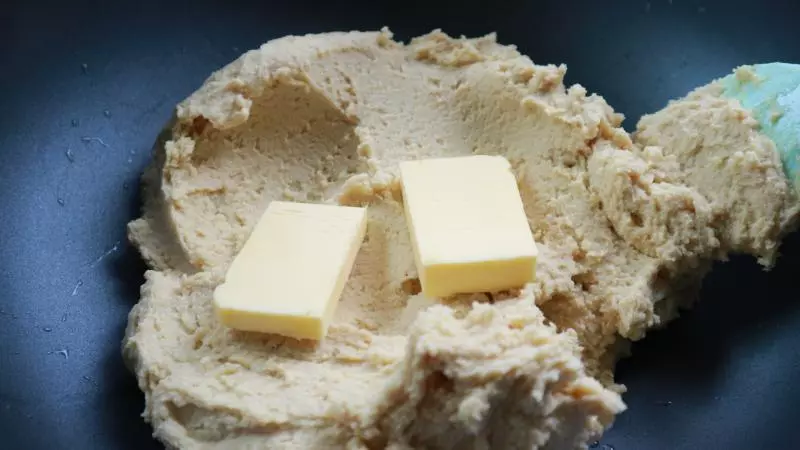
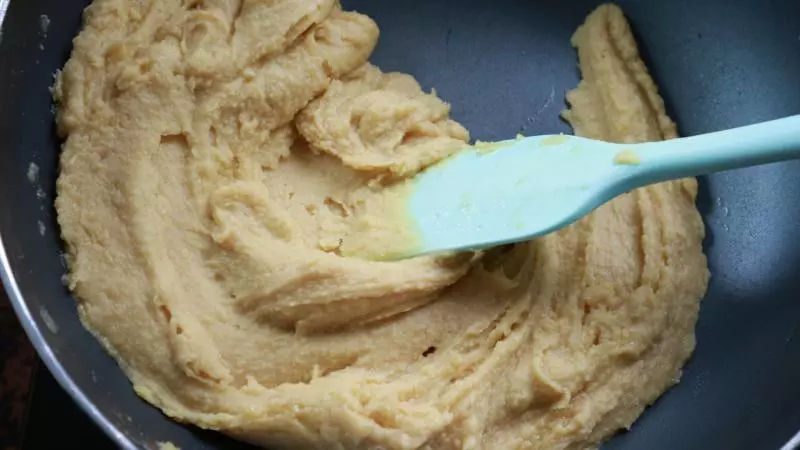
8分次加入黄油开小火炒。一定要等豆沙充分吸收黄油后再加入下一次
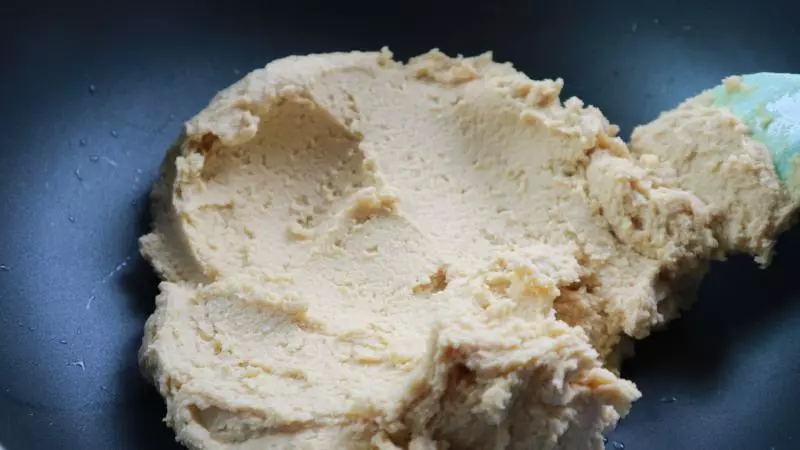
9炒到豆沙不粘刮刀
10加入细砂糖

11细砂糖加入后豆沙又会重新变得比较稀
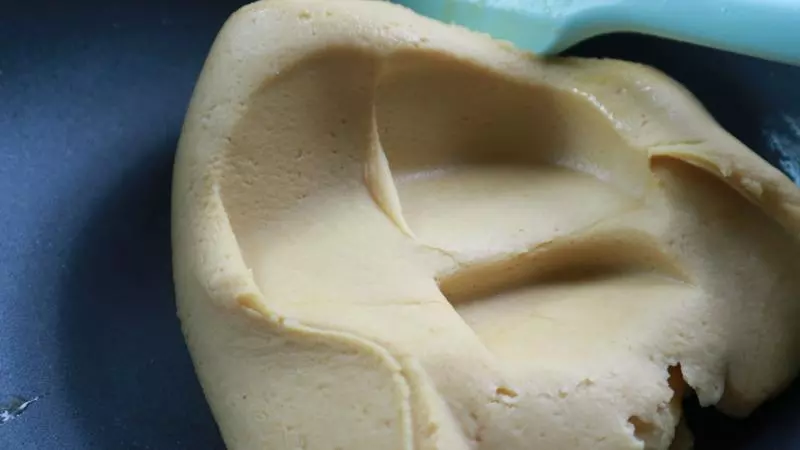
12继续翻炒到豆沙成团不粘刮刀
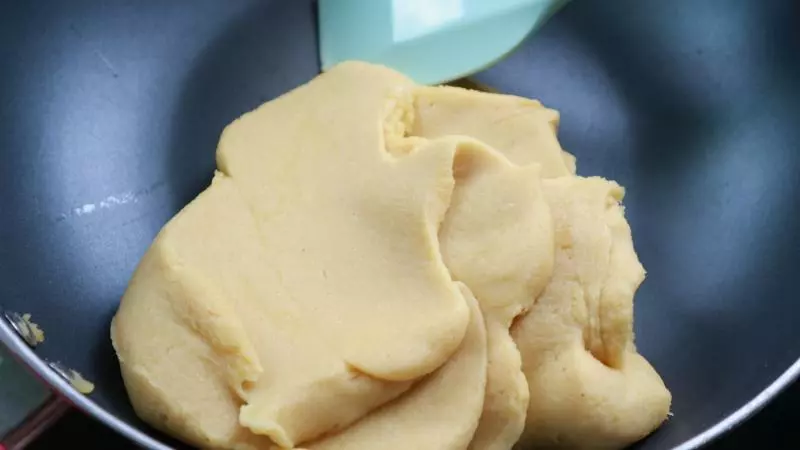
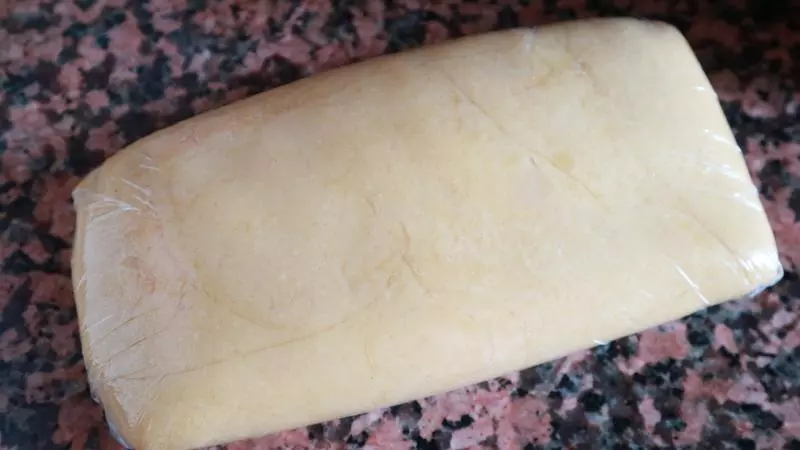
13炒好的豆沙用保鲜膜包裹住。放入冰箱冷藏冷却
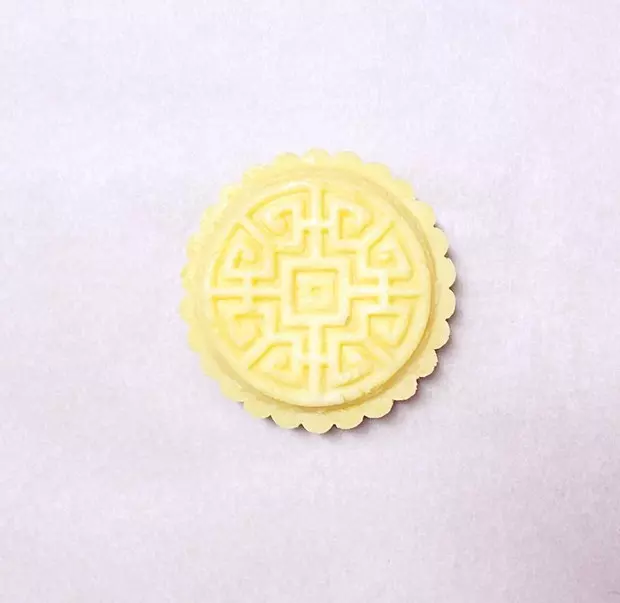
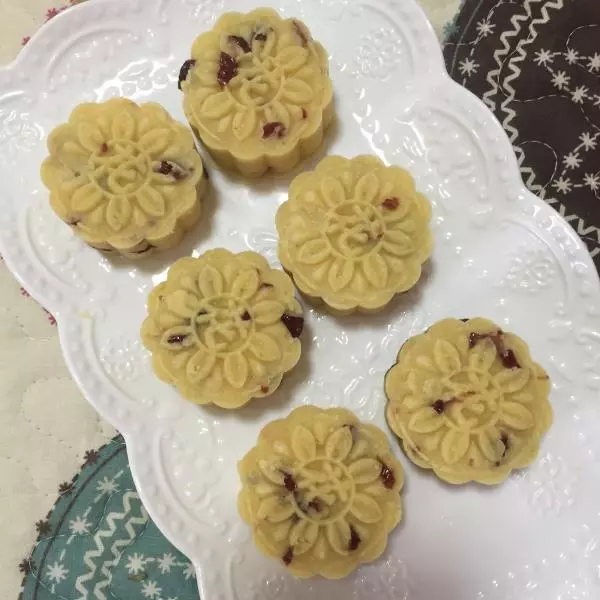
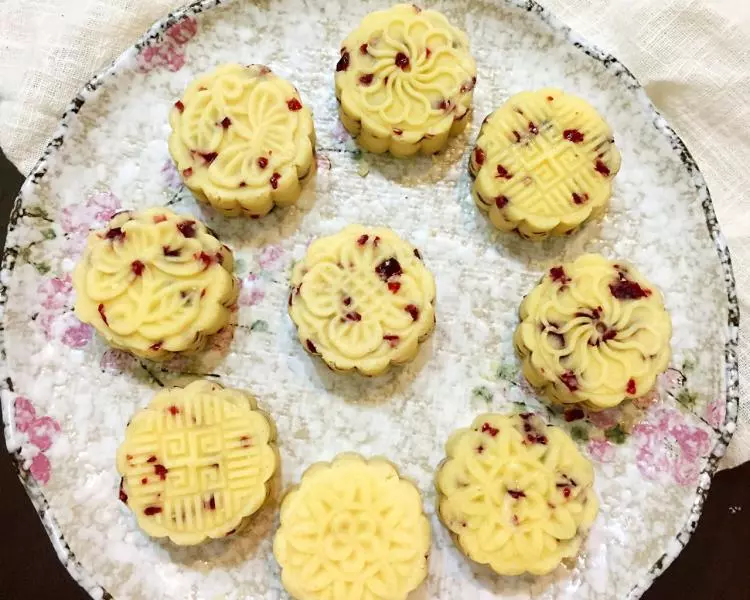
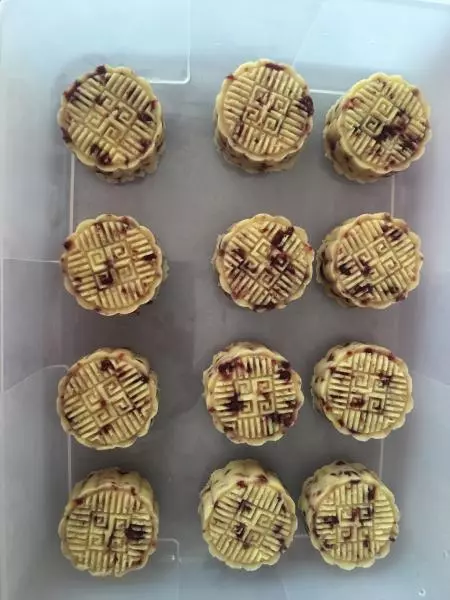
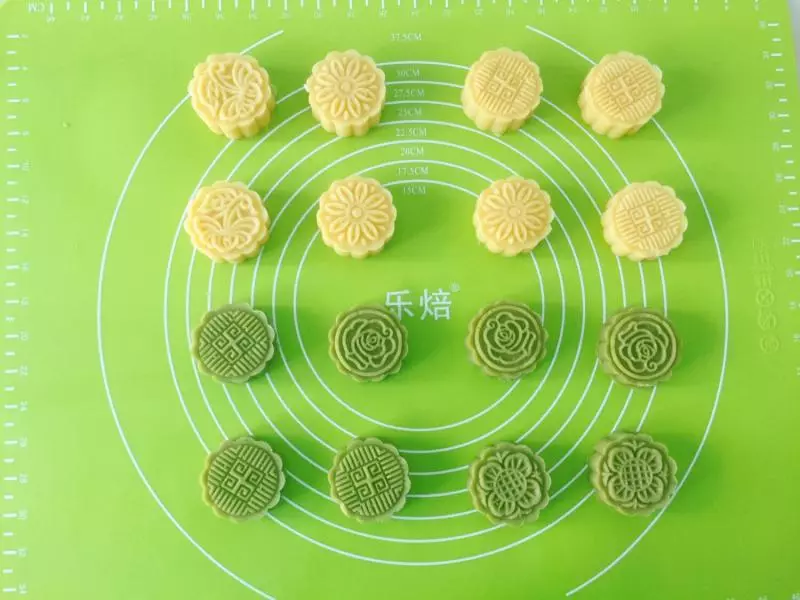
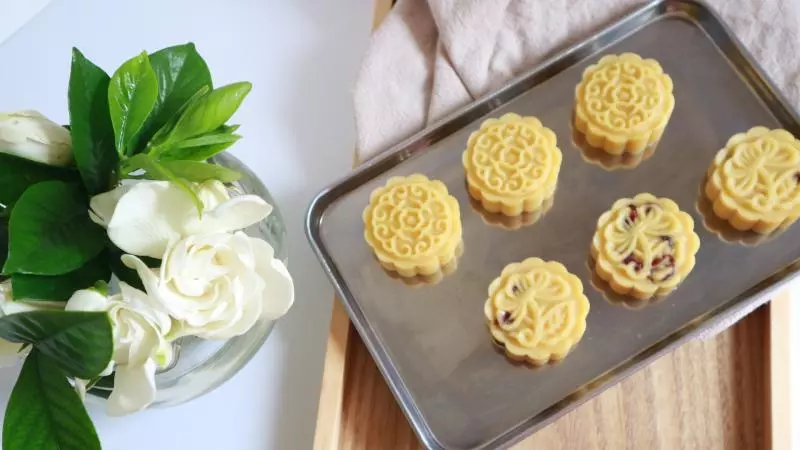
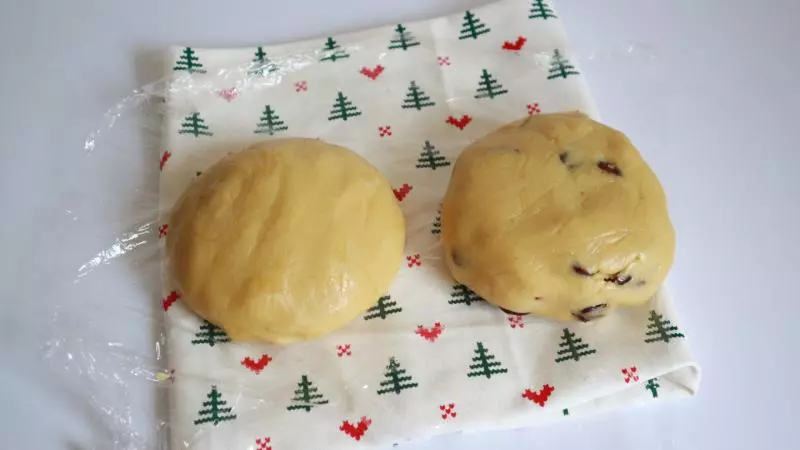
14冷却到温热的豆沙我分成了两块。其中一块加入了蔓越莓干
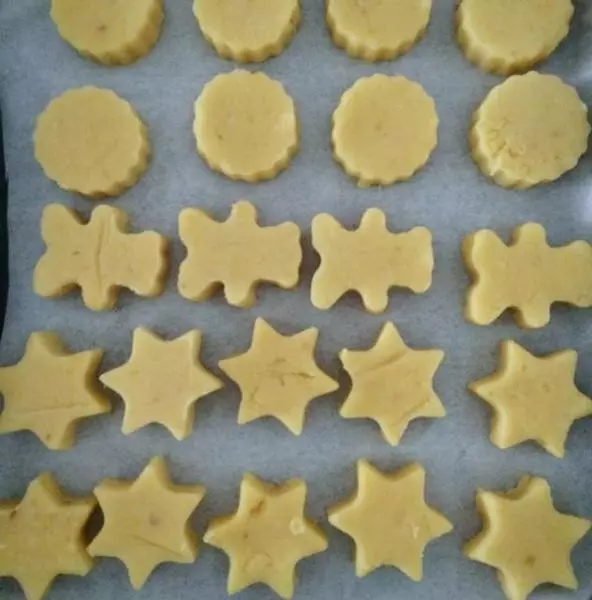
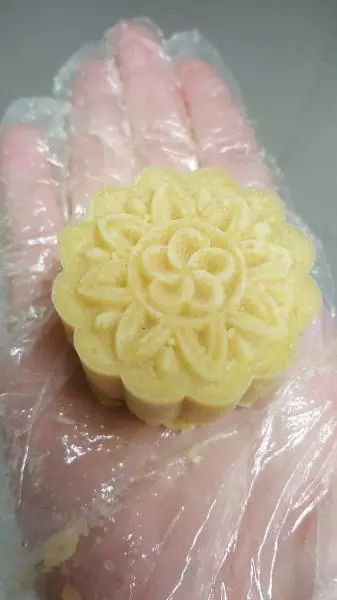
15分成35g左右,搓圆
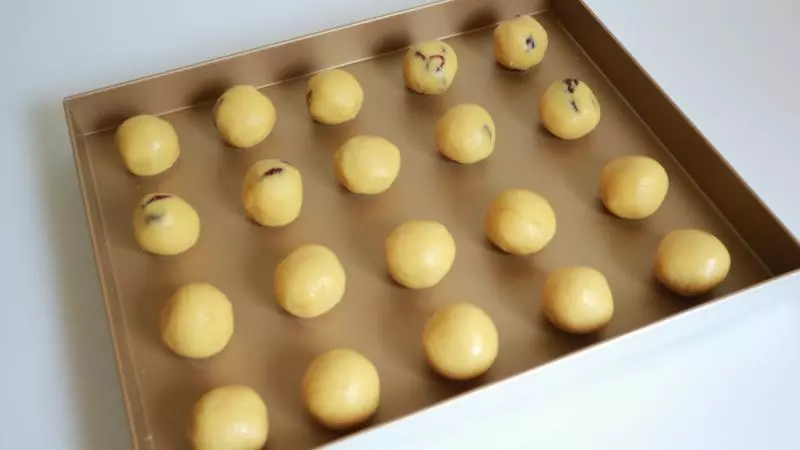
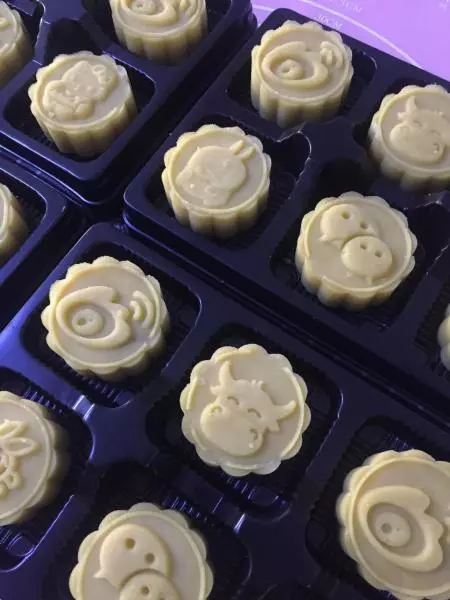
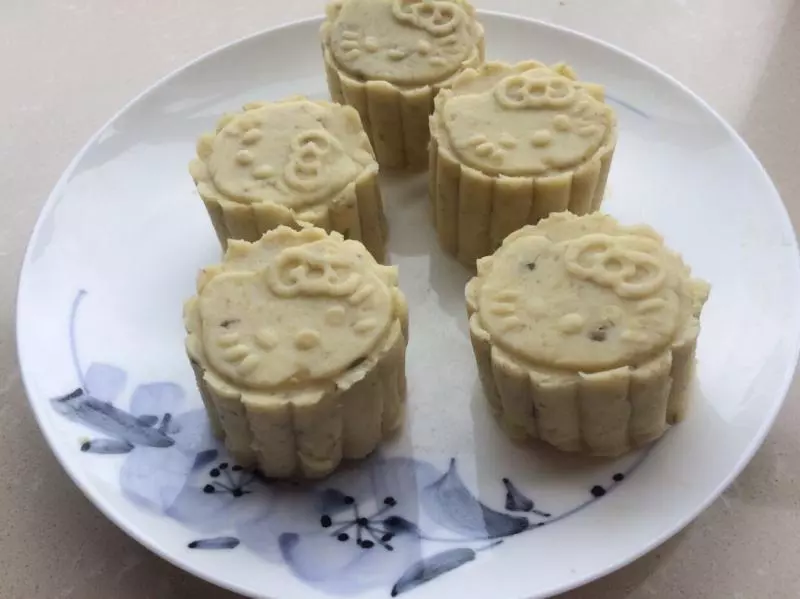
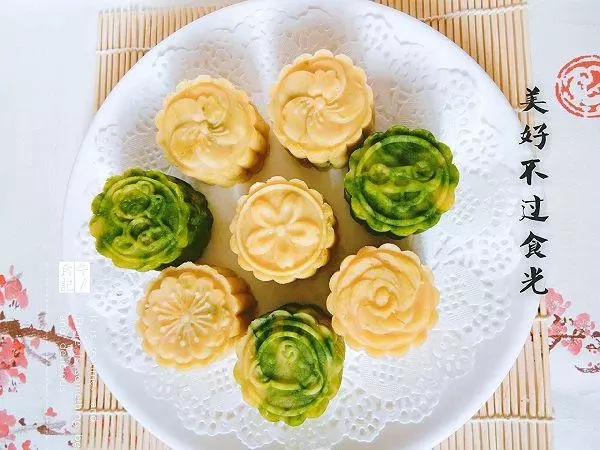
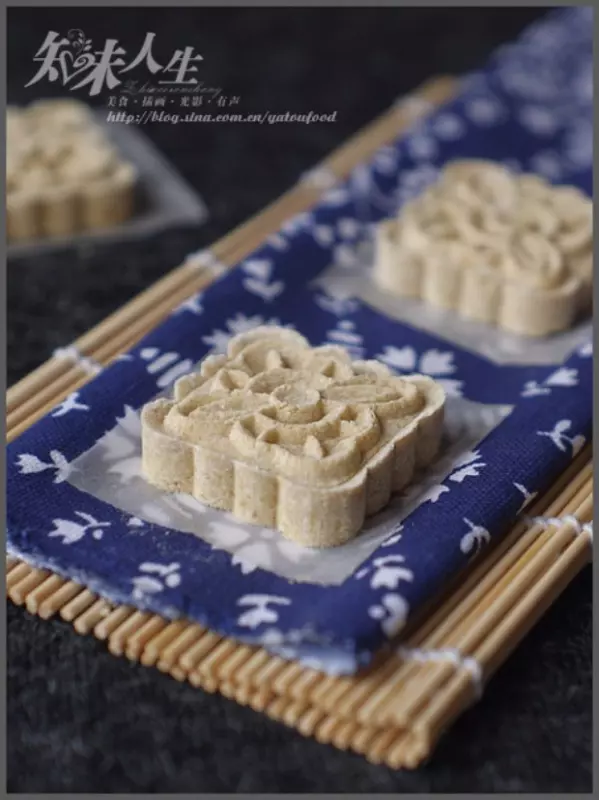
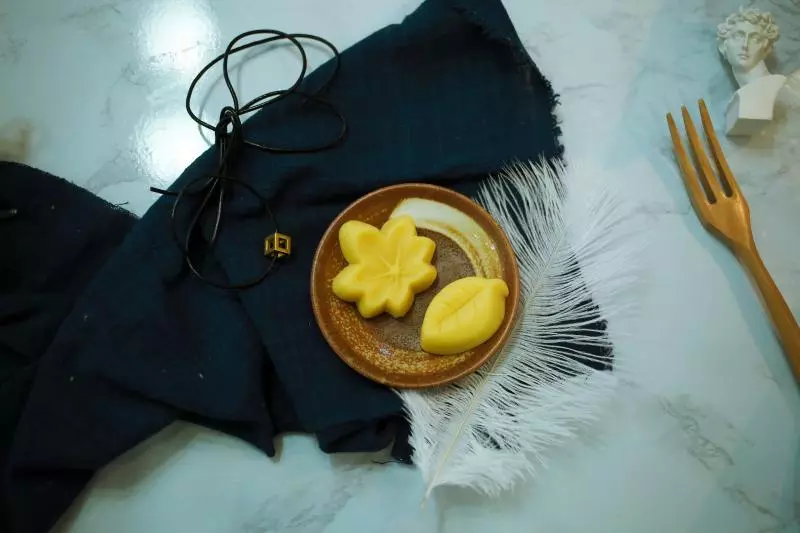
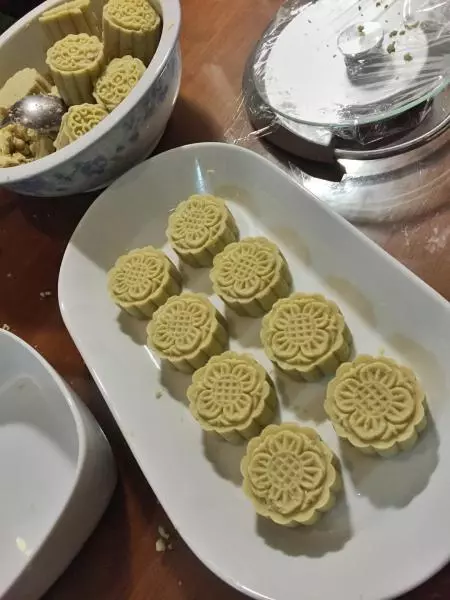
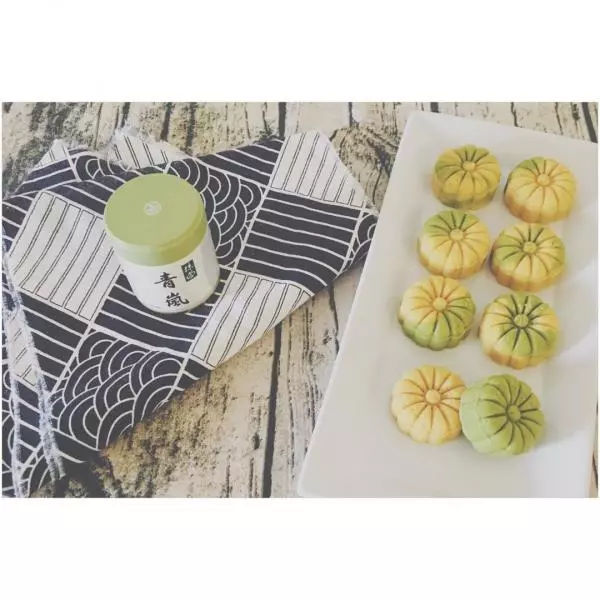
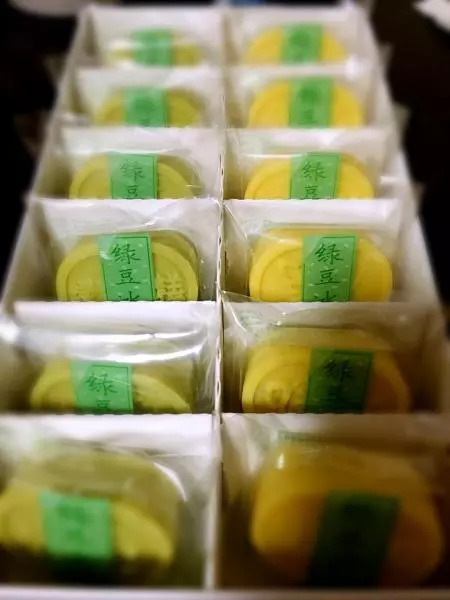
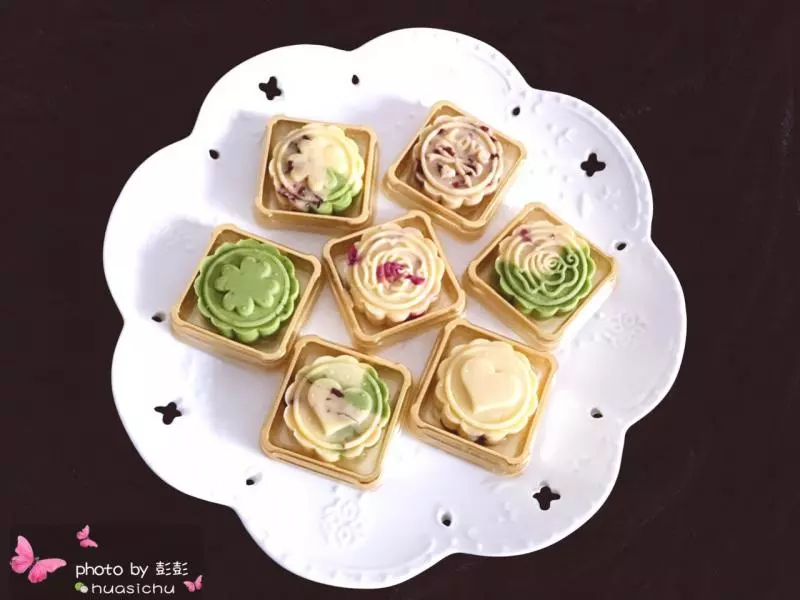
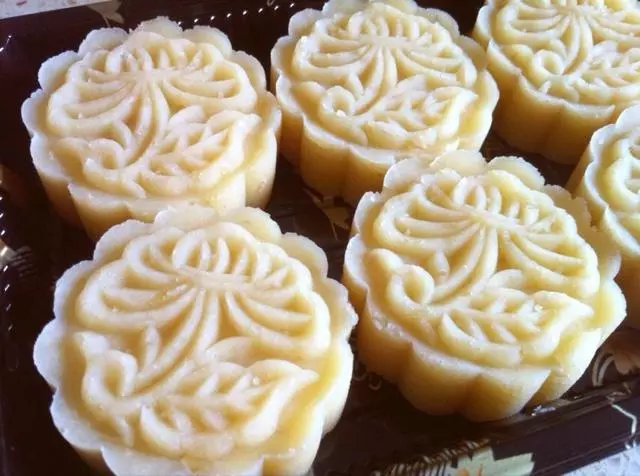
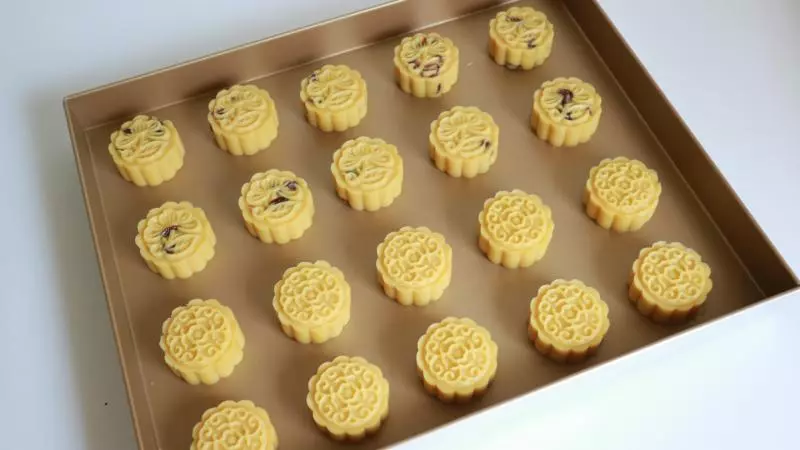
16用模具进行压花,美美的绿豆糕就做好了
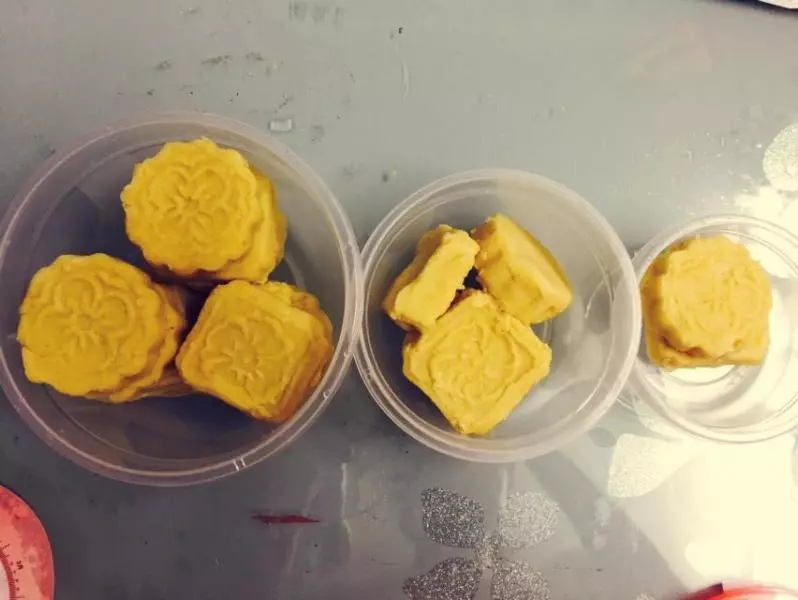
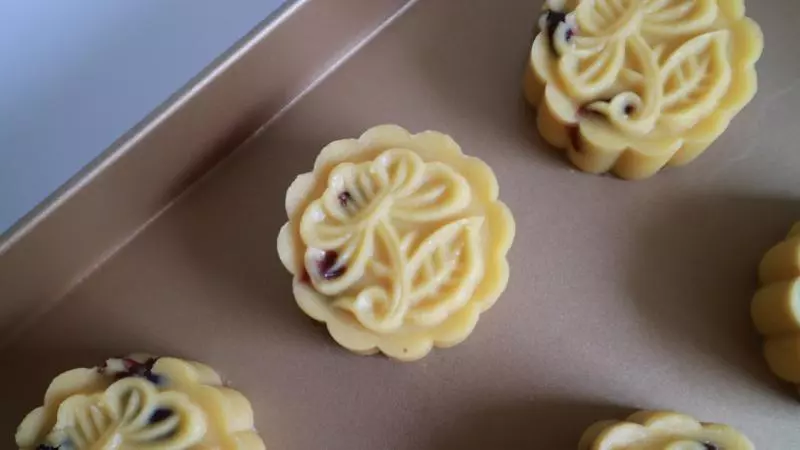
17这个是蔓越莓味道的
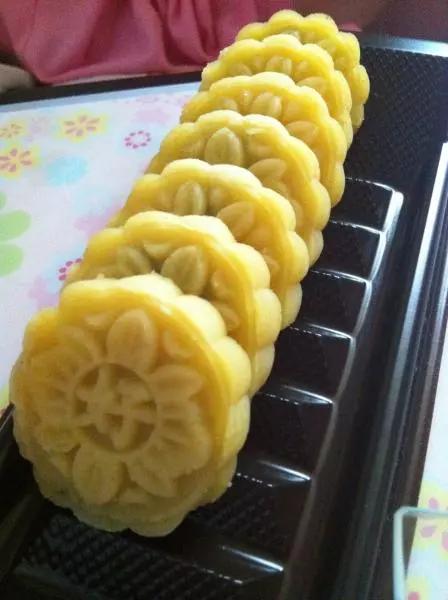
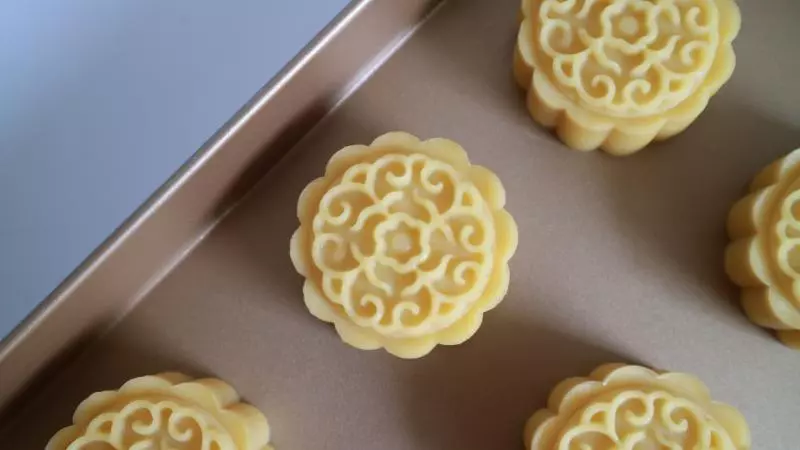
18这个是原味的
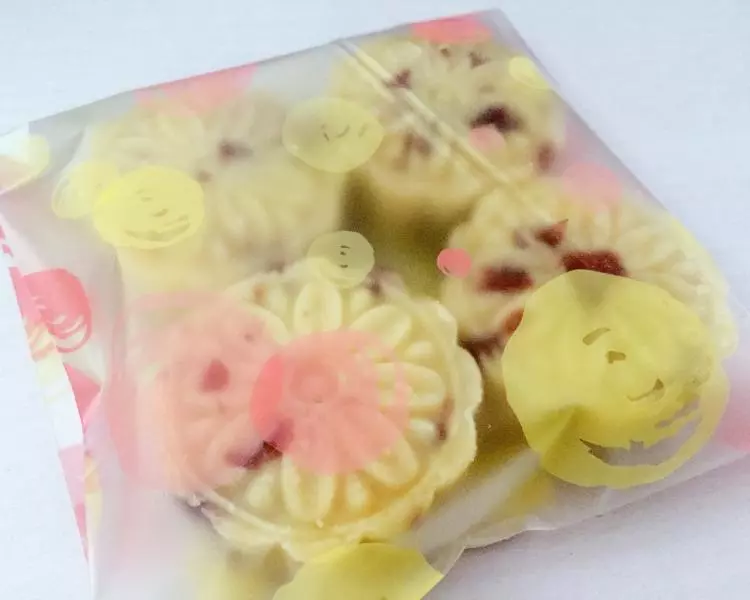
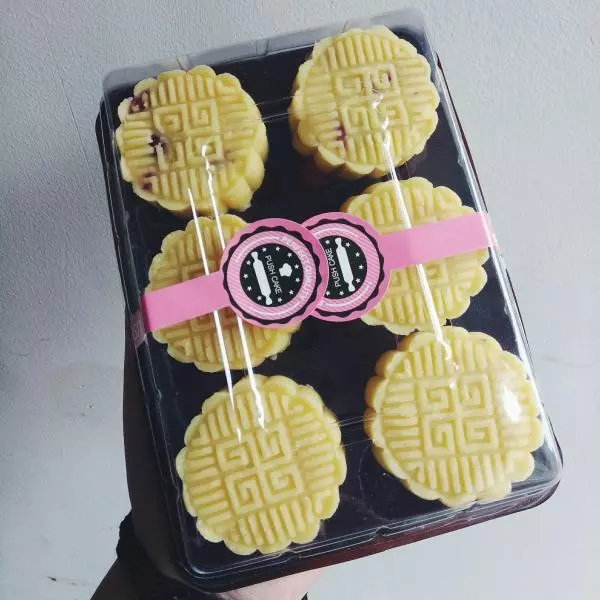
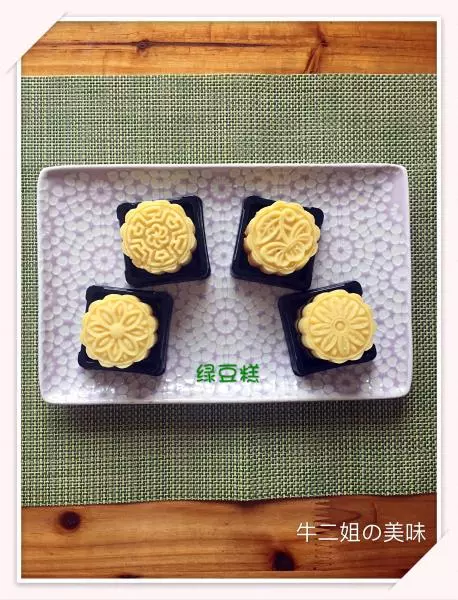
19成品图
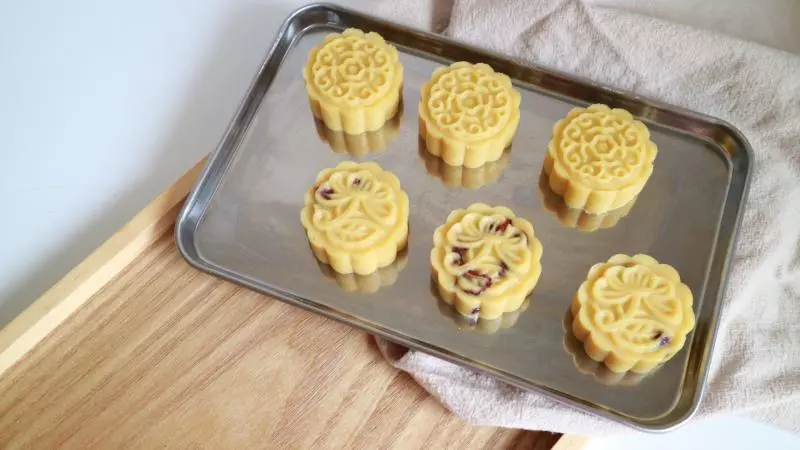
20成品图