原料
冰皮粉: 240g, 白油: 25g, 馅料: 360g, 草莓味粉(红色): 5g, 蓝莓味粉(蓝色): 5g, 凤梨味粉(黄色): 5g, 香芋味粉(紫色): 5g, 佳士比月饼模具: , 熟糯米粉(手粉): 10g
步骤
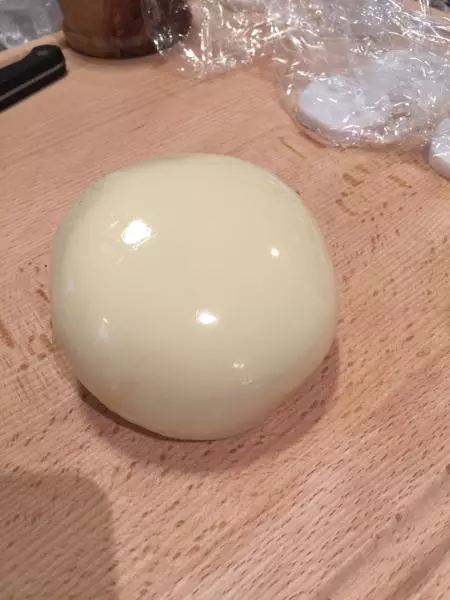
1称取240g冰皮月饼粉,加入100ml凉开水,慢慢揉至光滑无颗粒状态(大概5分钟)

2加入25g芝焙白油,继续揉至粉团柔滑状态,白油被完全吸收(大概三分钟)

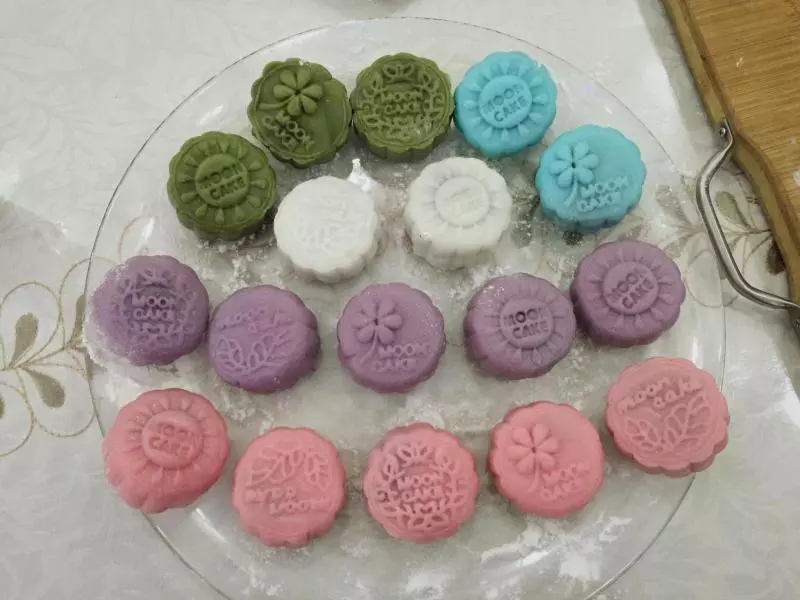
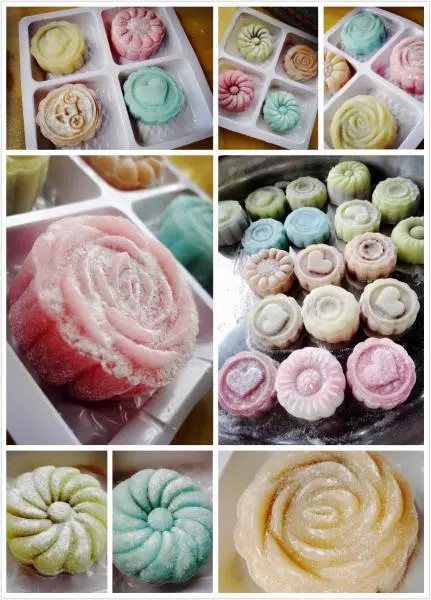
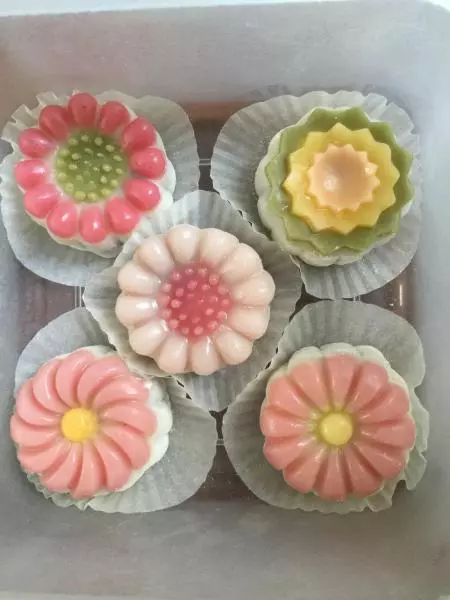
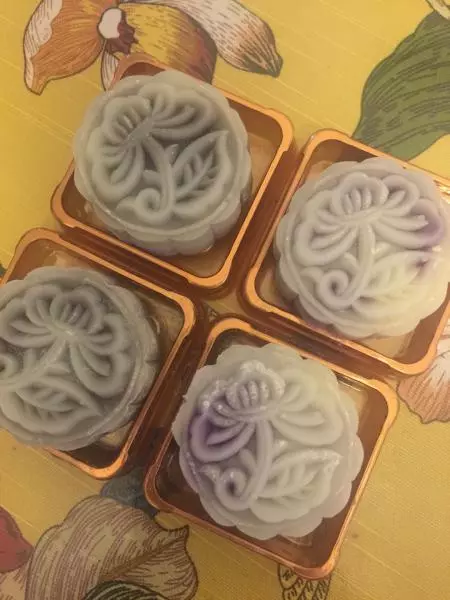
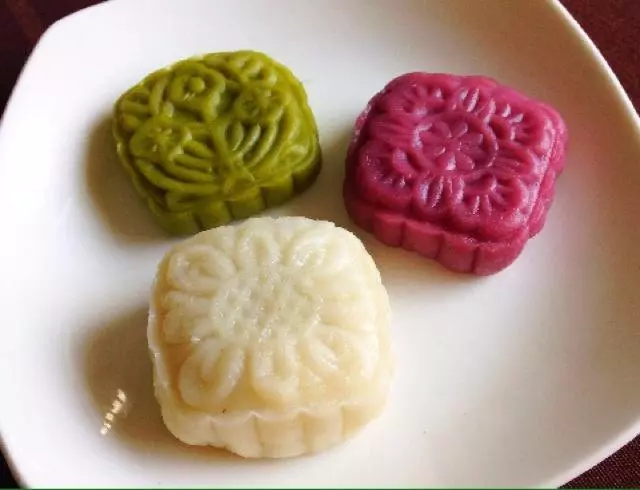
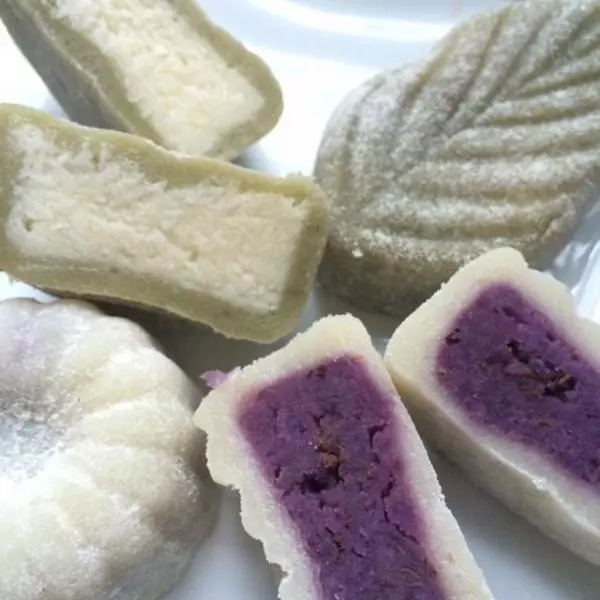
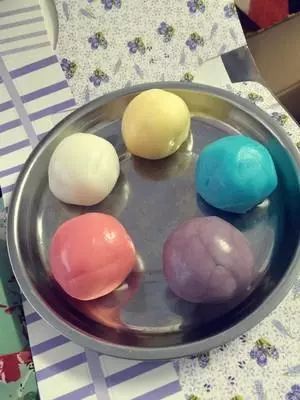
3将揉好的冰皮团平均分成5份,取4份分别加入5g果味粉上色
4将25g馅料包入25g冰皮

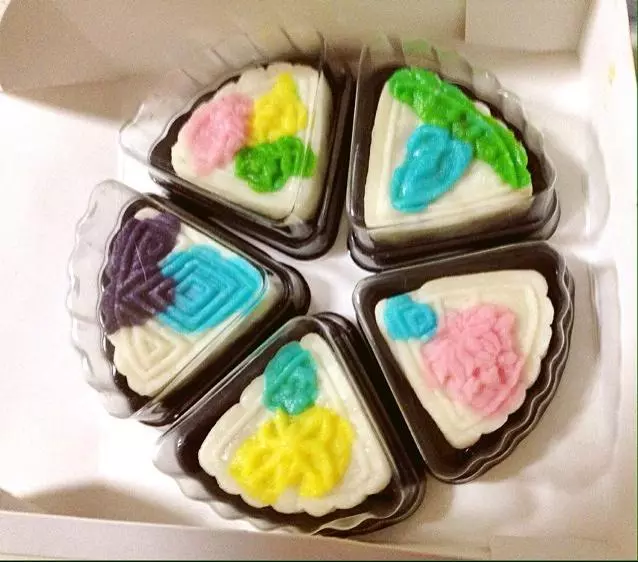
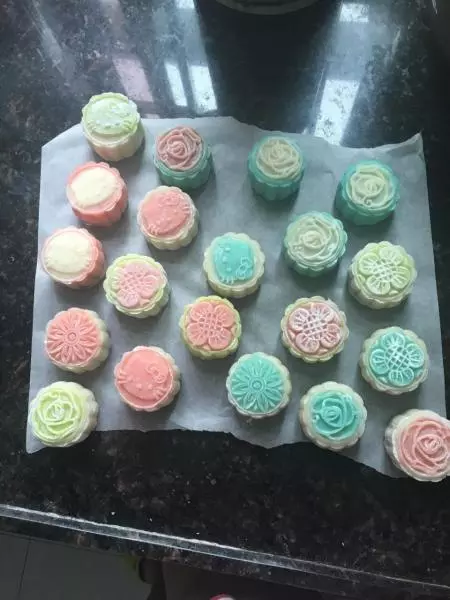
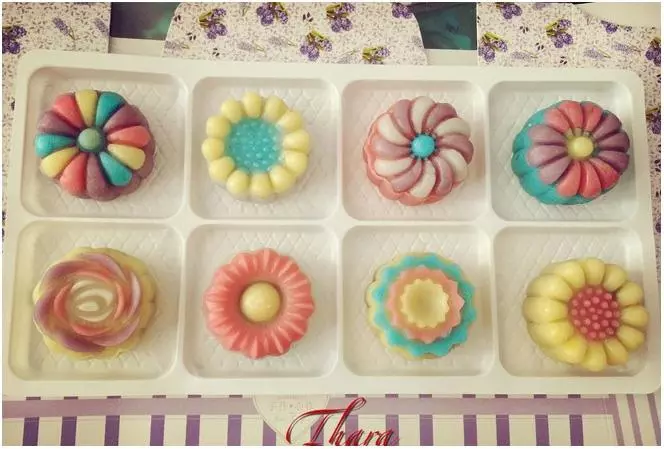
5取喜欢的模具,根据自己的喜好在模具上压上一层上色的冰皮(因为是立体月饼模具,这样就可以做出彩色的立体造型)

6将月饼滚圆后,表面均匀涂上少许手粉,放入月饼模具中

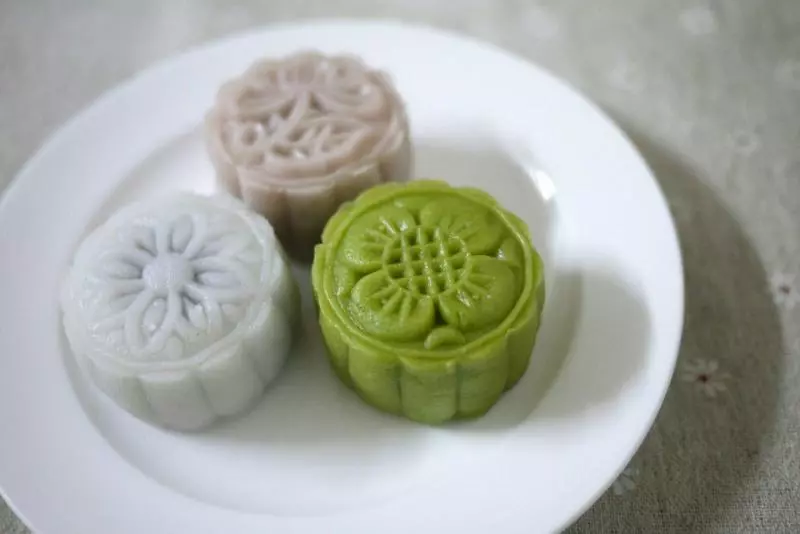
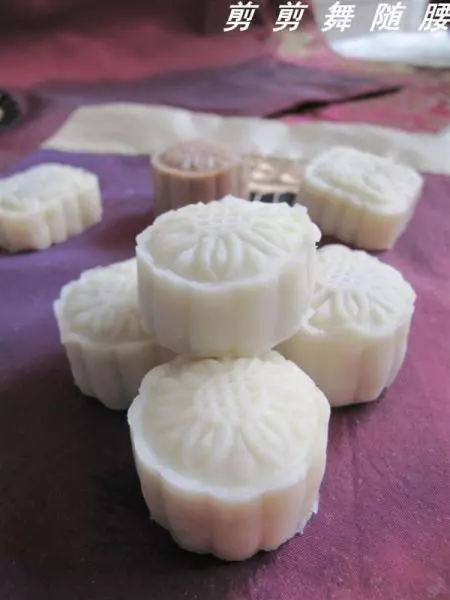
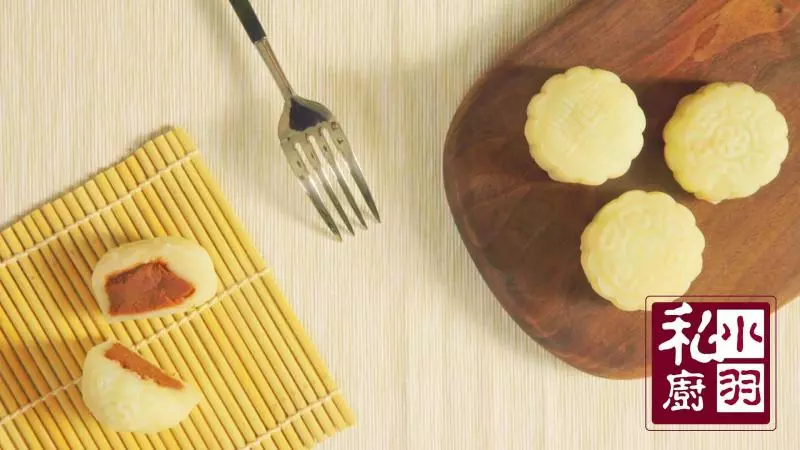
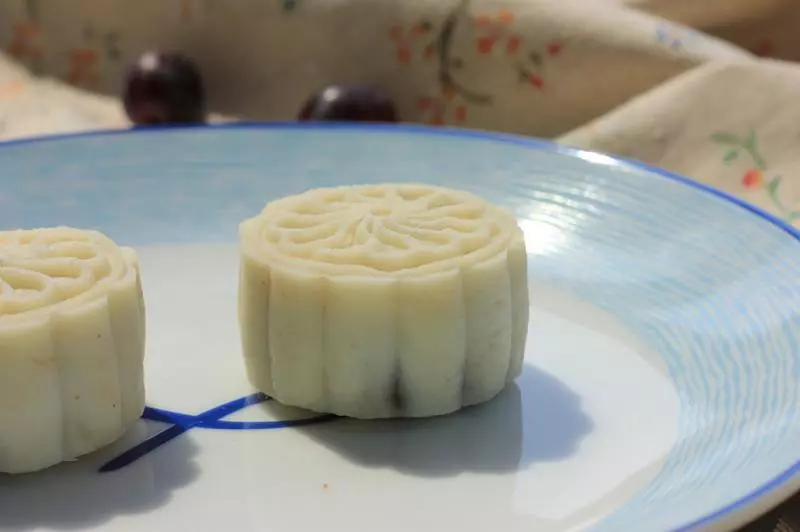
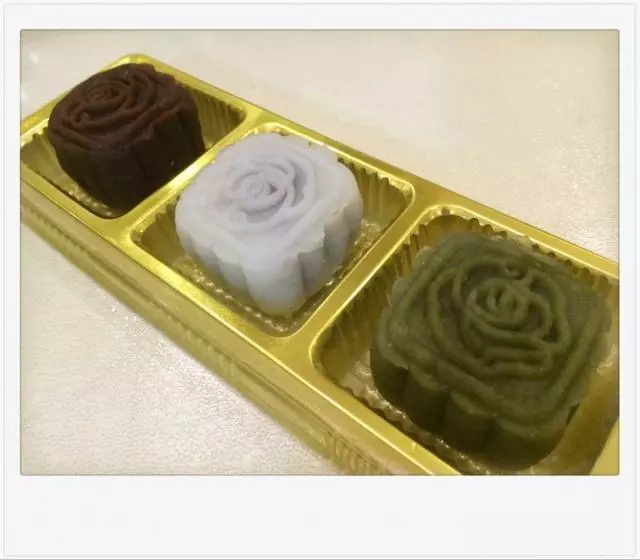
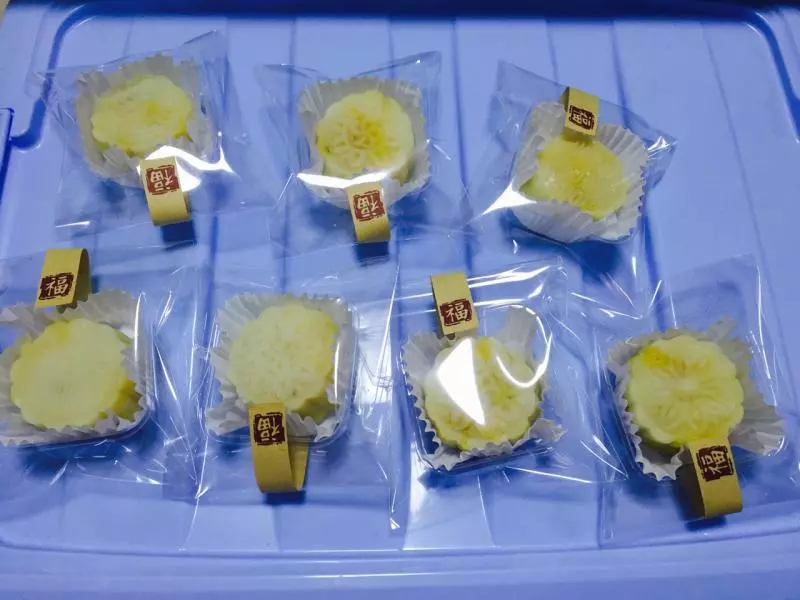
7最后,用力按压脱模,就做好漂亮的冰皮月饼了

8芝焙立体月饼模具6个花片成品图

小技巧
1、冰皮粉一袋250g,方子是240g是因为担心第一次和稀可以再加 2、如果水放少了面团过硬、请在第二步骤多加一点白油即可 月饼模具: 包装: