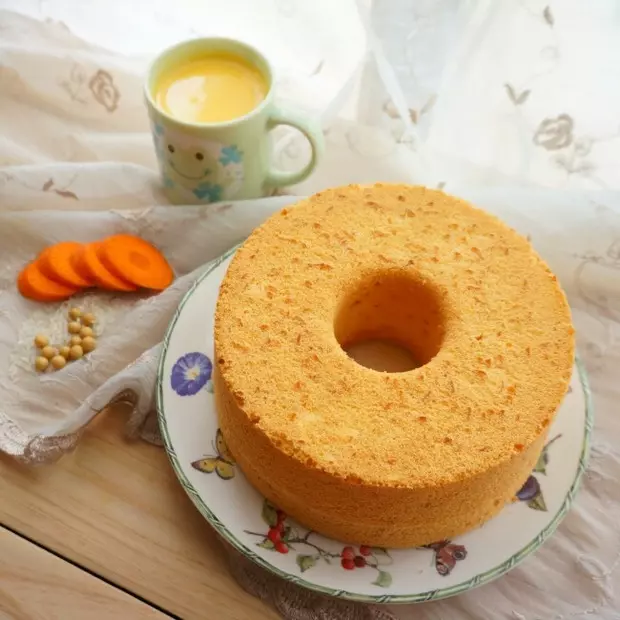
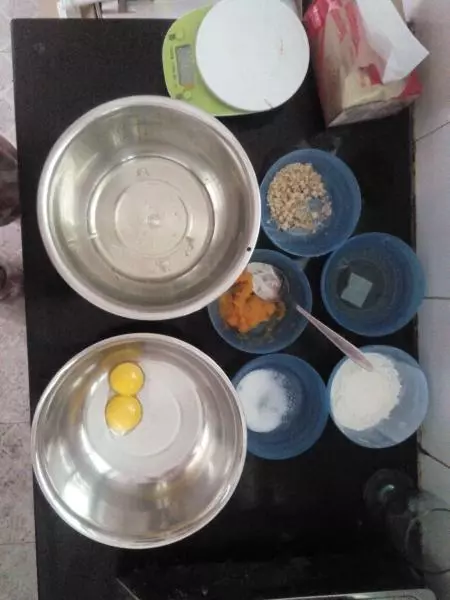
原料
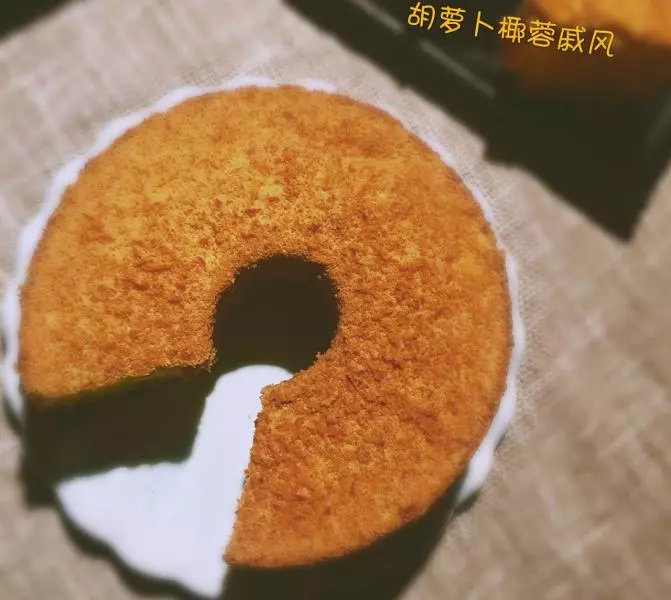
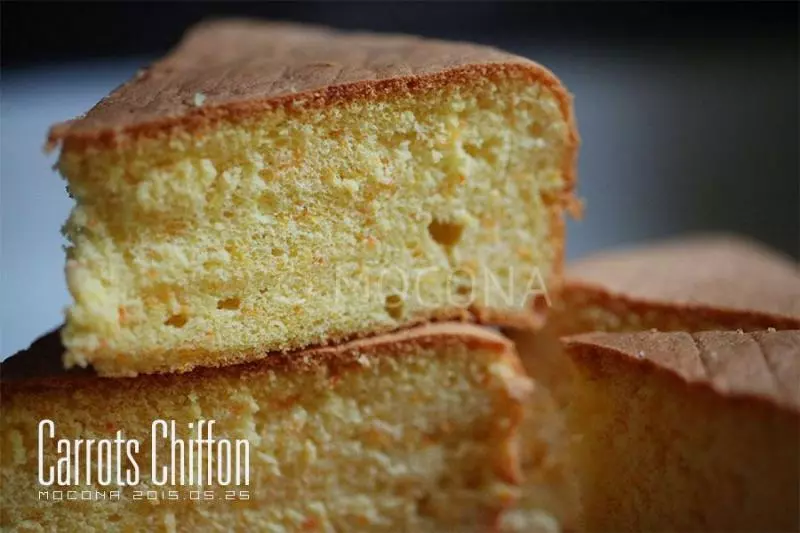
蛋黄: 2个, 牛奶(没有可用水代替): 24克, 玉米油(或者色拉油): 24克, 细砂糖: 12克, 低筋面粉: 40g, 胡萝卜: 50g, 椰蓉: 15g, 蛋白: 2g, 蛋白用的细砂糖: 32g, 醋或者柠檬汁: 4滴
步骤
1准备好所有材料,蛋清和蛋白分别用无油无水的盆子分离好。一定无油无水,蛋白盆蛋清也注意不能滴进一点。胡萝卜先蒸熟或者用水煮软。能顺利插进筷子就表示熟了。
2开始制作蛋黄糊。在蛋黄中加入12g细砂糖,天冷也隔温水搅拌至糖融化
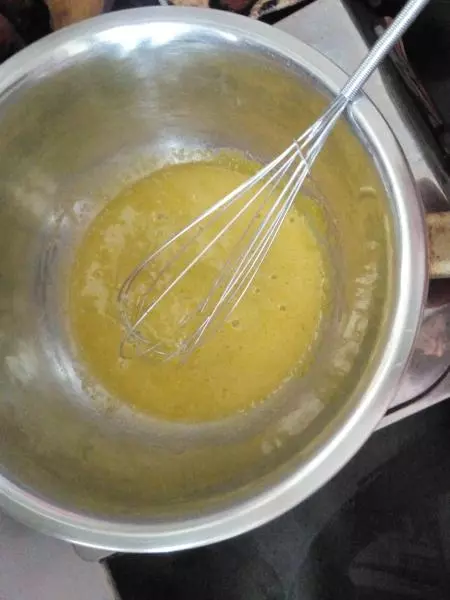
3一只手加入玉米油,另一只手用蛋抽边搅拌均匀直到与蛋黄完全融合
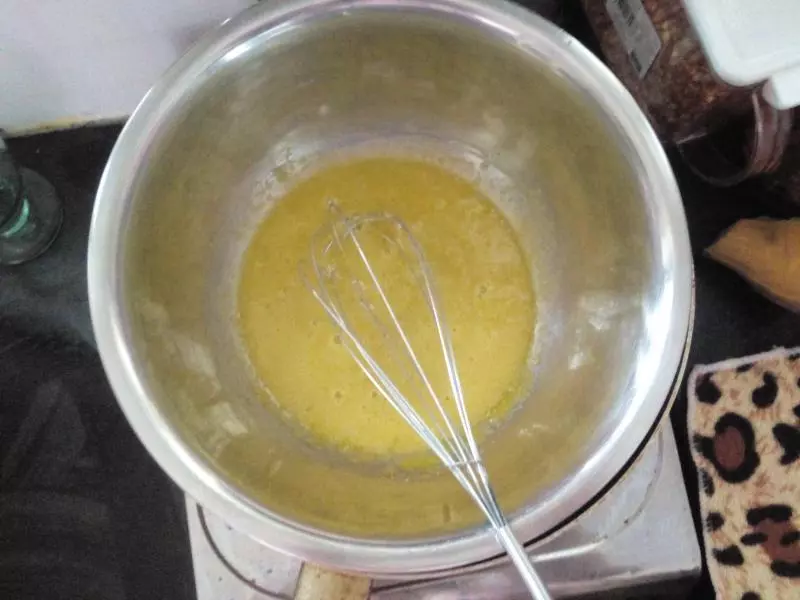
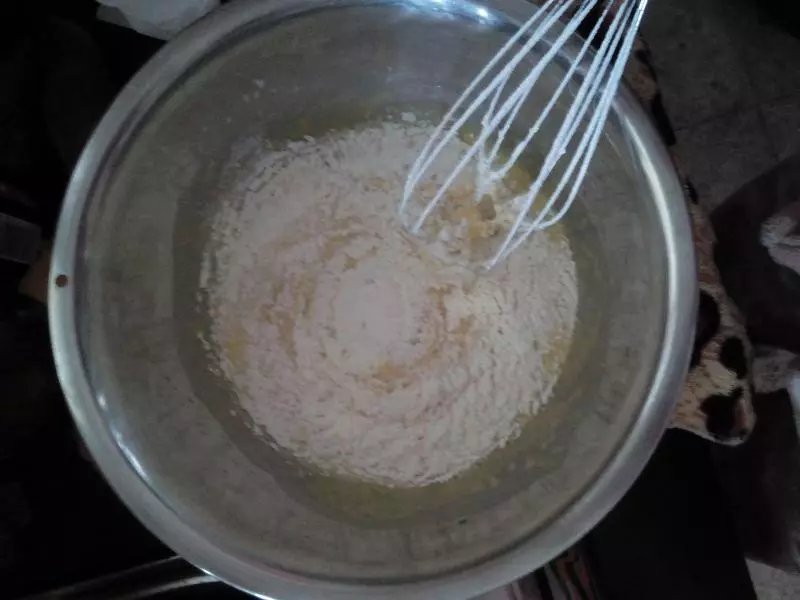
4再一边加入牛奶或者清水一边快速搅拌均匀。让油水进行乳化。刚开始有大气泡。搅拌2-3分钟小细泡越来越多,颜色发白蛋抽划过有细痕。就代表乳化完成。
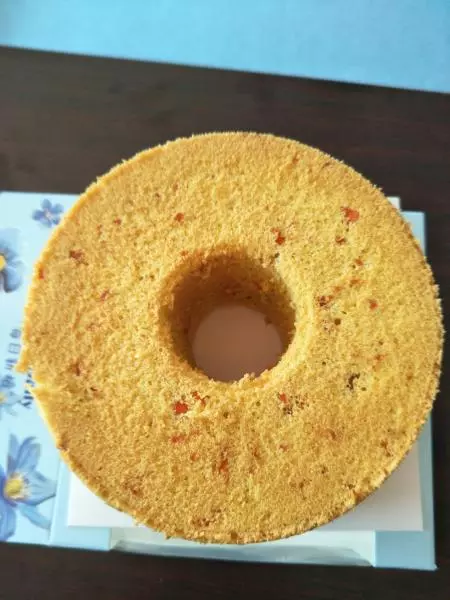
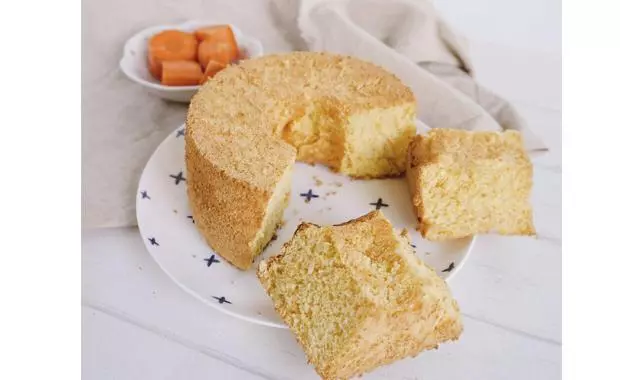
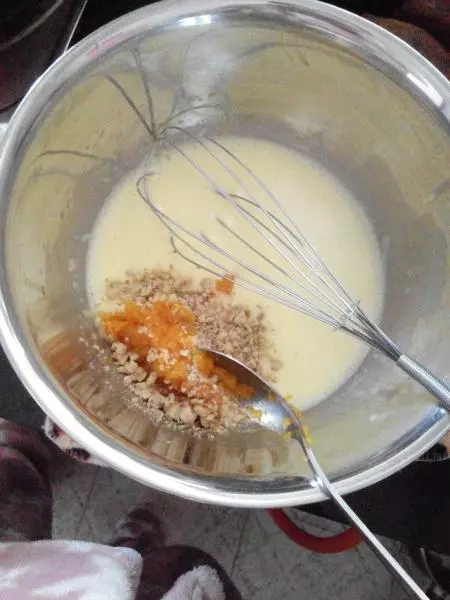
5加入胡萝卜和椰蓉搅拌均匀即可。(这个步骤图忘了拍,就用其他口味的代替了一下,嘿嘿)
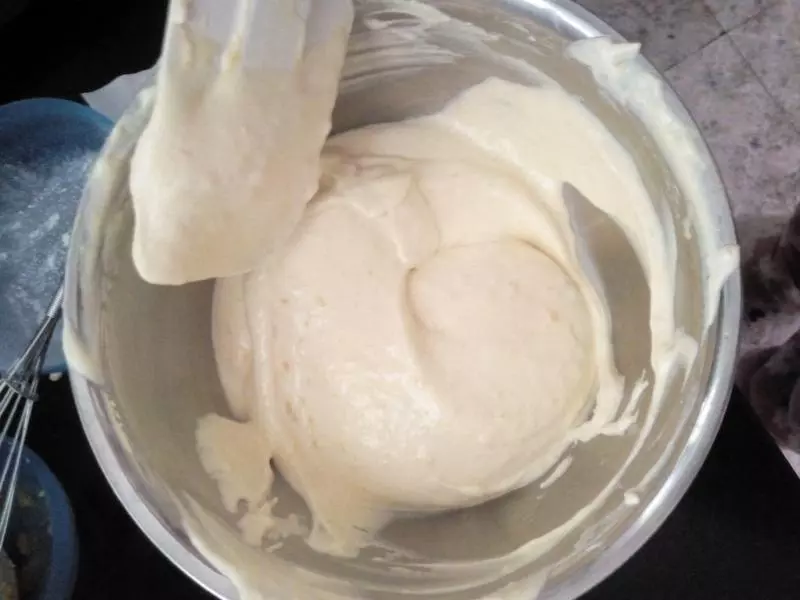
6先加入筛入三分之二的低粉。轻轻顺时针划两圈再逆时针画两圈。也可以Z字画。其实只要不让面粉起筋,轻轻的画圈能更好拌匀面粉。让后继续加入剩下的低粉。搅拌均匀
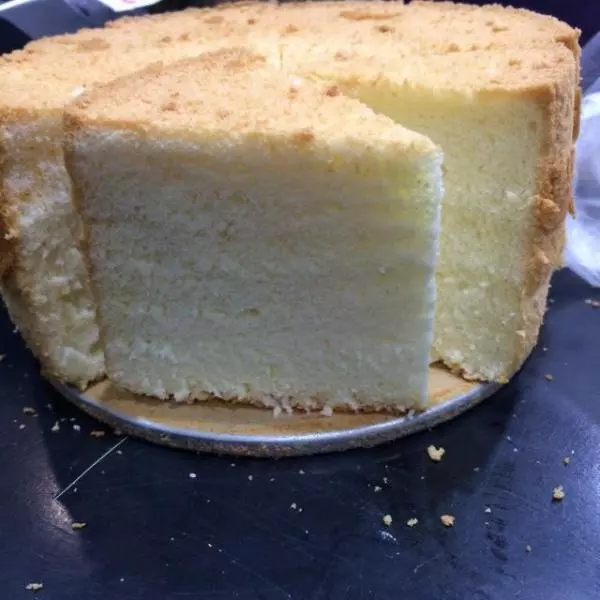
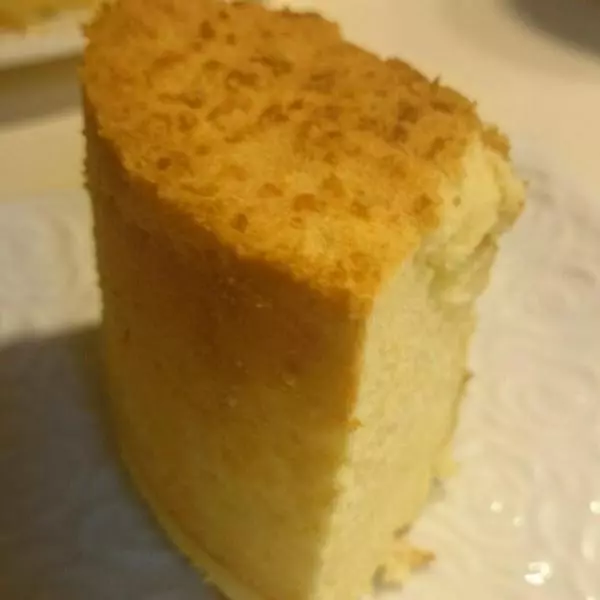
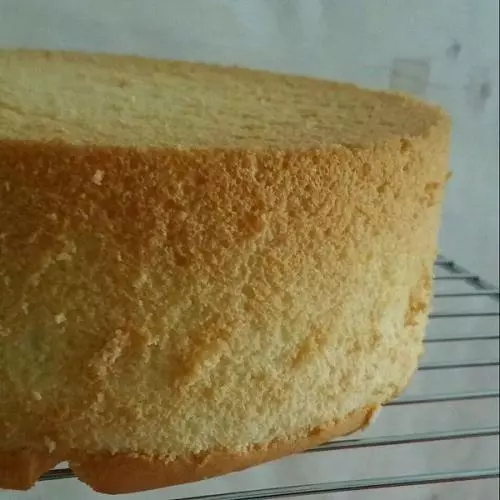
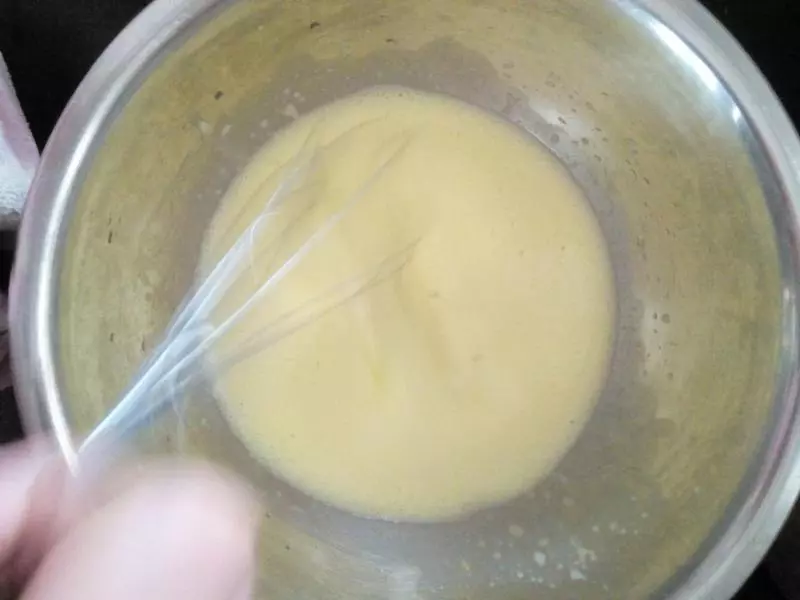
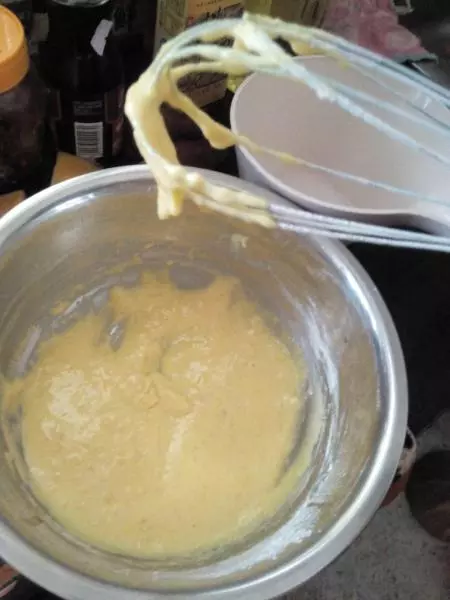
7面糊的状态,不是特别稀也不特别浓,蛋抽提起能顺利掉落就OK。
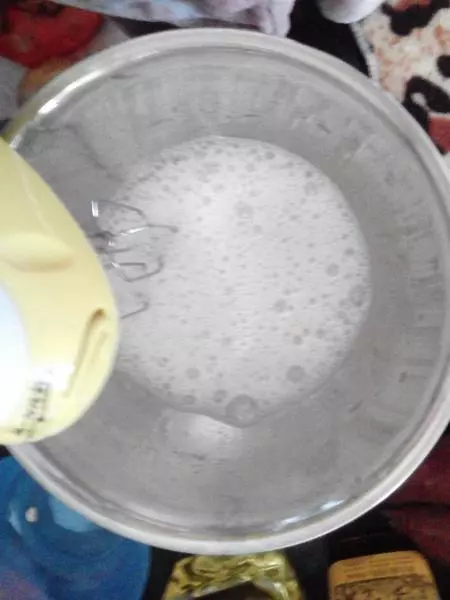
8开始打发蛋白,蛋白中加入几滴醋或者柠檬汁增加蛋白的稳定性。分三次加入细砂糖,打发成粗泡的时候加三分之一的糖。
9蛋抽提起能拉出一条断断续续的线,这时加入三分之一的糖
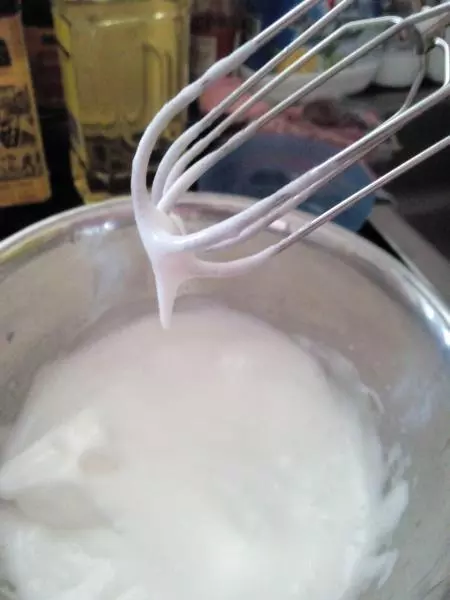
10蛋抽提起能形成软软的角,这是是湿性发泡加入剩下的糖。
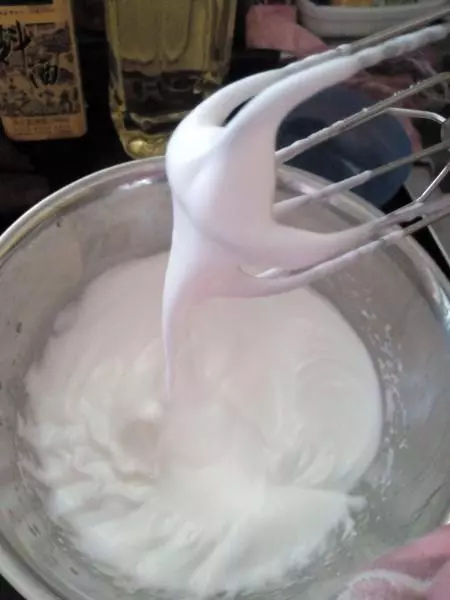
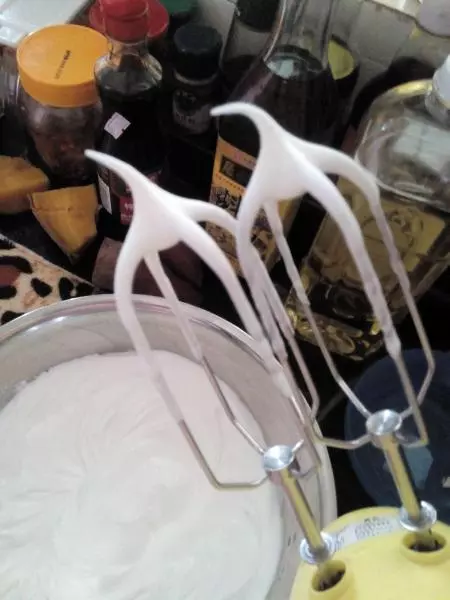
11提起蛋抽形成能够立起来但是又有小弯角的状态,蛋盆里提起的角也是立起来的小弯钩,就行了。不要打到完全直立的硬性发泡。
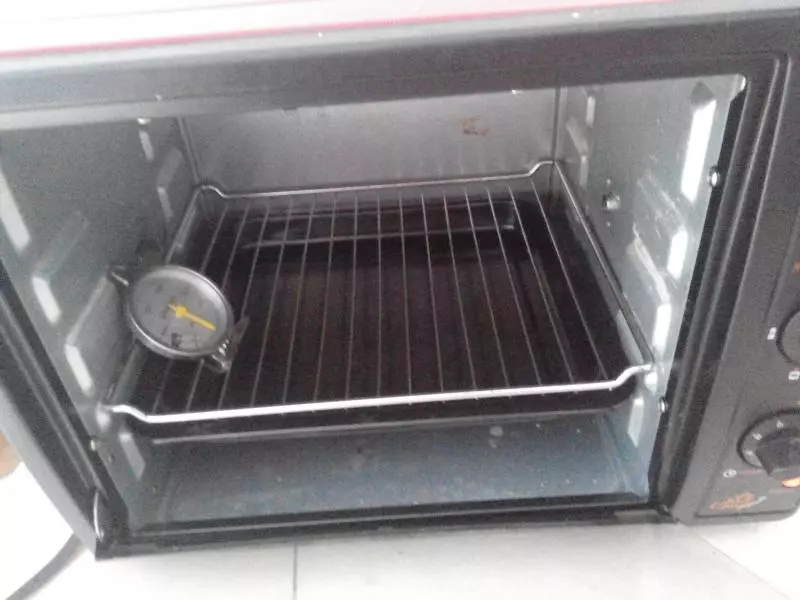
12蛋白打好了就去预热烤箱,170度,烤盘放最底下隔热,烤架放倒数第二层。之所以这样也是自己得出的经验。如果放中层蛋糕顶部容易糊。如果放下层。离底火太近,底部会凹。所以加隔热百试不爽。
13取三分之的蛋白加入到蛋黄糊。用小岛老师的搅拌方法,即刮刀从2点方向划到8点方向翻伴,左手逆时针转动盆60度。翻伴和切伴配合着。拌匀即可
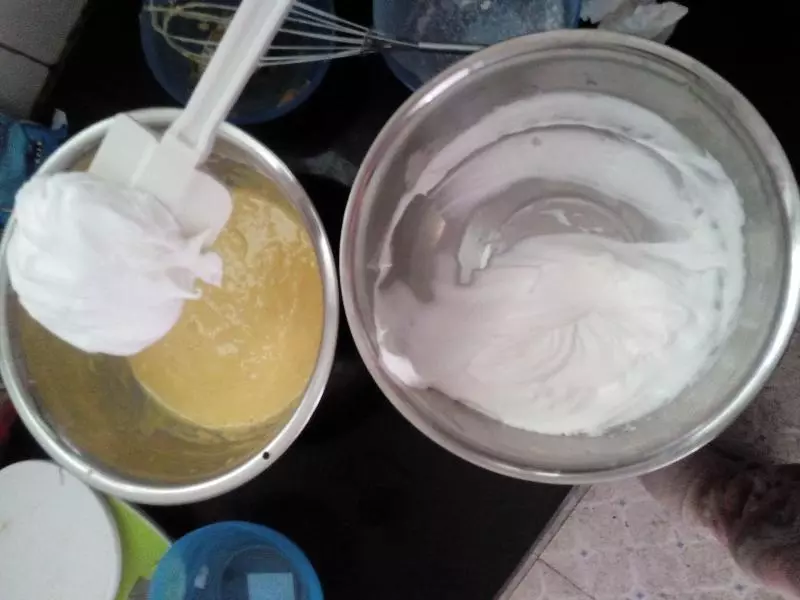
14把蛋糕糊加入剩下的蛋白中。同样的手法拌匀蛋糕糊。蛋糕糊的状态能缓慢留下最佳。
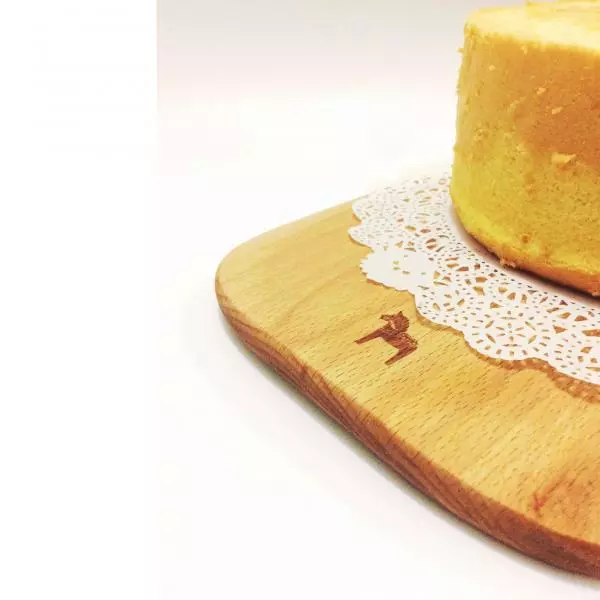
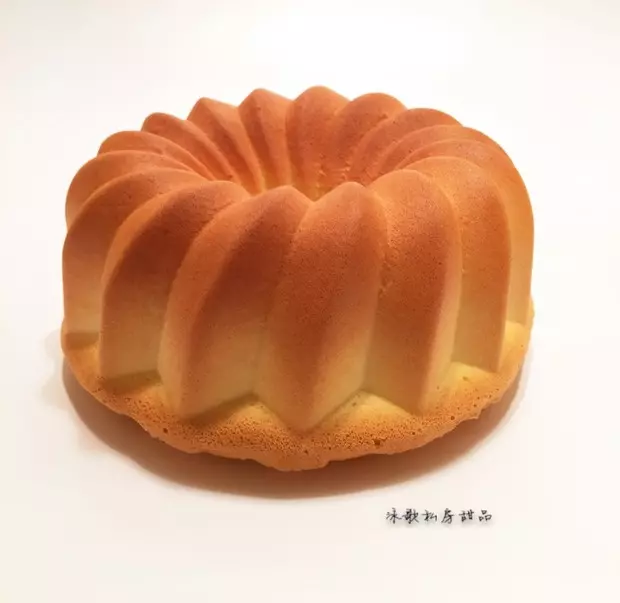
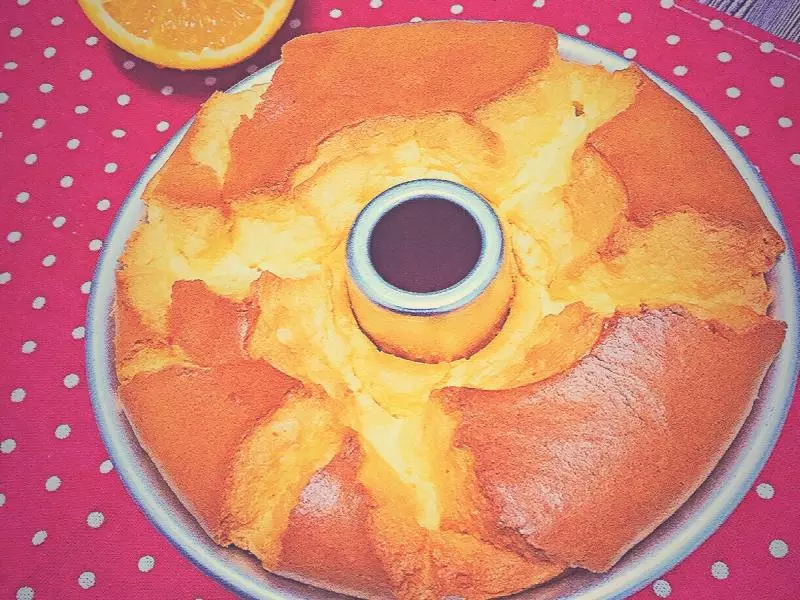
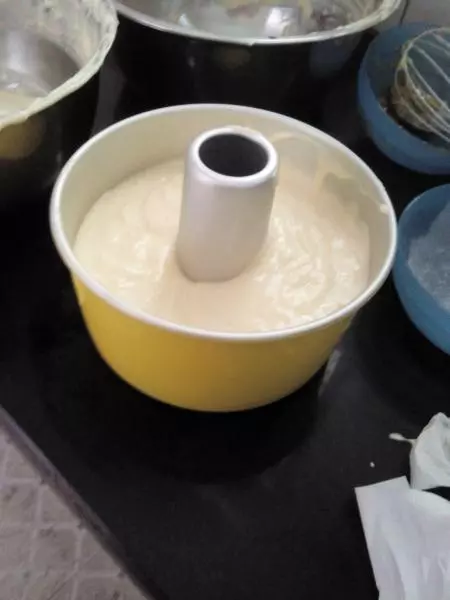
15把蛋糕糊距离10厘米高处倒入模具,我用的是展艺的15cm烟囱模,量就是6寸蛋糕方子的量。8寸乘以2即可。
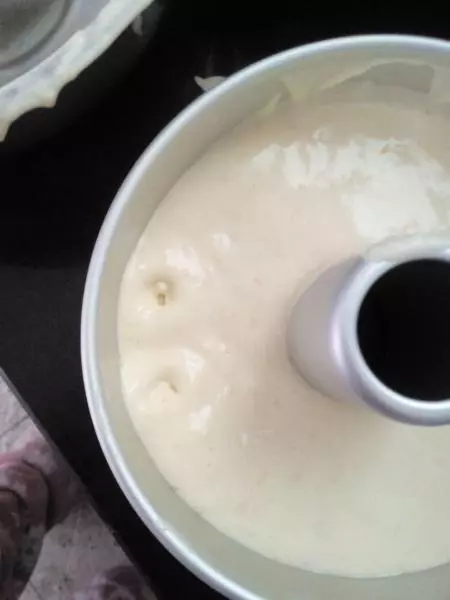
16双手用大拇指按住烟囱抱着磨具震几次。直到把大气泡都震出来。气泡多了成品会有很多空洞。特别是加了颗粒食物的蛋糕糊。而且不能摔震。一定记得按住烟囱去敲震。不然底部会形成大空洞。
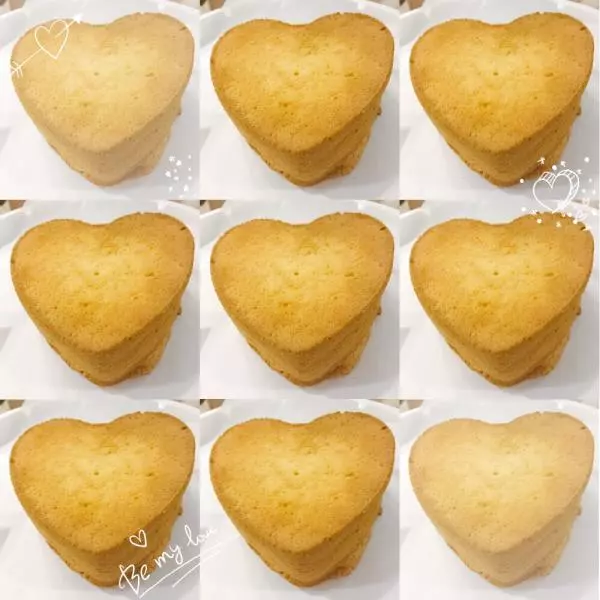
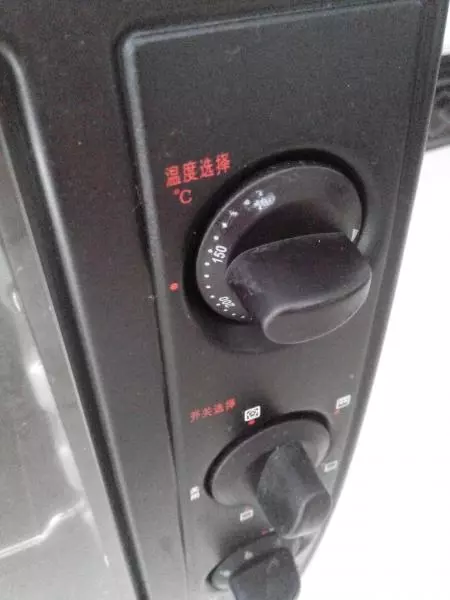
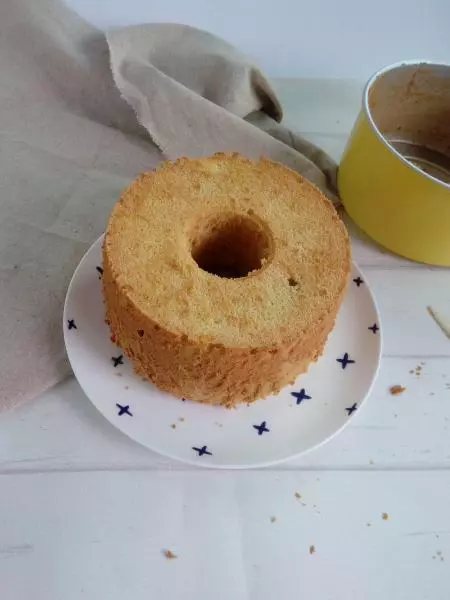
17入烤箱170度烤40分钟
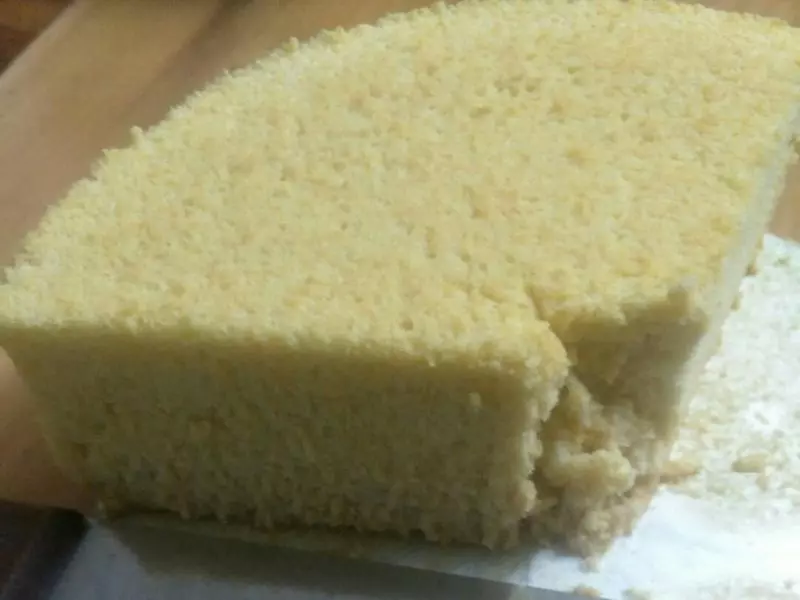
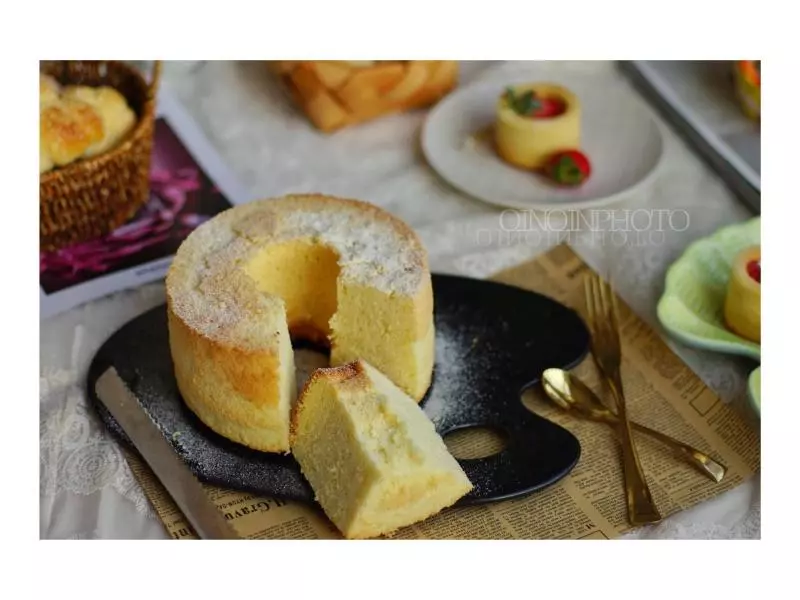
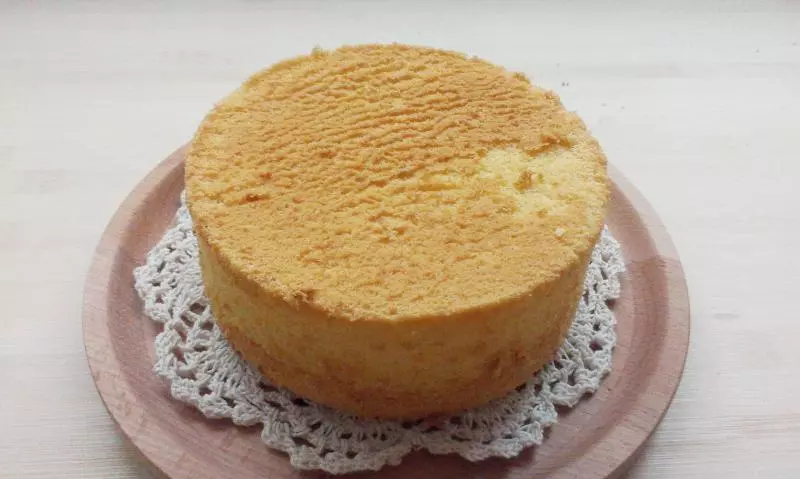
18烤好之后,从高处轻摔一下然后找个细口的瓶子倒扣冷却。

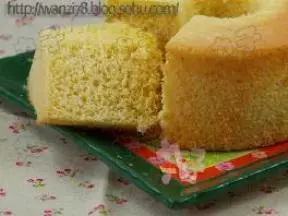
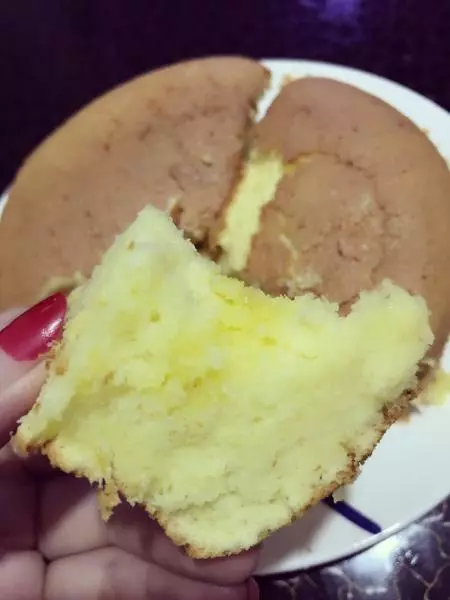
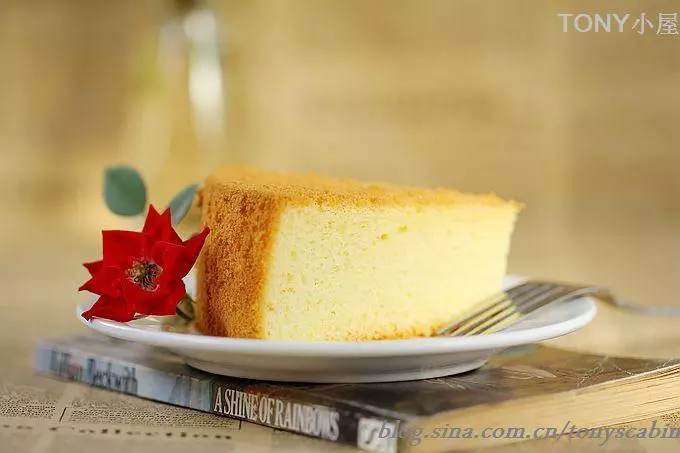
19一定要完全冷却之后再脱模。一口气吃完一个。
小技巧
新手请一定要每个步骤都看仔细。刚开始在下厨房学习的时候是看小志的方子,还看一些理论,发现真的要注意细节。 这里可以补充的就是鸡蛋一定要用60g以上的鸡蛋,不要用土鸡蛋,太小了。 有的方子没有乳化过程也可以。但我喜欢将水油乳化,成品会更加蓬松湿润。