原料
低筋面粉: 40g, 鸡蛋: 4个, 牛奶: 46g, 玉米油: 46g, 细砂糖: 30g+10g, 肉松: 少许, 柠檬: 一个, 泡打粉: 1g
步骤
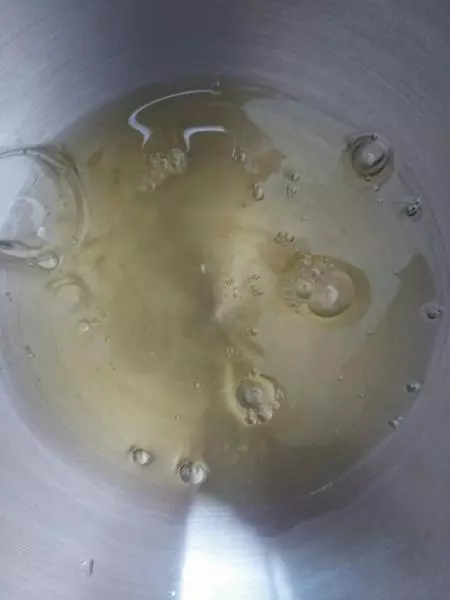
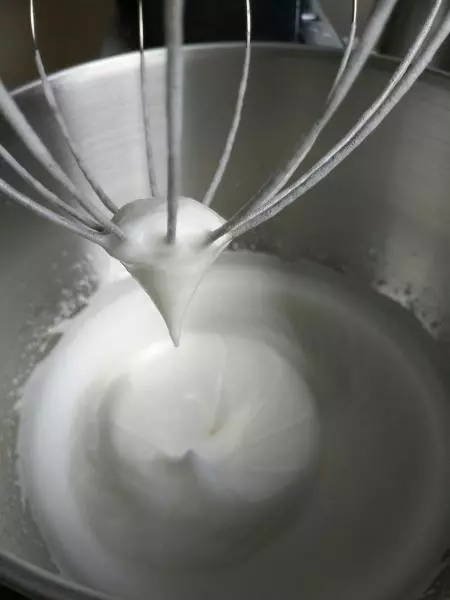
1鸡蛋蛋清和蛋黄分离,蛋清加30g白砂糖,三滴柠檬汁
2蛋清打发至有倒立三角
3蛋黄+40g低筋面粉过筛+46g牛奶+46g玉米油+1g泡打粉+10g白砂糖混合均匀

4将打发好的蛋白取1/3加入蛋黄面糊中,不能一次性加入
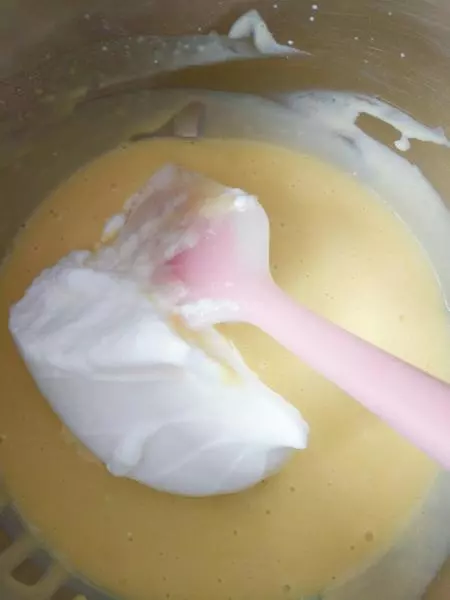
5顺时针搅拌,搅拌均匀后再加入剩下的1/3以此类推
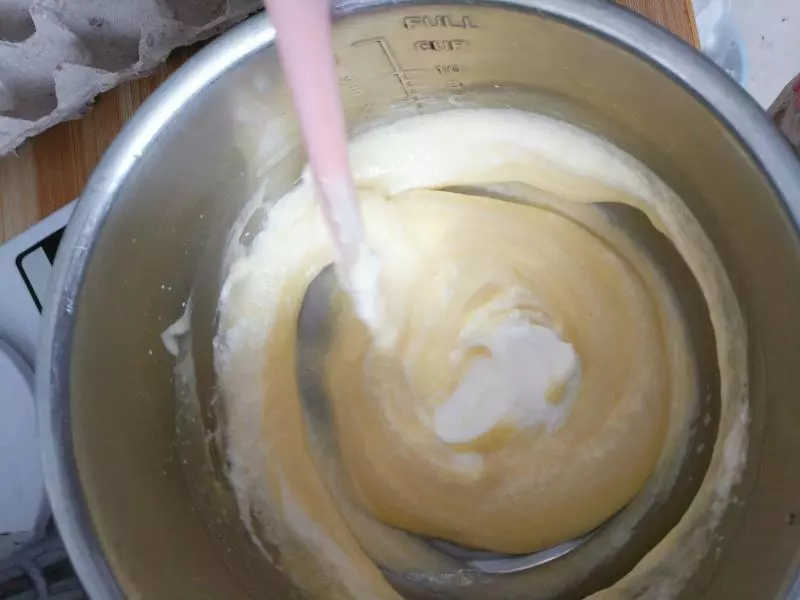
6蛋白与蛋黄充分搅拌均匀

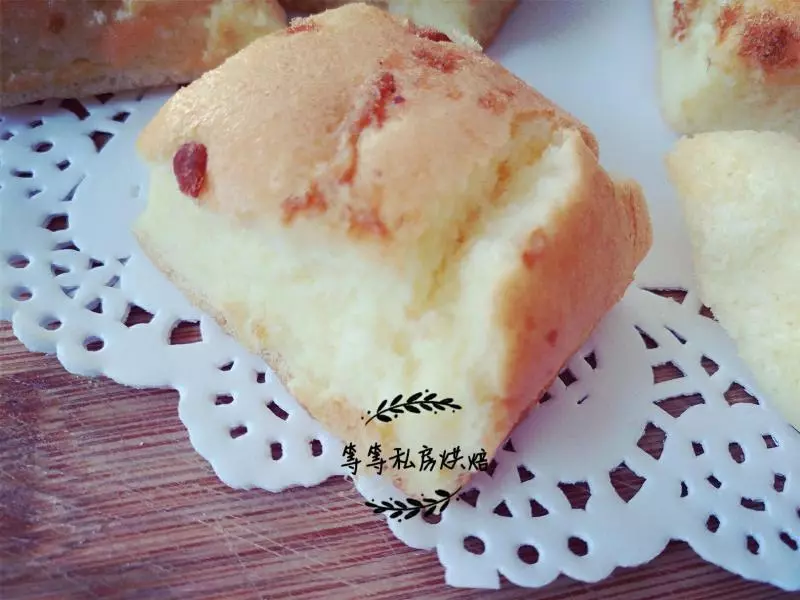
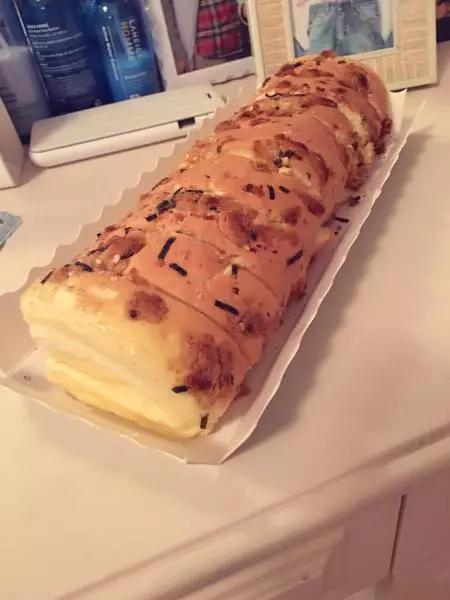
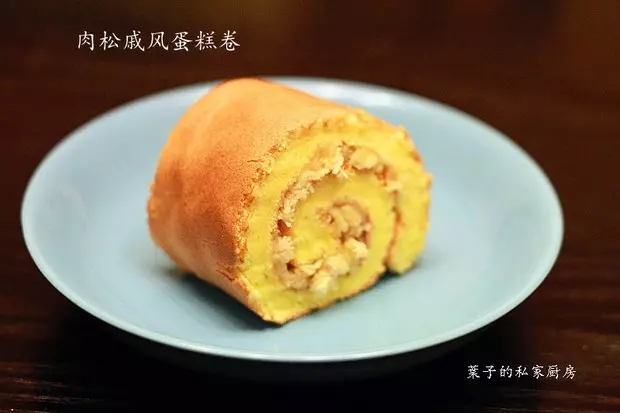
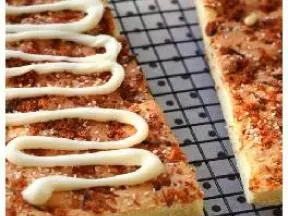
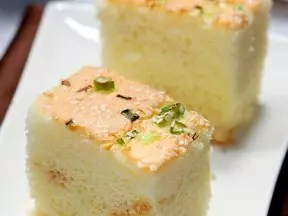
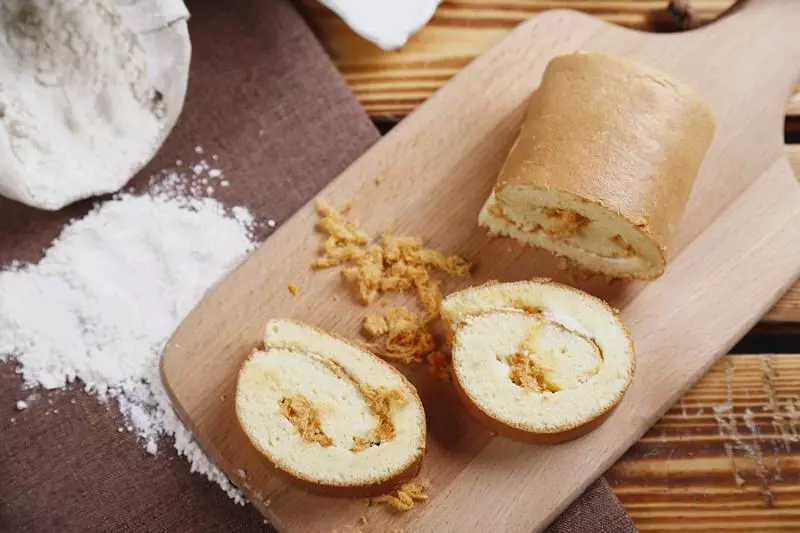
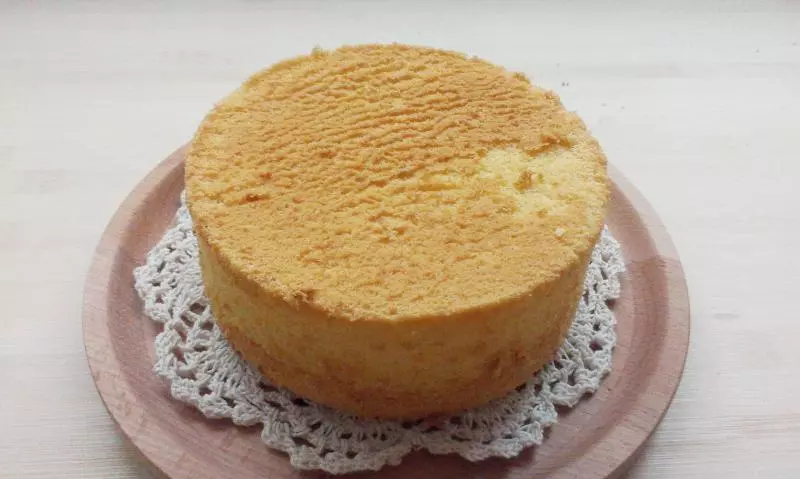
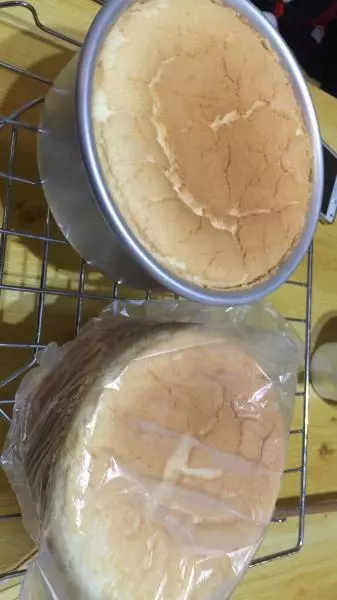
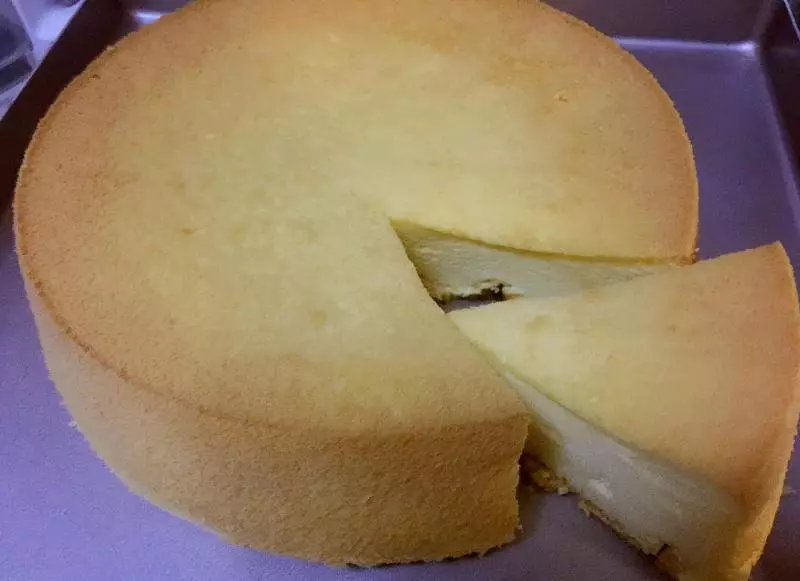
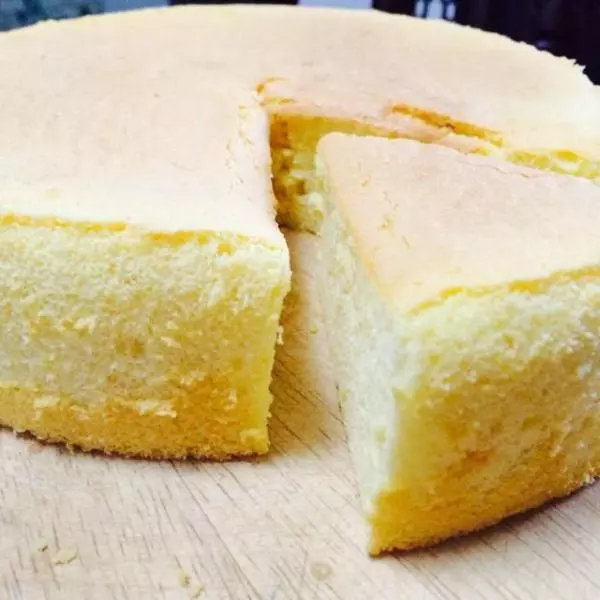
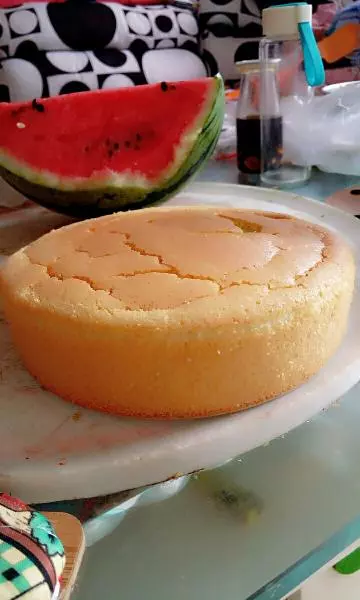
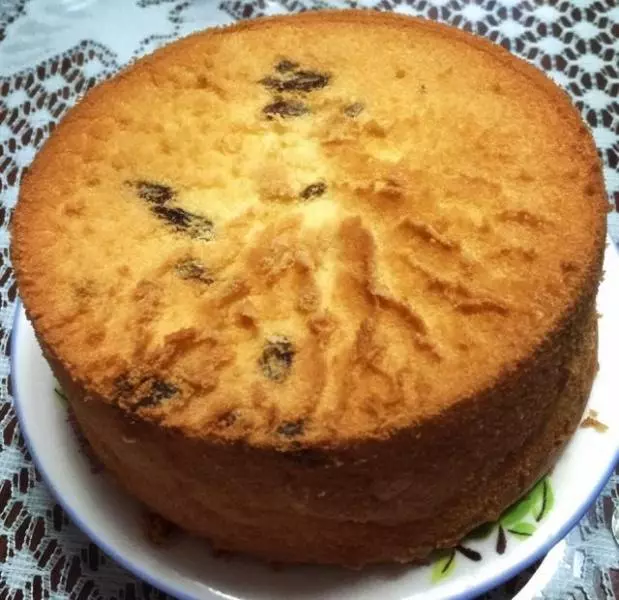
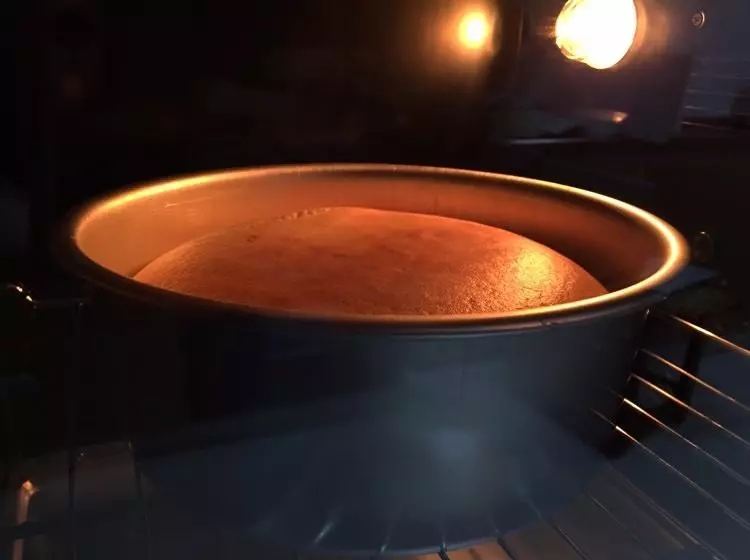
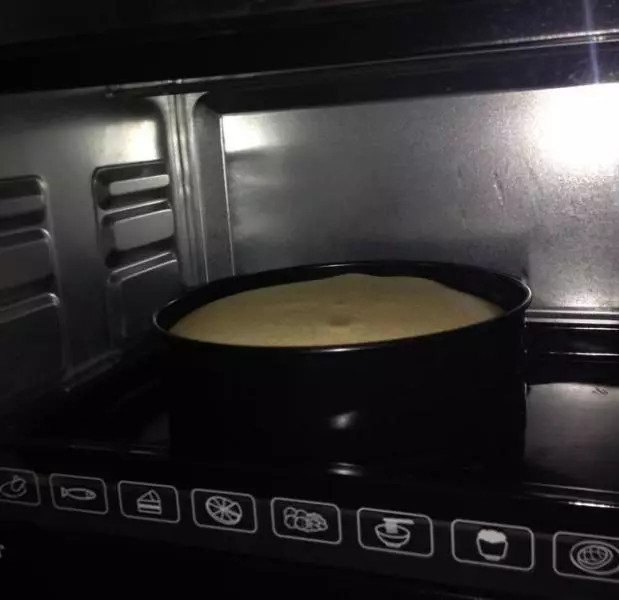
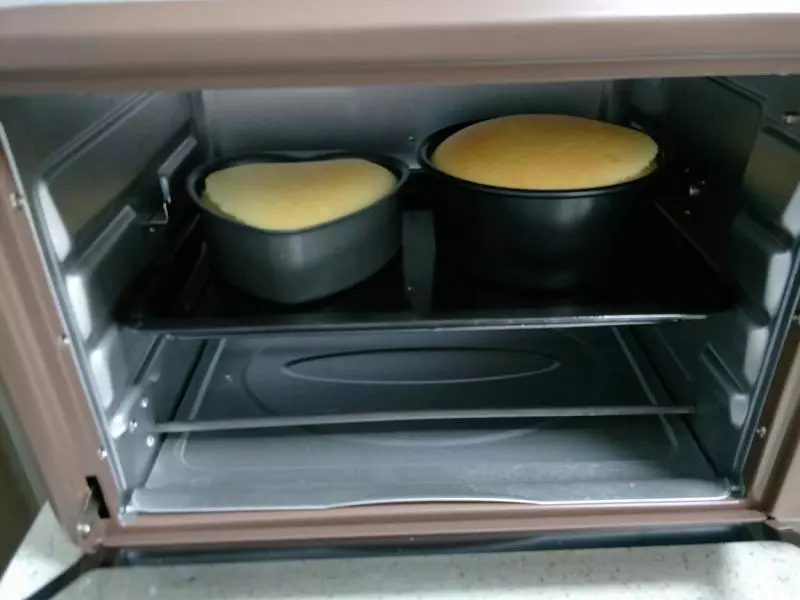
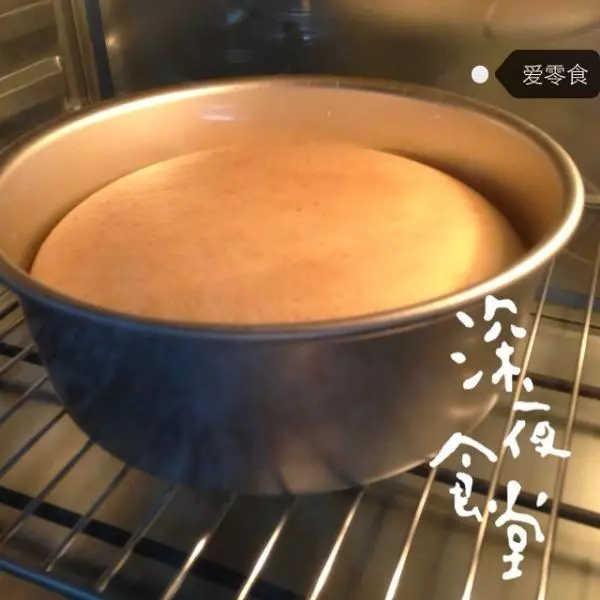
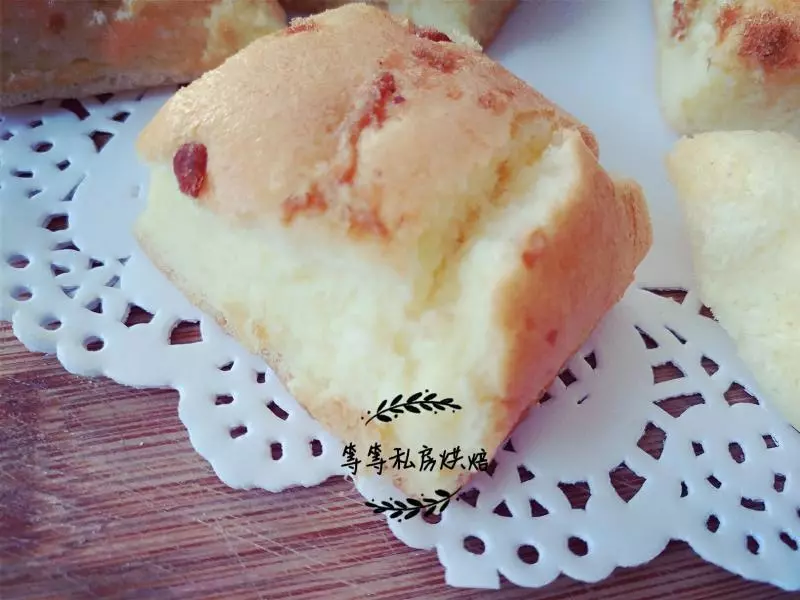
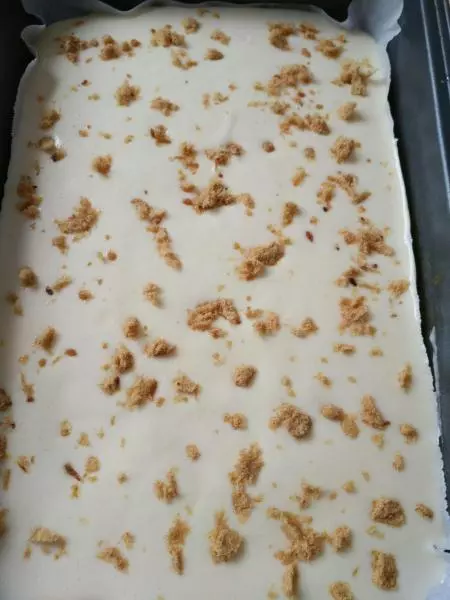
7烤盘上铺上油纸,倒入面糊轻轻的震出面糊里的空气,撒上少许的肉松,烤箱160°预热10分钟,160度烤20分钟香喷喷的肉松戚风蛋糕就出炉拉
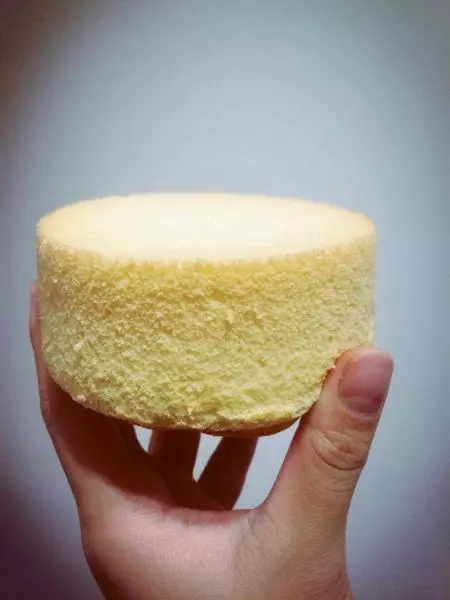
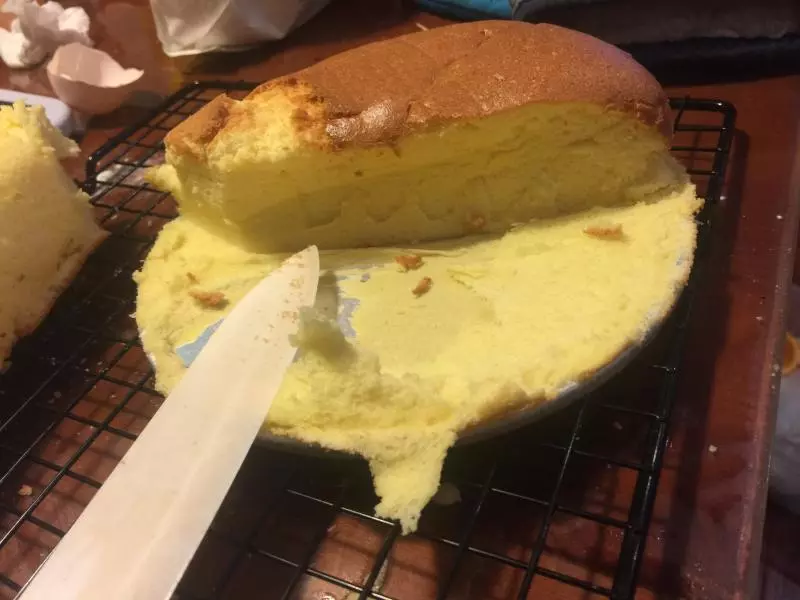
8将戚风蛋糕切块,一口一个