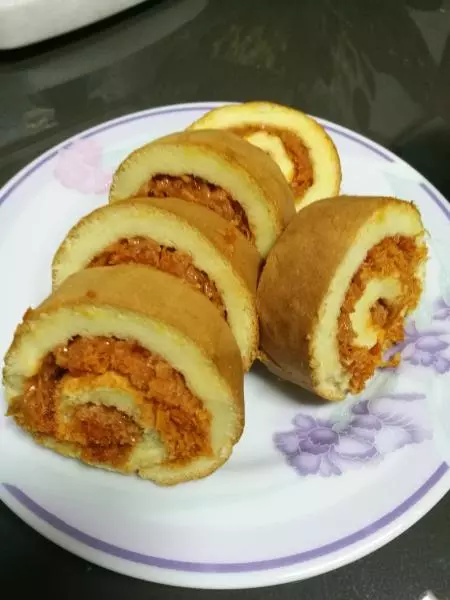
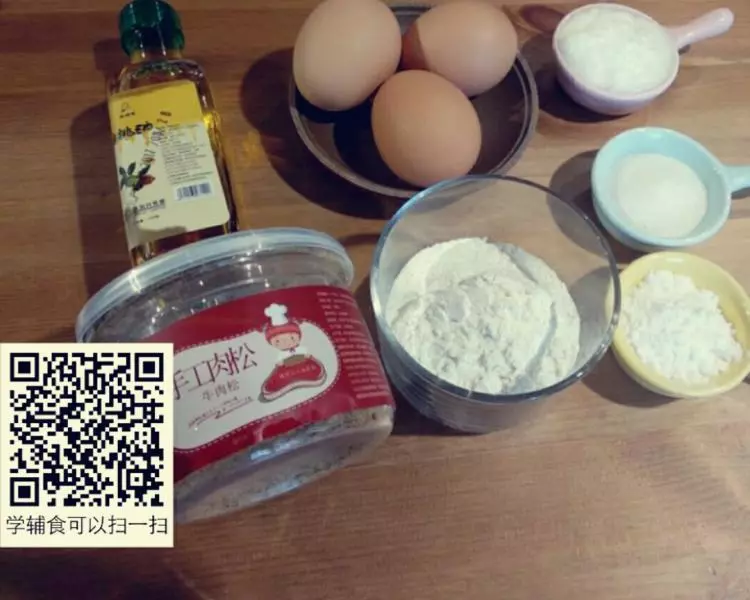
原料
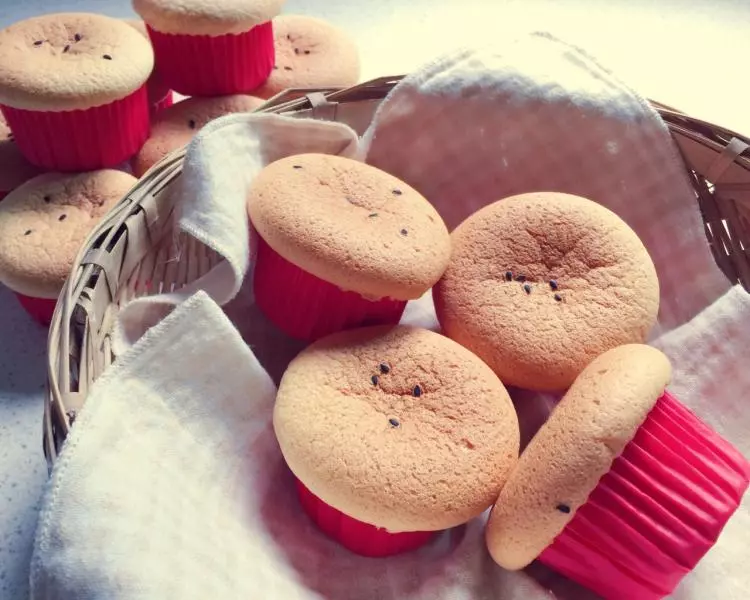
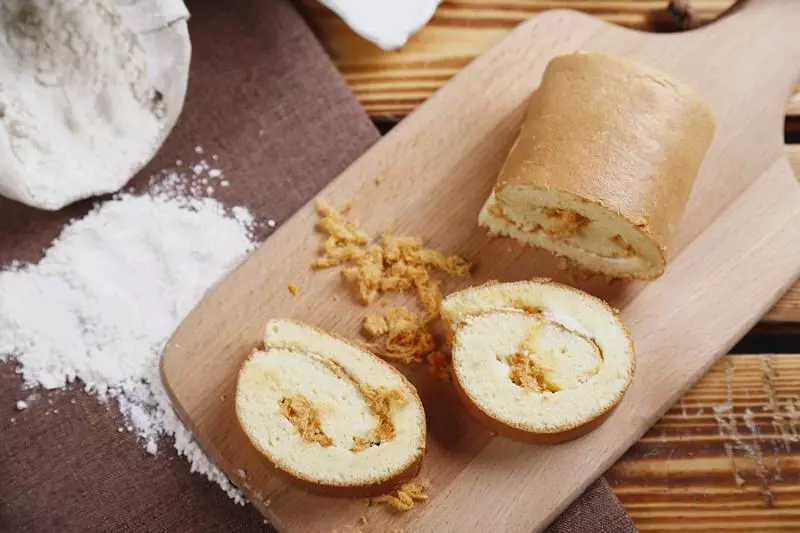
鸡蛋: 3个, 低粉: 50克, 宝宝核桃油: 25克, 糖粉: 10克, 砂糖: 15克, 自制酸奶: 35克, 宝宝肉松: 10克, 小纸杯: 10个左右
步骤
1准备食材
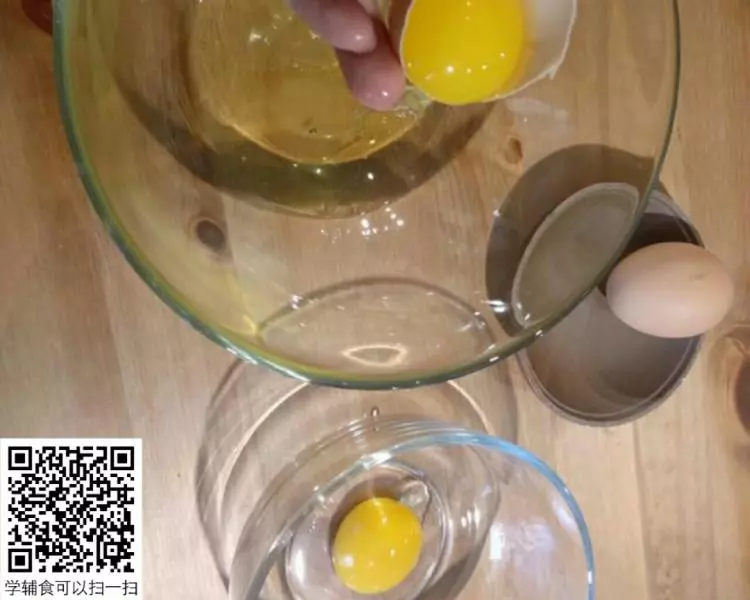
2蛋清蛋黄分离
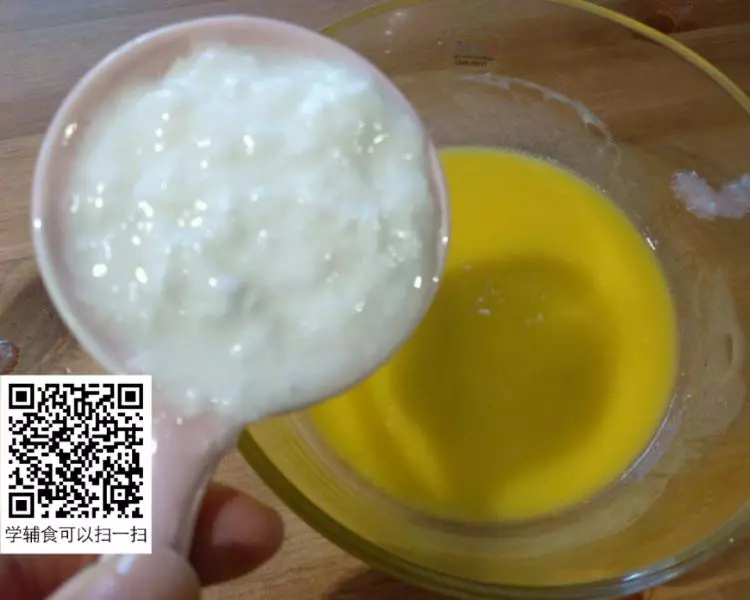
3蛋黄中分别加入核桃油和酸奶搅拌均匀
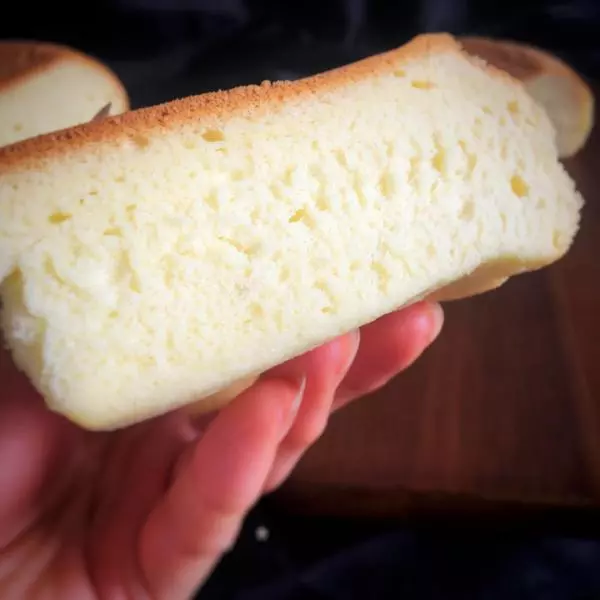
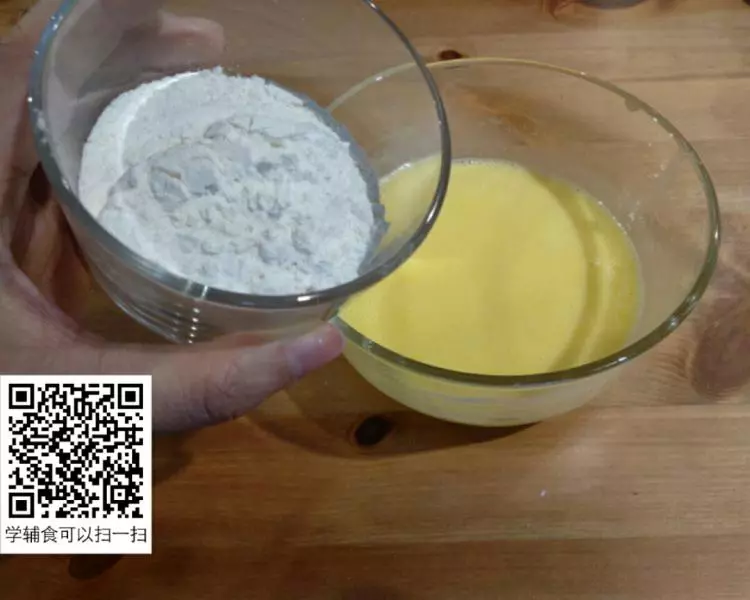
4分三次把面粉过筛倒入蛋黄糊中搅拌至无颗粒光滑状
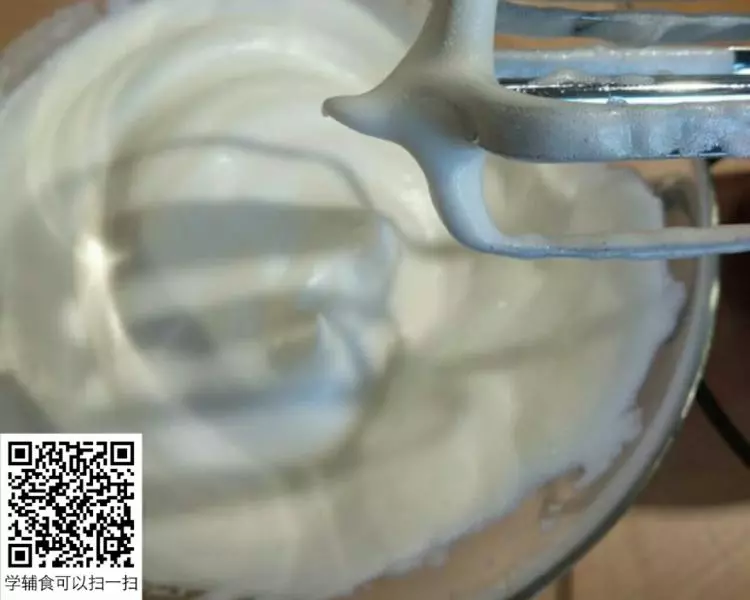
5先高速打发至出现泡沫假如三分之一的砂糖,继续高速打发至有些膨胀再加入三分之一的砂糖,然后转中速打发至出现纹路加剩下的砂糖,也可以再加点柠檬汁,最后打至提起打蛋器有小弯钩状就可以了
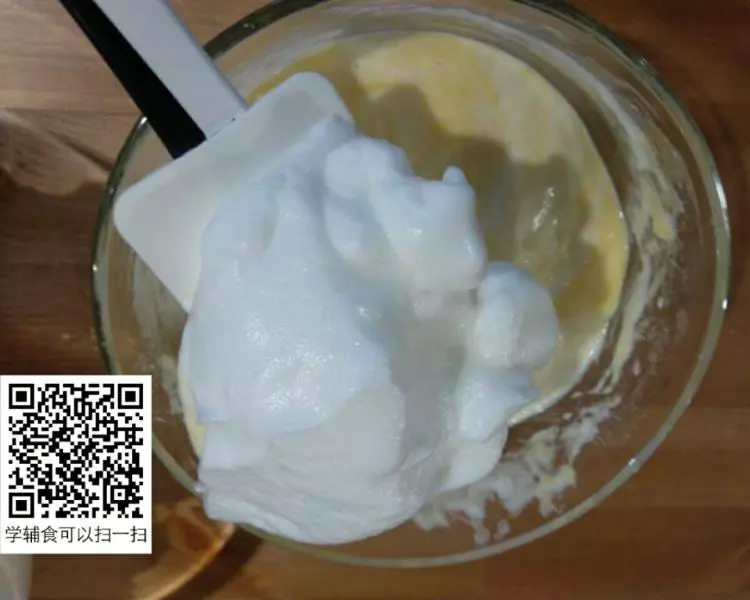
6取三分之一蛋白倒入蛋黄糊中翻拌均匀反复两次,最后再把蛋黄糊倒回蛋白中翻拌均匀,
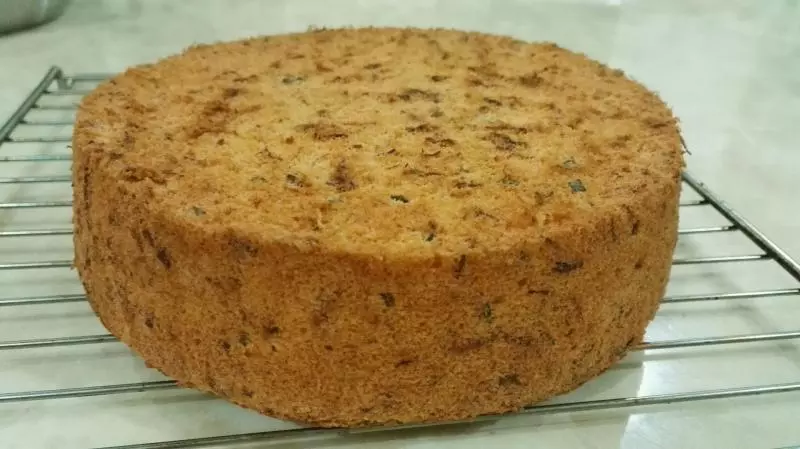
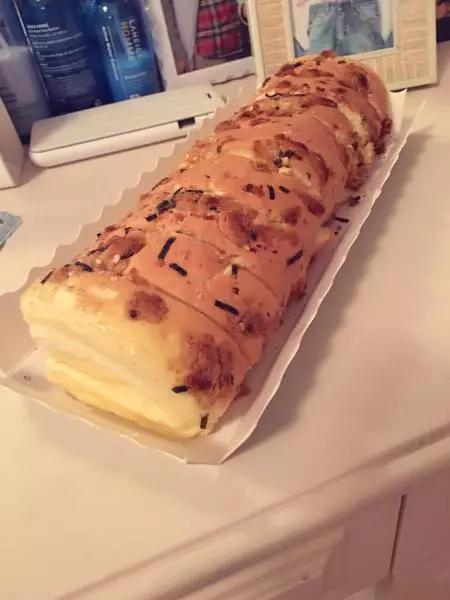
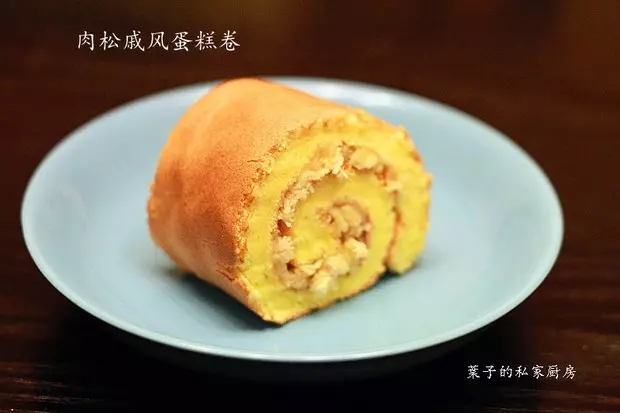
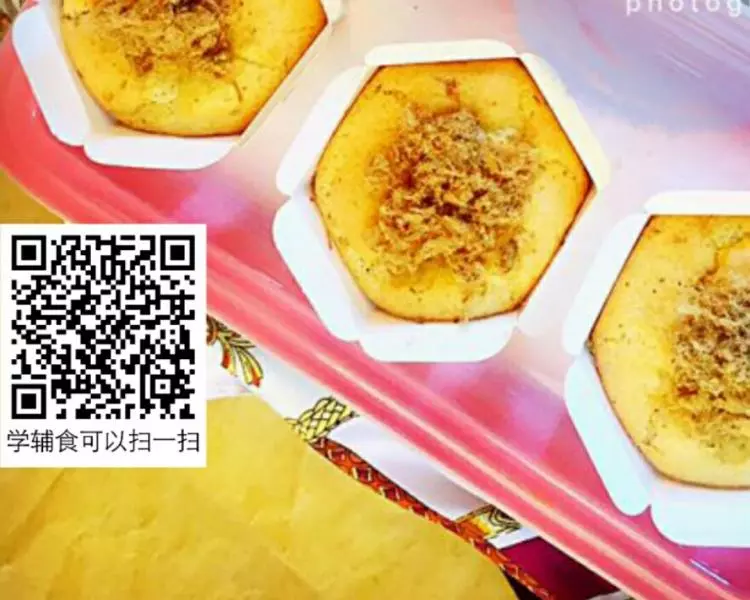
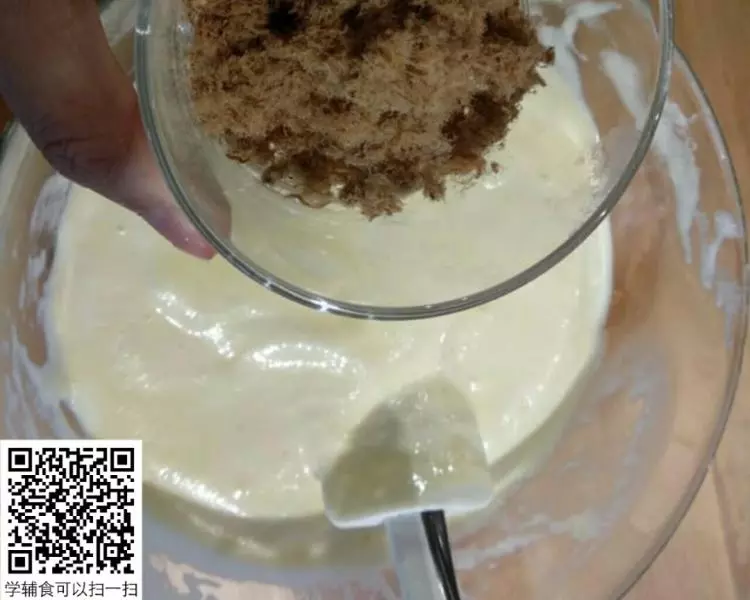
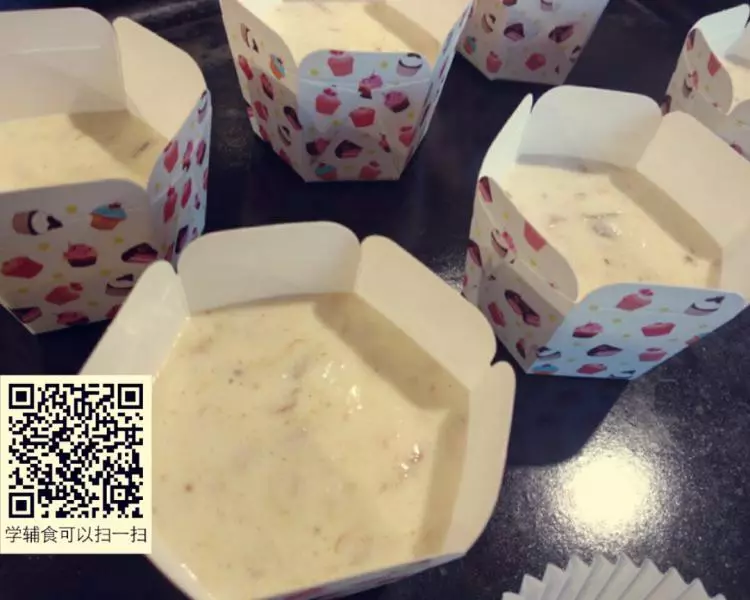
7加入宝宝肉松拌匀
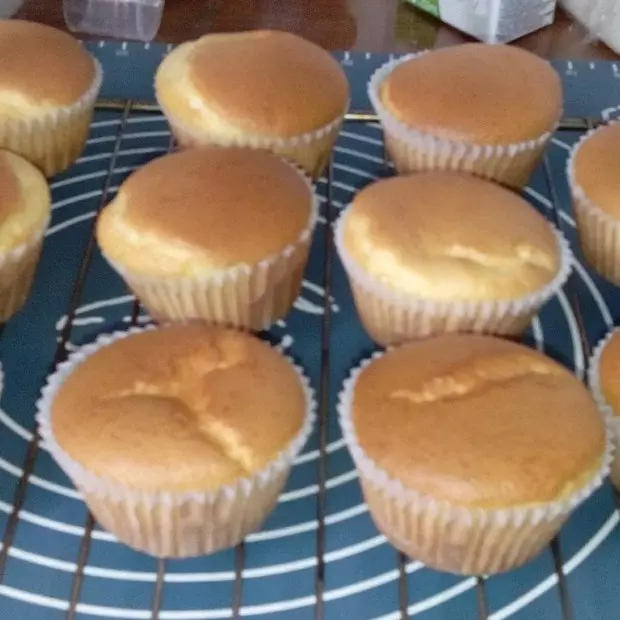
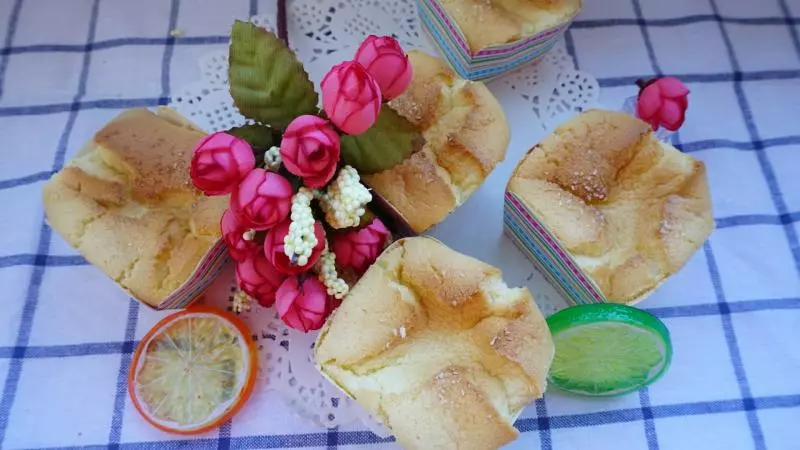
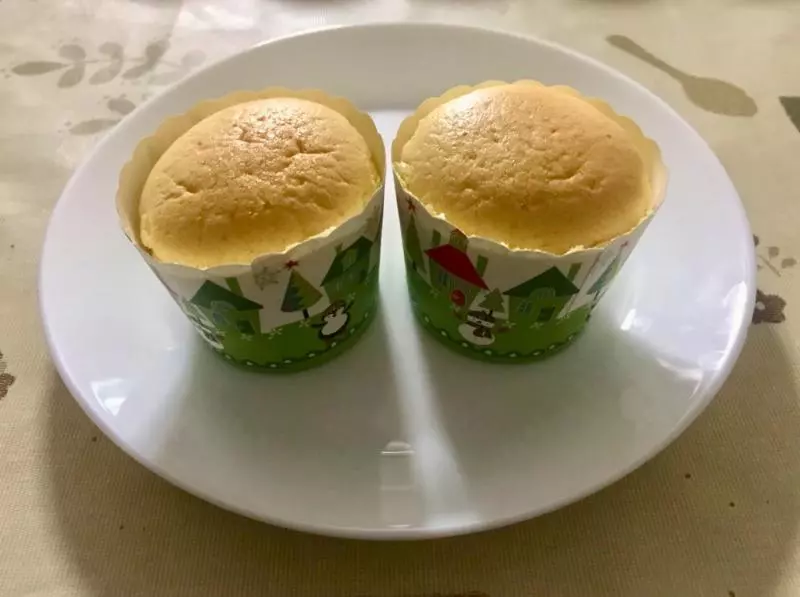
8倒入裱花袋然后挤入纸杯中,大概四分之三的位置就好了,放入烤盘轻轻磕几下去除气泡
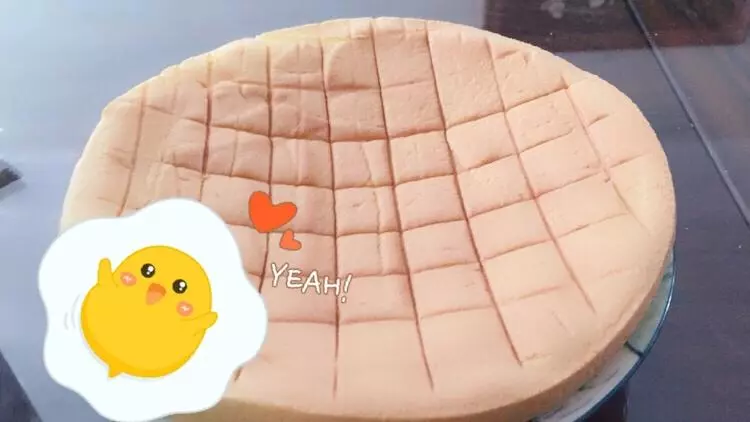
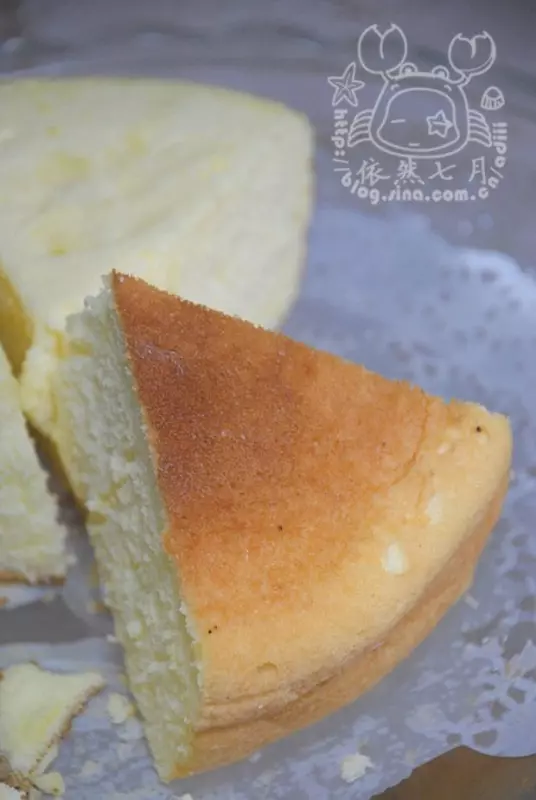
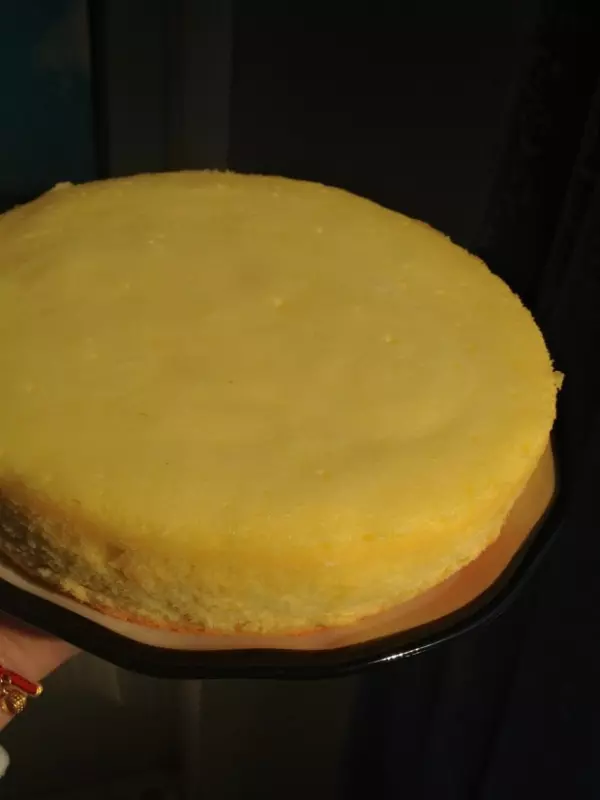
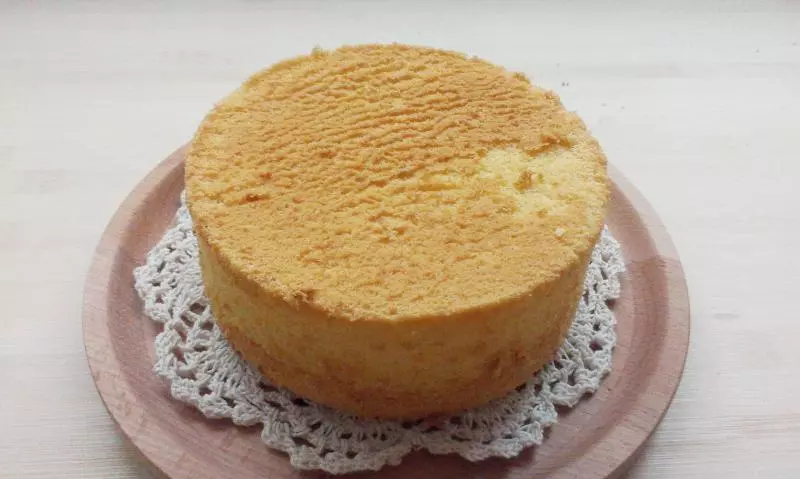
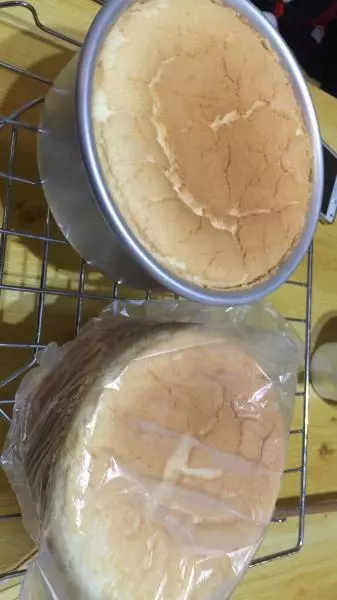
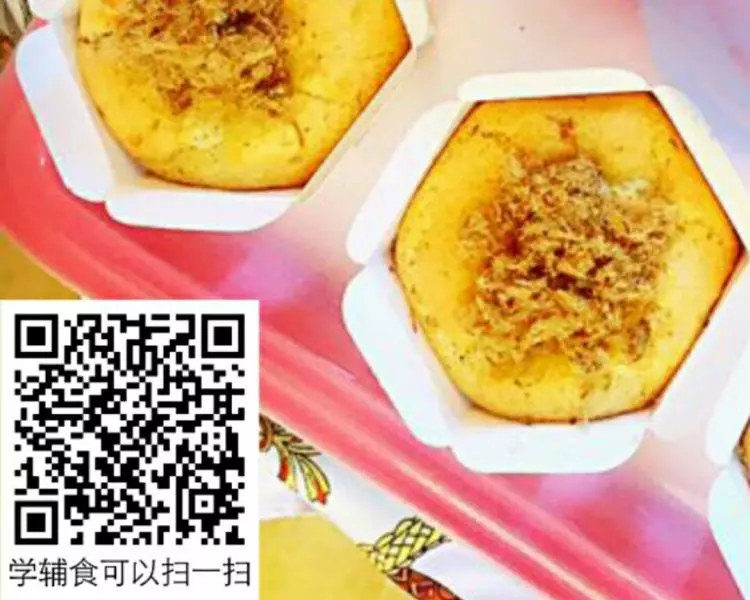
9放入预热后的烤箱,120℃烤35分钟后转150℃烤15分钟左右,就完成了
小技巧
蛋白打发后一定翻拌或者说切拌防止消泡