原料
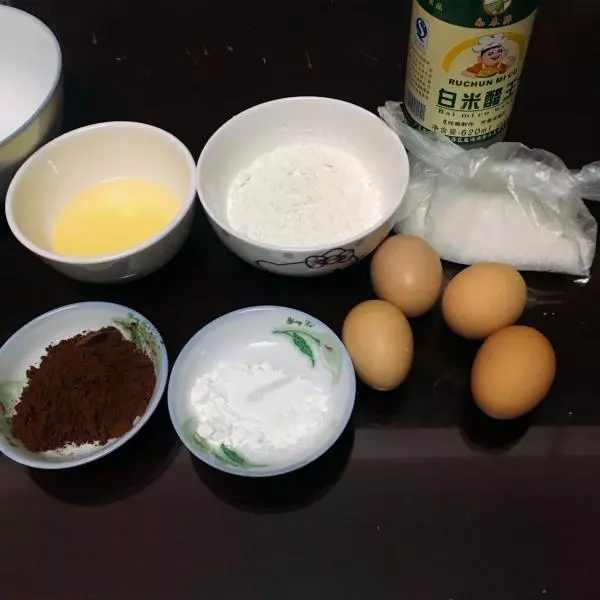
鸡蛋: 4个, 咖啡: 70g, 白砂糖: 100g, 玉米淀粉: 5g, 白醋: 几滴, 低筋面粉: 60g, 可可粉: 20g, 玉米油: 40g
步骤
11.首先分离蛋清和蛋黄,蛋黄打散。
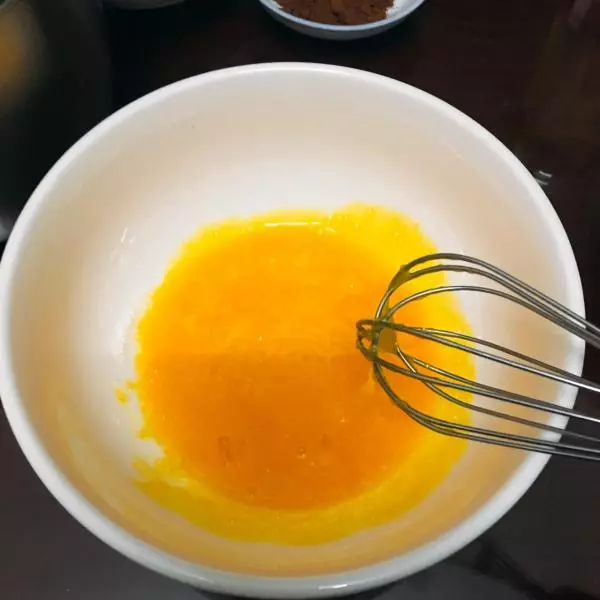
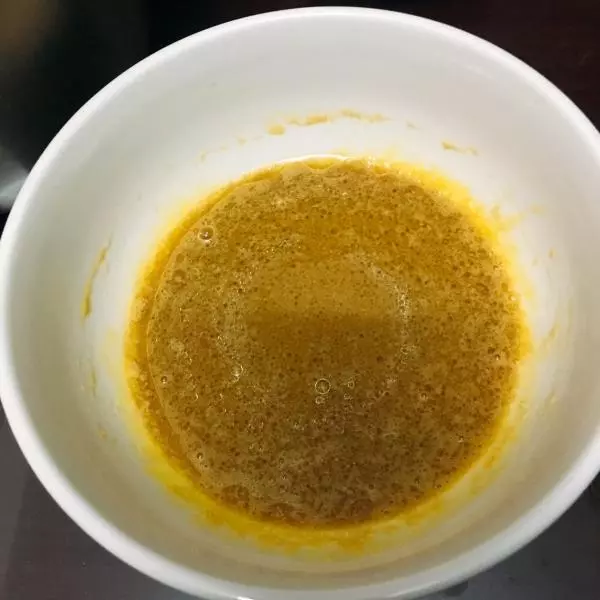
22.加入1/3糖,加入玉米油,咖啡(常温)搅拌均匀。
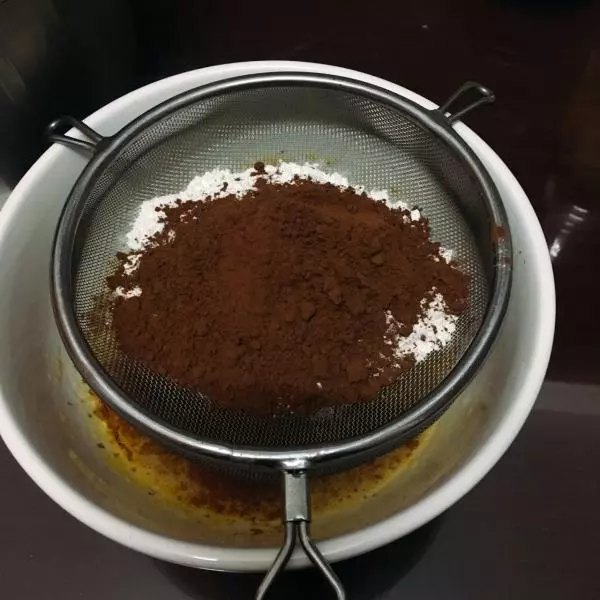
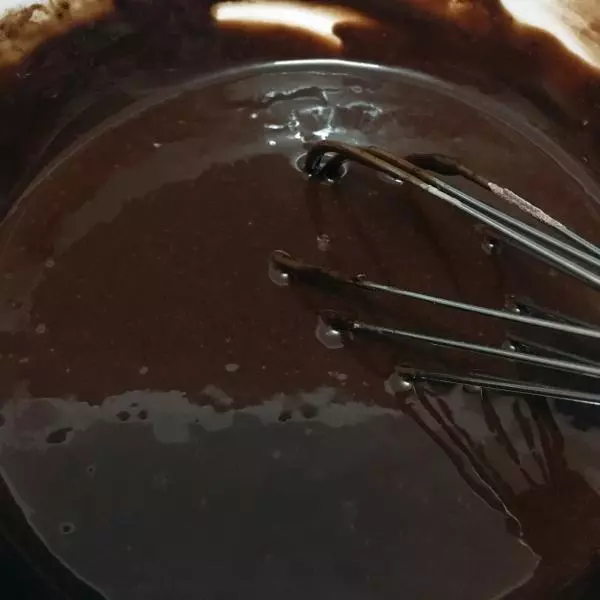
3 3.加入过筛的可可粉和低筋面粉,搅拌至无颗粒
4 做好的蛋黄糊就放一边待用,接下来打发蛋白部分。
5 4.先将5g糖倒入玉米淀粉里混匀 5.蛋白低速打发起泡,滴几滴白醋,转中速打发,分多次加入混匀的玉米淀粉
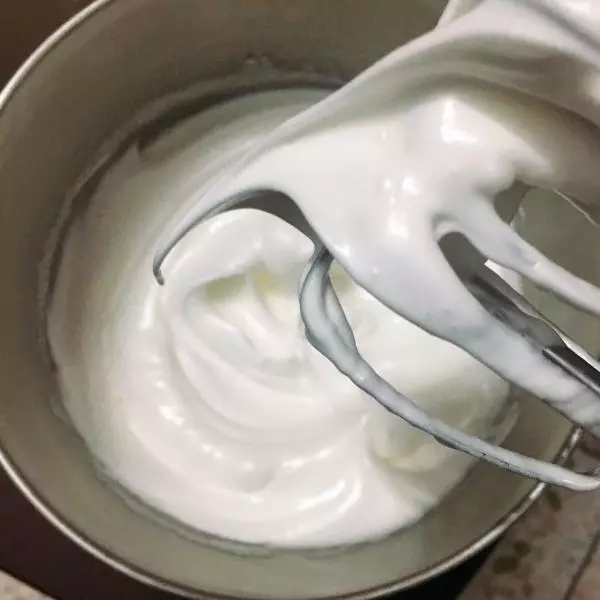
66.将剩余的糖分两次加入蛋白霜,蛋白打发至提起打蛋器时出现鹰嘴状且蛋白霜不流动即可。

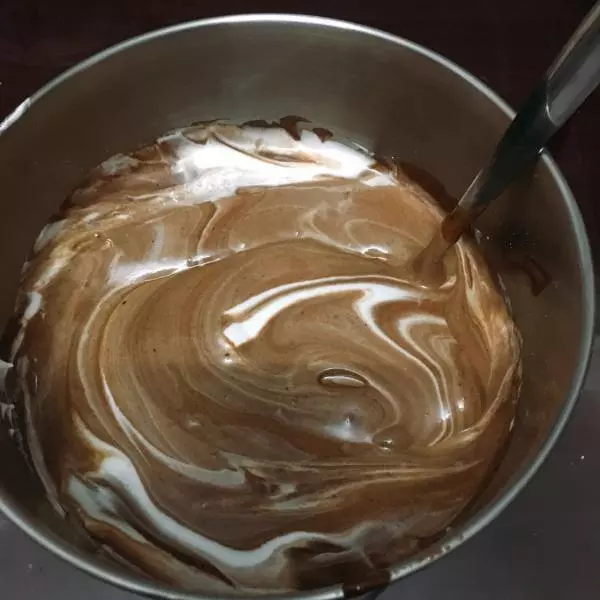
7 7.取1/3蛋白霜加入蛋黄糊里,快速翻拌均匀,(动作要轻,时间不要太久,以免消泡影响口感)再倒回蛋白霜里翻拌均匀,蛋糕糊就这样做好啦。
88.烤箱提前上下火预热160℃,10分钟。(每个烤箱的温度不一样,建议
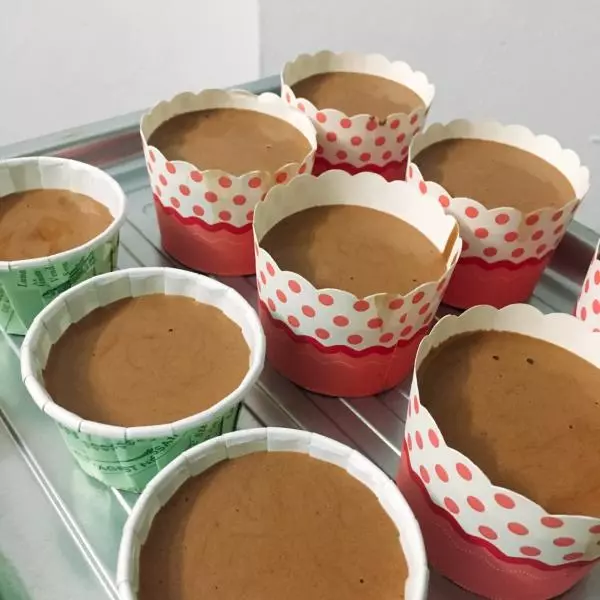
99.把蛋糕糊分装到纸杯里,放入烤盘。
1010.放入烤箱中层,160℃ -50分钟
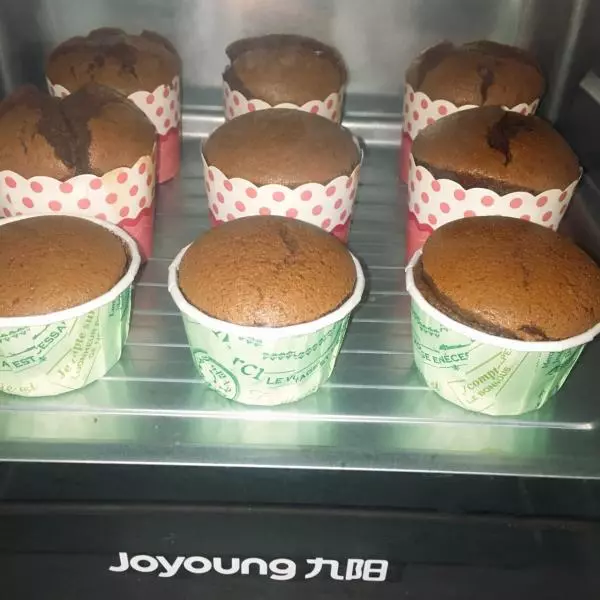
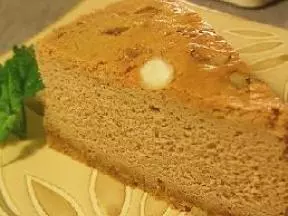
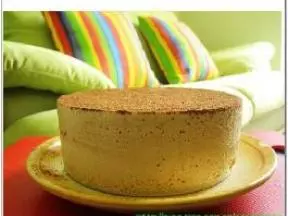
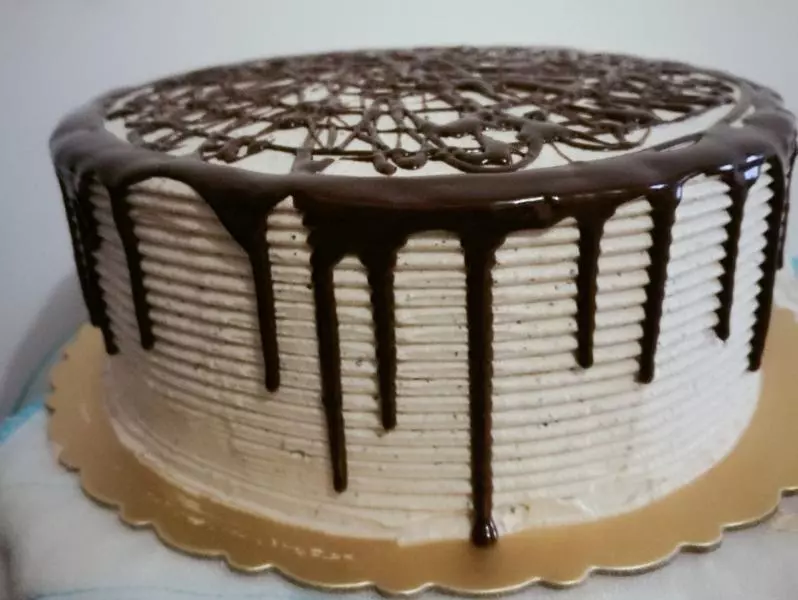
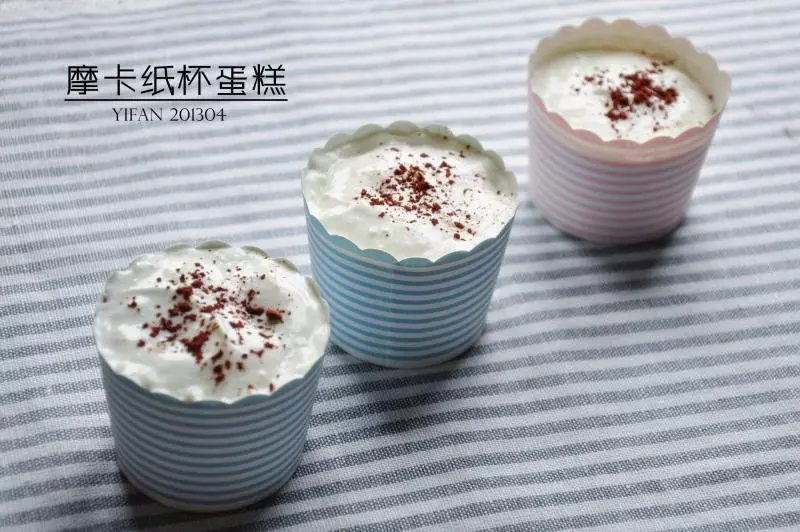
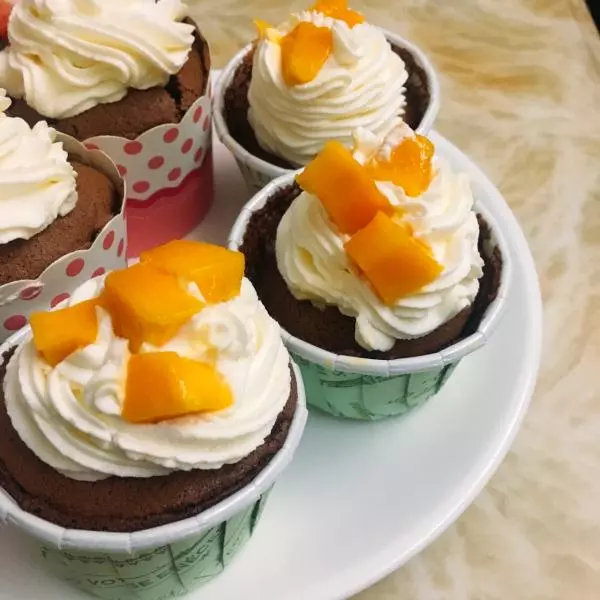
1111.烤好的蛋糕松软可口,香甜扑鼻,大家可根据个人喜好裱上奶油加上水果点缀,口感更佳!
12★感谢您的关注,可在下方留言您所期待的菜品,我们会不定时更新菜品的制作方法,跟大家一起分享,交流与探讨。