原料
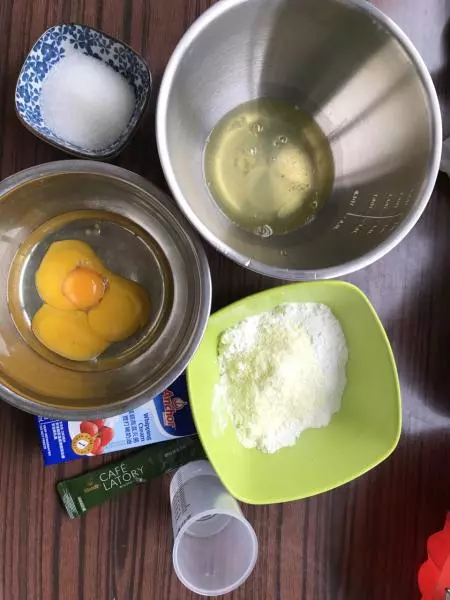
低粉: 80克, 奶粉: 20克, 玉米油: 55克, 水: 80克, 糖: 55克, 淡奶油: 125克, 抹茶冲饮: 1包, 鸡蛋: 4只
步骤
1备齐原料,一个容器先放入油,然后放入蛋黄备用。烤箱190度预热,我一般开40分钟,预热20分钟,蛋糕烤20分钟
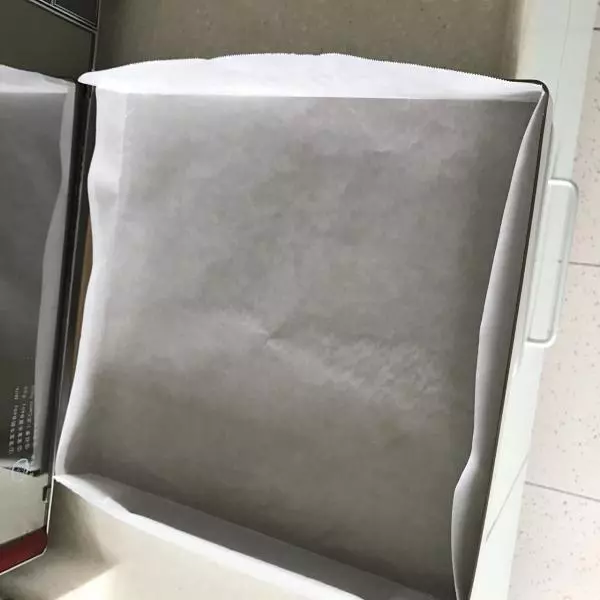
2烤盘铺上油纸,这一步最好在分离蛋黄前完成
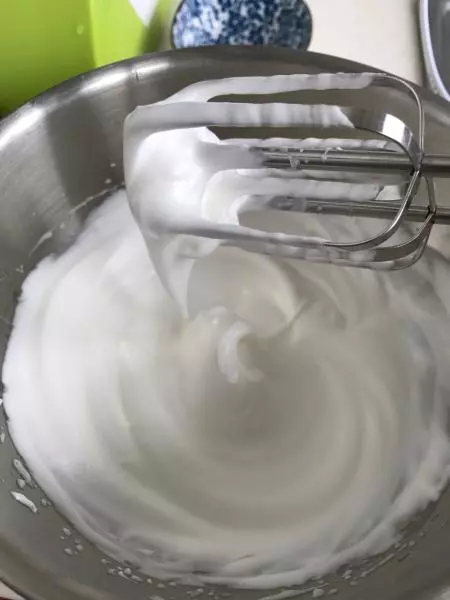
3打蛋白霜,低速打到粗泡,然后分三次加入糖,打到如图大弯勾就可以了。
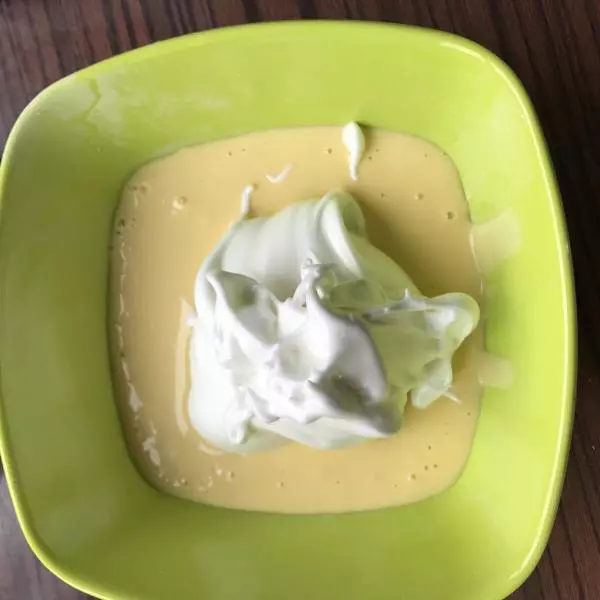
4直接用打蛋器接着打蛋黄和油,并逐步加入岁,然后筛入面粉和奶粉,粗拌一下,然后打蛋器低速打一下没有颗粒即可,不能打太久。然后面糊过筛,蛋白霜用手动打蛋器打匀,加入1/3蛋白到蛋黄糊,拌匀。
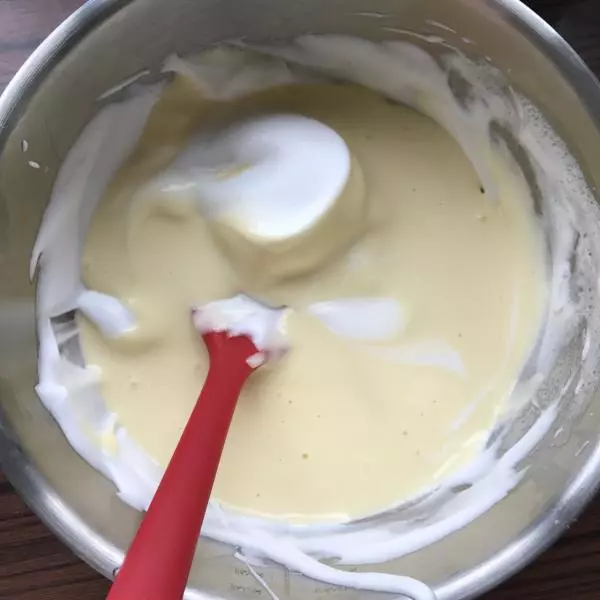
5把上个步骤中打匀的面糊再倒入剩余的2/3蛋白霜,拌匀。
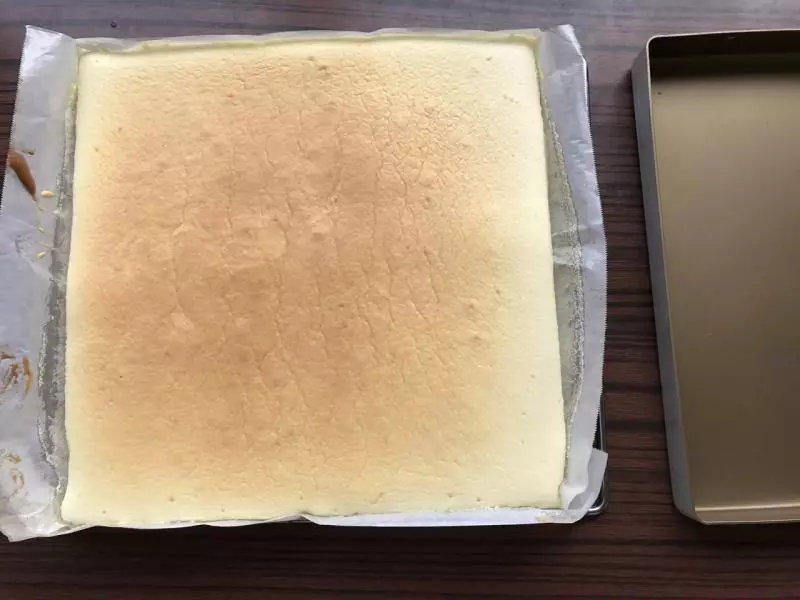
6面糊倒入烤盘,在底部轻拍几下去掉大起泡,放入烤箱。烤箱温度调到170度,烤20分钟出炉。
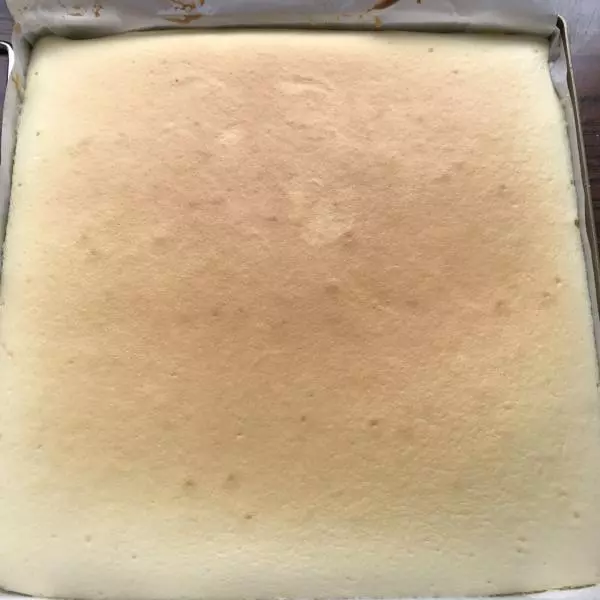
7出炉后拎起油纸放到架子上冷却
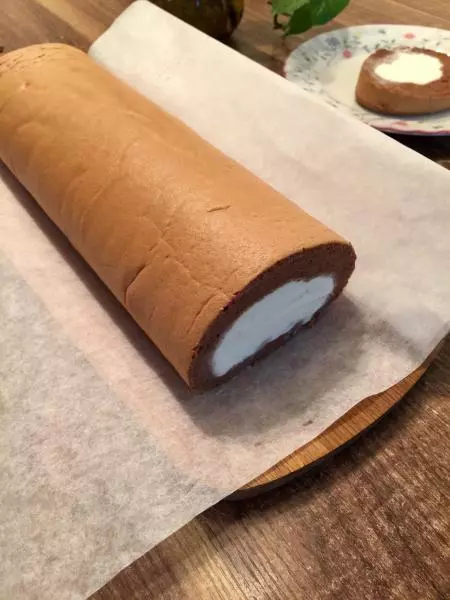
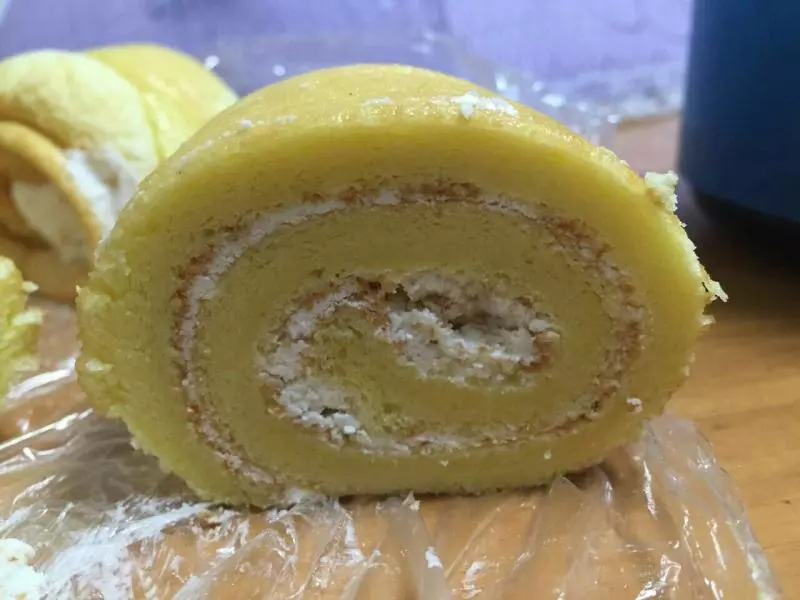
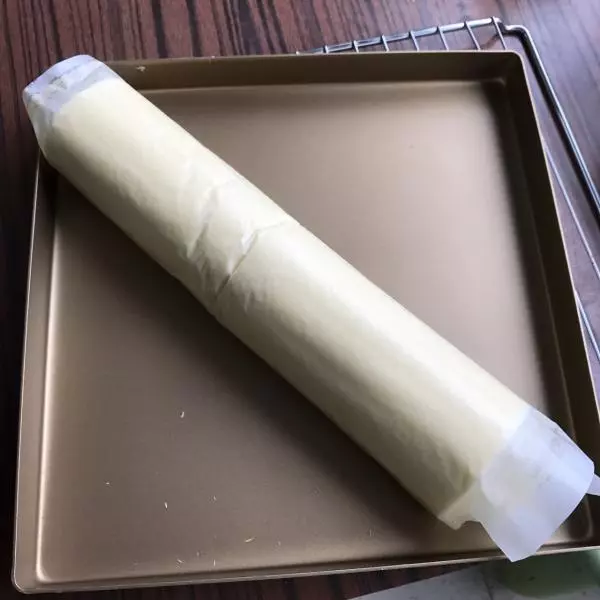
8冷却后连油纸一起卷一下定型。
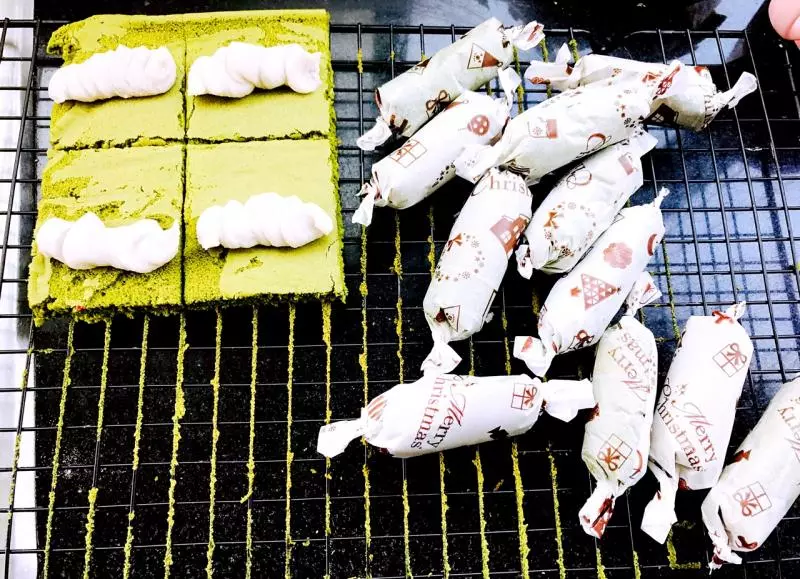
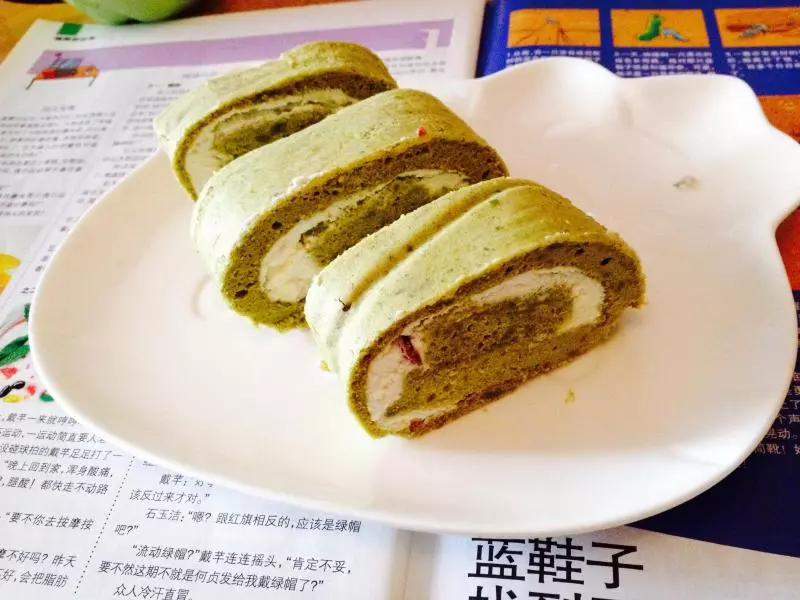
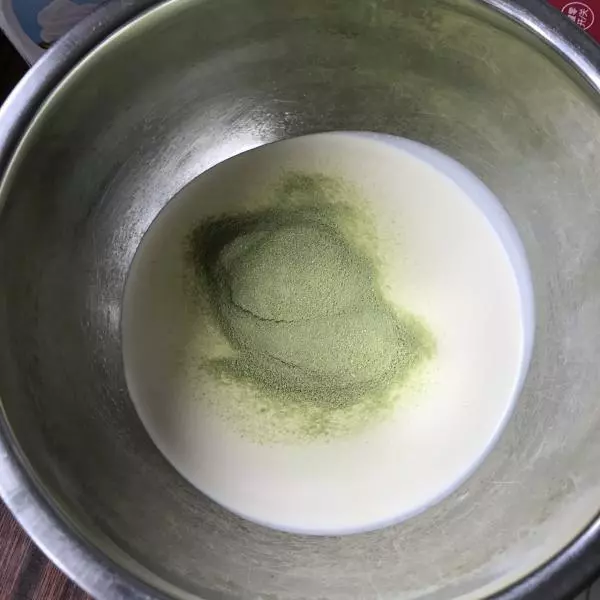
9从冰箱中取出淡奶油,加入抹茶冲饮粉末
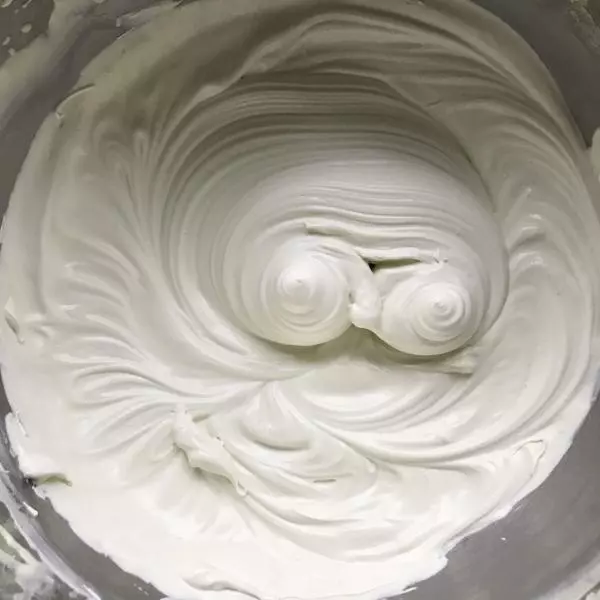
10打蛋器先低速再中速打到如图
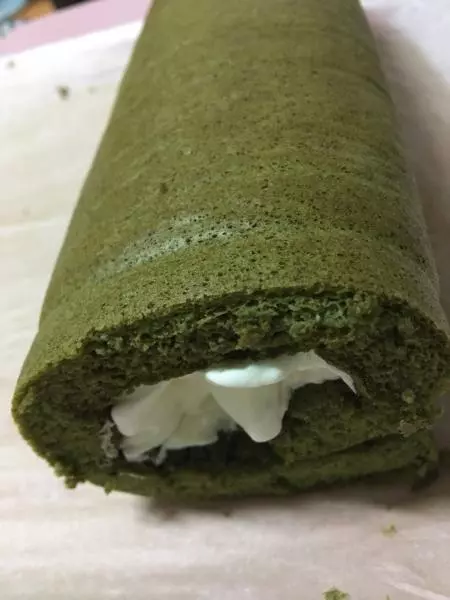
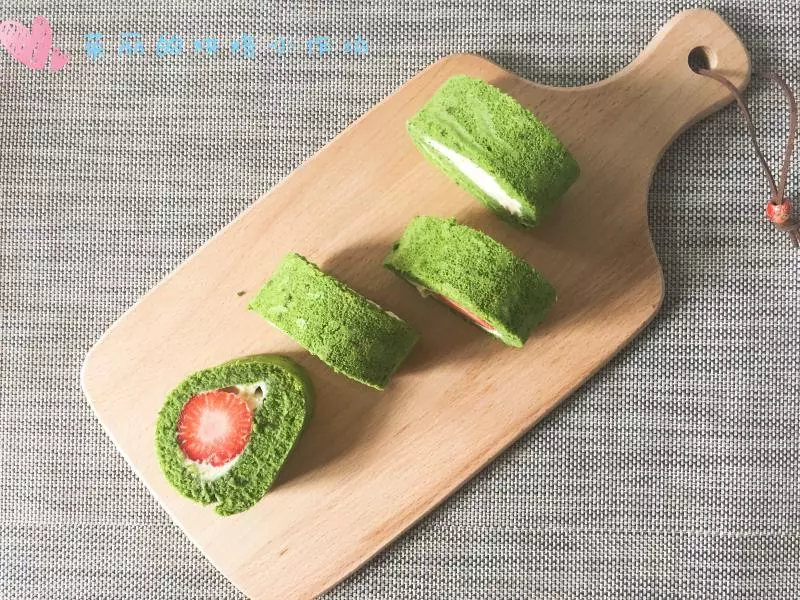
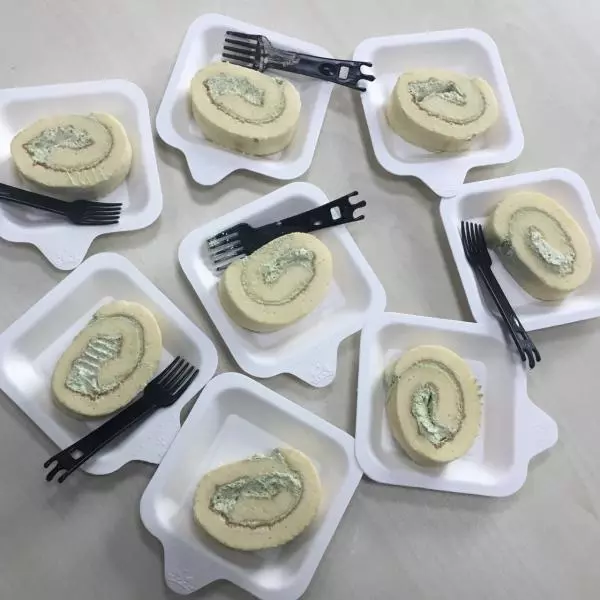
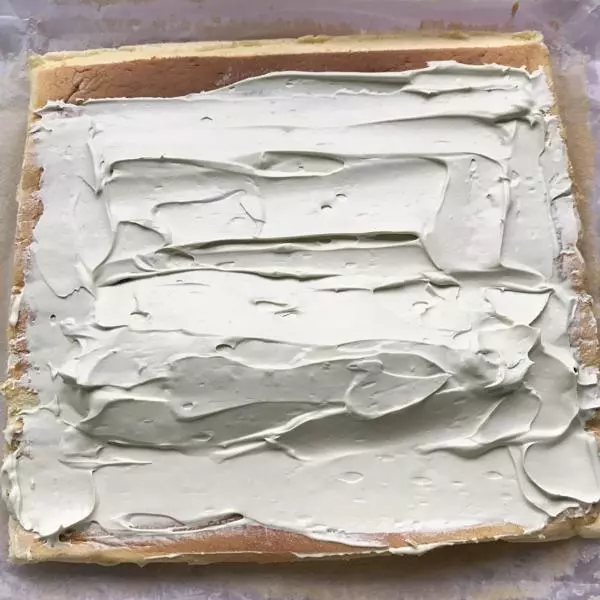
11打开定型的蛋糕卷,并把油纸揭下来,然后重新放在油纸上抹上抹茶奶油,再卷起来包好油纸放入冰箱冷藏室,冷藏时间久一点会口感更好。
小技巧
鸡蛋和奶油都在打发前从冰箱取出