原料
泽糖米粉: 80克, 鸡蛋: 5粒(250克), 乳清蛋白: 80克, 小麦胚芽: 20克, 木糖醇: 5克, 橄榄油: 20克, 灵芝孢子粉: 10克, 无糖奶酪: 100克, 大麦若叶粉: 3克, 低聚果糖: 10克, 黑芝麻(熟): 15克
步骤
1分别准备两个无水无油的盆,将蛋黄和蛋清分别放入两个盆里

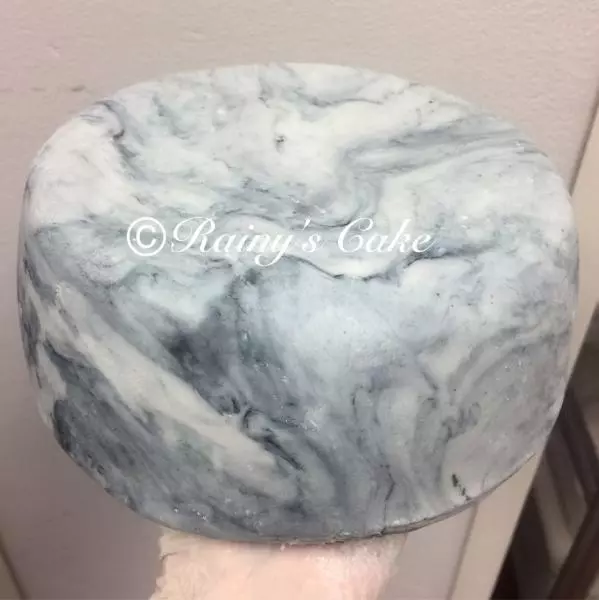
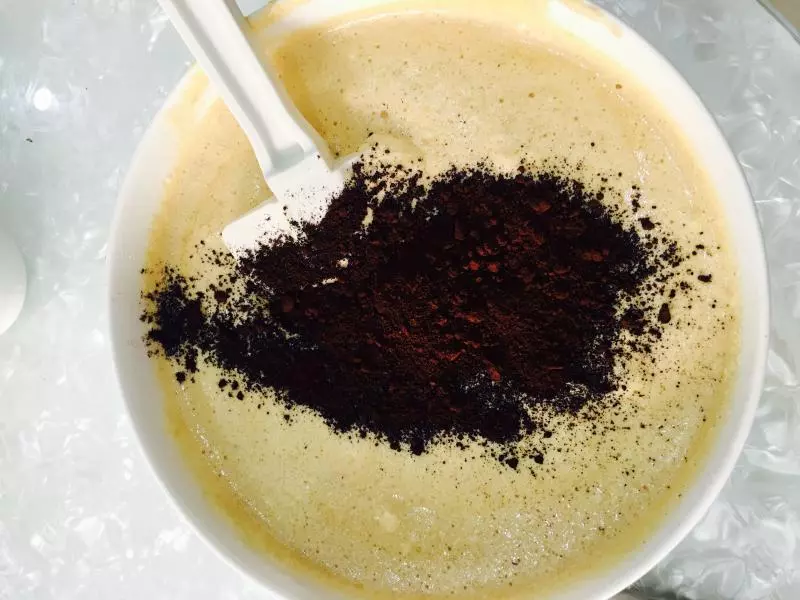
2蛋黄盆里加入油、木糖醇、乳清蛋白、小麦胚芽搅拌均匀,再加入灵芝孢子粉拌出大理石纹路的蛋黄糊
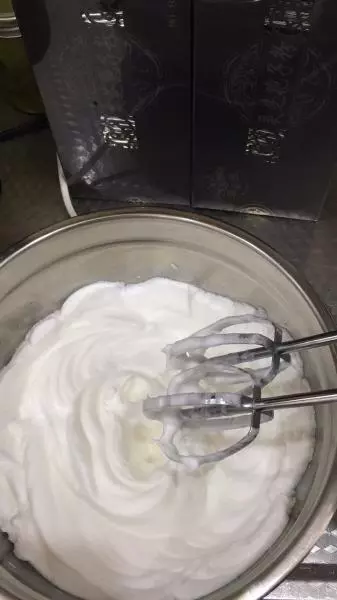
3另一个盆里的蛋白打发成硬性发泡的蛋白霜
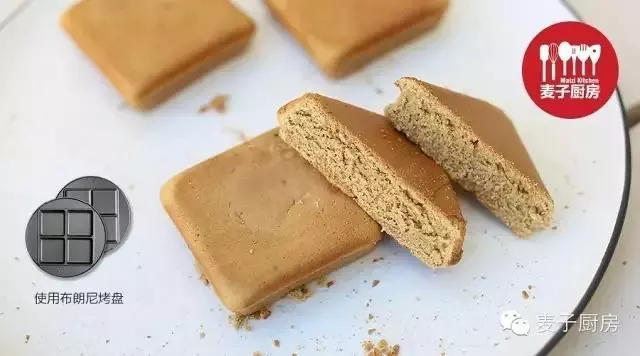
4再将蛋黄糊分三次加入蛋白霜翻拌均匀倒入垫了油纸的烤盘里,轻轻震去大的气泡
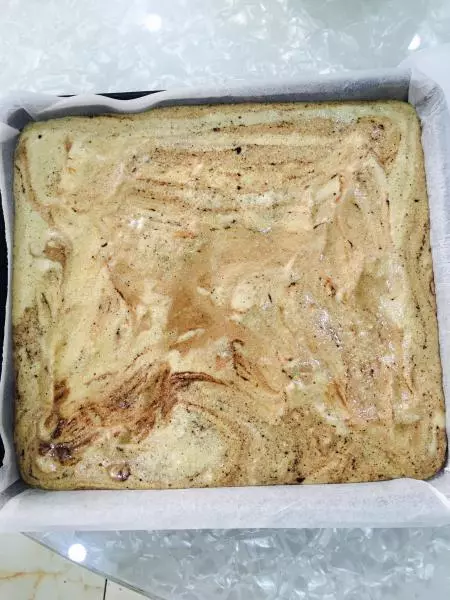
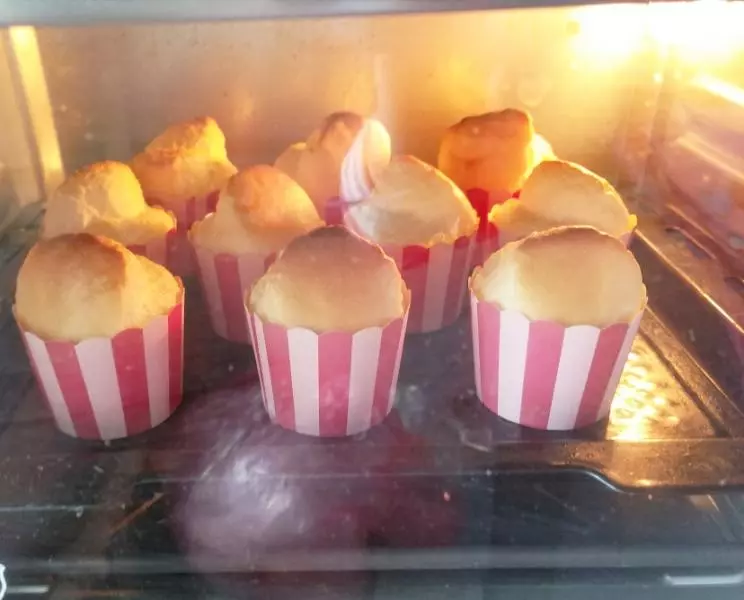
5烤箱160度预热3分钟,放进烤盘继续烤25分钟,?(具体温度和时间根据各烤箱性能而定)
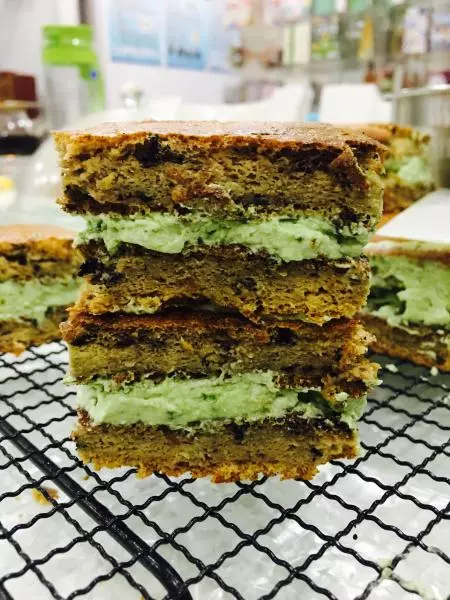
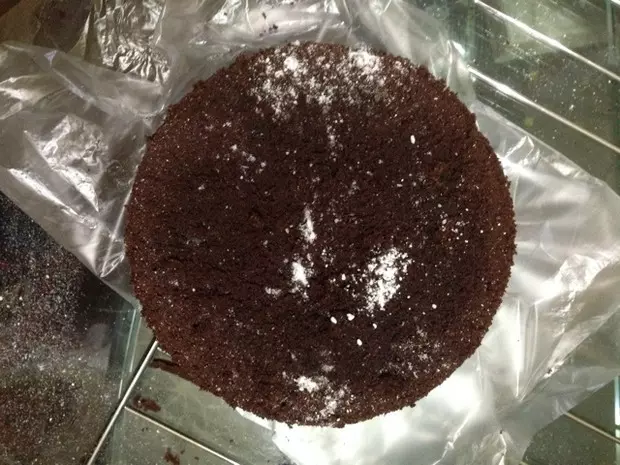
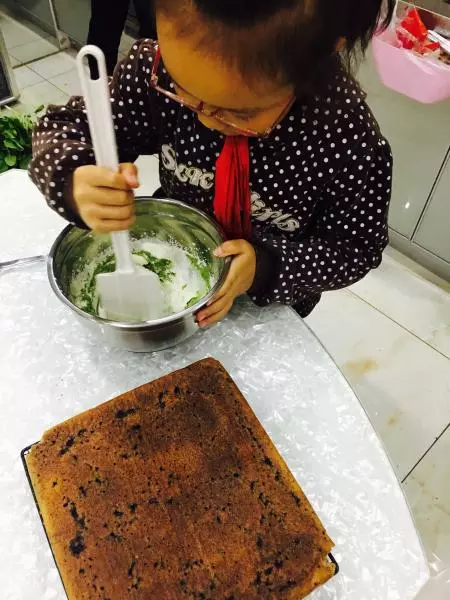
6烤好的蛋糕放在凉架上放凉。无糖奶酪加入低聚果糖、大麦若叶粉搅拌均匀,涂在蛋糕上
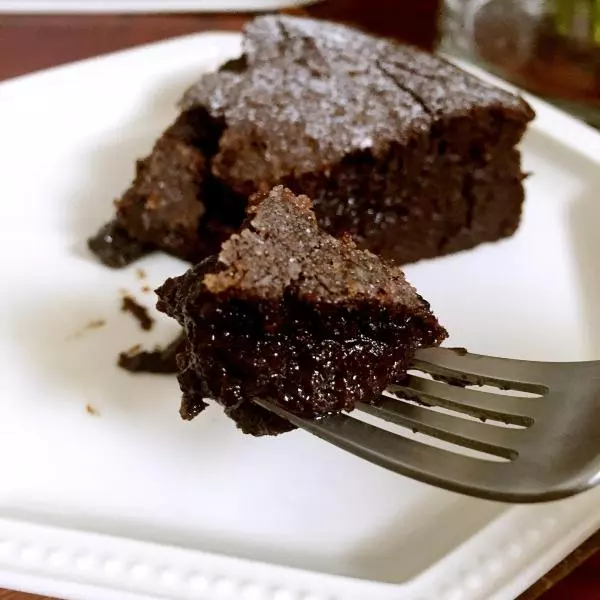
7涂抹均匀切块
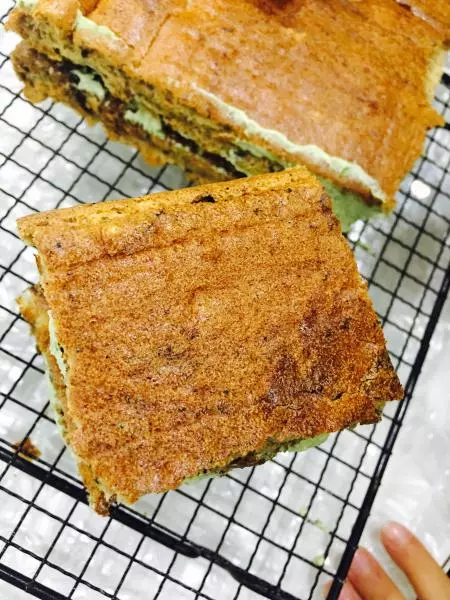
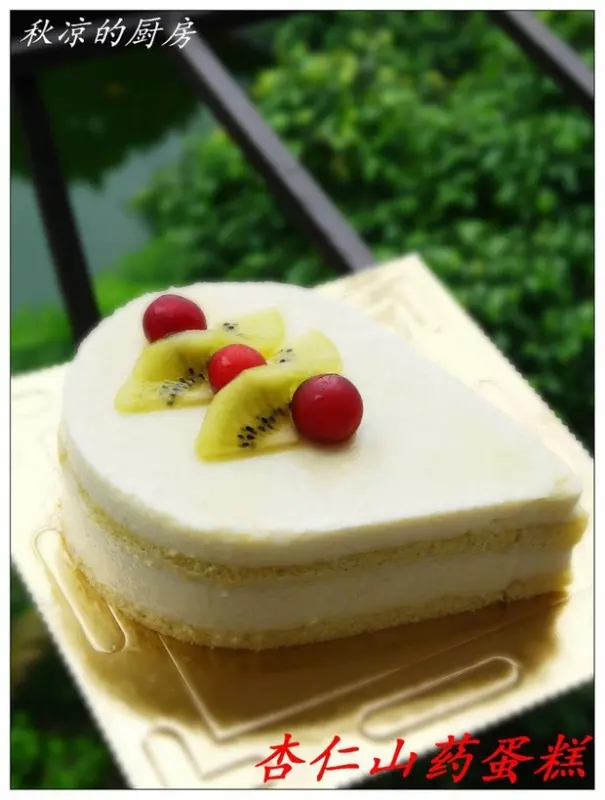
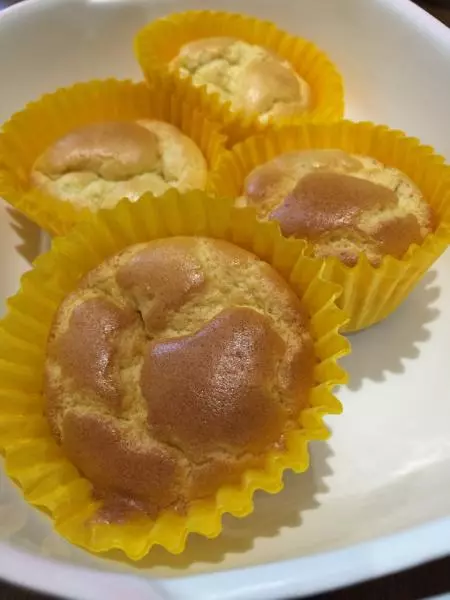
8美味营养的“战糖蛋糕”出炉啦