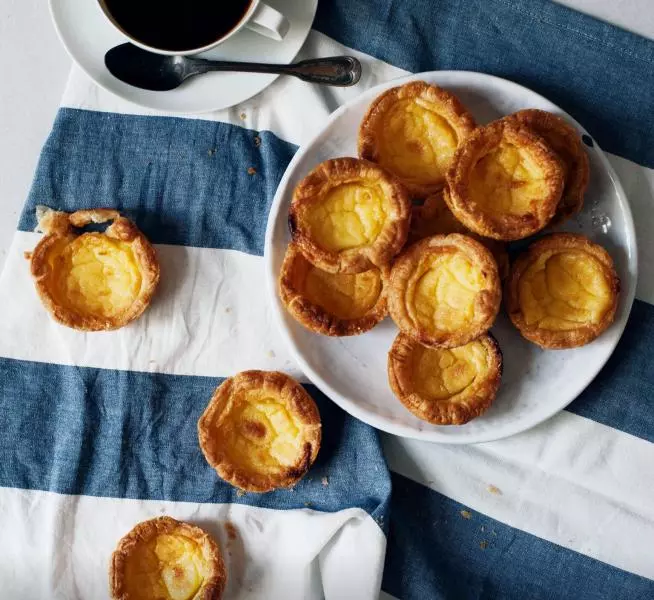
原料
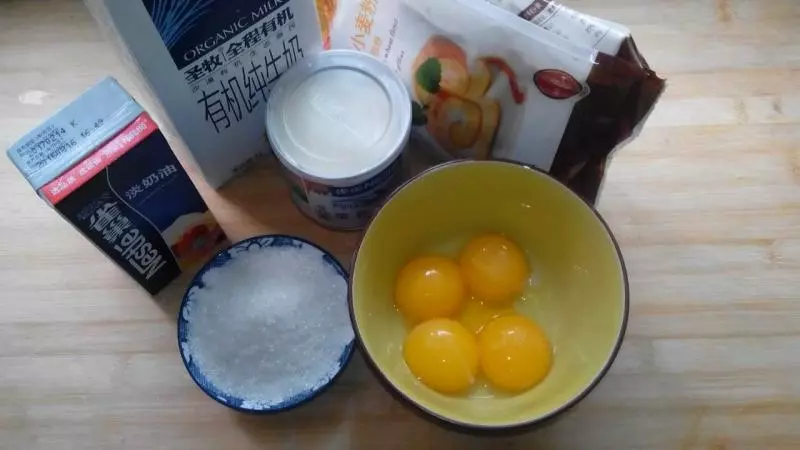
葡式蛋挞皮: 14—16个, 淡奶油: 180g, 牛奶: 140g, 炼乳: 15g, 蛋黄: 4个, 细砂糖: 80g, 低筋粉: 15g
步骤
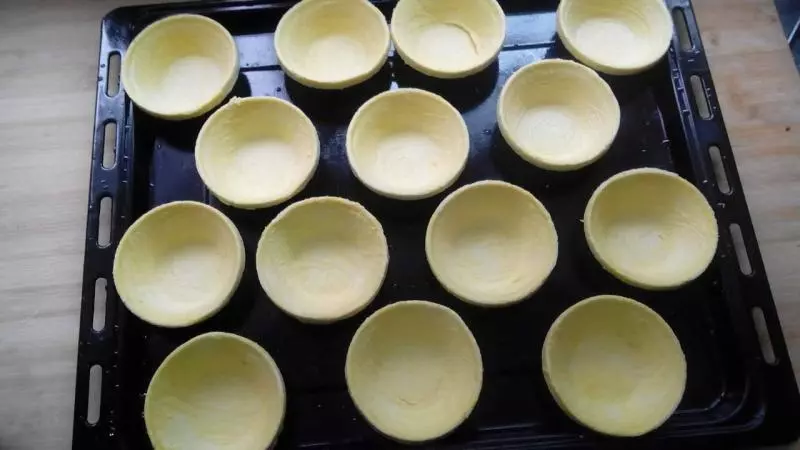
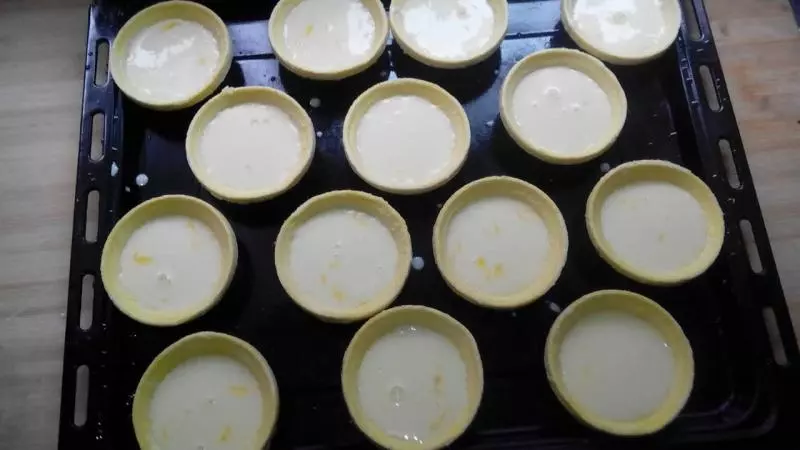
11、把买好的蛋挞皮从冷冻里面拿出来,摆好自然解冻。
22、准备好所有的蛋挞液配料,参照菜谱分量。
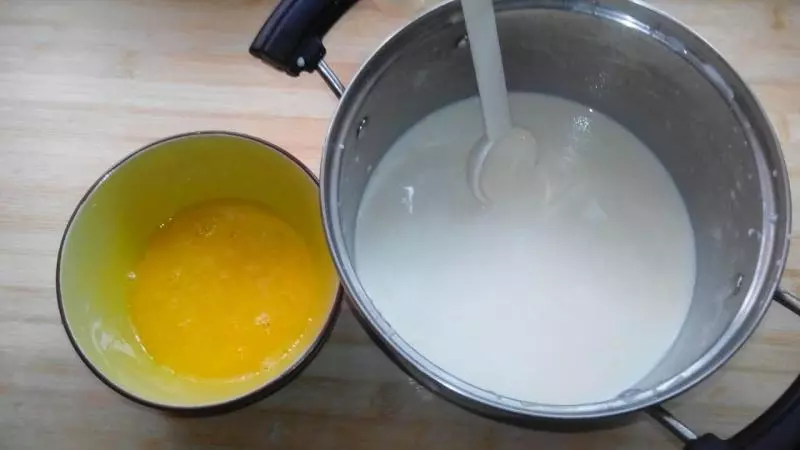
33、把牛奶、炼乳、淡奶油、白砂糖倒入不锈钢奶锅,加热是白砂糖 融化,同时把蛋液打散。
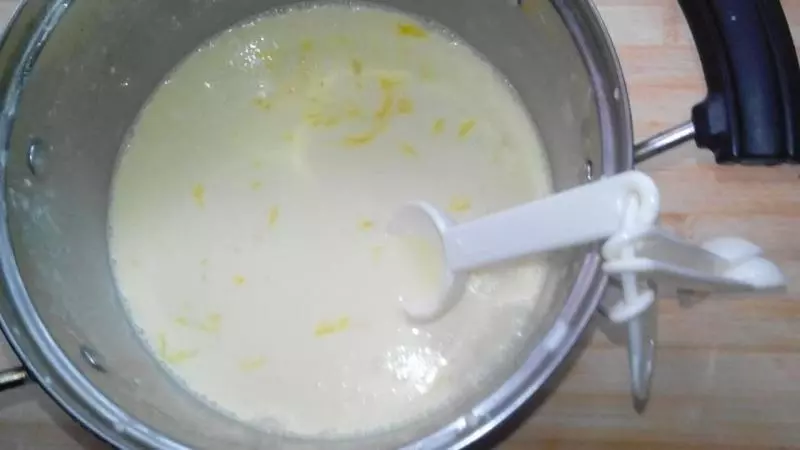
44、把剩下的低筋粉和打散好的蛋黄液倒入已经放凉的牛奶液,搅拌均匀,蛋挞液就制作好了。
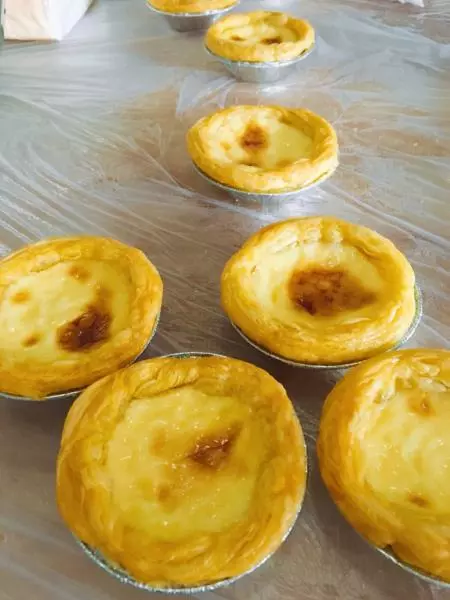
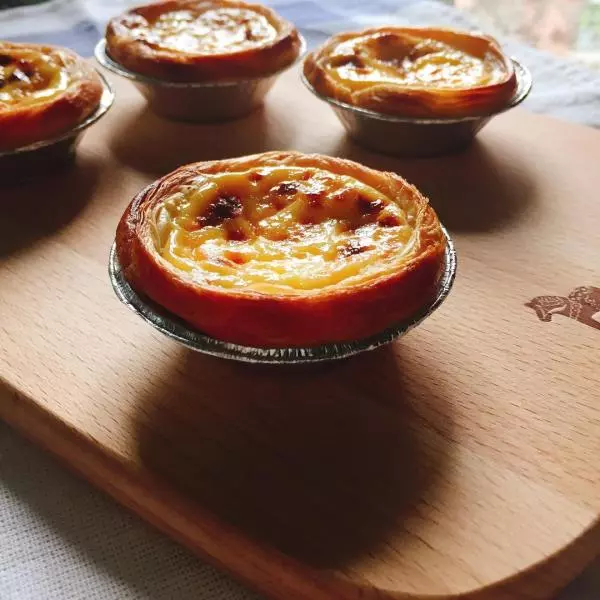
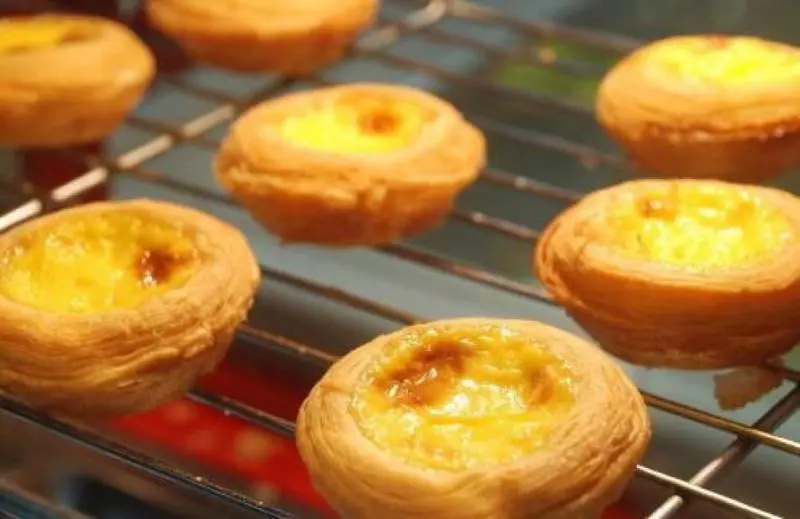
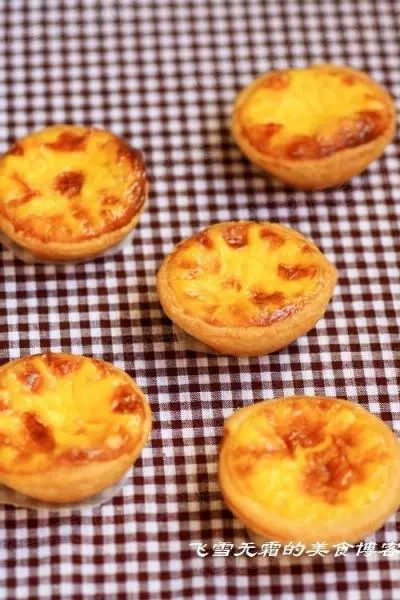
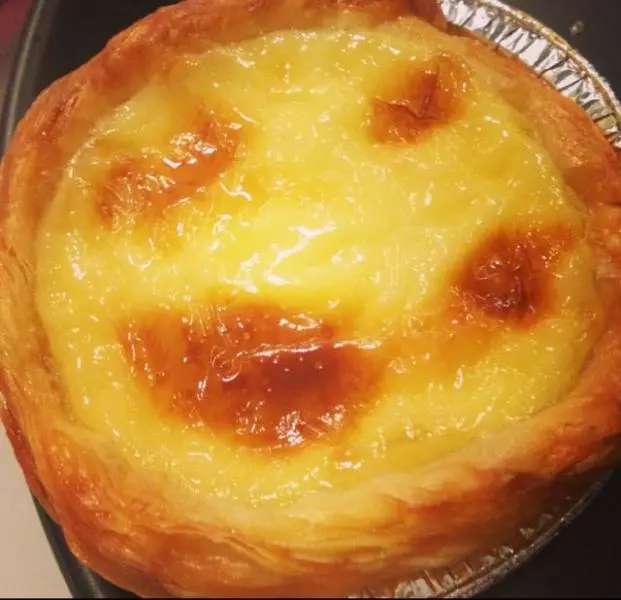
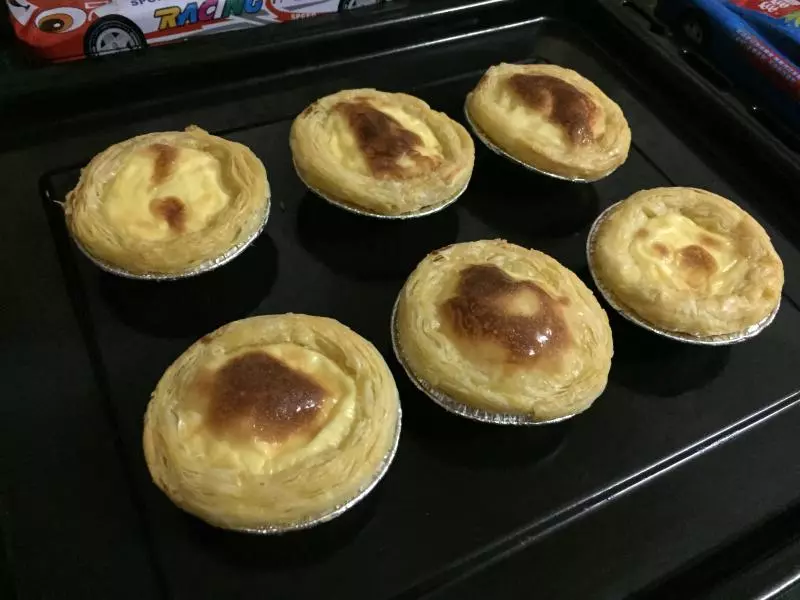
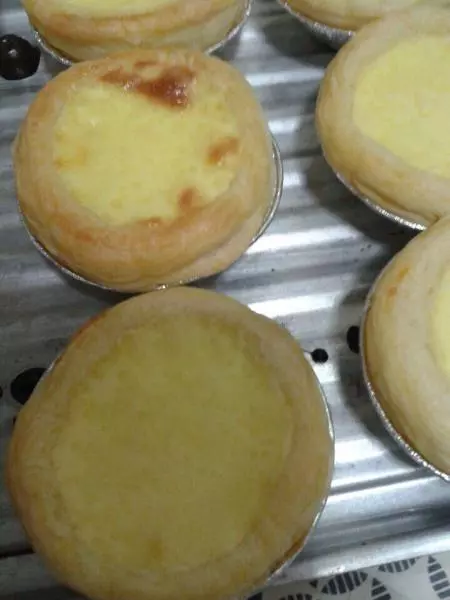
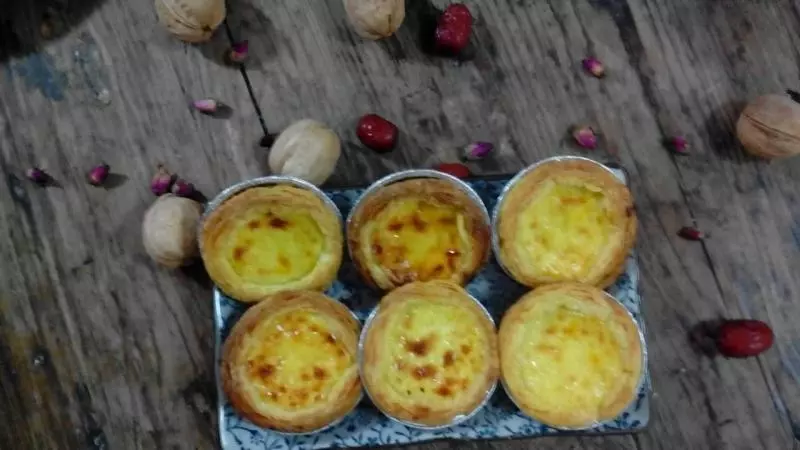
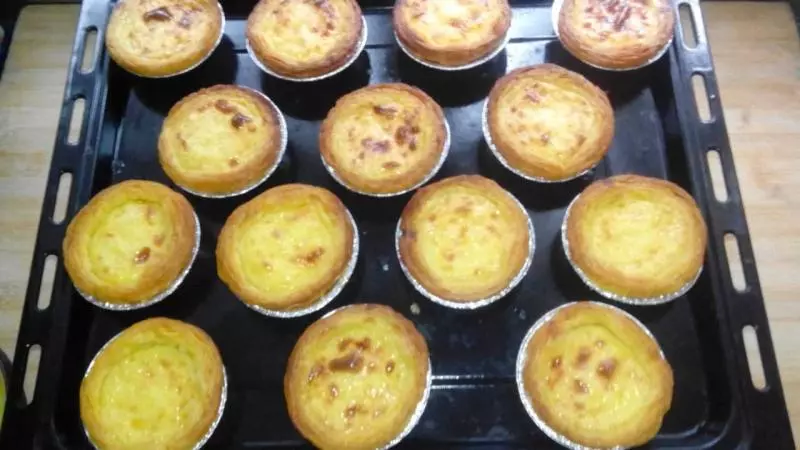
55、把混合好的蛋挞液装入已经自然解冻好了的蛋挞皮,7分满、放入200度25分钟预热好的烤箱内,等熟即可。
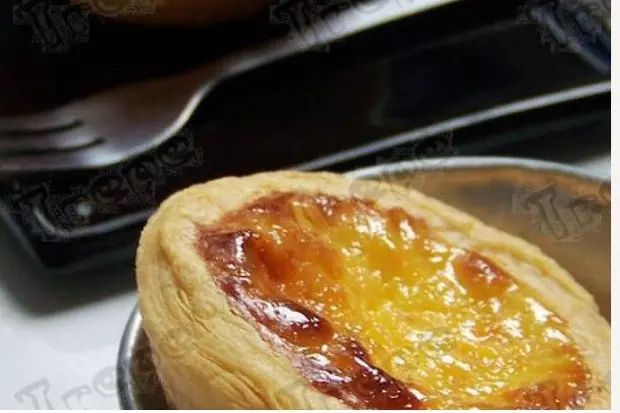
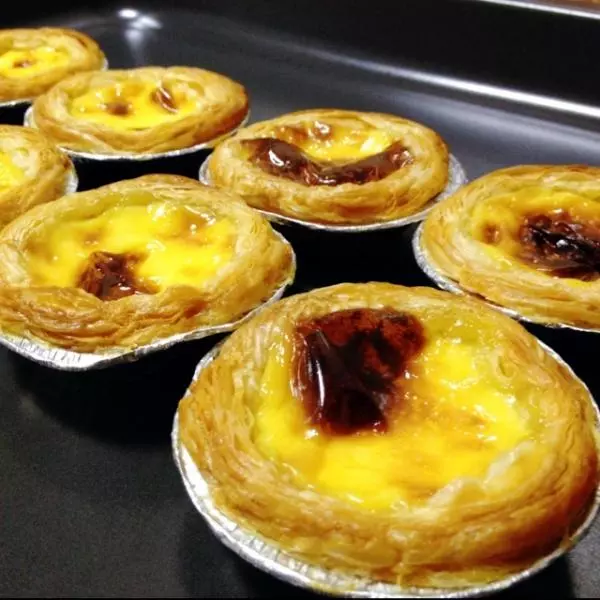
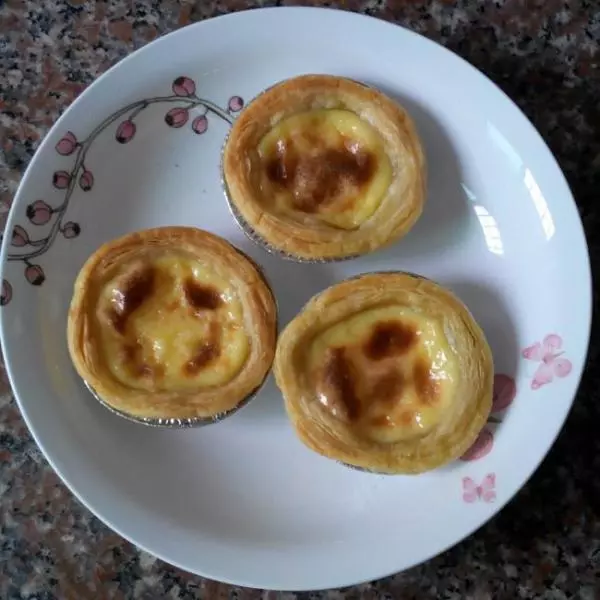
66、预设的时间到了拿出蛋挞、稍凉、开吃,(蛋挞热的时候最好吃奥!)
小技巧
1、我的烤箱是美的的,温度和时间也是根据我平时的时间来设定,不同开箱会有差别