原料
鸡蛋: 4个, 细砂糖: 40g, 色拉油: 40g, 纯净水: 40g, 低筋面粉: 40g, 淡奶油: 200g, 细砂糖: 20g, 蓝莓粉: 5g
步骤
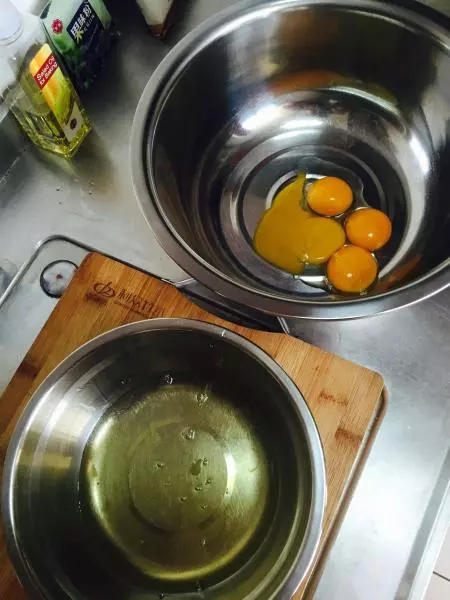
1准备好材料

2蛋黄和蛋白分离
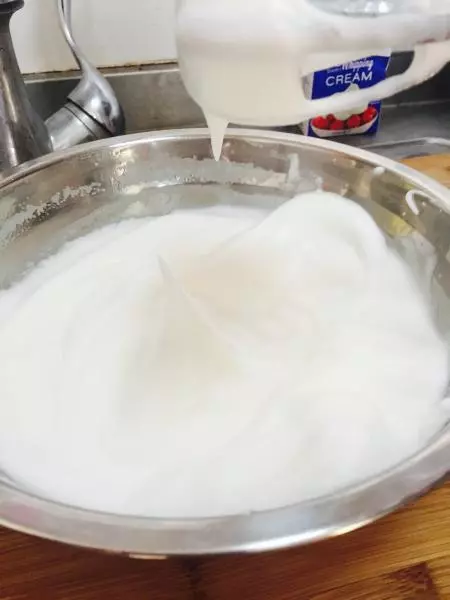
3用电动打蛋器打发蛋白,使用30g细砂糖,分三次加入。第一次在打发到有鱼眼泡沫时加入,第二次在泡沫消失时加入,第三次在湿性发泡时加入。打发蛋白至硬性发泡,即可以用打蛋器拉出小弯沟,或者倒立不流出,或者插一根筷子能立起来即可。
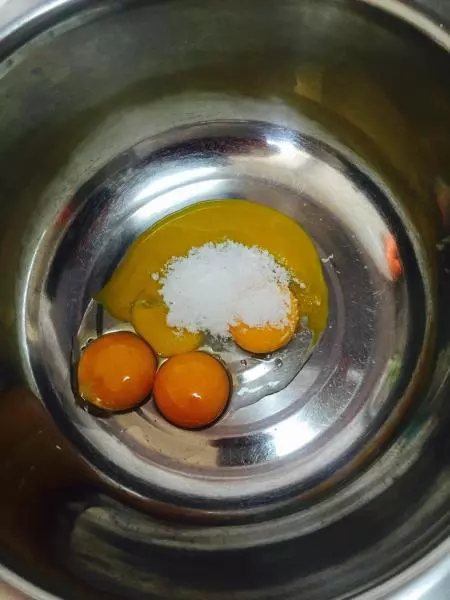
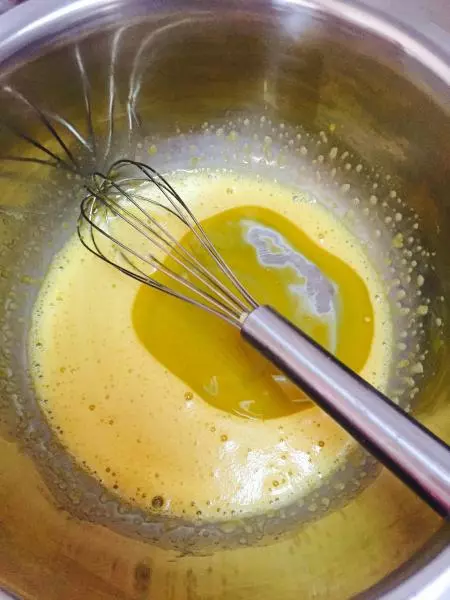
4蛋黄中加入10g细砂糖,用打蛋器将蛋黄与糖混合均匀,蛋黄稍稍发黄
5加入玉米油,混合均匀。
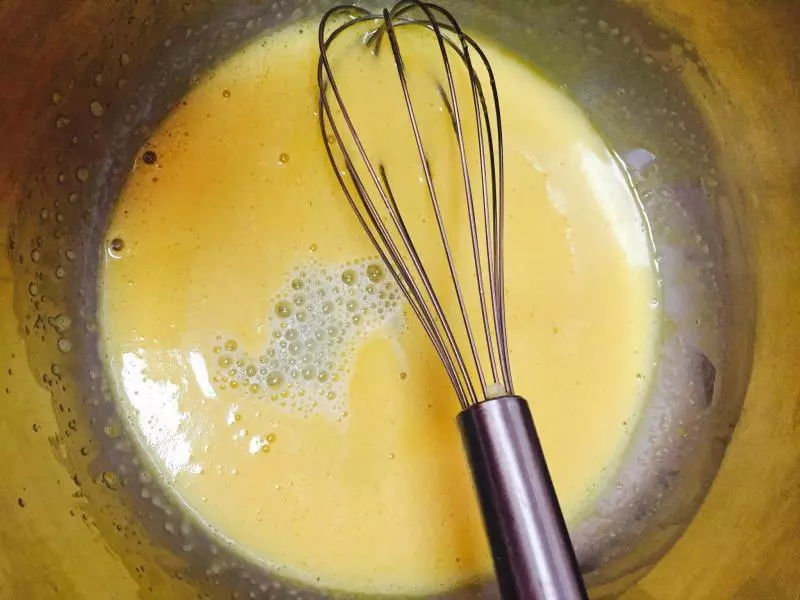
6加入纯净水,搅拌均匀。
7筛入低筋面粉和果味粉。
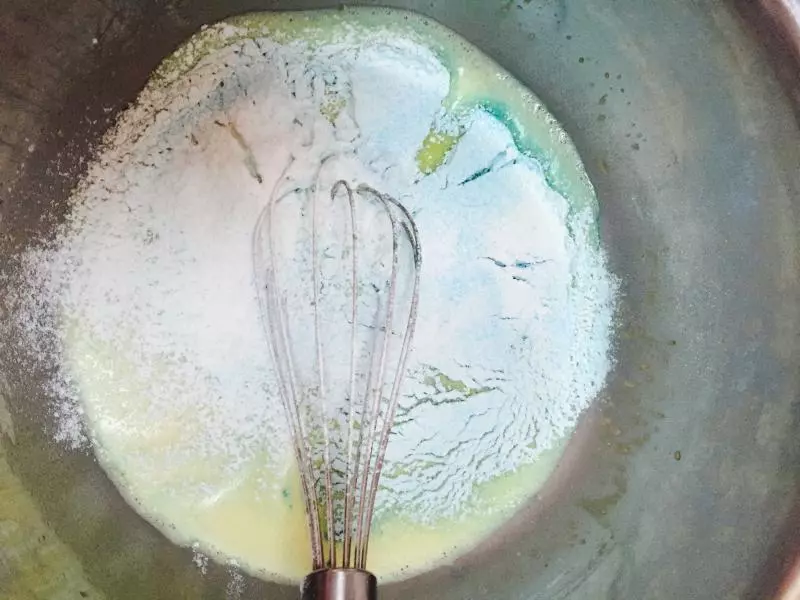
8用打蛋器划Z字混合均匀,使液体里面没有小面粒。
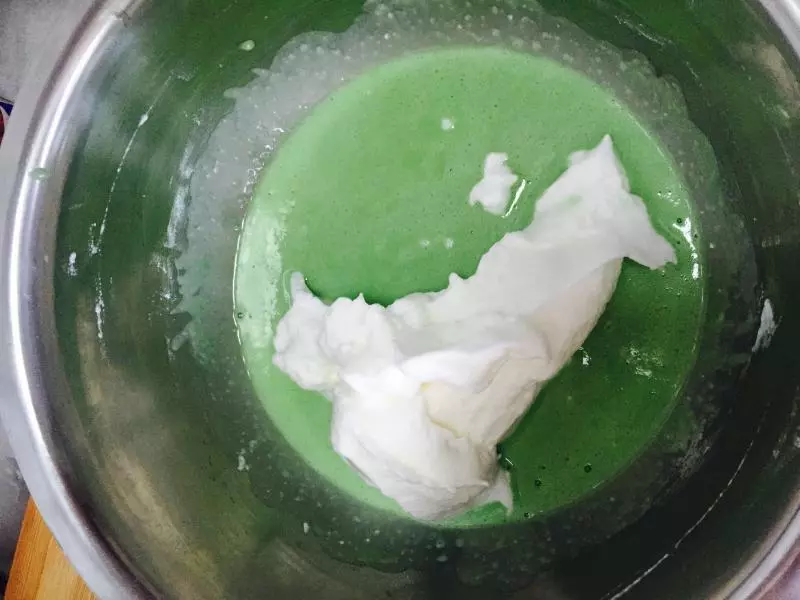
9从冰箱取出蛋白,用打蛋器先打光滑。取一半混入蛋黄混合液。用翻拌的方法混合均匀。
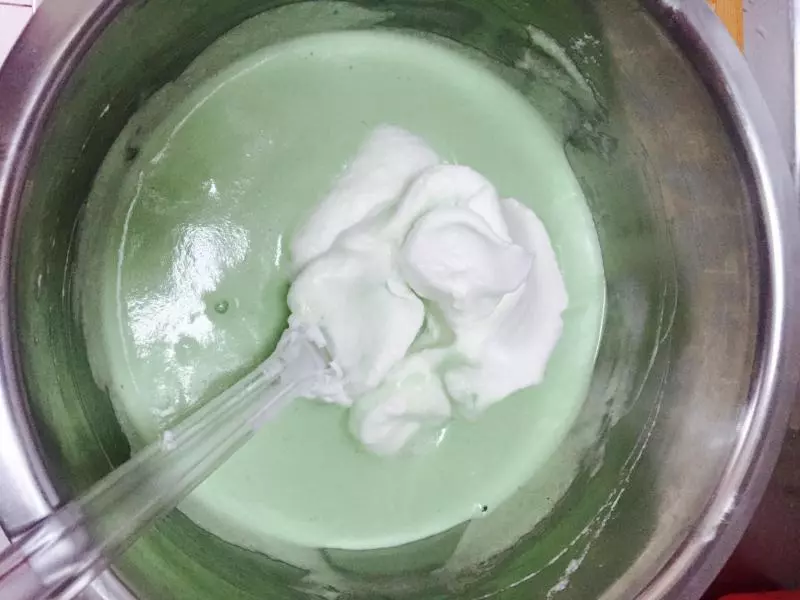
10将剩余的蛋白倒入,同样用翻拌的方法混合均匀。
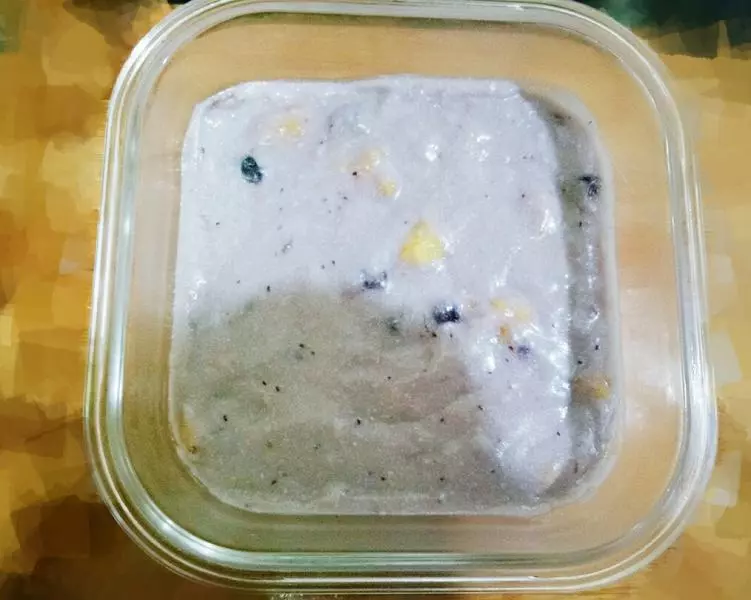
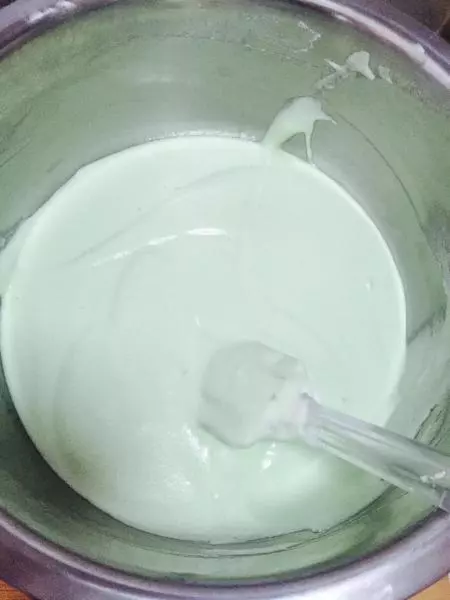
11在桌上振两下,使气泡消失。
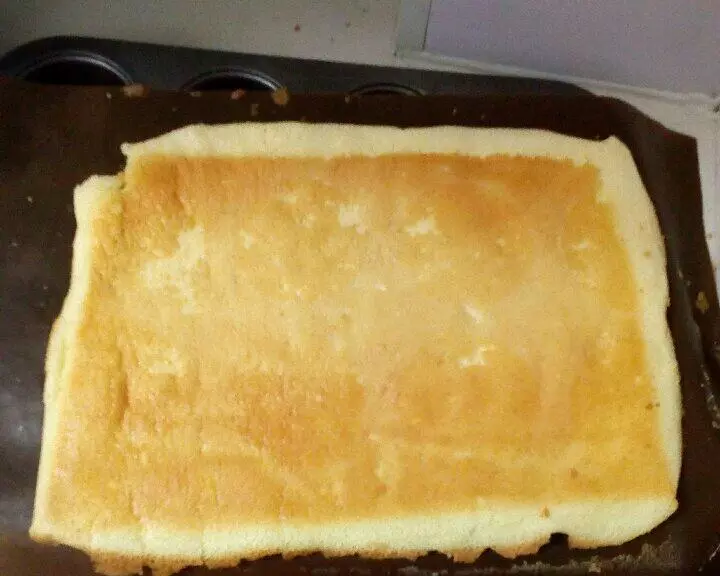
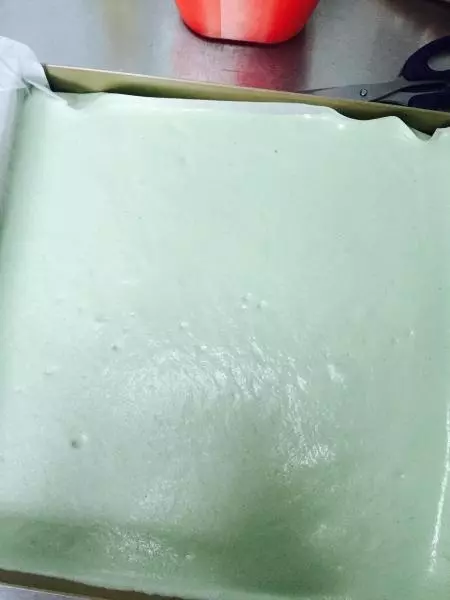
12烤盘放入油纸,将蛋糕液倒入。
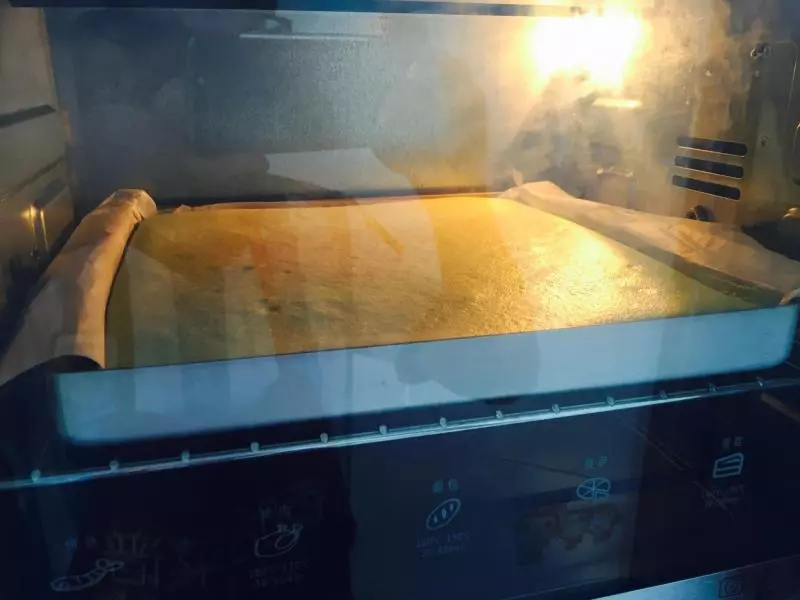
13烤箱180度预热,将烤盘放入烤15分钟,表面上色即可。
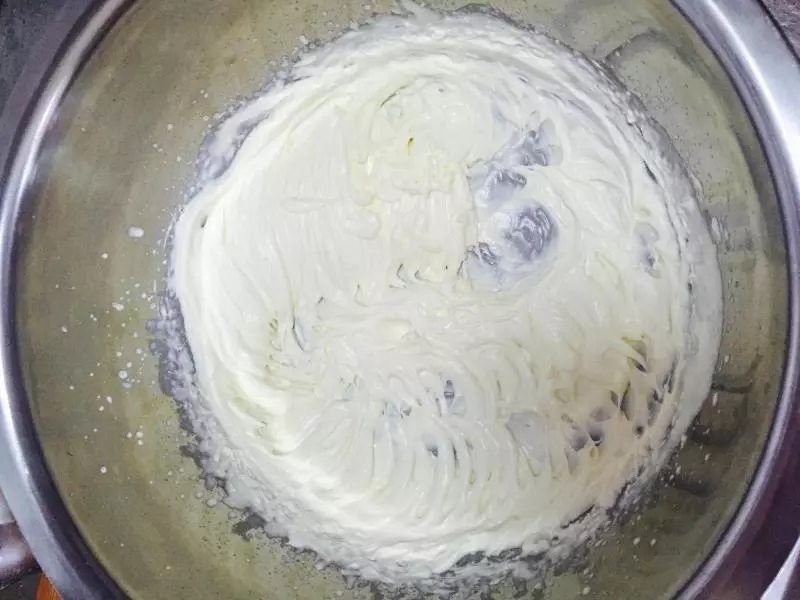
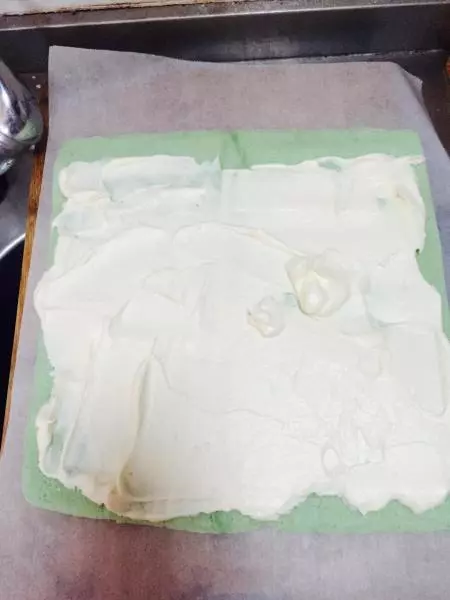
14烤蛋糕的过程可以打发奶油,200g淡奶油加入20g细砂糖,打发到8成。即出现纹路即可。
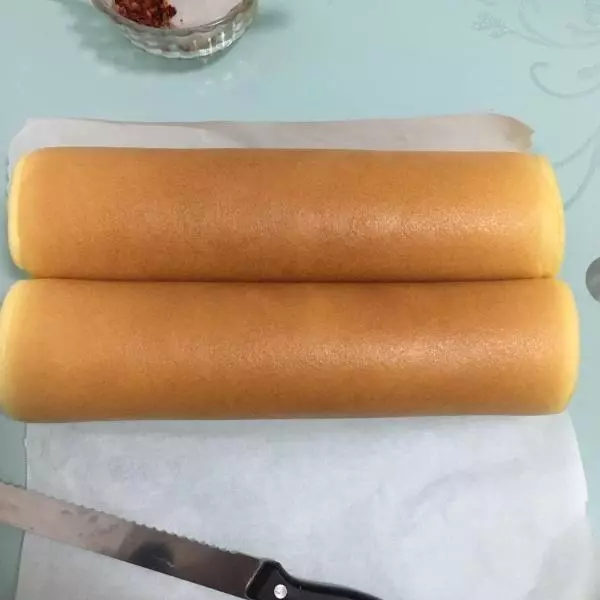
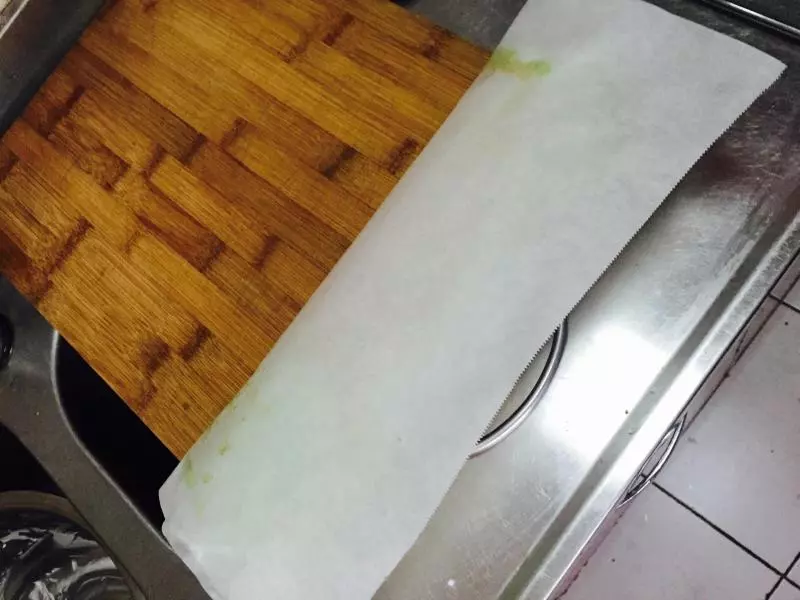
15蛋糕卷烤好后连着油纸取出置于烤架上冷却几分钟。
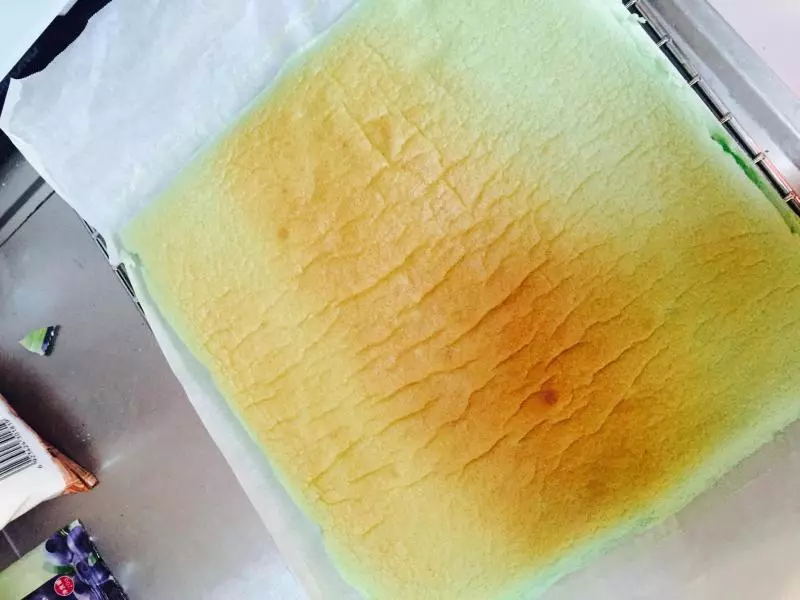
16稍微冷却后在表面虚盖一张油纸
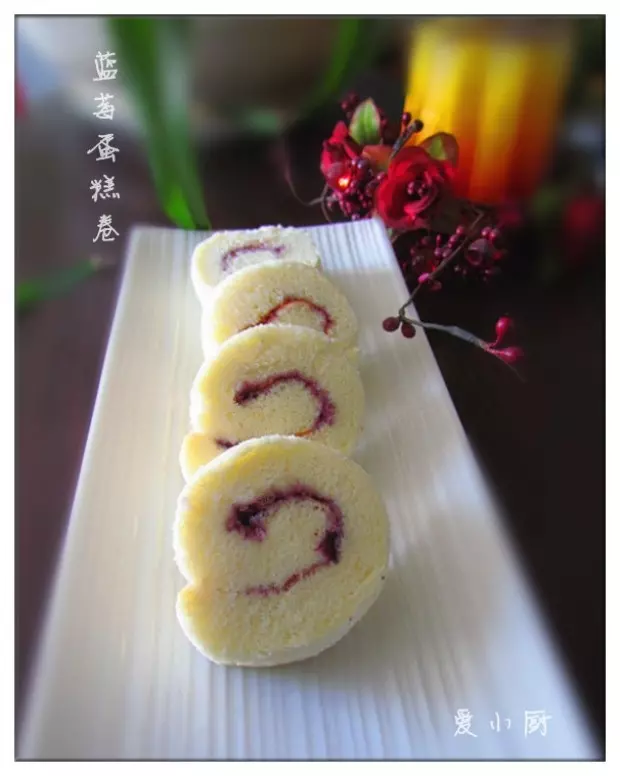
17正卷反卷都可以,蛋糕的起始端和两端多涂奶油,顶部大概留3厘米不涂奶油。
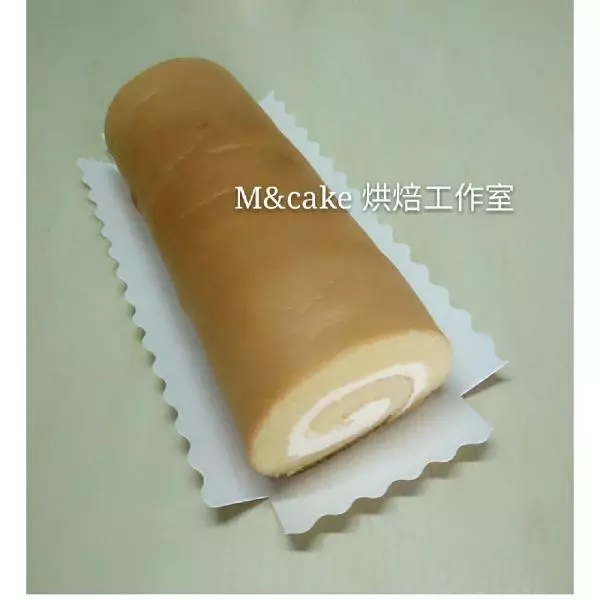
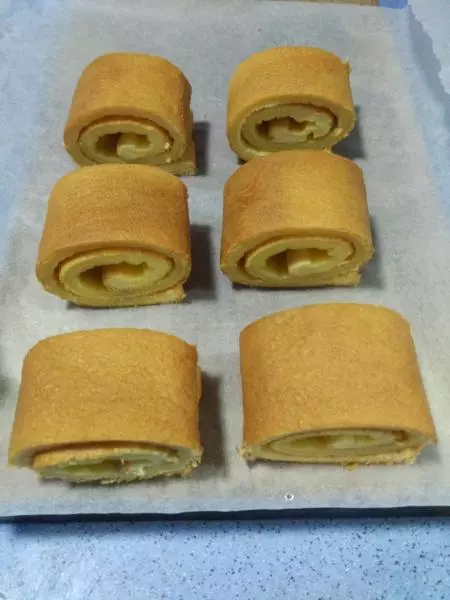
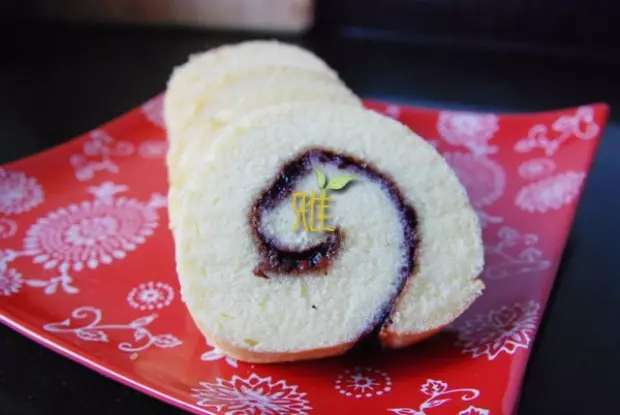
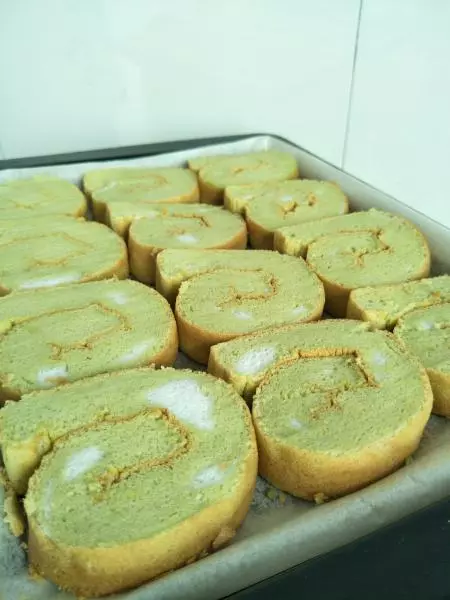
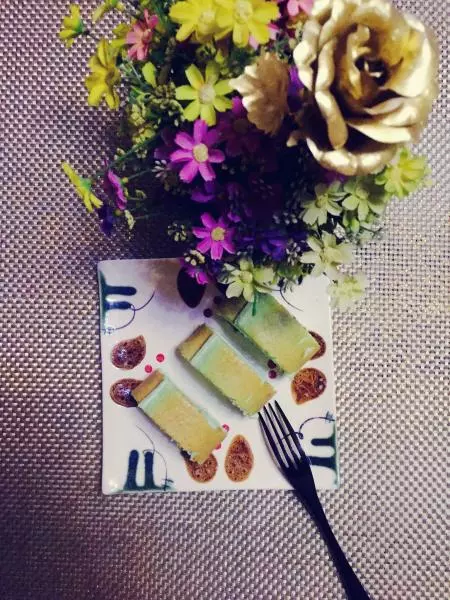
18利用擀面杖将蛋糕卷卷起,置于冰箱冷藏30分钟后,用刀切成一块一块的小蛋糕卷就可以食用了。
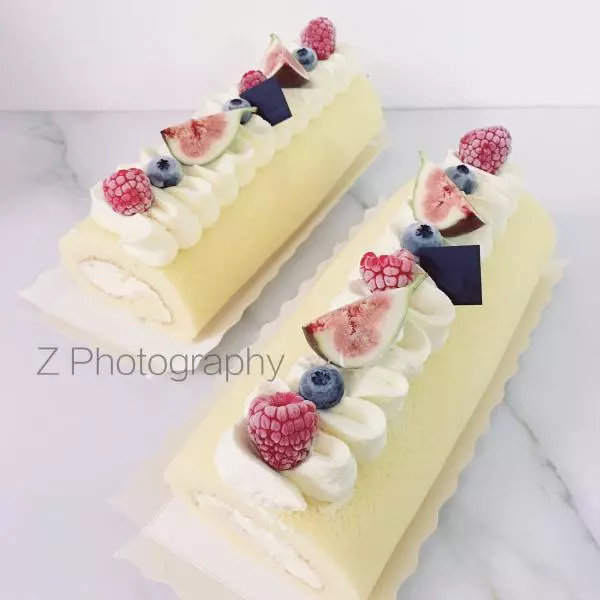
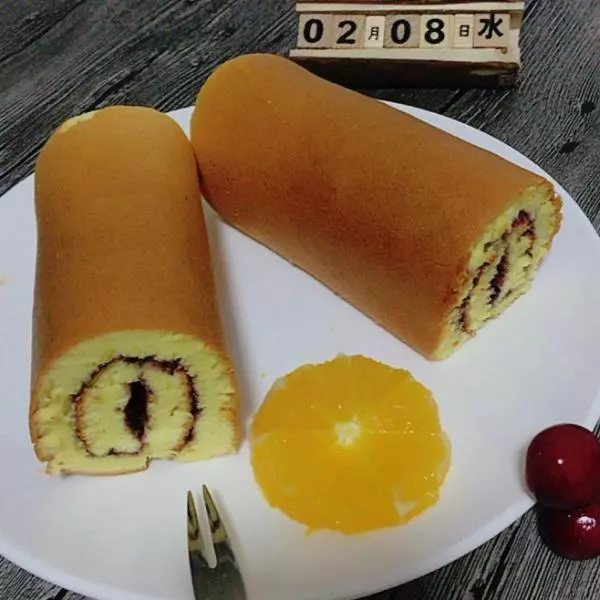
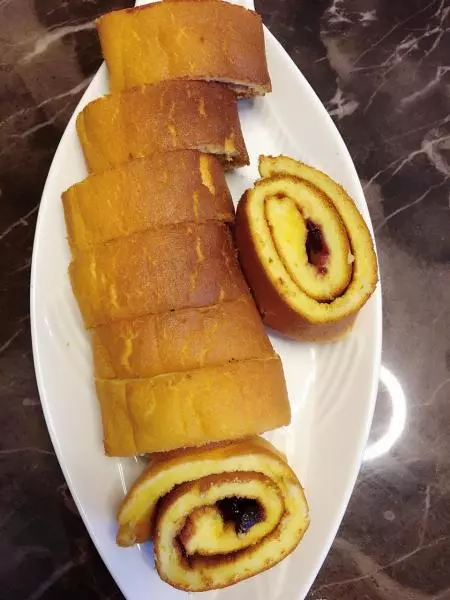
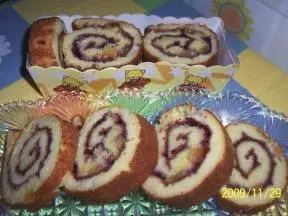
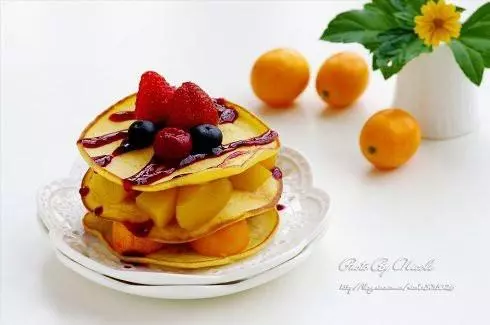
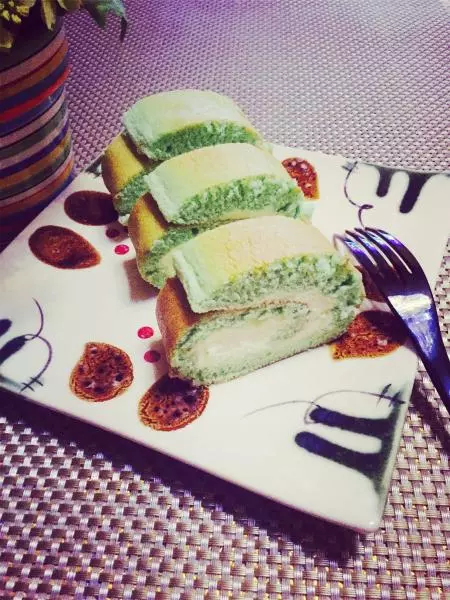
19最后来一张成品图。
小技巧
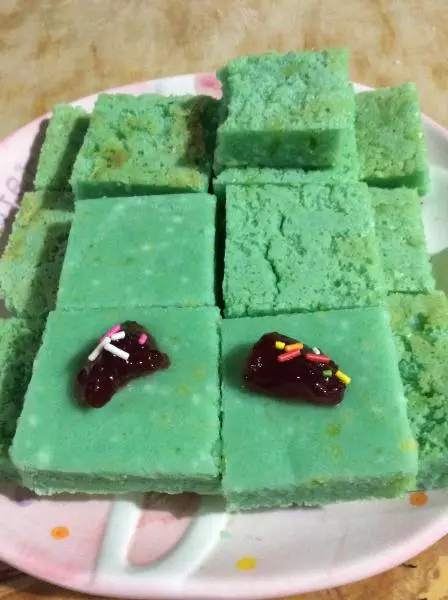
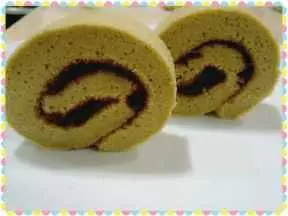
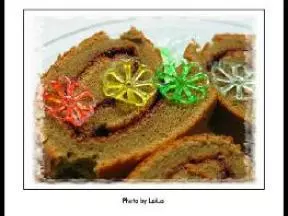
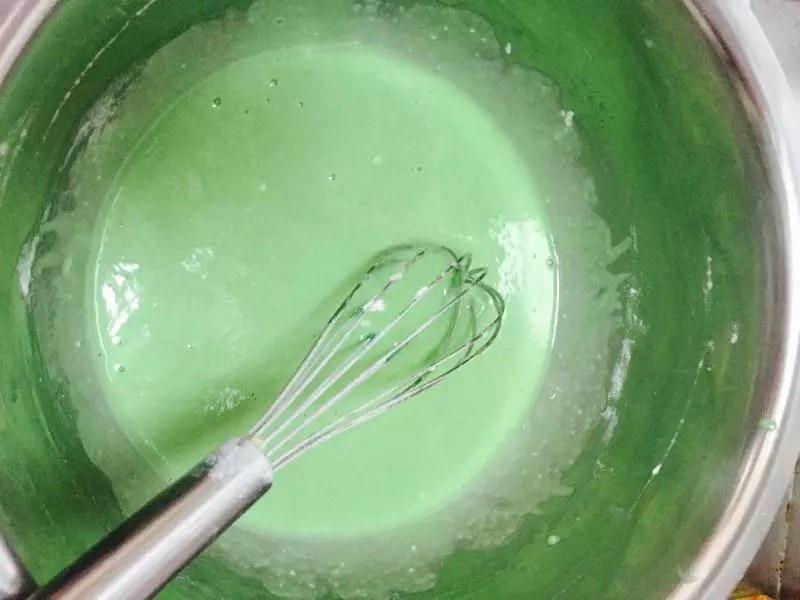
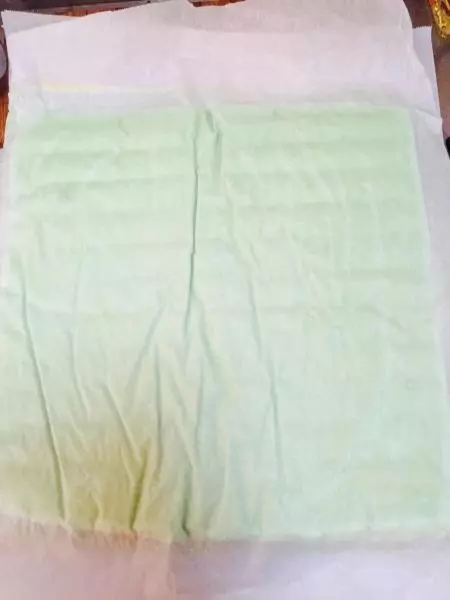
应该是买的果味粉不行,蓝莓粉做出来成了绿色的。看成分这个果味粉里面有色素,以后坚决不买了。大家自己做的时候还是要选择无添加的果味粉,或者直接从水果榨汁来制作带果味的小四卷哦。这个方子不加果味粉就是正宗的小四卷啦。祝大家国庆快乐!