原料
中筋白面粉 (德国的type 550面粉): 250g, 白糖: 30g, 新鲜酵母 (国内有也叫鲜酵母的,只要看到包装上印有fresh yeast的就是了): 15g, 鸡蛋: 1个, 黄油: 40g, 盐: 5g, 牛奶: 120ml, 糖浆: 10g, 黄油: 40g, 白糖: 50g, 玉米淀粉: 5g, 纯黑巧克力(至少含70%可可的): 75g, 香草荚: 1/4条, 牛奶: 20ml, 糖粉: 60g
步骤
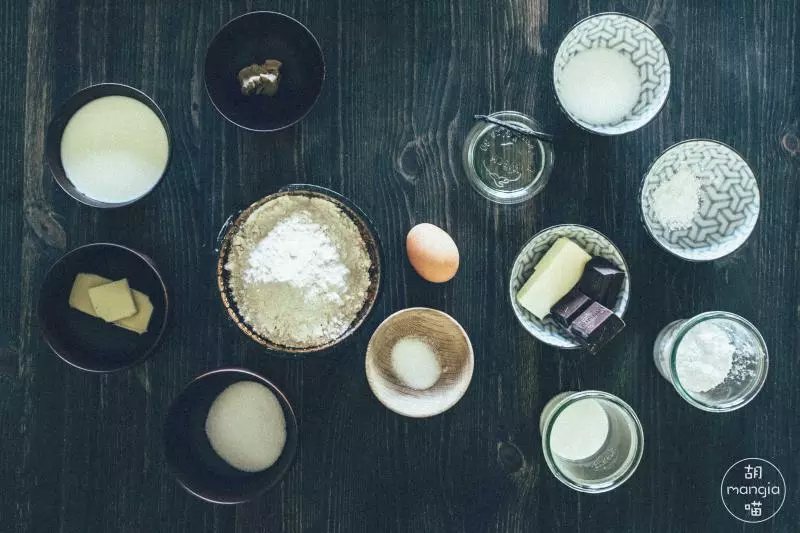
1先来一张食材全家福。
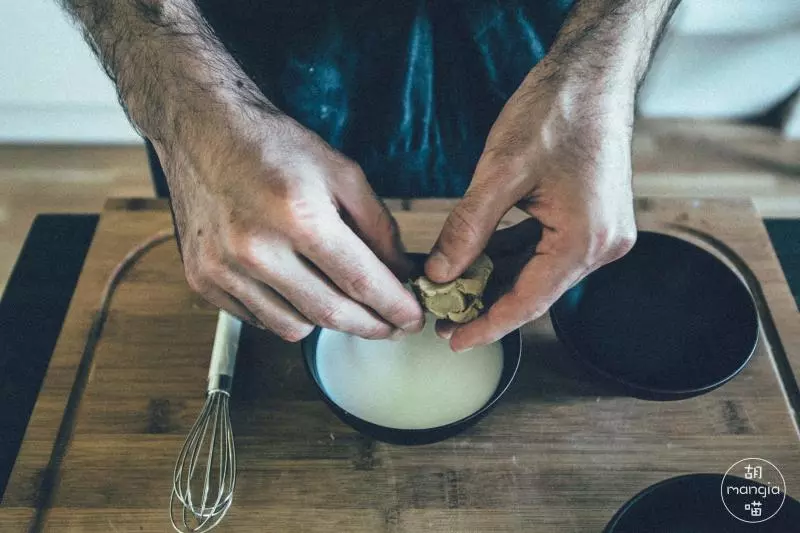
2先从甜面团开始做起。 如果面团是用厨师机操作,15g新鲜酵母需要先弄成小块放入120ml的牛奶中搅拌匀。
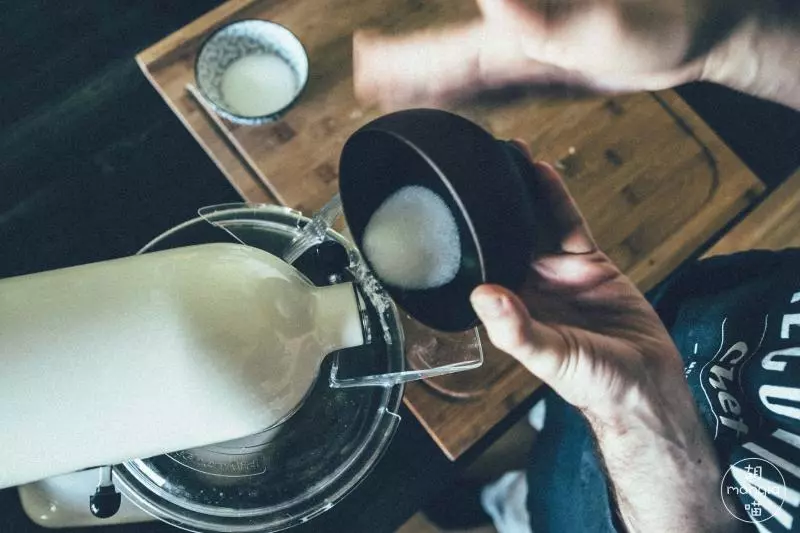
3自打前年圣诞,喵喵买了厨师机作为礼物给胡子后,他就一直用这机器来鼓捣面粉,真心方便。喜欢在家做面食弄烘焙的小伙伴,投资一台厨师机吧,真的值! 首先250g面粉过筛入金属搅拌碗中,然后开动低速挡,慢慢倒入含有酵母的牛奶,打一个鸡蛋,然后加入30g糖和5g盐,40g黄油建议切成小块后加入。低速挡搅拌5分钟后,转成中速挡继续搅拌10分钟。这样制作出的面团才会有更好的粘弹性。胡子根据自己的经验在时间和速度挡上做了小调整,食谱上的建议是慢速挡2分钟后再转成快速挡7-10分钟。两种方案供小伙伴们参考。 家中没有厨师机的也没关系,可以亲手做面团:将面粉堆成小山,中间挖出一个坑(如火山形状)。在坑里放上新鲜酵母,鸡蛋,黄油,糖和盐后,全部揉捏到一起,分次慢慢加入牛奶不断揉捏,直到均匀(差不多10分钟)。 注意:如果是用手和面的话,酵母是不需要先搅拌入牛奶中的。
4和好的面团。
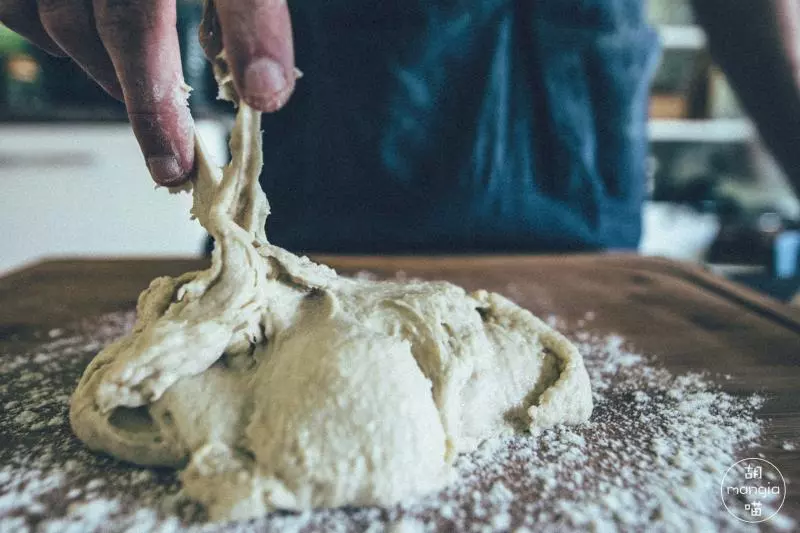
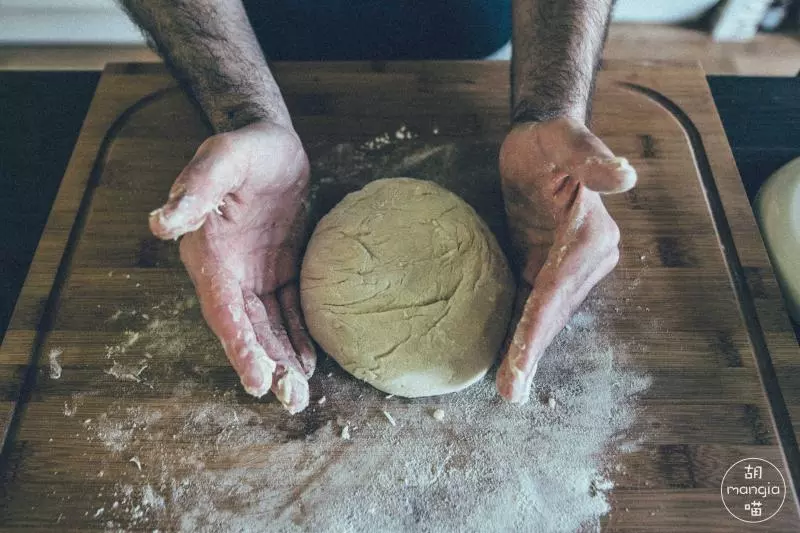
5在操作板上撒上足量的面粉后,将面团从搅拌碗中拿出,揉捏成扁圆球形。
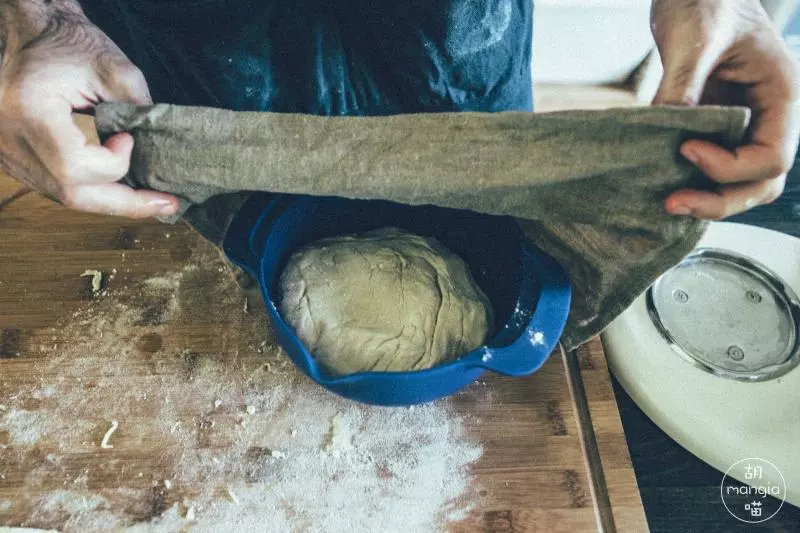
6拿一个圆盘或碗,撒一些面粉后,放入面团,盖上湿布放冰箱。需要放置4-12小时进行第一次发酵。时间越长,烘焙出的面包越软。
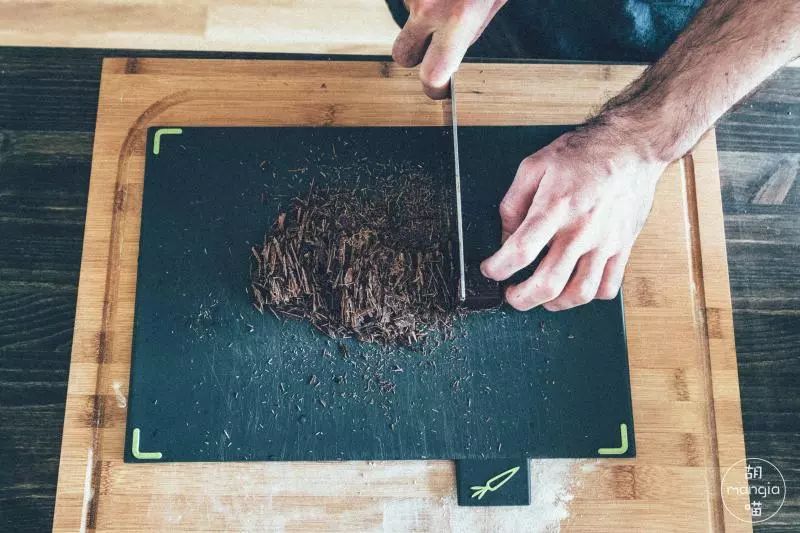
7准备内陷。首先将巧克力切成小碎。
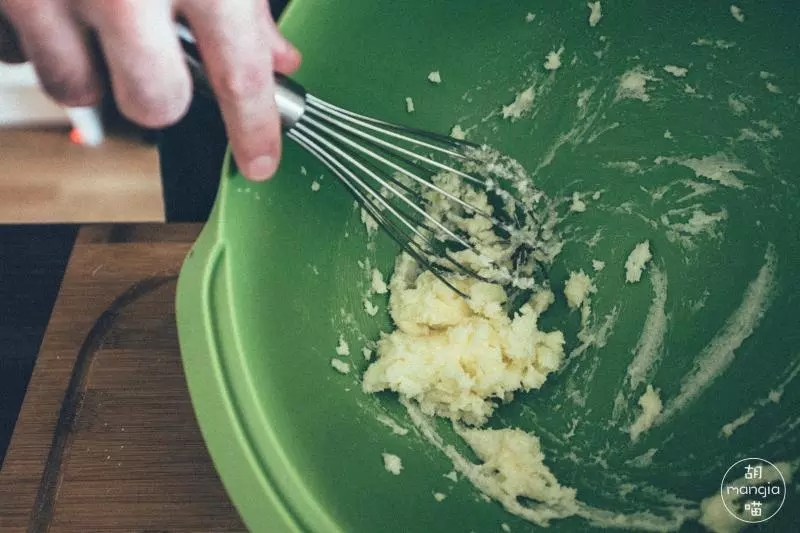
8在另一个容器中加入10g糖浆,40g黄油,50g白糖和5g玉米淀粉,搅拌在一起。
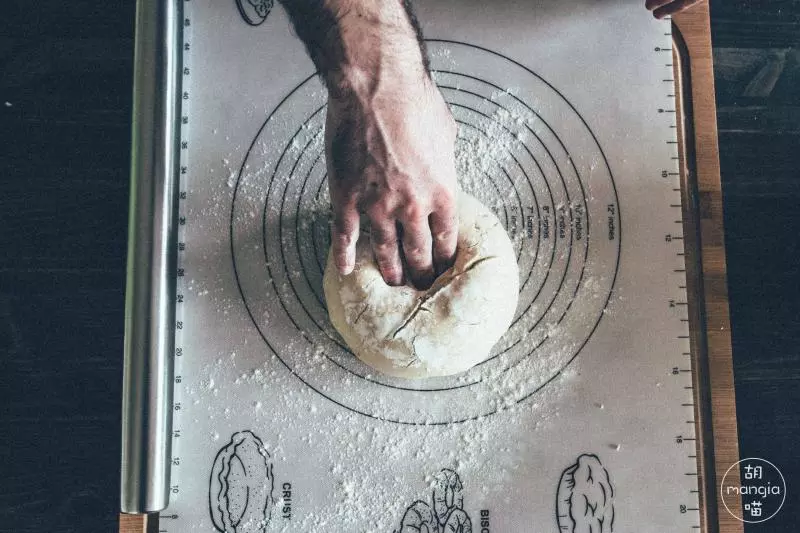
9胡子建议使用硅胶垫,之后能更方便的将面皮卷起。从冰箱里拿出发好的面团,放到撒了面粉的硅胶垫上。
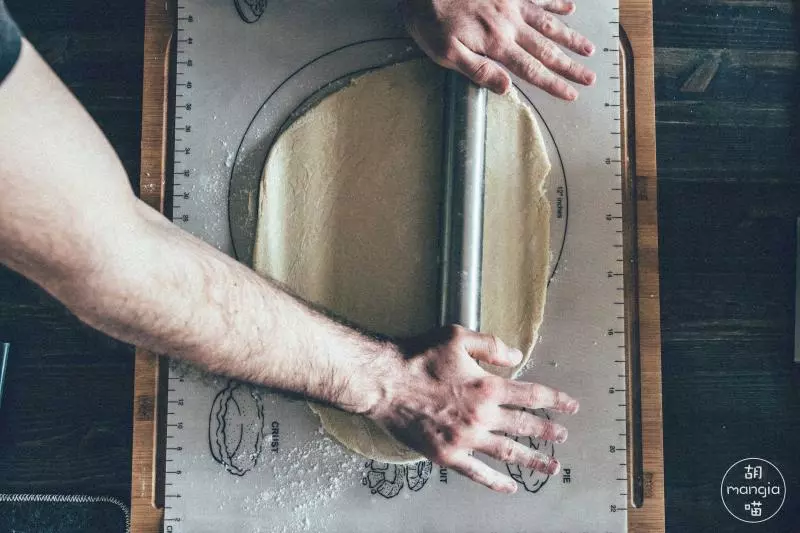
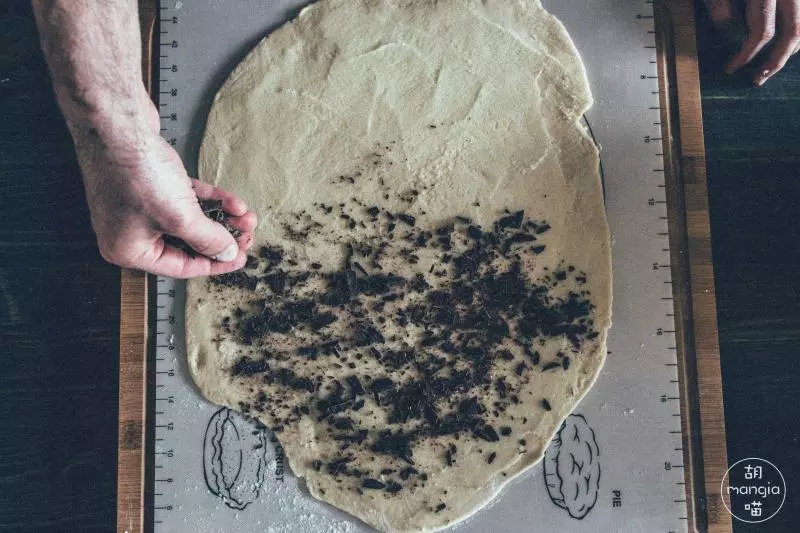
10用擀面棒将面团揉压成大约30*40cm大小的面皮(注意需要是这样大小的尺寸而不是越薄越好)。
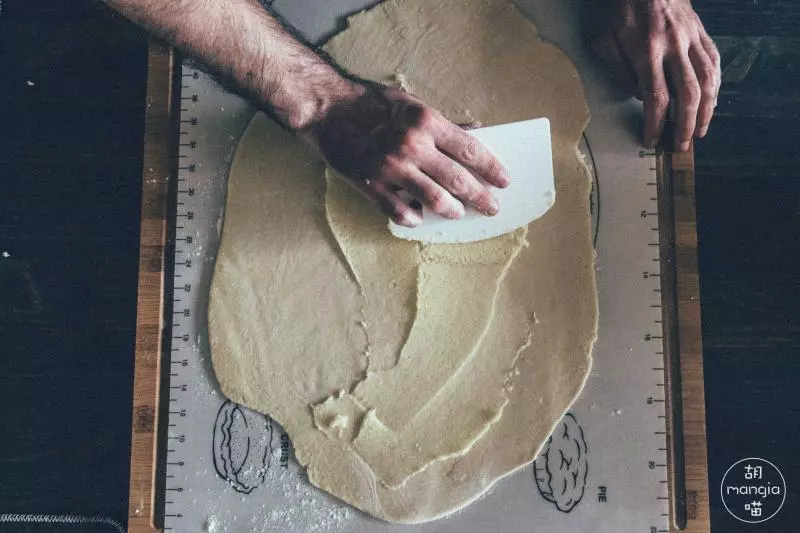
11将之前搅拌好的黄油糖混合物均匀的刮在面皮上。
12撒上切好的巧克力碎。
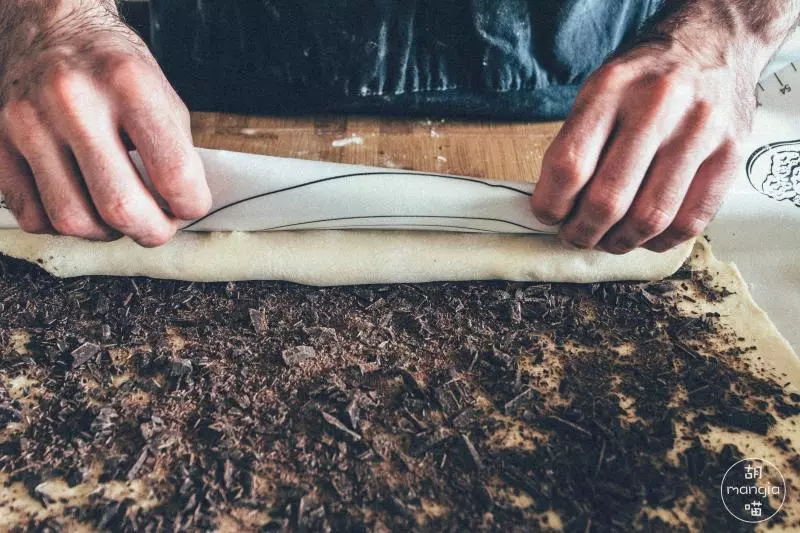
13轻轻卷起面皮,如果是使用了硅胶垫的话,就可以借助垫子边推边卷。注意上图面皮形状的位置,需要沿着40cm较长的一边卷起。
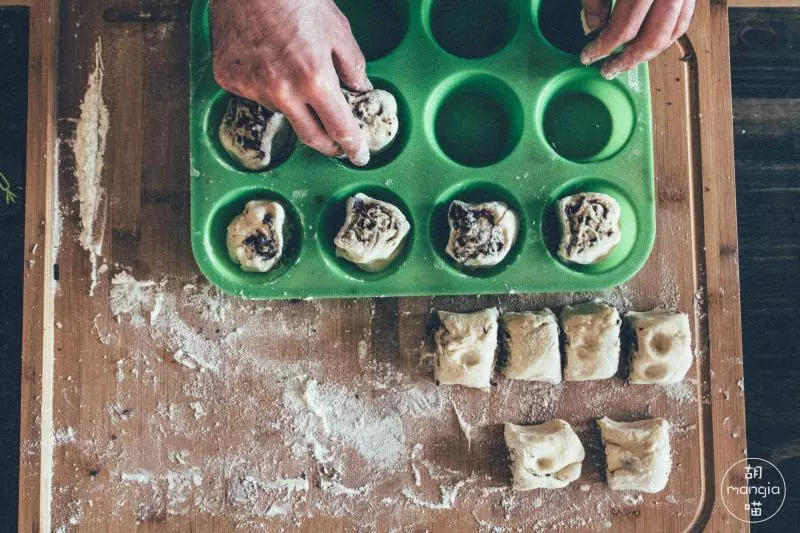
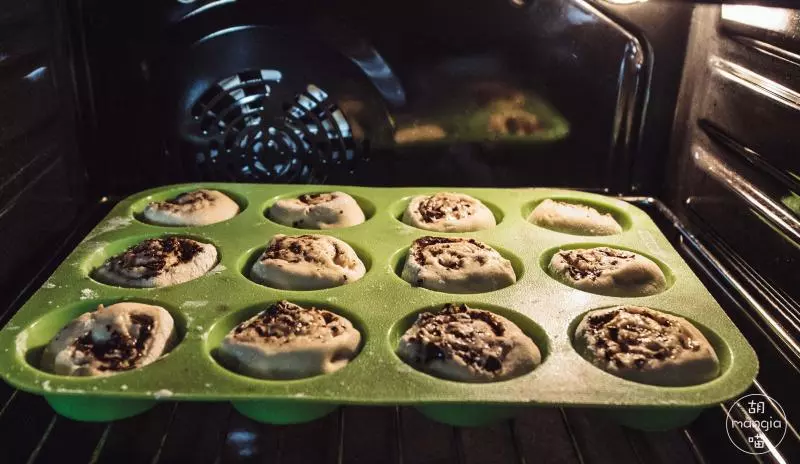
14刀面上涂些面粉再切,一卷正好可以切成12份,分开放入杯子蛋糕模具中。 将模具放入烤箱,只需开灯模式。让小卷团们二次发酵,默默的发胖1小时。
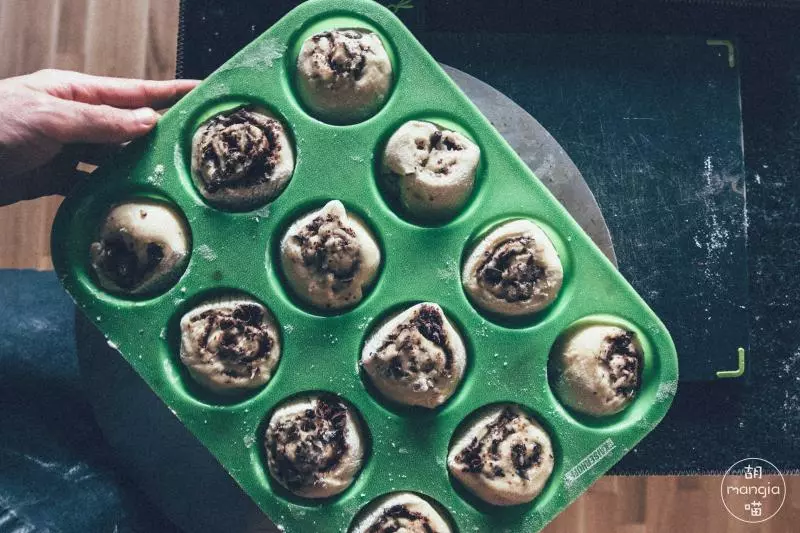
151小时后拿出,可以看出小卷团都已胖了一圈。此时烤箱用对流模式打开预热。
16等到烤箱温度达到180度后,放入烘焙模具,用180-200度的温度烘烤。等10-15分钟,直到面包卷表面成金棕色。
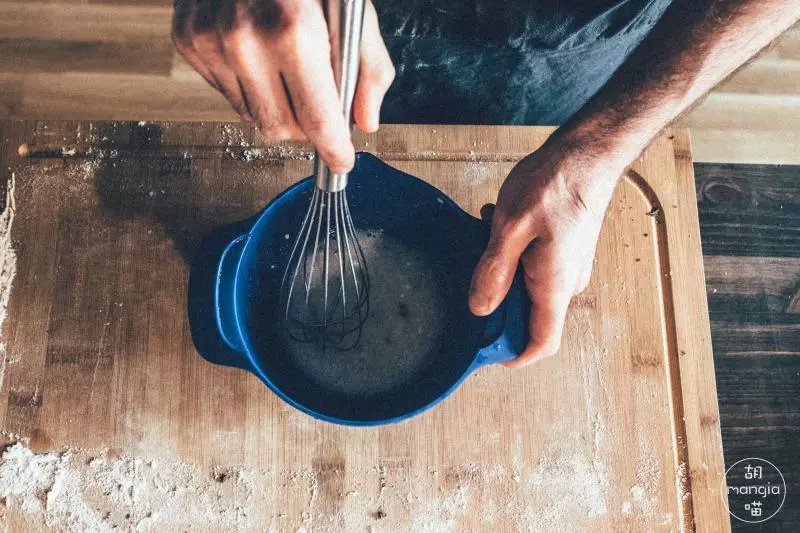
17在烘焙面包卷的时候,抓紧时间准备甜味涂层。香草籽刮出后,放入60g的糖粉中,然后倒入20ml牛奶搅拌均匀。
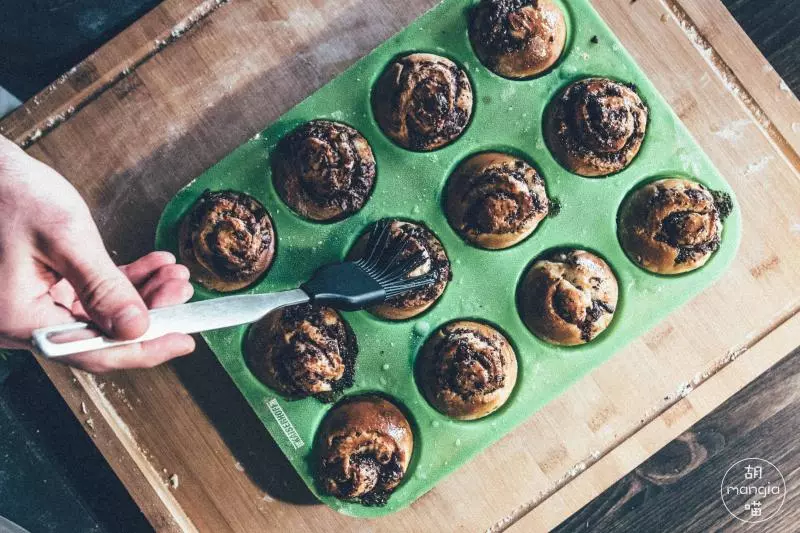
18从烤箱里拿出烘焙成金棕色的面包卷,趁热用刷子将制作好的甜味涂层涂到面包卷上。
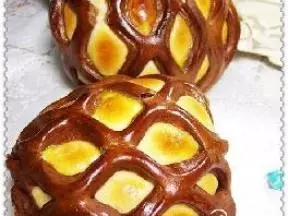
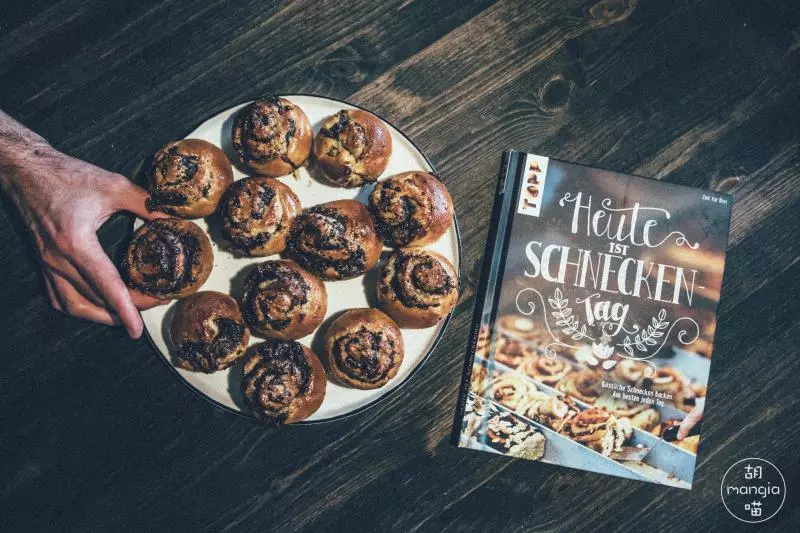
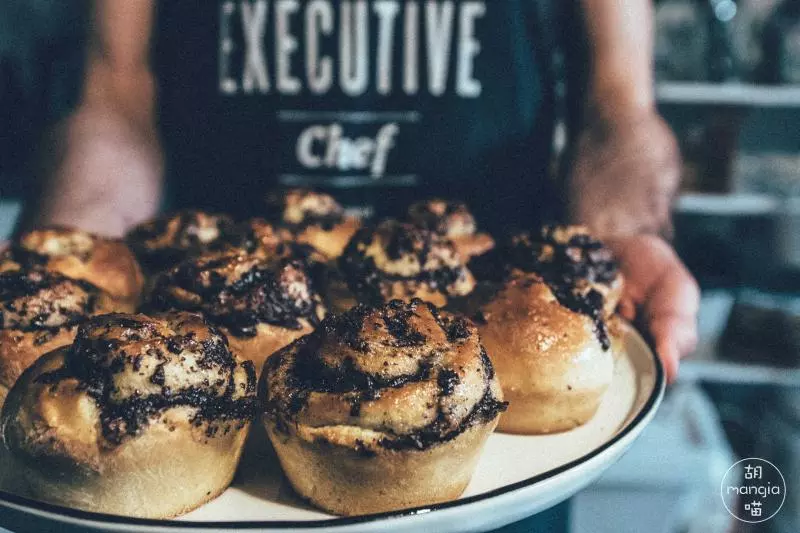
19香喷喷又甜味十足的巧克力面包卷就做好啦!大晚上的也没抵住诱惑,各吃了俩。剩下还能做第二天的美味早餐。
20假装自个儿是大厨的呆萌??胡子&梦想靠摄影吃遍全世界的??喵喵。长居欧洲的资深吃货,从路边摊吃到米其林。 公众号:胡喵mangia 微信号:HuMiaoMangia