原料
鸡胸肉: , 鸡腿肉: , 鸡肉干: , 鸡露: , 酱油: , 味淋: , 白砂糖: , 鸡蛋:
步骤
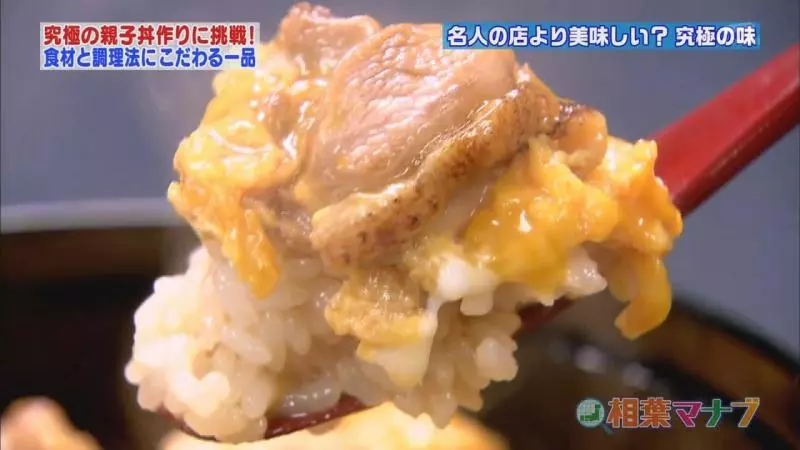
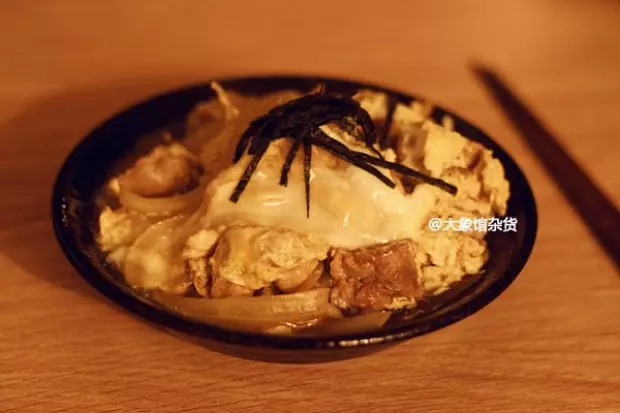
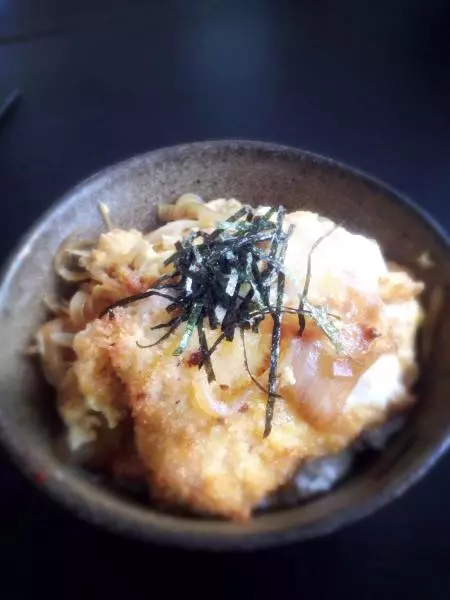
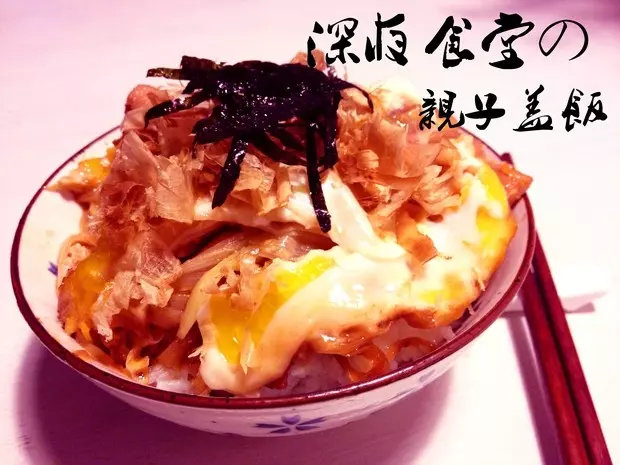
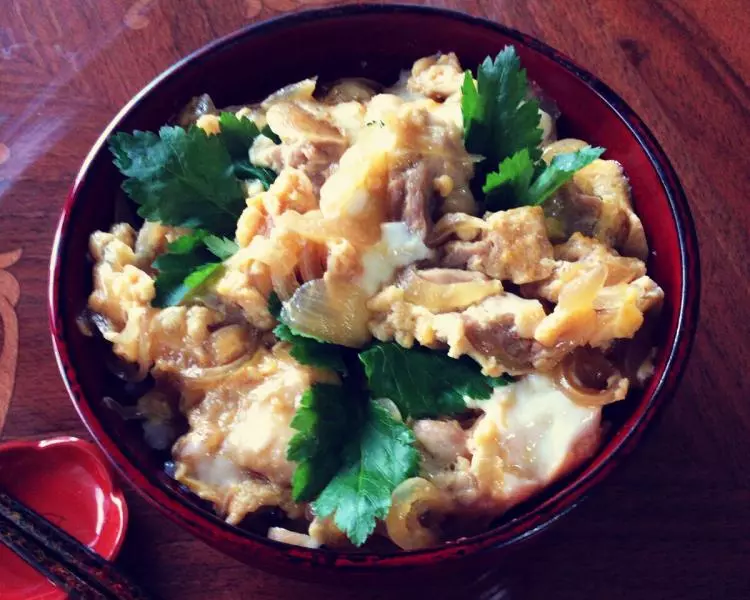
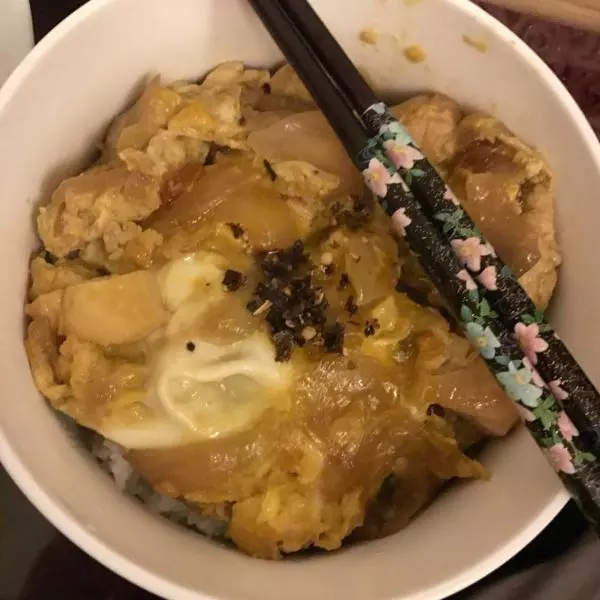
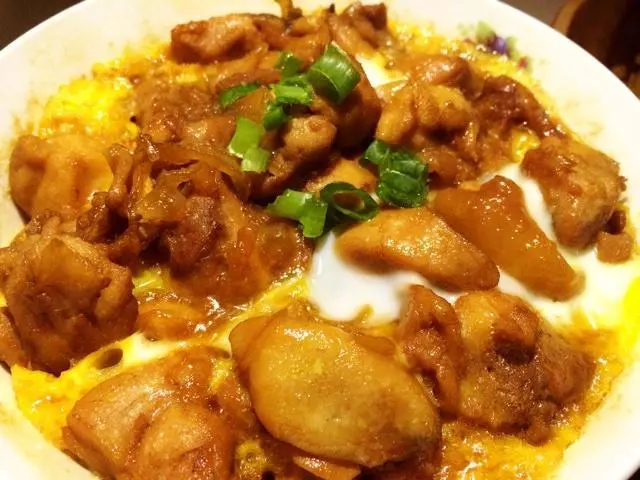
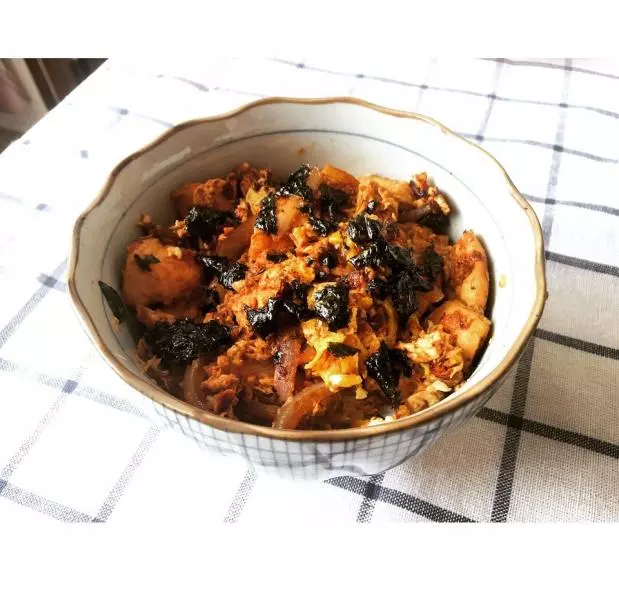
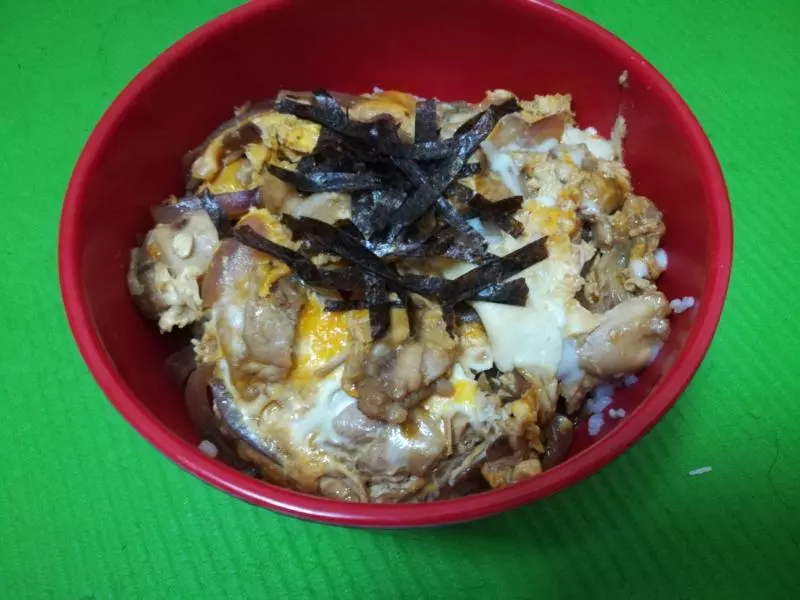
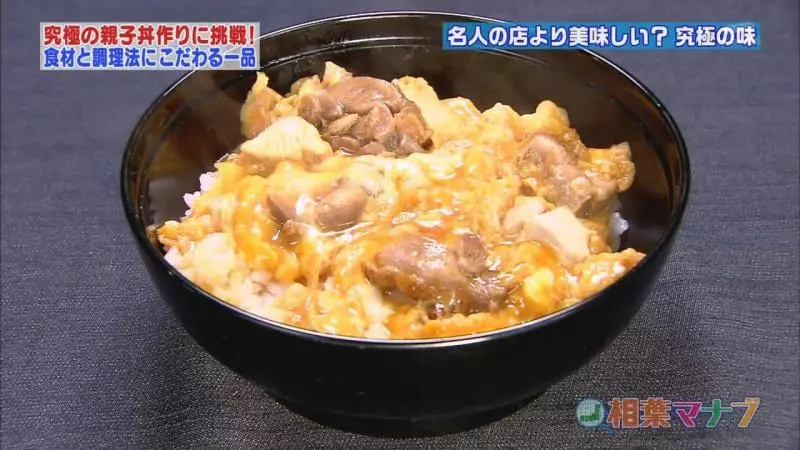
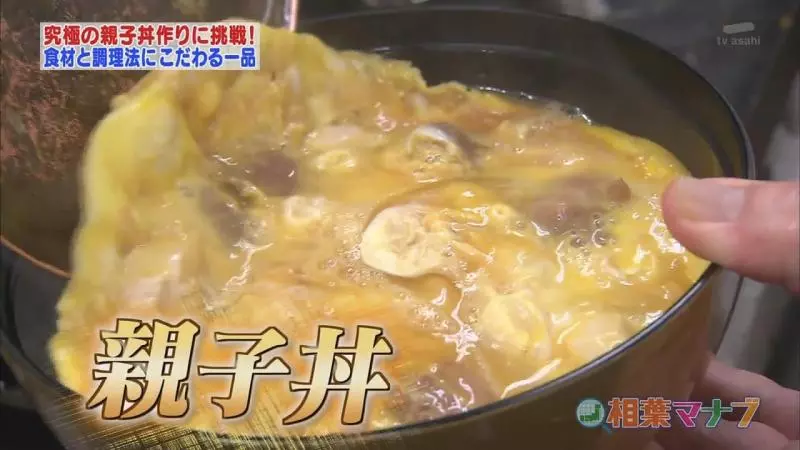
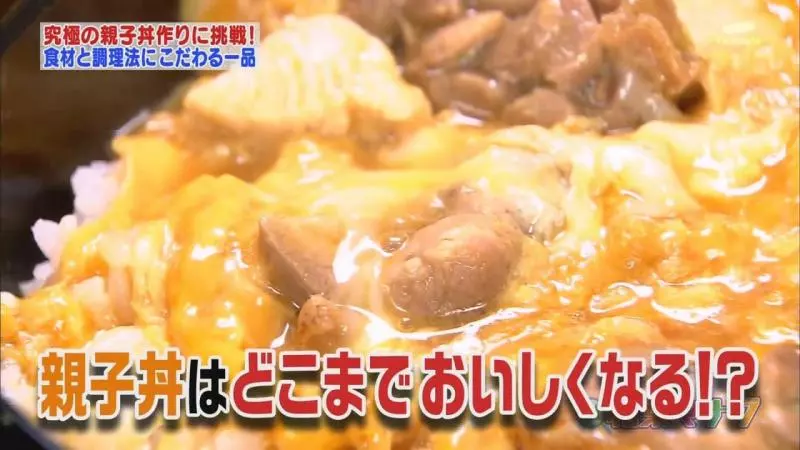
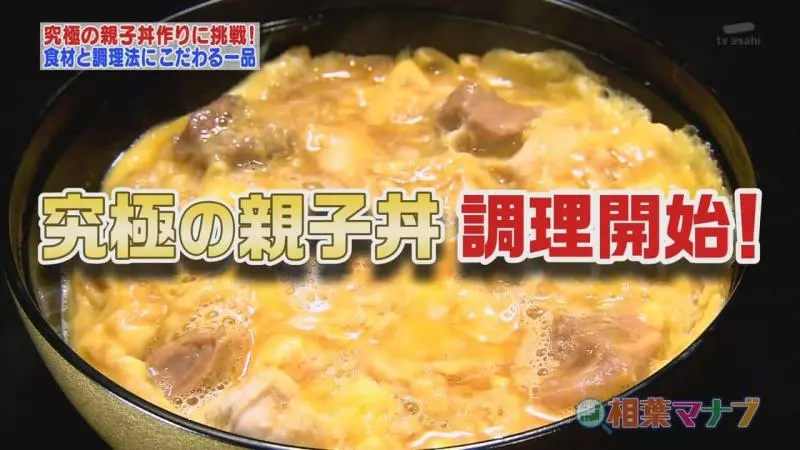
1亲子盖饭是将调味过的鸡肉,用甘辛口的酱汁炖煮,再用鸡蛋糊包裹,最后盖在热腾腾的米饭上的食物。
2如果选用了极品的鸡肉!
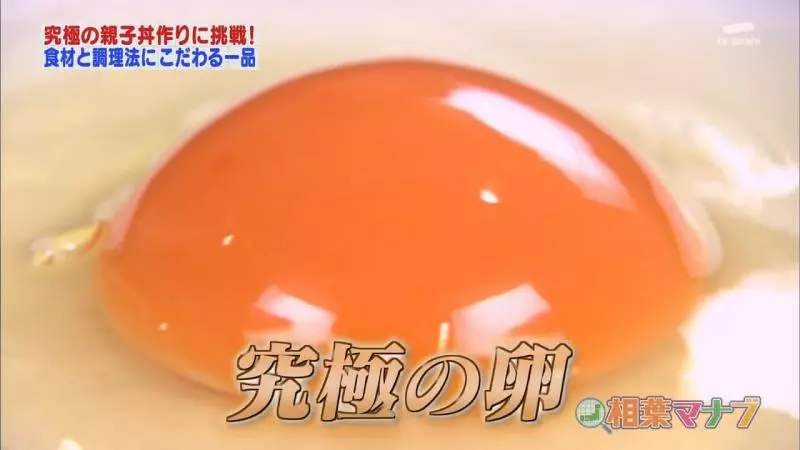
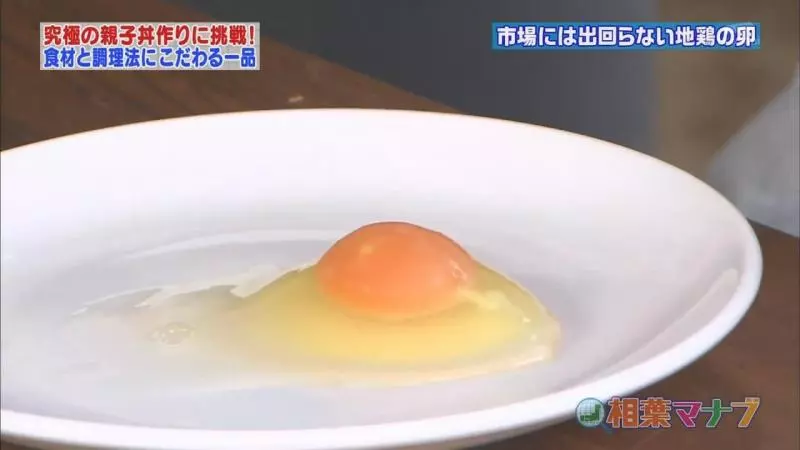
3极品的鸡蛋!
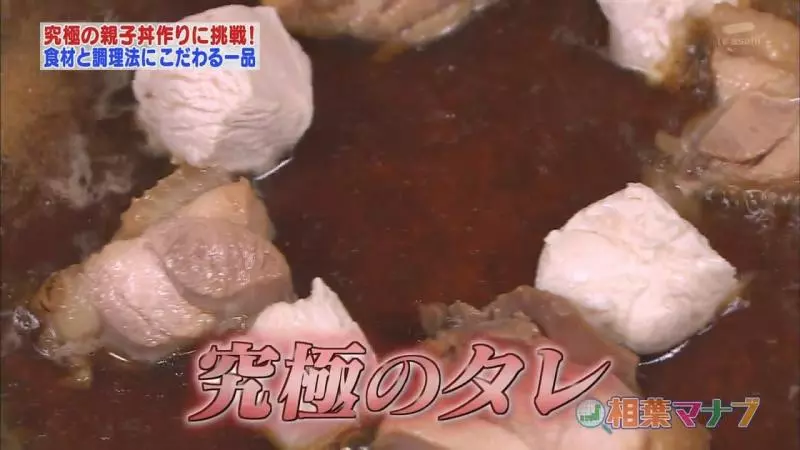
4再严格的做出极品的汤汁会怎样呢!
5除了食材,对时间的把握也很重要。
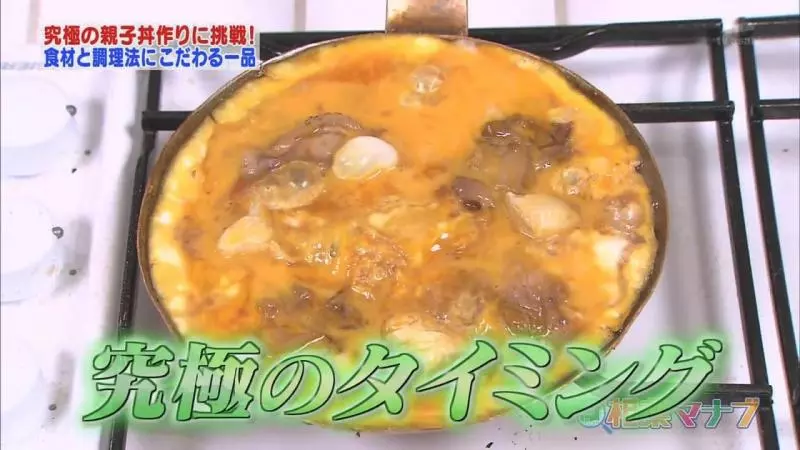
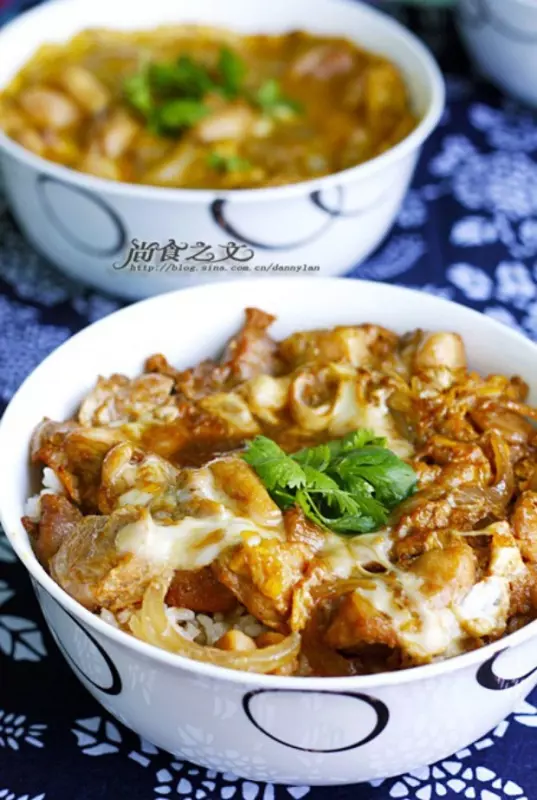
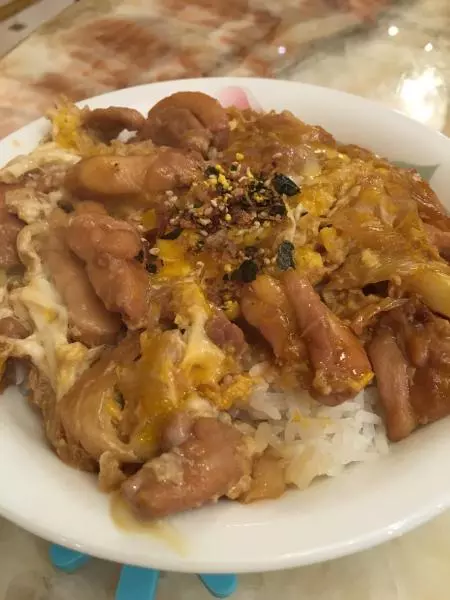
6日本盖浇饭的代表,亲子盖饭到底会有多好吃呢?
7拥有做极品亲子盖饭食材的琦玉县!养鸡场!
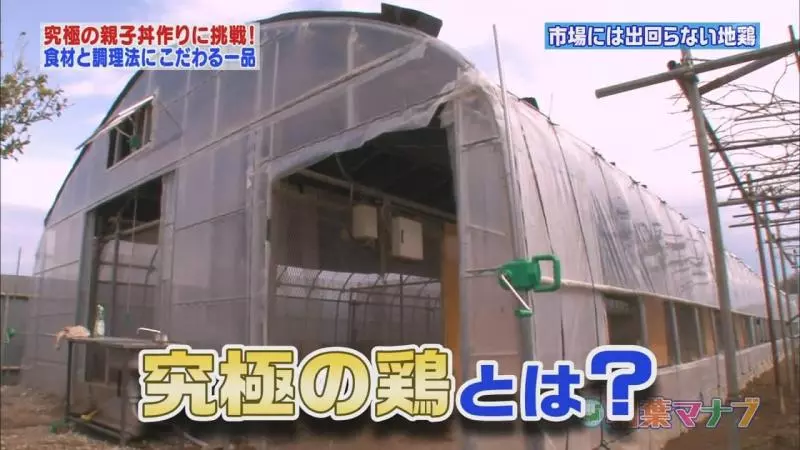
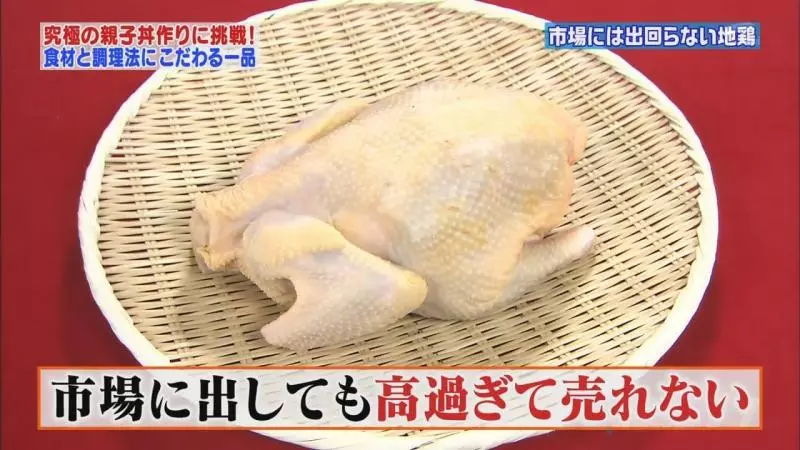
8研究鸡的过程在此不表!反正没什么用!反正就是这个鸡,因为太贵了所以市场上没有,通过订购才能得到。
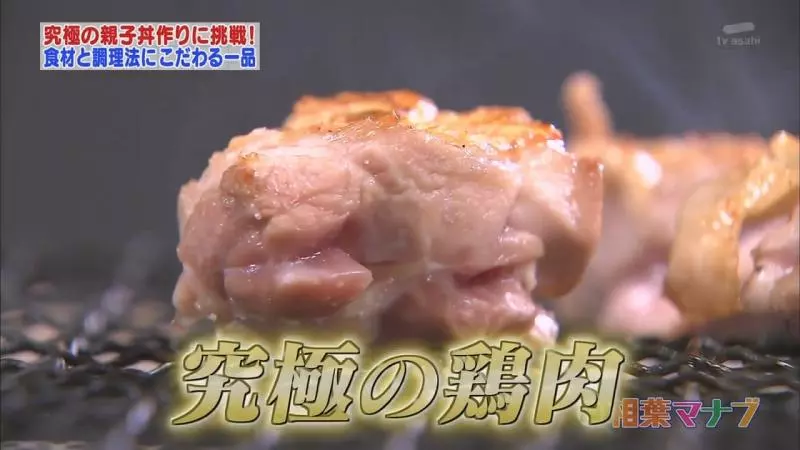
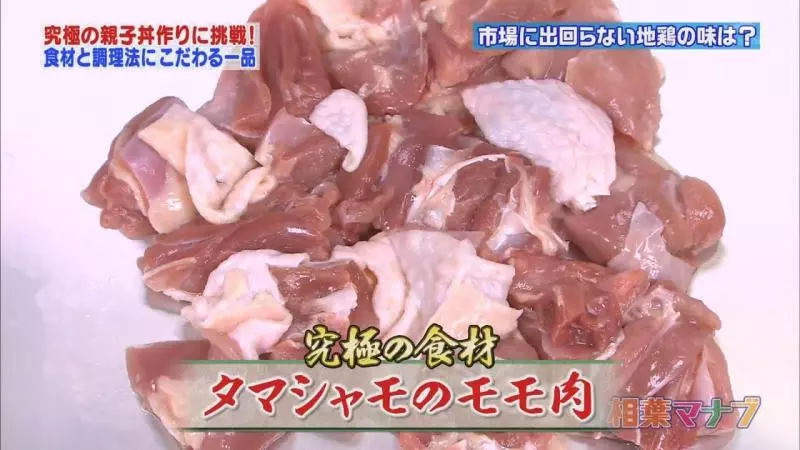
9就是它!最适合做亲子盖饭的是鸡腿肉!
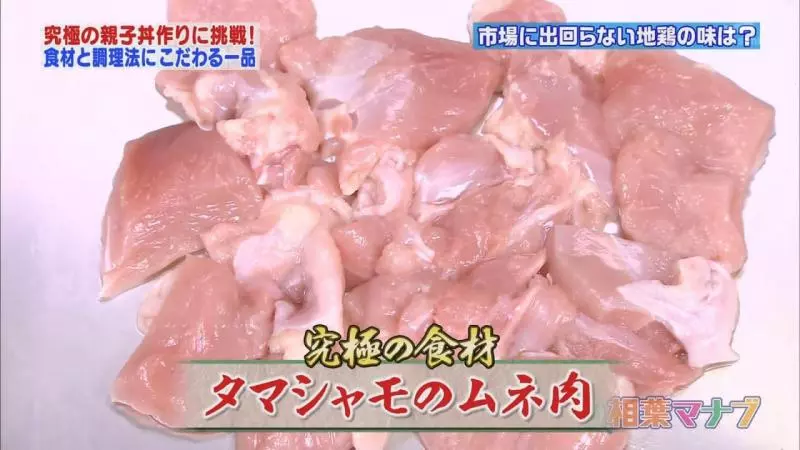
10和鸡胸肉!
11鸡腿肉!又弹又多汁!

12美味的鸡胸肉!
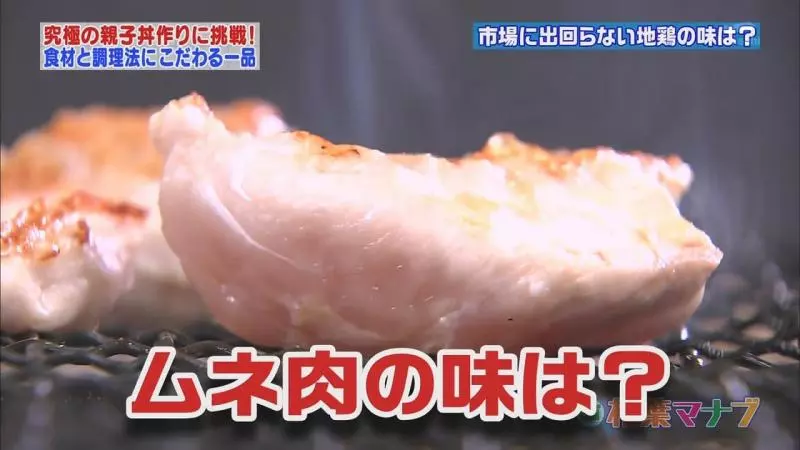
13皮很脆,更能感受到甜味。

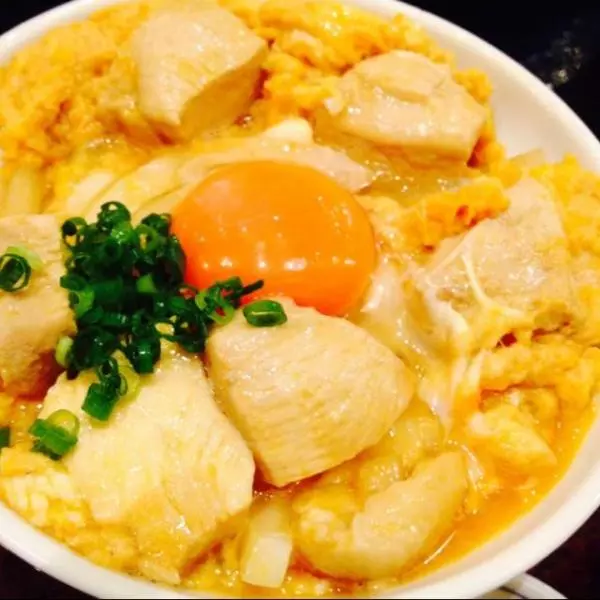
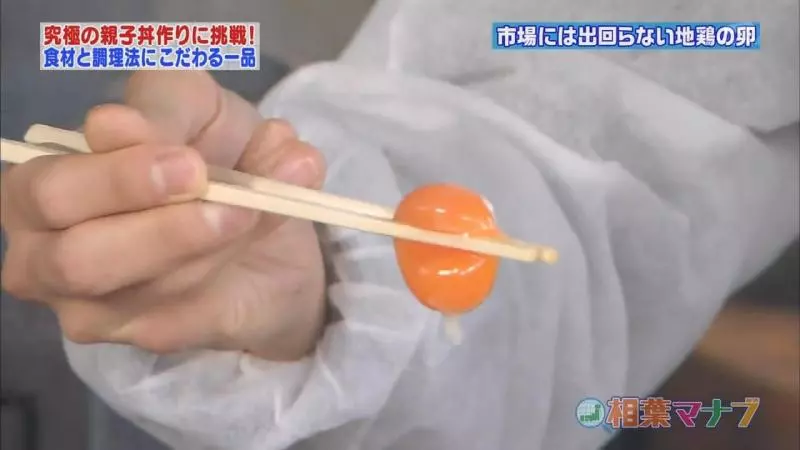
14然后就是琦玉县的鸡蛋,研究鸡蛋的过程也略过!总之就是这个很厉害的鸡蛋,很浓,可以整只夹起来,盖在饭上很好吃
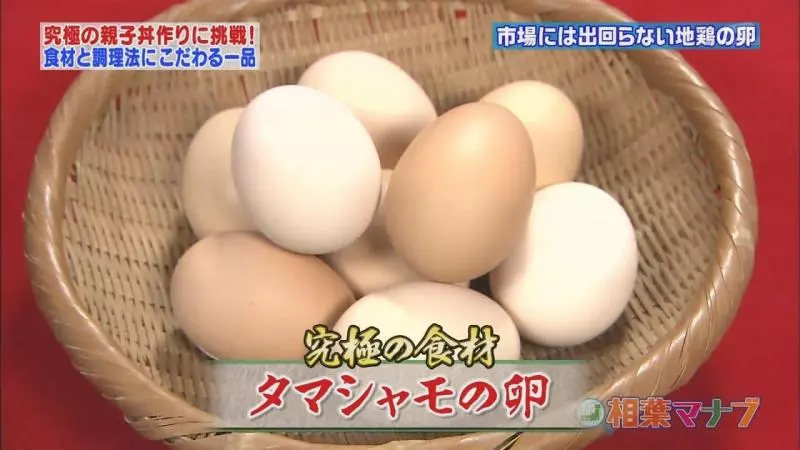
15这样的!
16很酷炫!
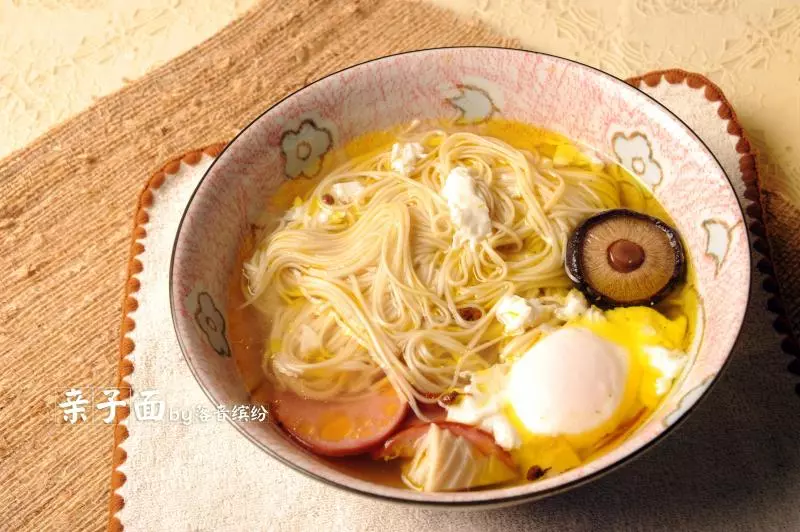
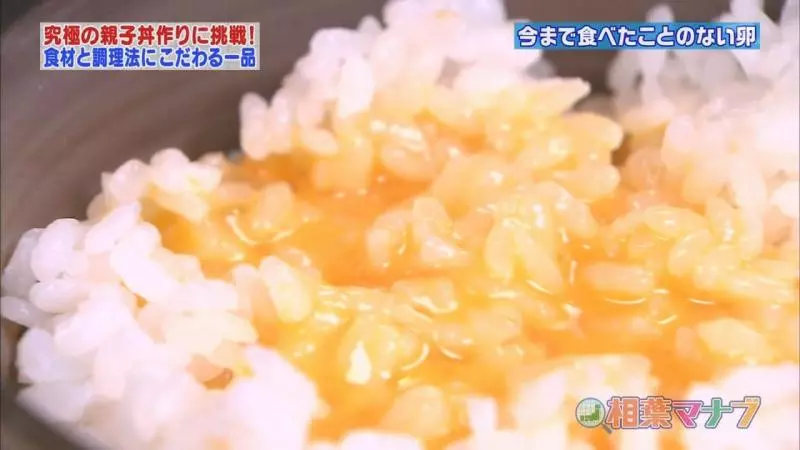
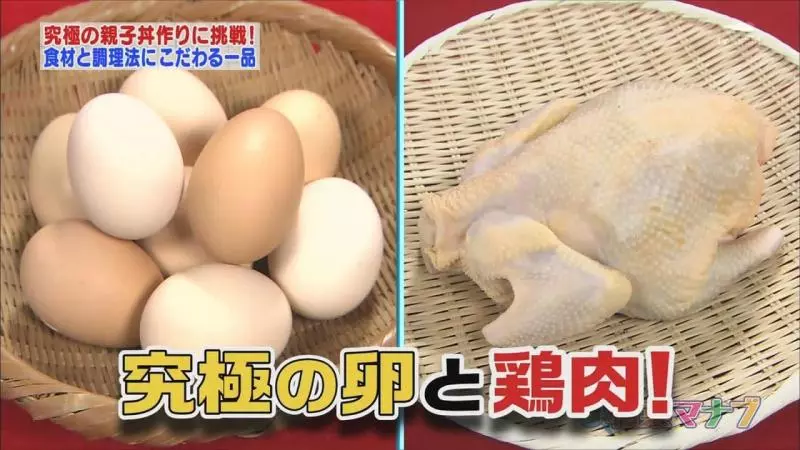
17用它做成的鸡蛋盖饭。
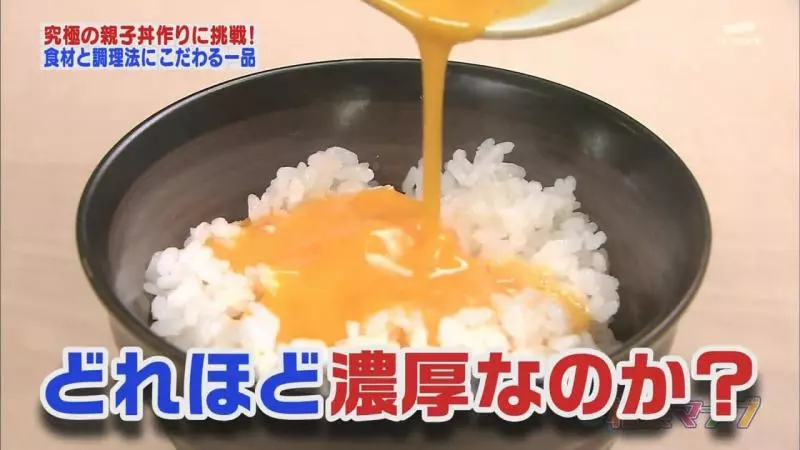
18据说很甜。
19就是它们了!极品的蛋和鸡!
20然后就是制作过程了!对酱汁也不能放松。
21总之是个很厉害的师傅!
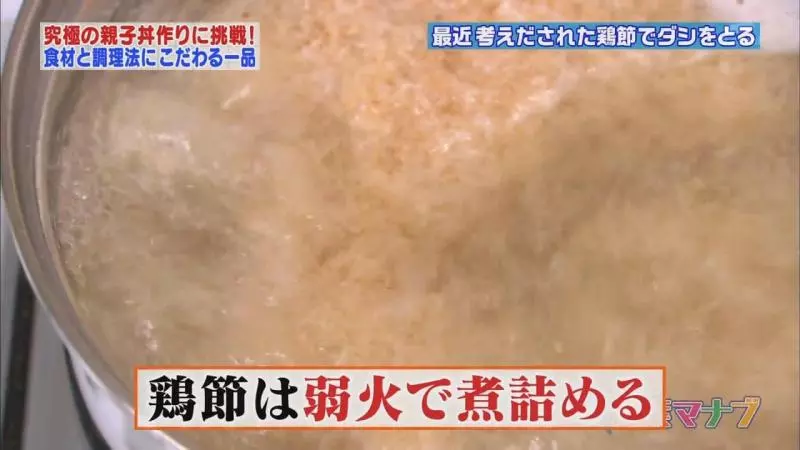
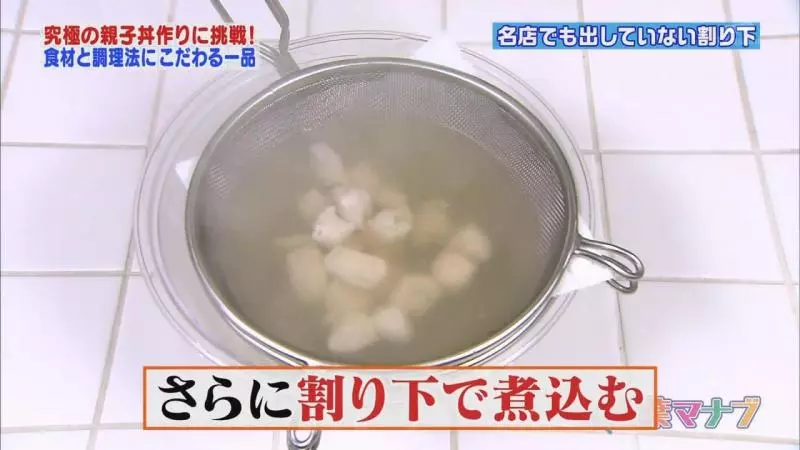
22制作酱汁的食材之一,鸡肉干,香味很强烈,适合做高汤,在水将开未开的时候加进去。
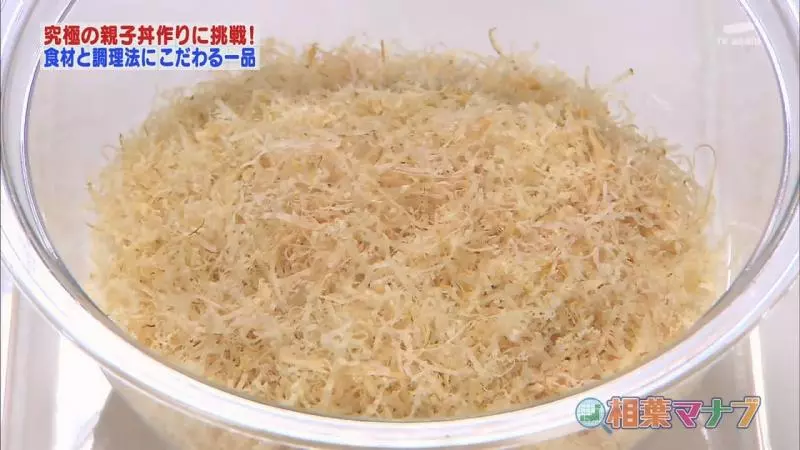
23鸡肉干小火煮3、4分钟就行了,过滤一下就得到了美味的清汤。
24鸡腿肉里脂肪比较多,要处理掉,因为鸡蛋混合了动物脂肪会变的不好吃。
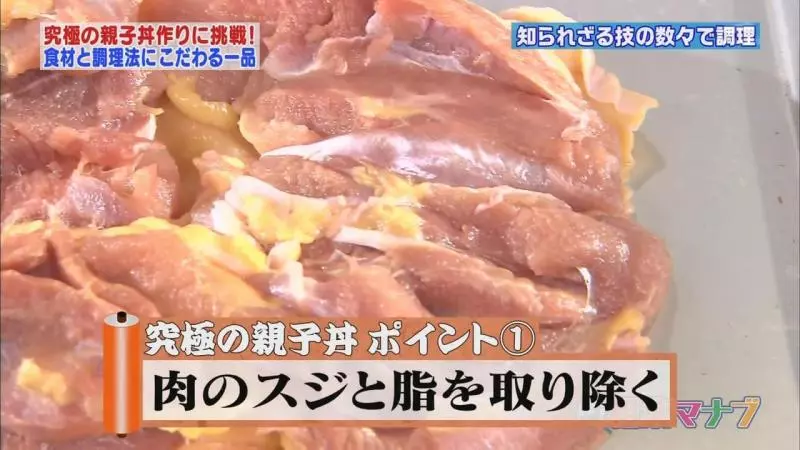
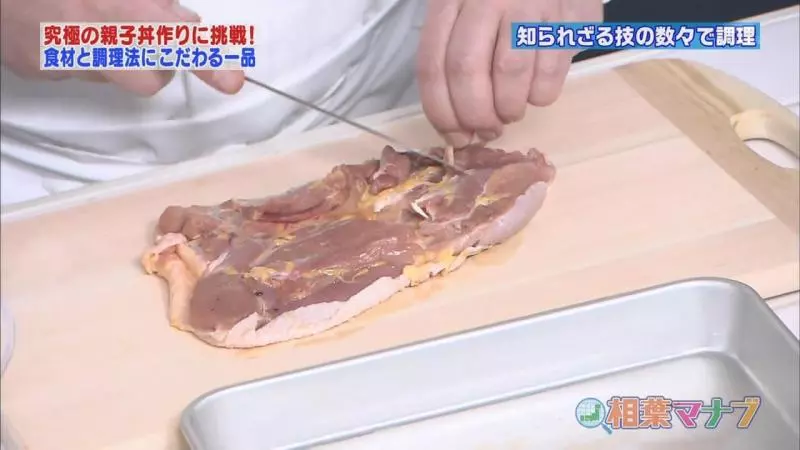
25首先把白色的筋和黄色的脂肪取下来,这样用刀切,感觉很简单回头我去截个GIF!
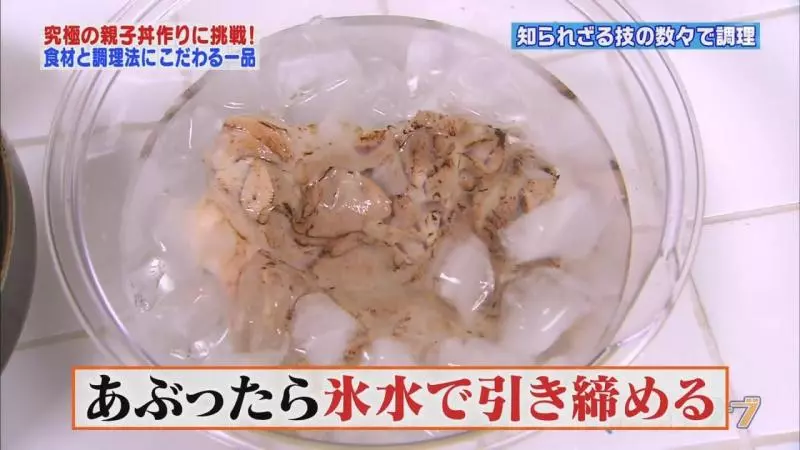
26然后去除皮,因为这次的鸡很好,所以就连皮吃,用喷枪处理一下。
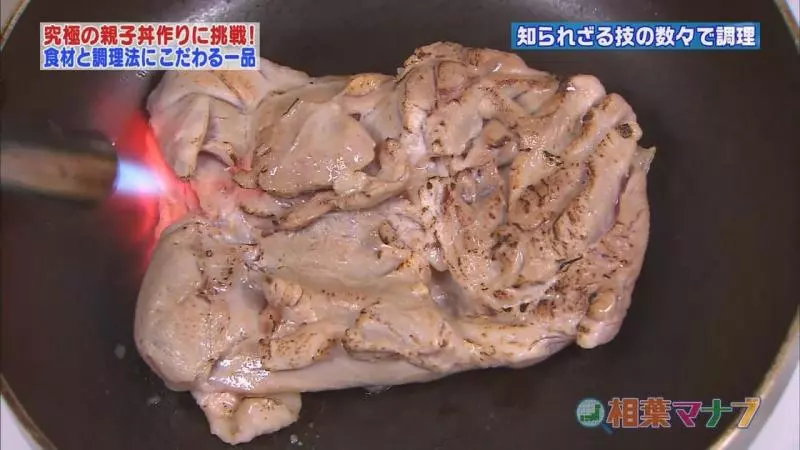
27有焦痕之后,放到冰水里。
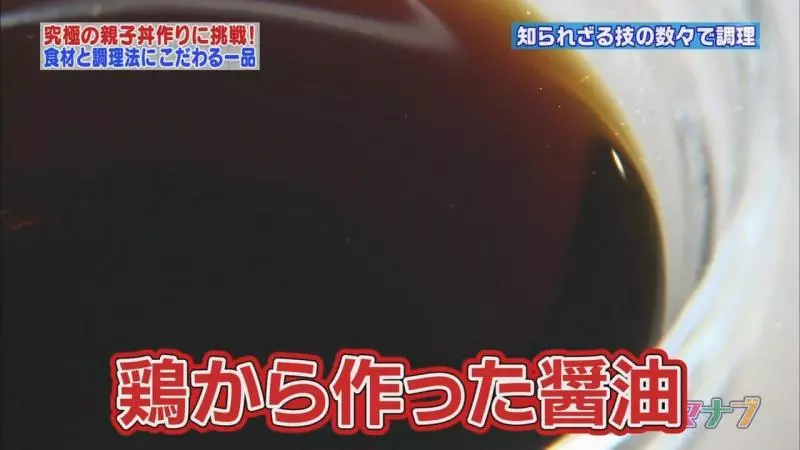
28这个是由鸡下水经过发酵,制成的超酷炫酱油。大家知道鱼露吧!这个就是鸡露!
29然后把它和刚才的高汤1:1混合。
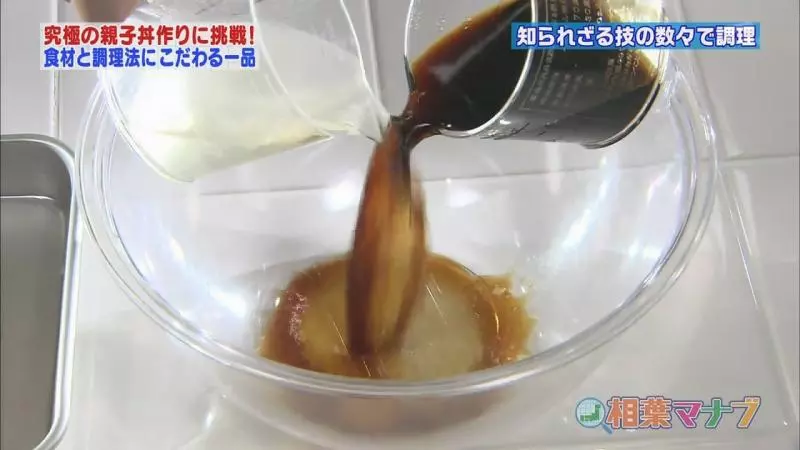
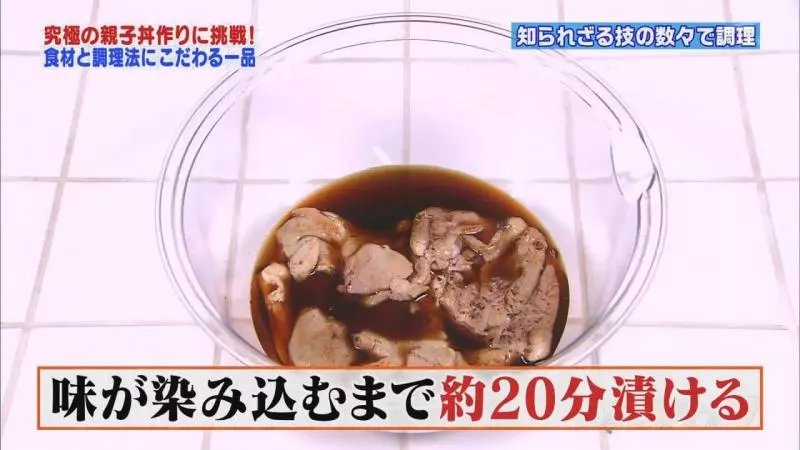
30再把鸡腿肉浸入其中,混合后腌制大约20分钟,鸡腿肉就入味了。
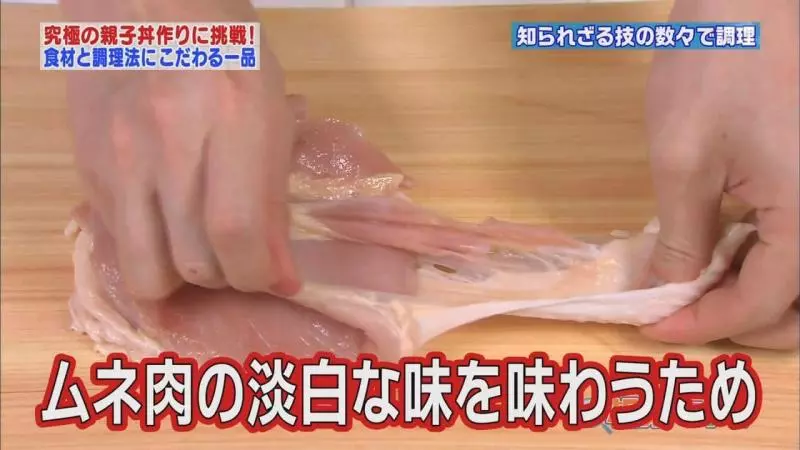
31然后处理鸡胸肉,首先要用手把鸡皮取下来,因为鸡胸肉味道清淡,留着鸡皮会抢味。
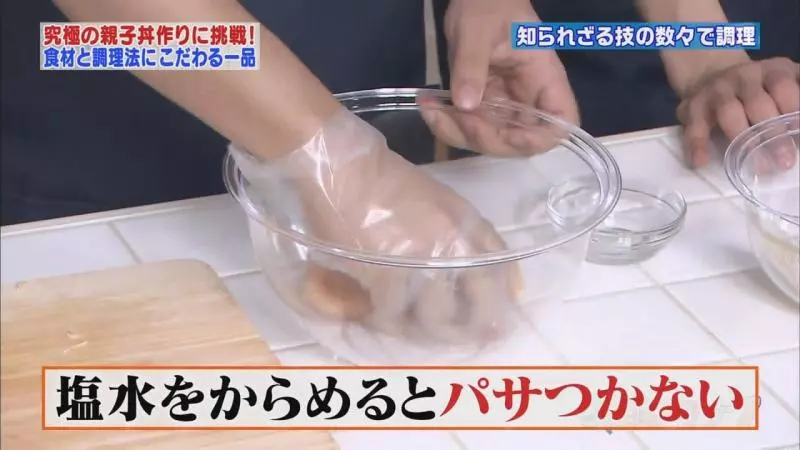
32鸡胸肉如果用火烤,会变的很干,用盐水抓一下就行了,这样防止鸡胸肉变干。
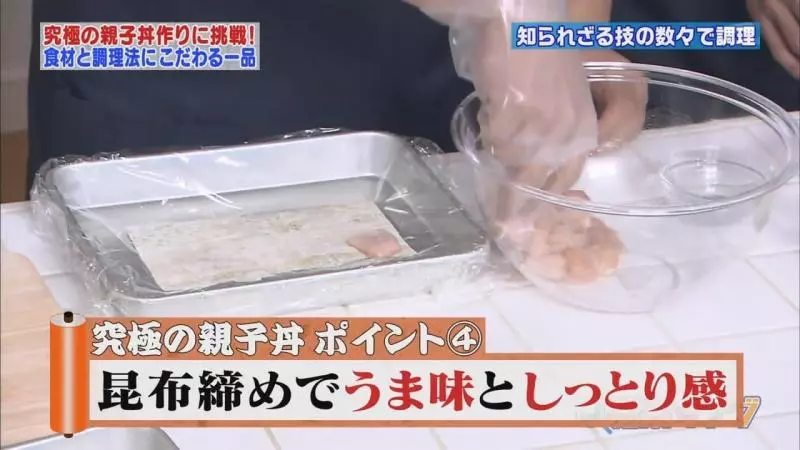
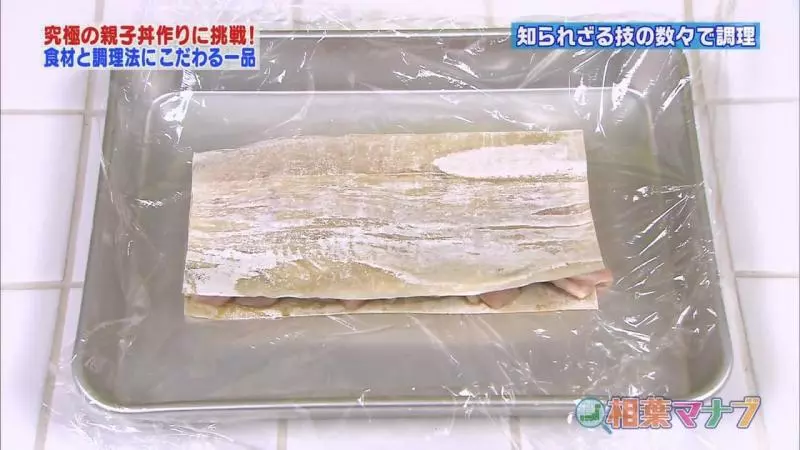
33然后是白板昆布,是昆布切薄之后做的,把鸡胸肉包在里面,这样昆布的香味就会进去,鸡肉也不会干。
34盖住,放冰箱里3分钟。
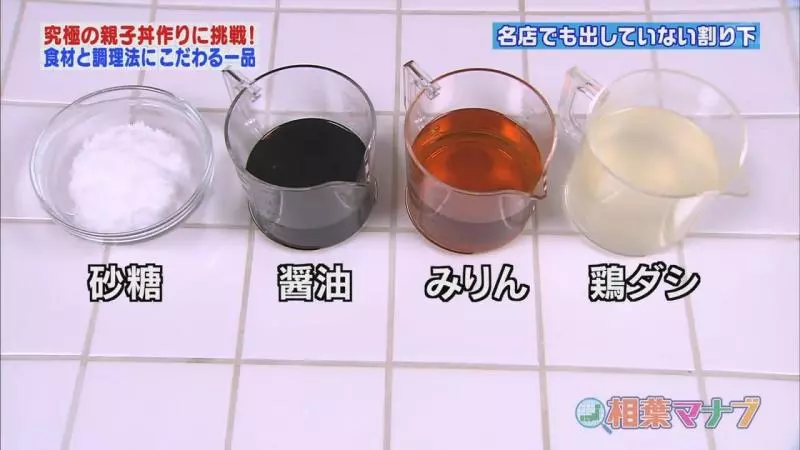
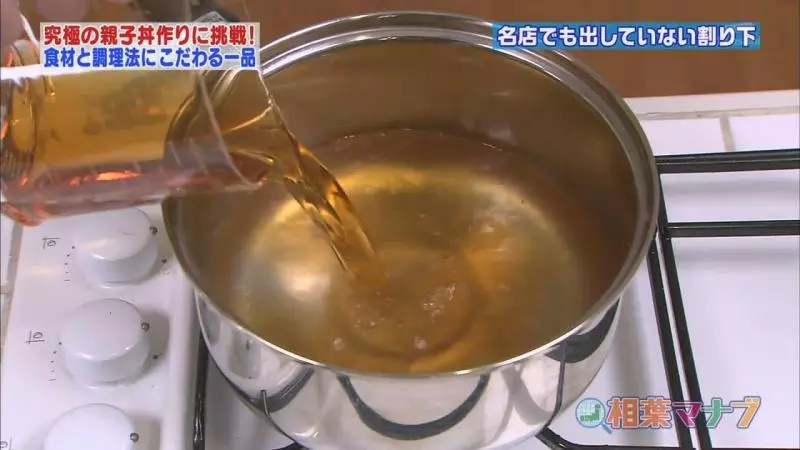
35然后做酱汁,这些材料:酱油、味淋、白砂糖、鸡汤。
36把它们放在锅里煮开。
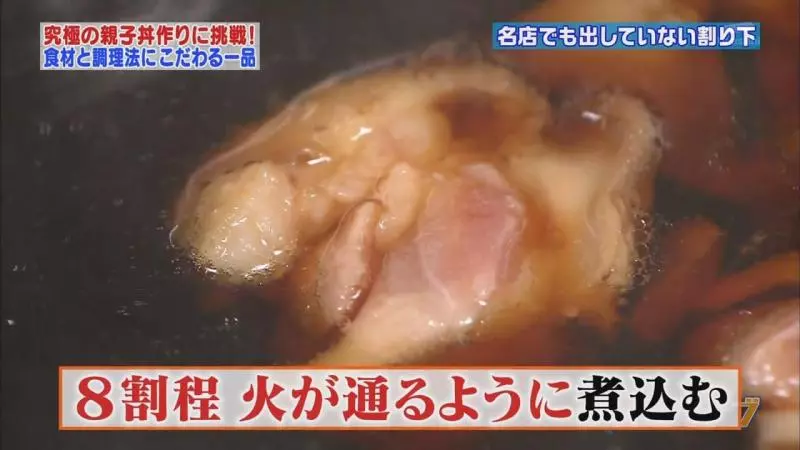
37首先,为了让鸡腿肉不发硬,在过程中要看着点颜色,煮到八分熟就行了。
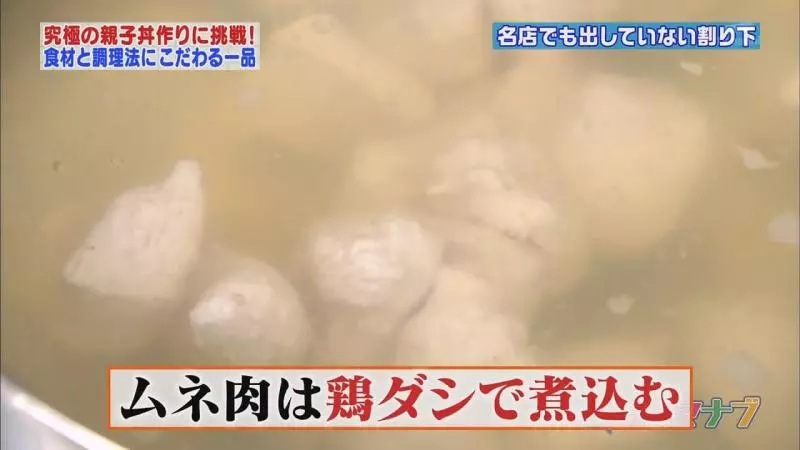
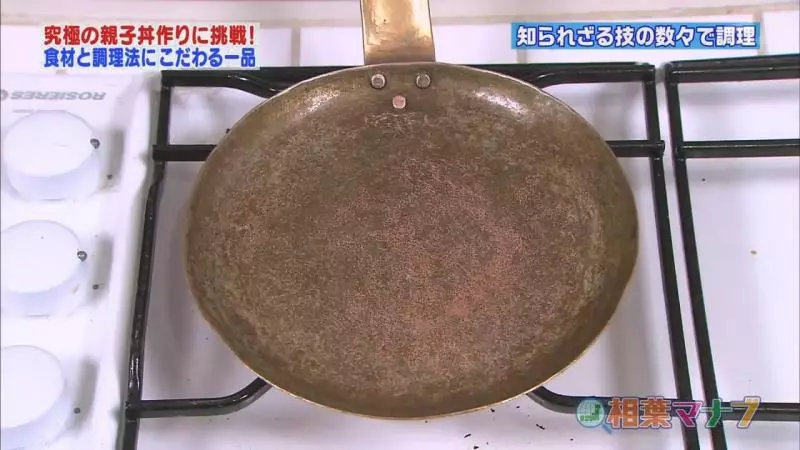
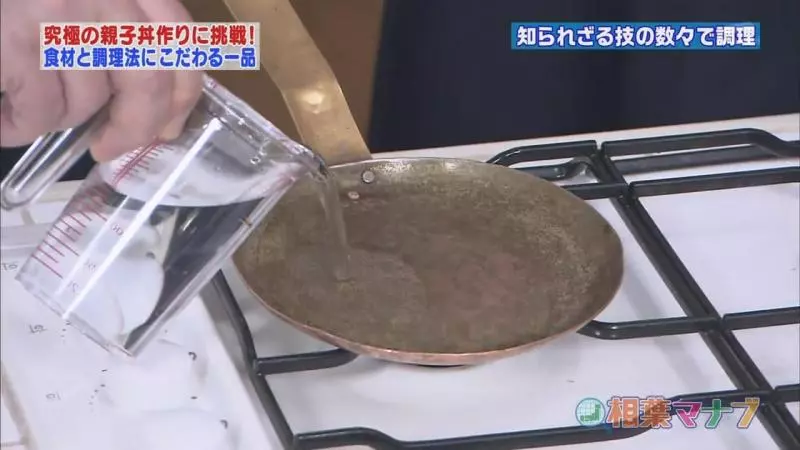
38鸡胸肉放在鸡汤里煮。
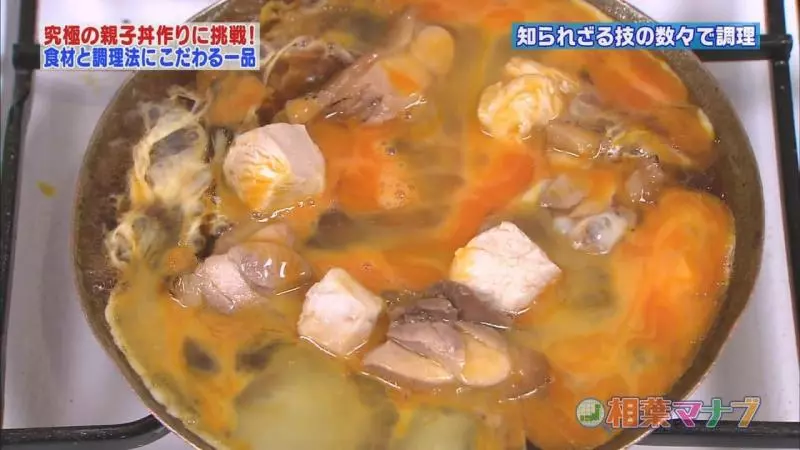
39取出来的样子,然后把它们放在有鸡腿肉的酱汁里。
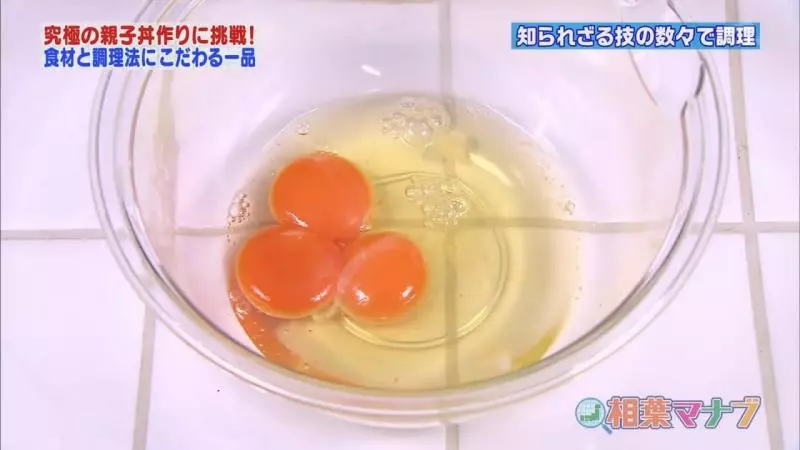
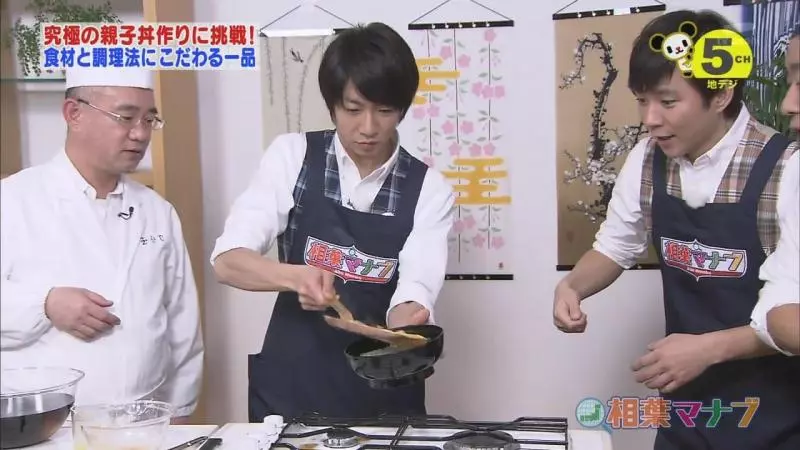
40提前预热锅子,这样鸡蛋不会粘锅。
41防止锅子烧焦,加入水预热。
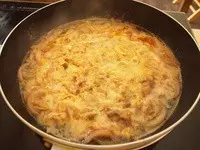
42加热过程中搅拌鸡蛋,蛋黄和蛋白的凝固时间是不同的,所以要分开搅拌。

43先搅拌蛋白,再加入蛋黄搅拌。
44然后这样加入锅子里,不要一次加完。
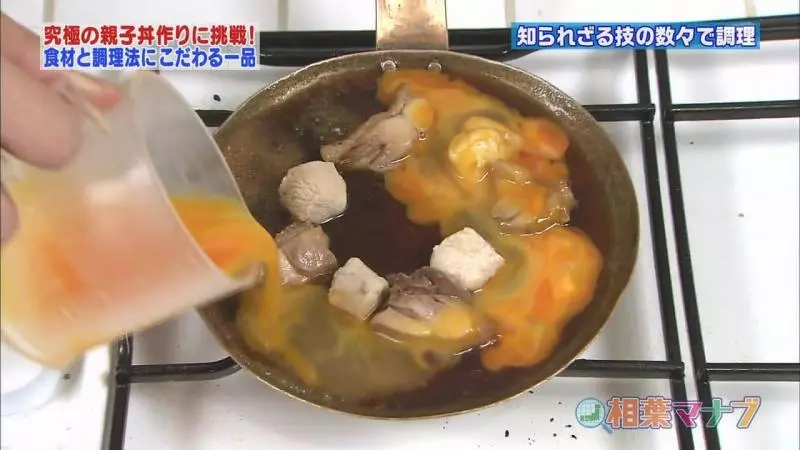
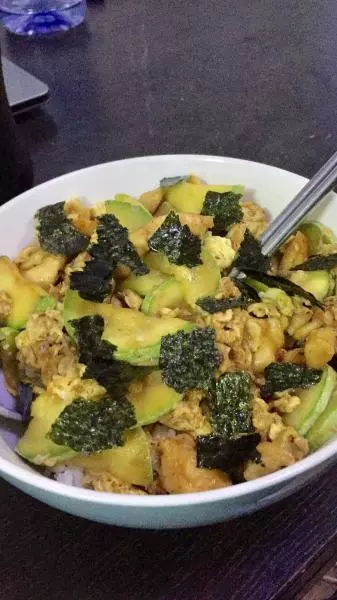
45可以准备放在米饭上啦!
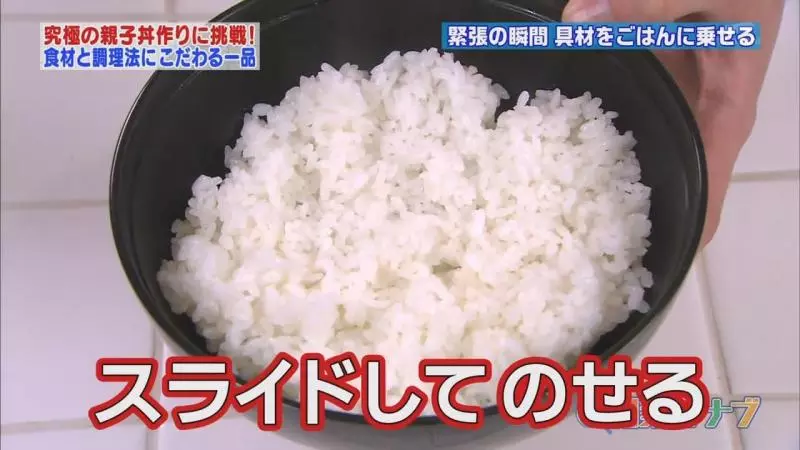
46香喷喷的大米饭!
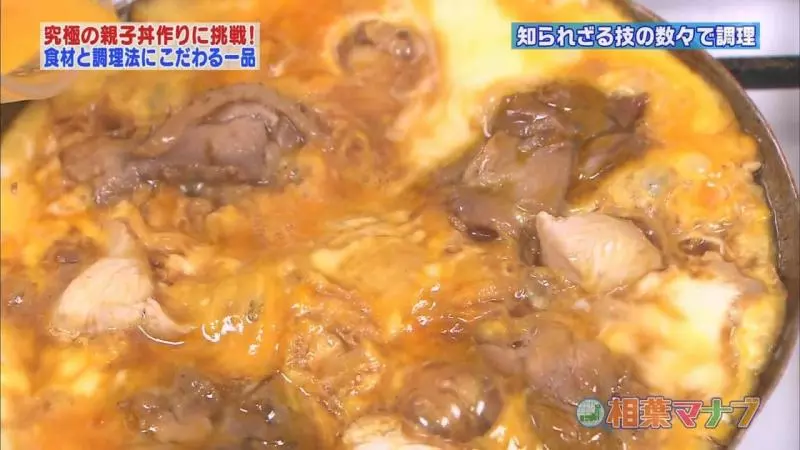
47到了这个程度之后,可以加剩下的鸡蛋。
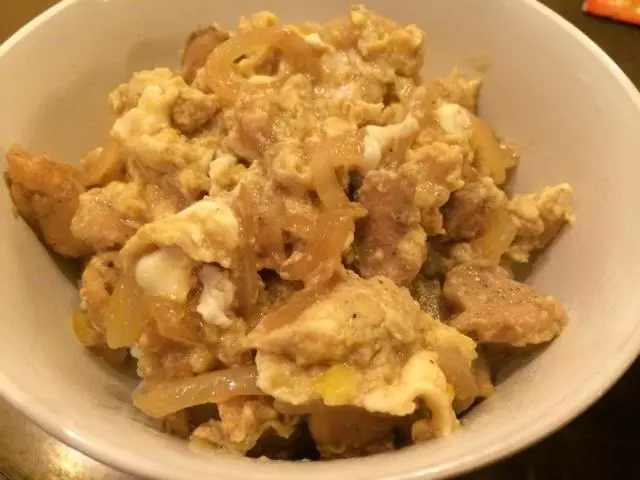
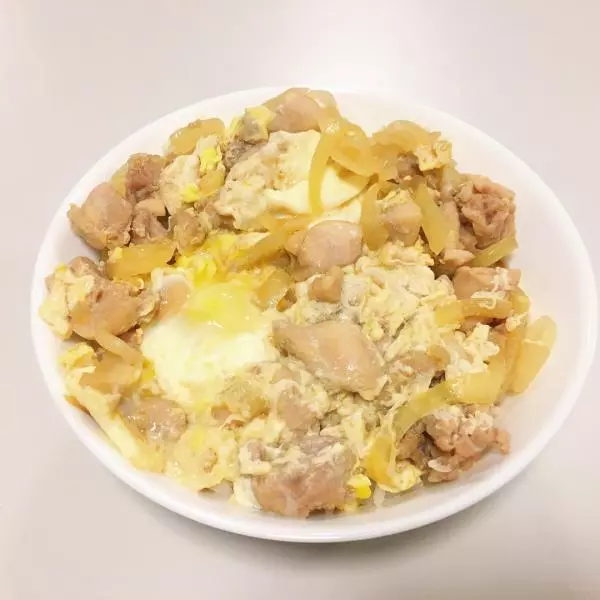
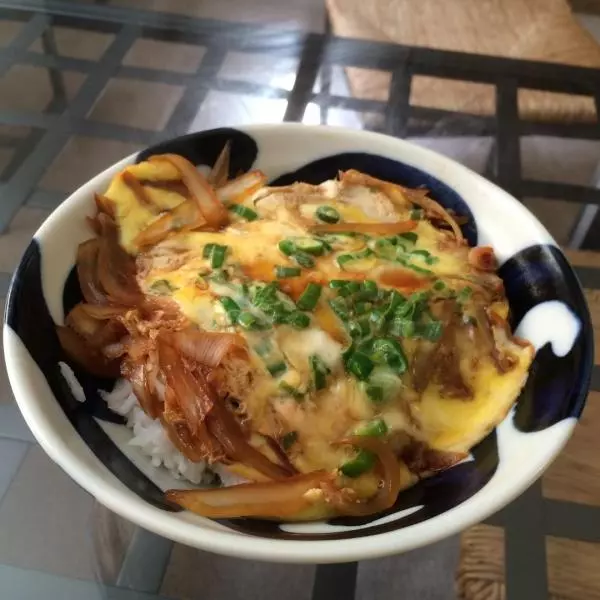
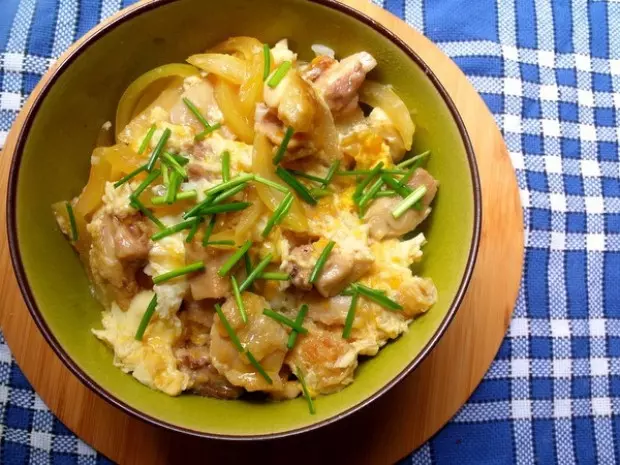
48然后用滑动的方式盖在米饭上。
49然后盖上盖子,焖1分钟。
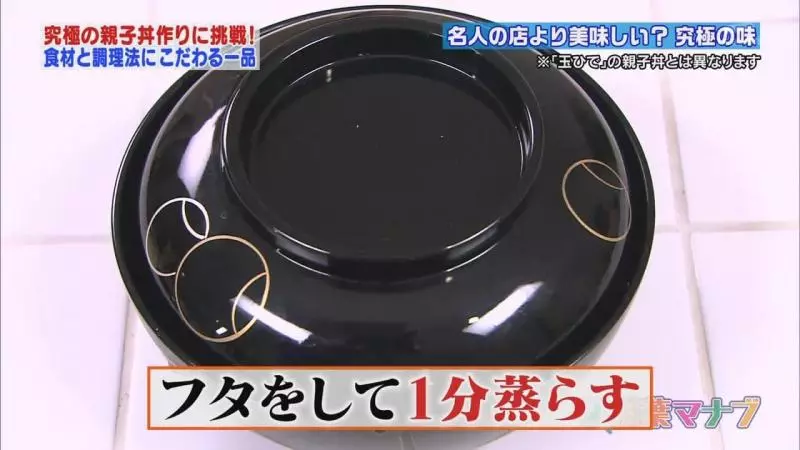
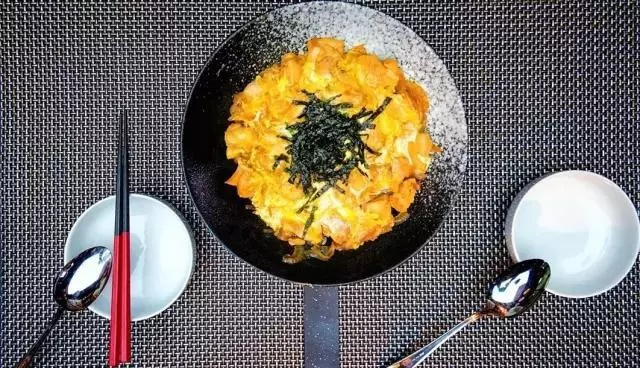
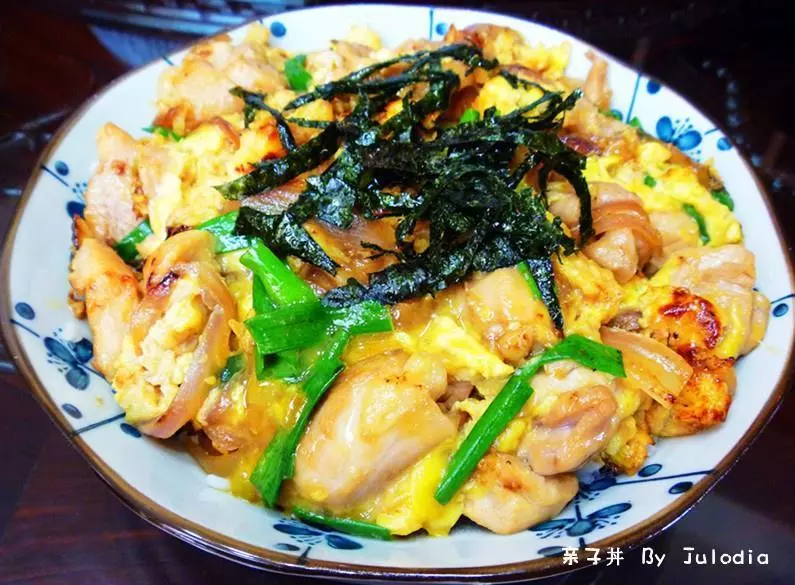
50完美!亮闪闪的!

51细节!