原料
鸡蛋: 2只(一只大概60~65g左右), 细砂糖: 15g(蛋黄)35g(蛋白), 酸奶: 20g, 橄榄油(色拉油): 20g, 低筋面粉: 35g, 柠檬汁(米醋): 数滴
步骤
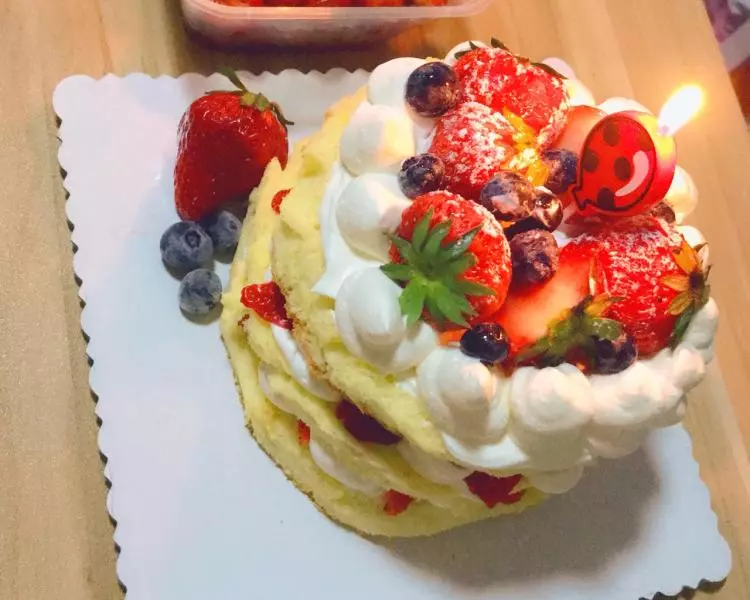
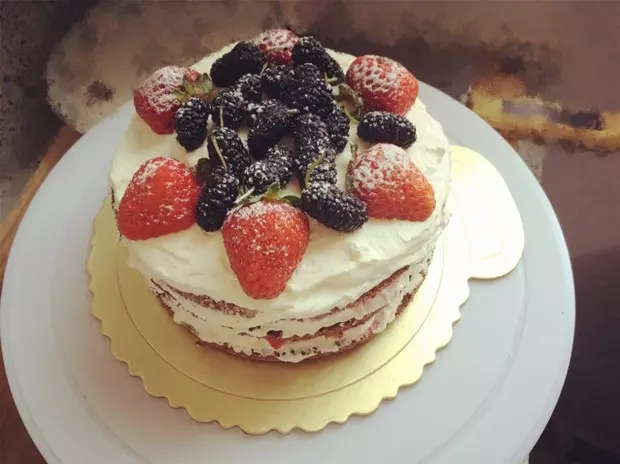
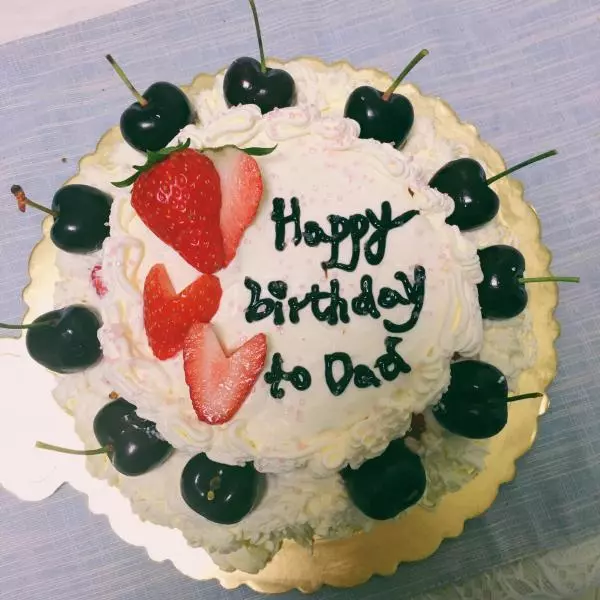
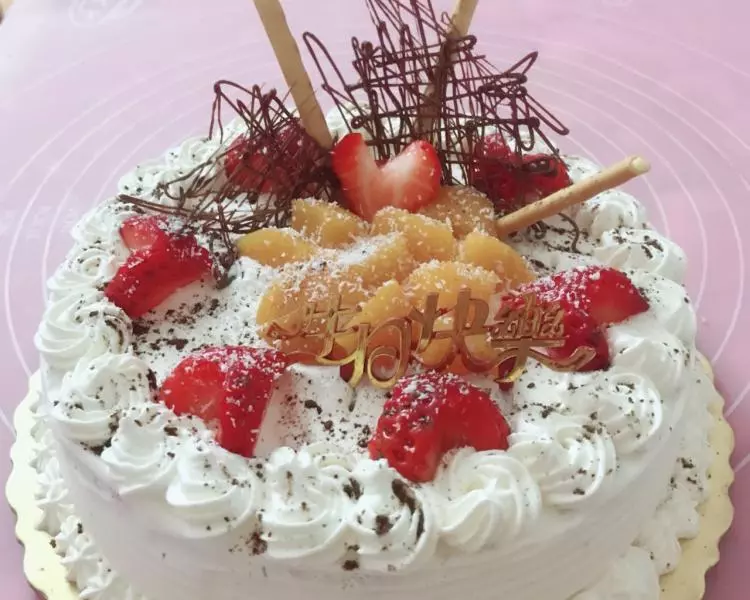
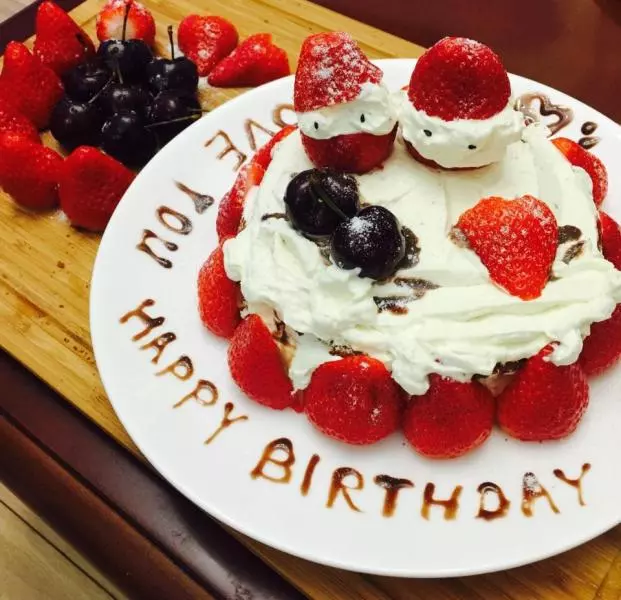
1满满的幸福 满满的爱
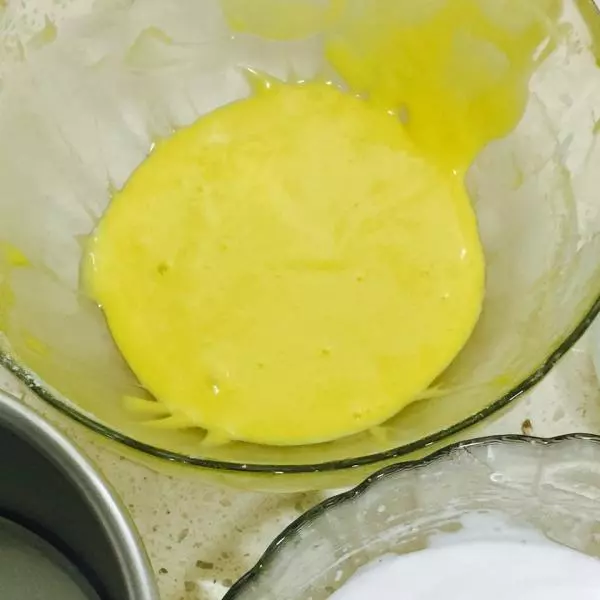
2制作蛋黄糊: 蛋黄、蛋白分离备用,打蛋碗必须无油无水。把15g细砂糖加入蛋黄划Z字形搅拌至融化,再加入酸奶和油继续搅拌,低粉过筛后继搅拌至无面粉颗粒为止。
3制作蛋白霜: 把35g细砂糖分三次加入蛋白中,滴几滴柠檬汁或米醋继续打发,蛋白打发至搅拌器可以直立有尖角为止。

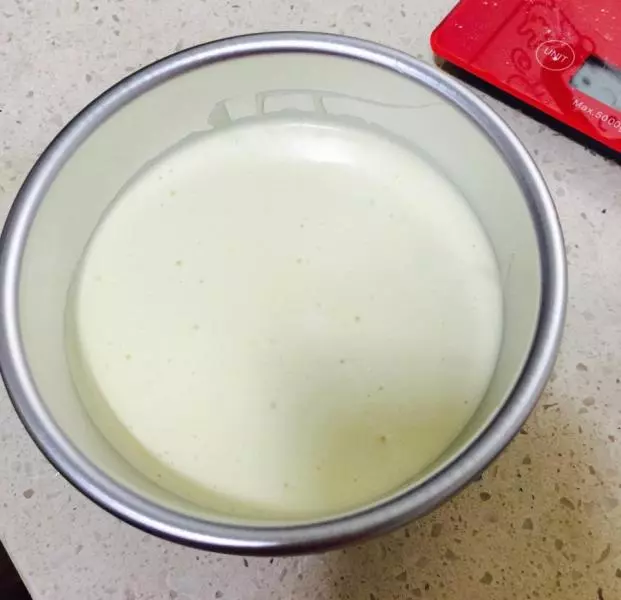
4混合蛋黄糊和蛋白霜: 倒三分之一的蛋白霜到蛋黄糊中拌匀,然后把所有蛋黄糊再倒入蛋白霜中搅拌至均匀,最后倒入模具(6寸活底模)用刮刀抹平,在桌上震动几下排出空气。
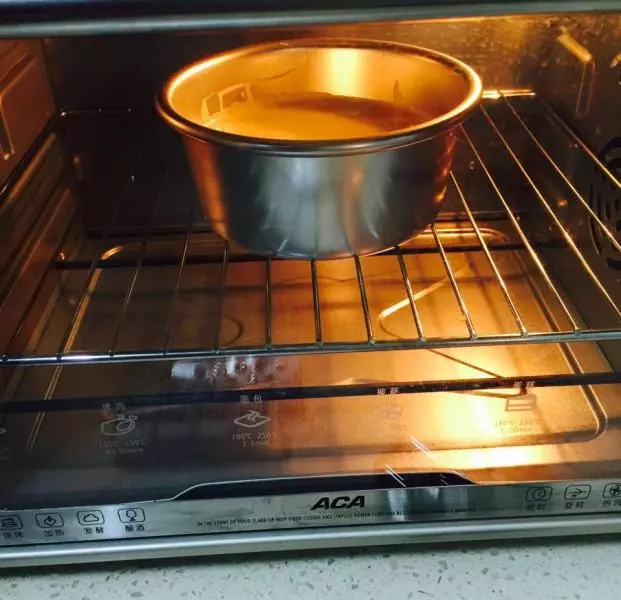
5烤箱预热至180°C 把震好蛋糕糊放入烤箱,上下火150°C,40~50分钟左右。最后十分钟自己观察一下火候。
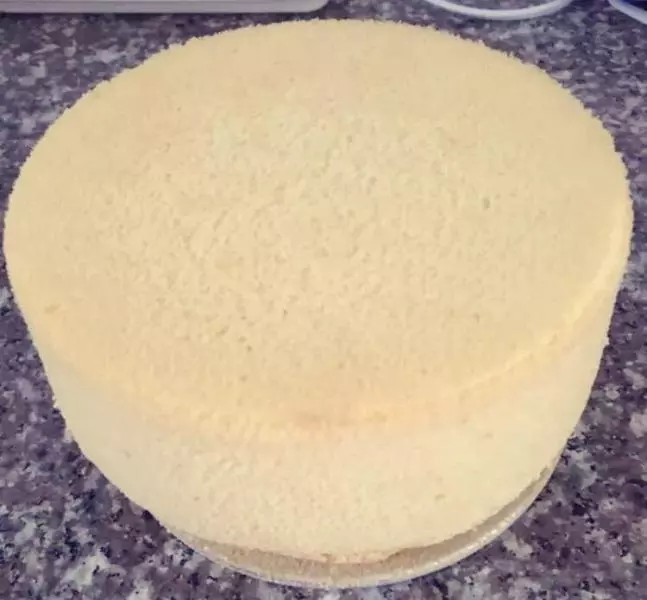
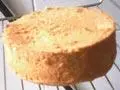
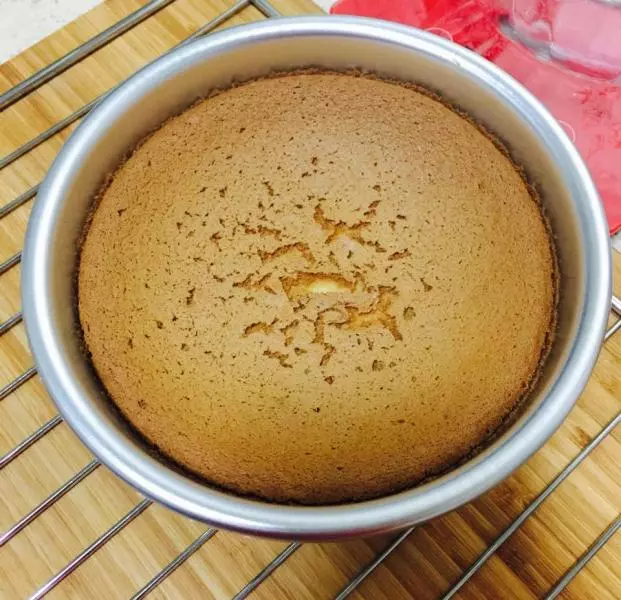
6出炉的蛋糕立即从20~30cm高处摔几下,好脱模,是底朝下喔!
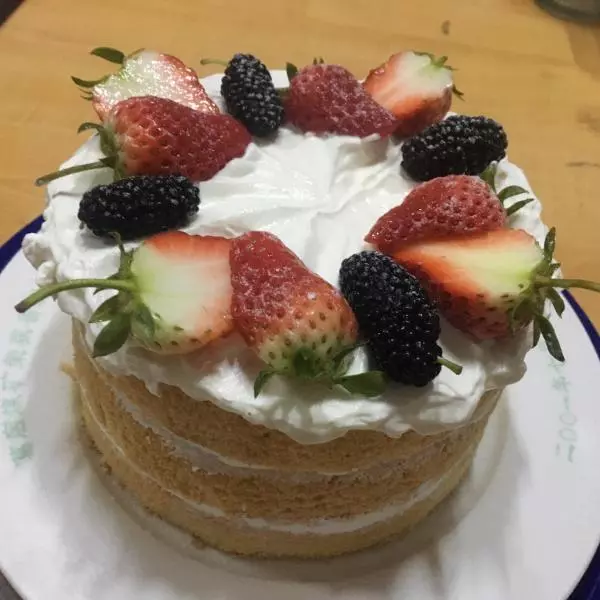
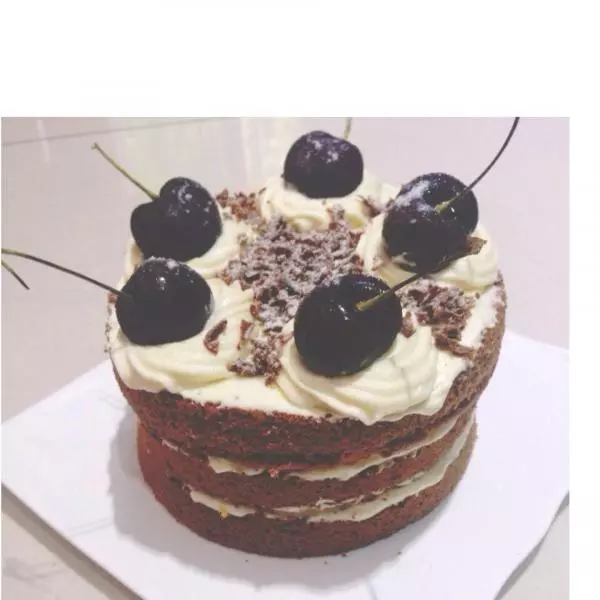
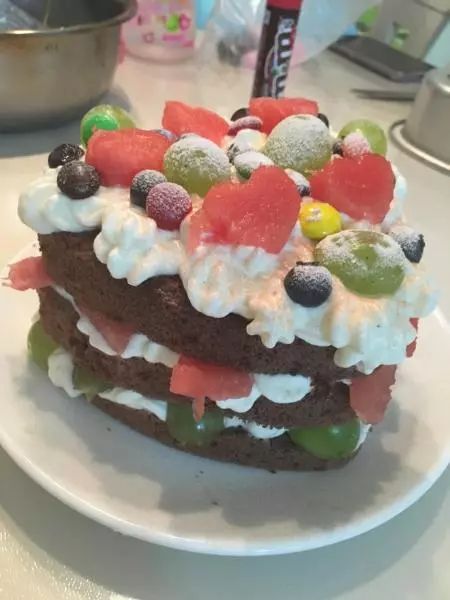
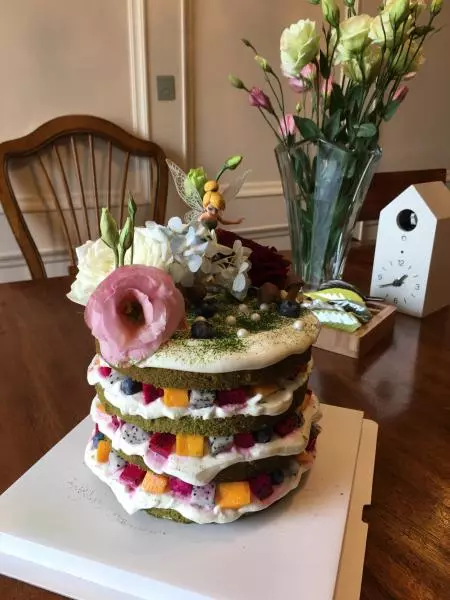
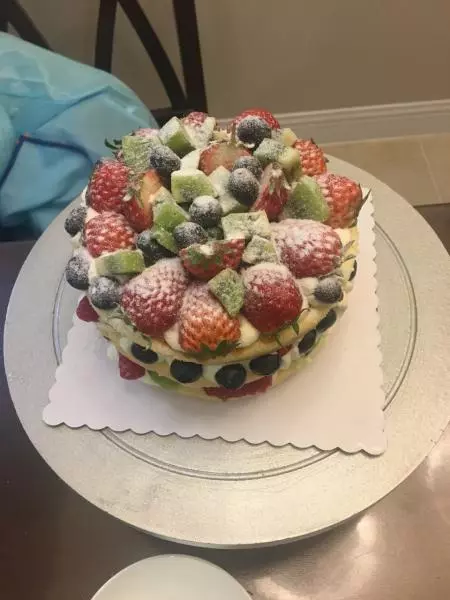
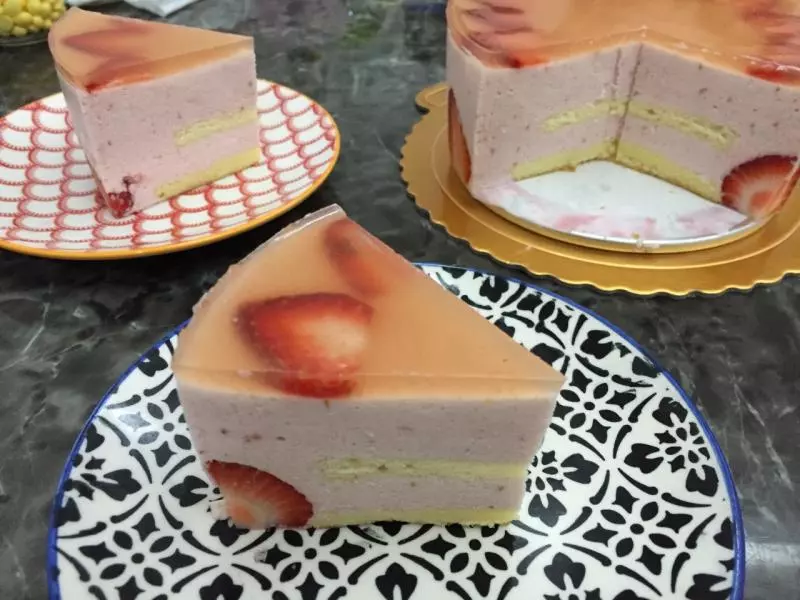
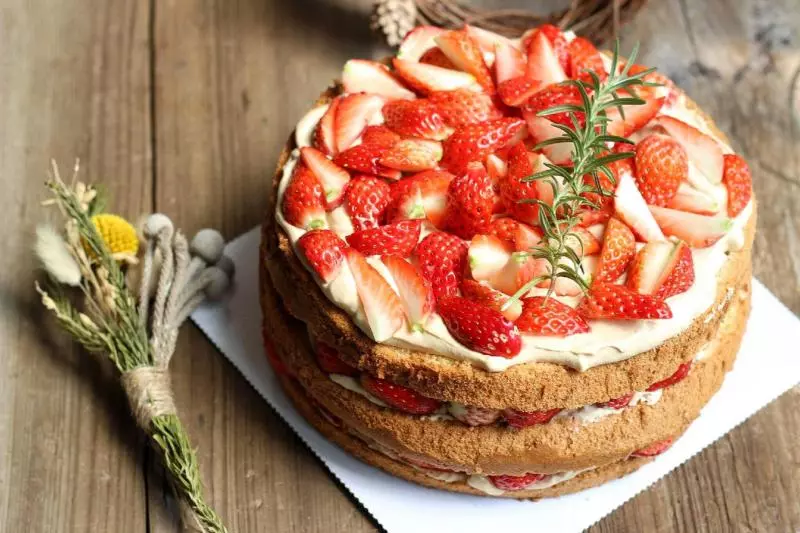
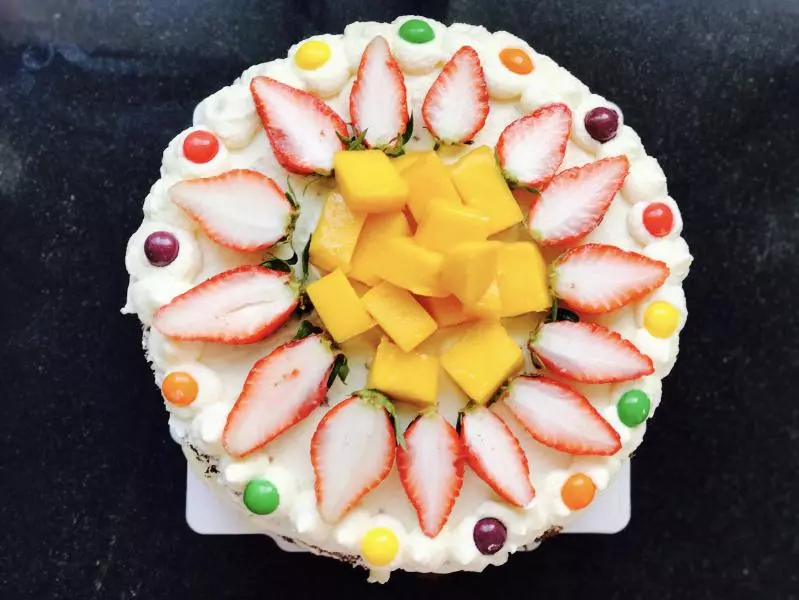
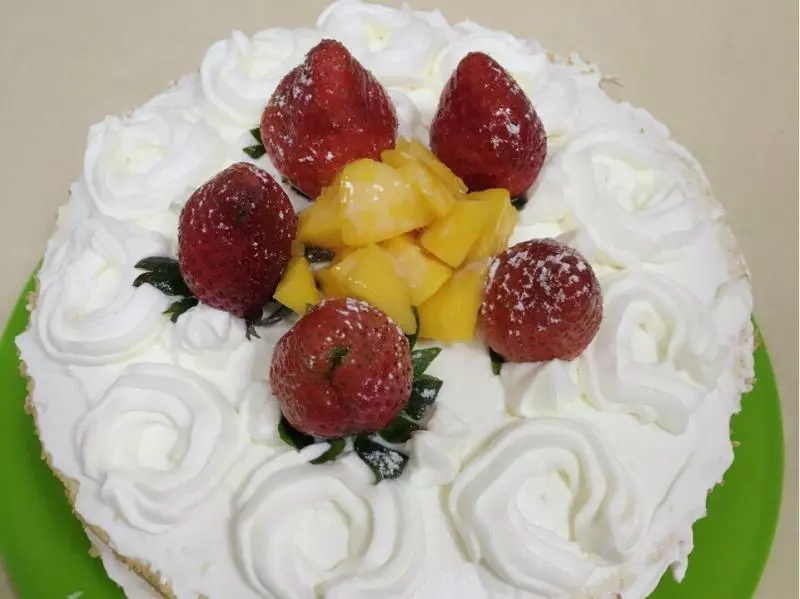
7因为6寸比较小,只切了两层。可以抹上水果粒或者干果粒,家里干果很多,放的芒果干和黑加仑粒,然后铺上蛋糕再抹奶油。

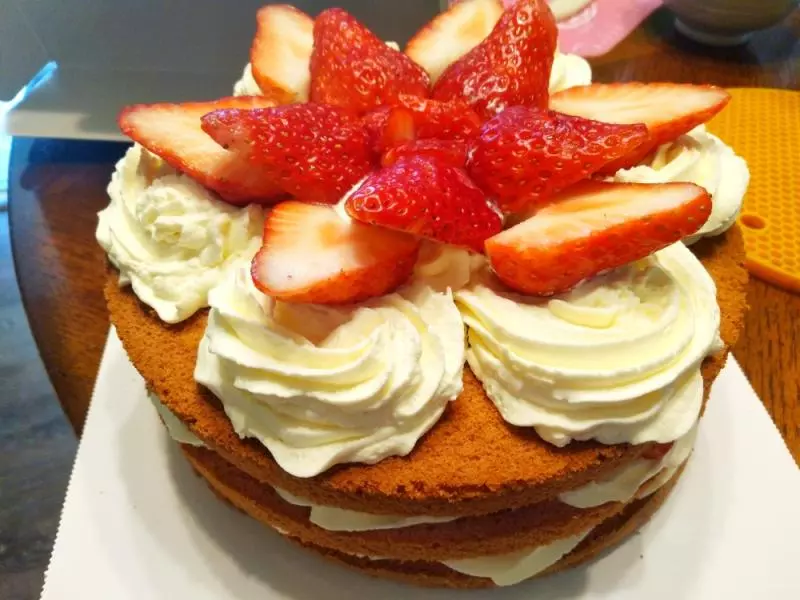
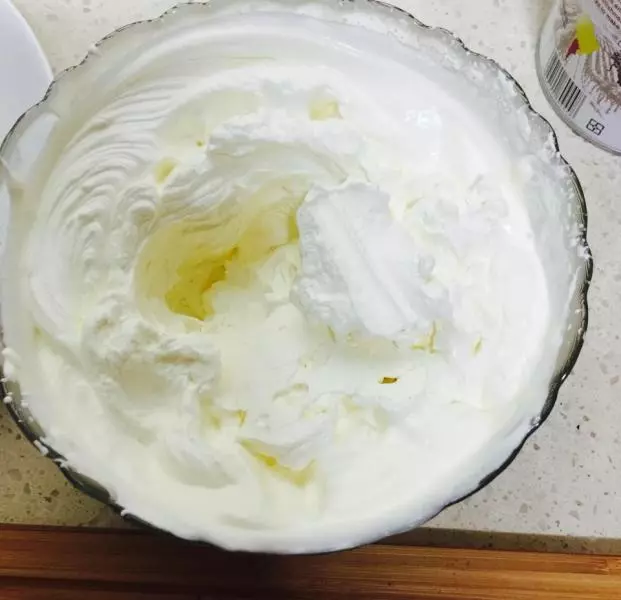
8250g奶油加40g细砂糖打发待用,不过太甜,我家先生接受不了。细砂糖部分可以酌情减少。奶油最后也有多的,放冰箱冷冻做了冰淇淋,味道也不错喔!
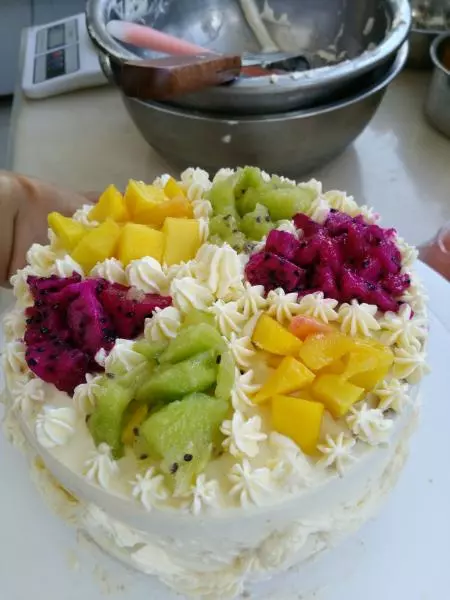
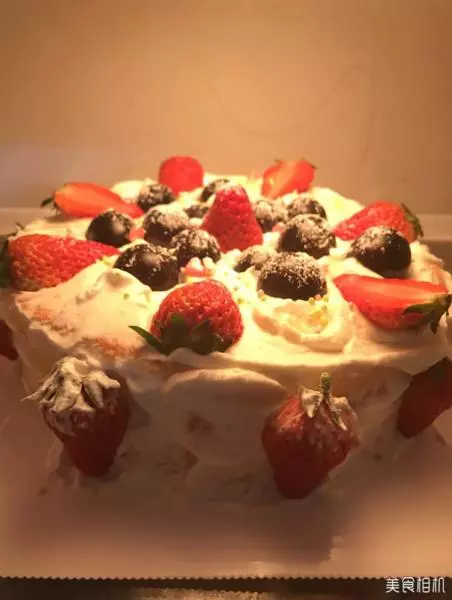
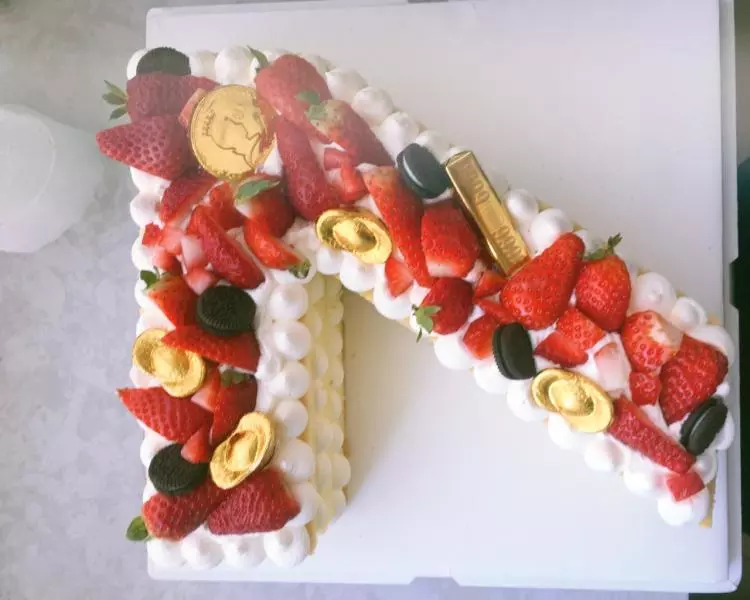
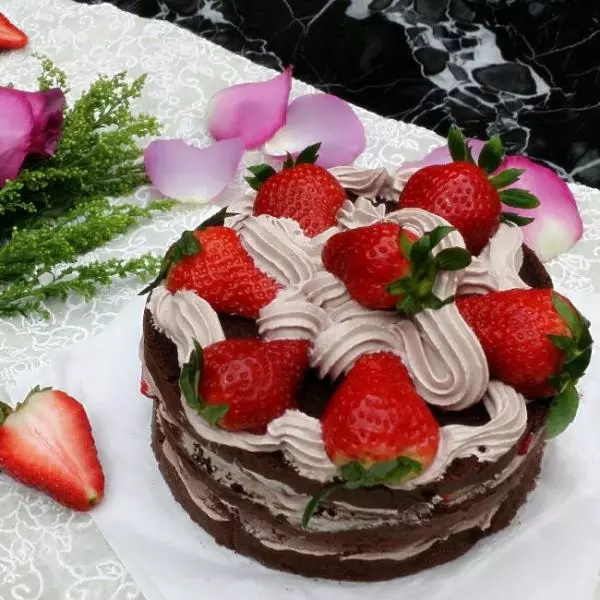
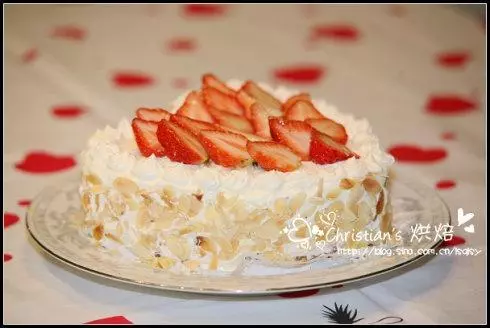
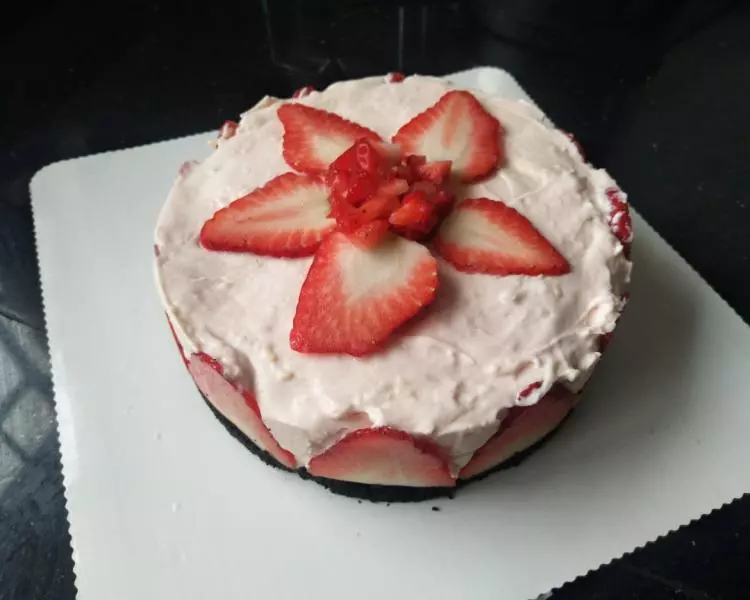
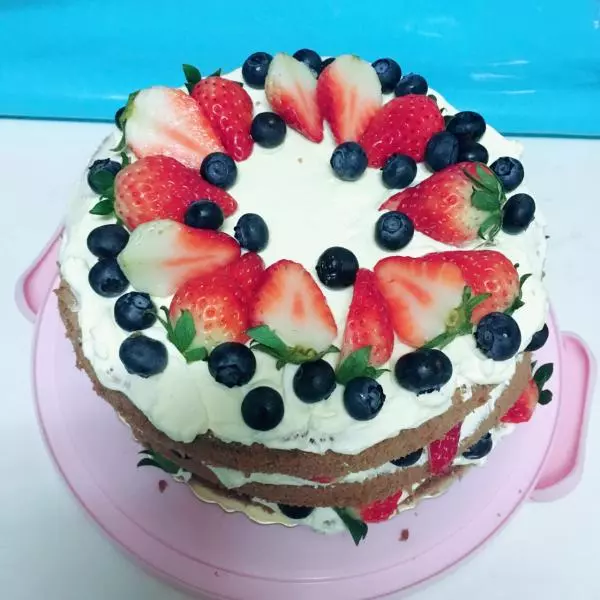
9再自己想象一下装饰喔!

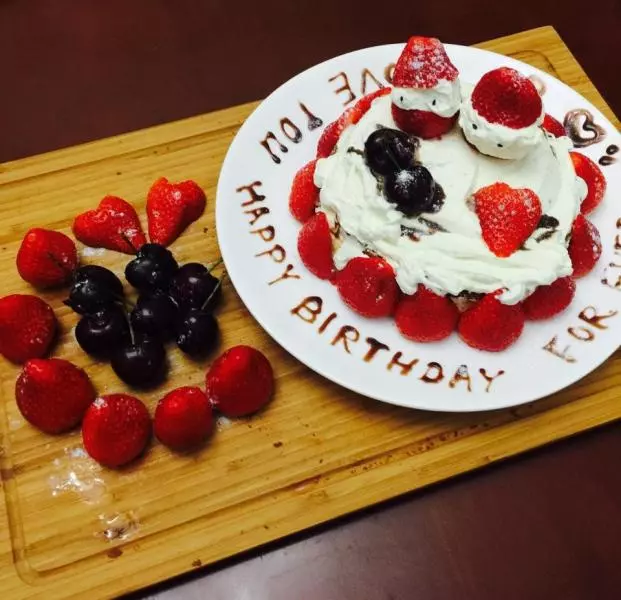
10用8寸盘装裱的,新手万岁!
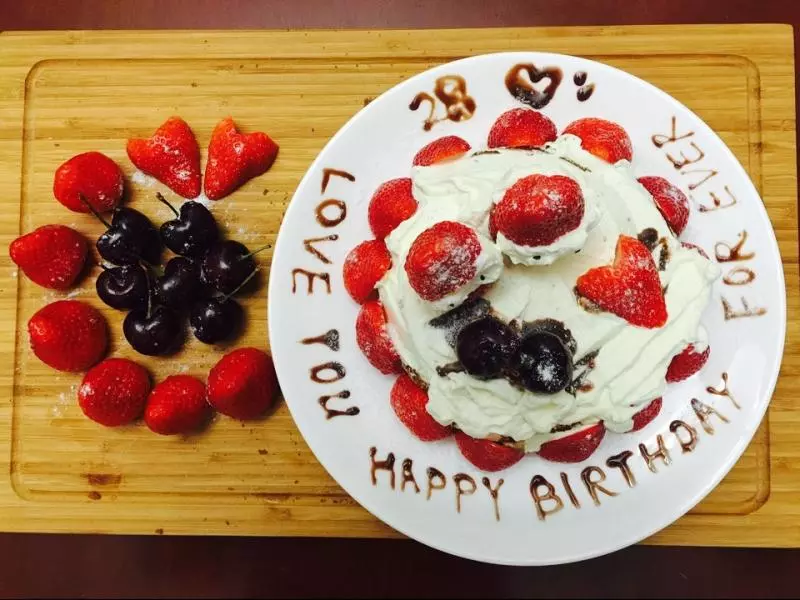
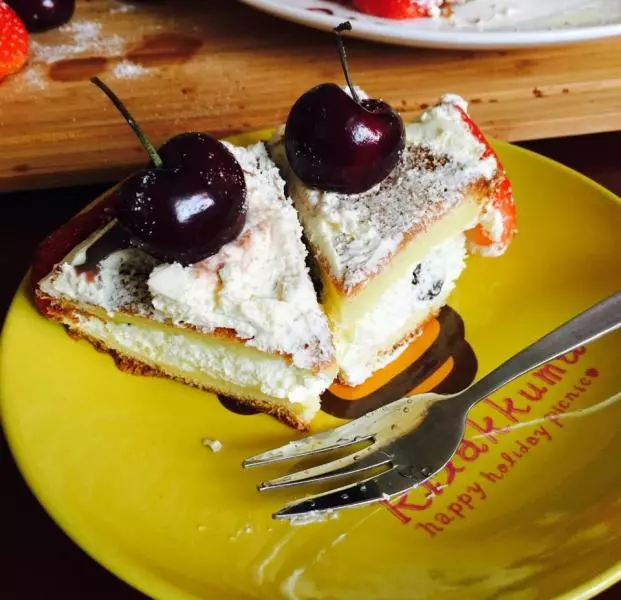
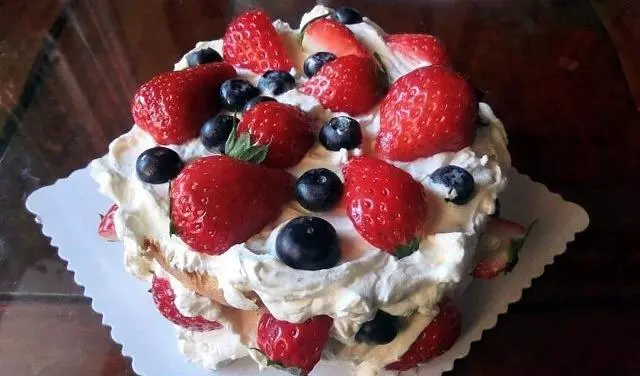
11很好吃的呢!❤️