原料
红茶包: 1袋, 鸡蛋: 3个, 玉米油: 40g, 热牛奶: 45g, 低筋面粉: 50g, 白砂糖: 50g, 香草精(可不加): 2g, 柠檬汁(可不加): 2g, 奶油: 400g, 白砂糖: 32g, 草莓(泥): 100g-120g, 草莓: 10个中等大小, 朗姆酒(可不加): 2g
步骤
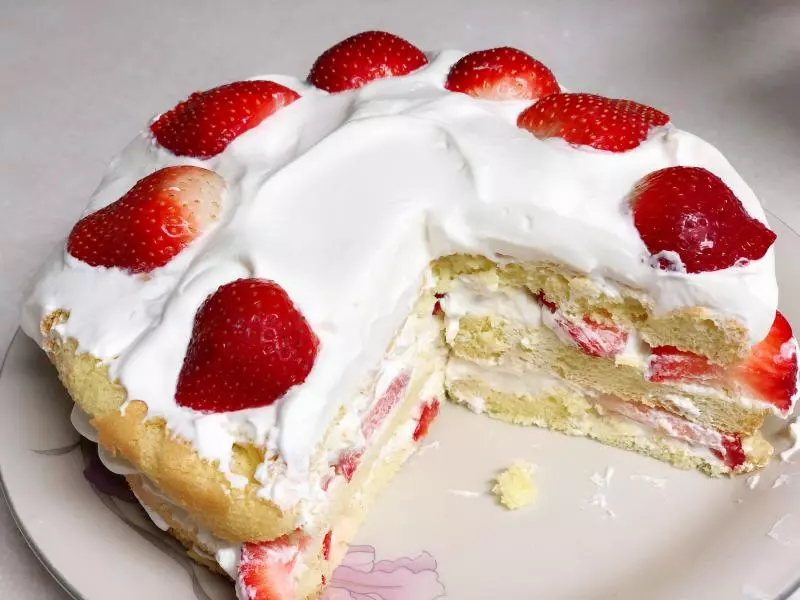
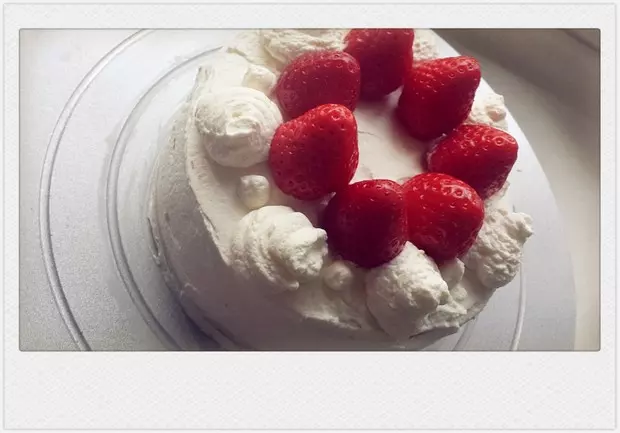
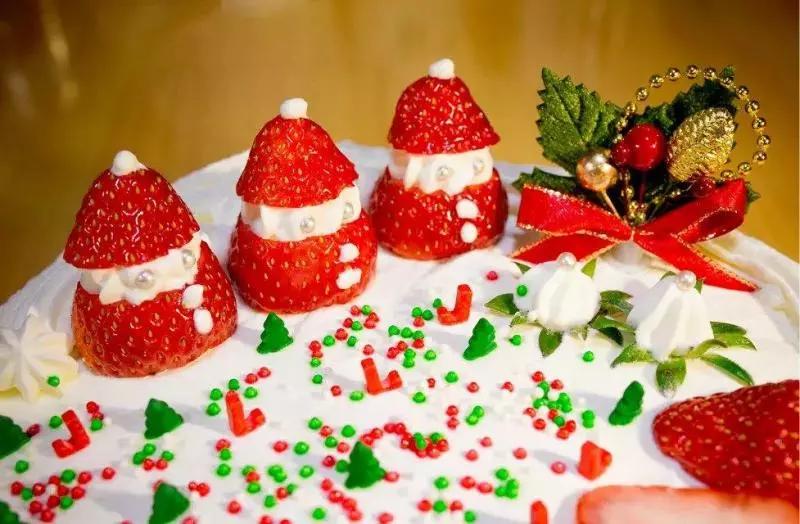
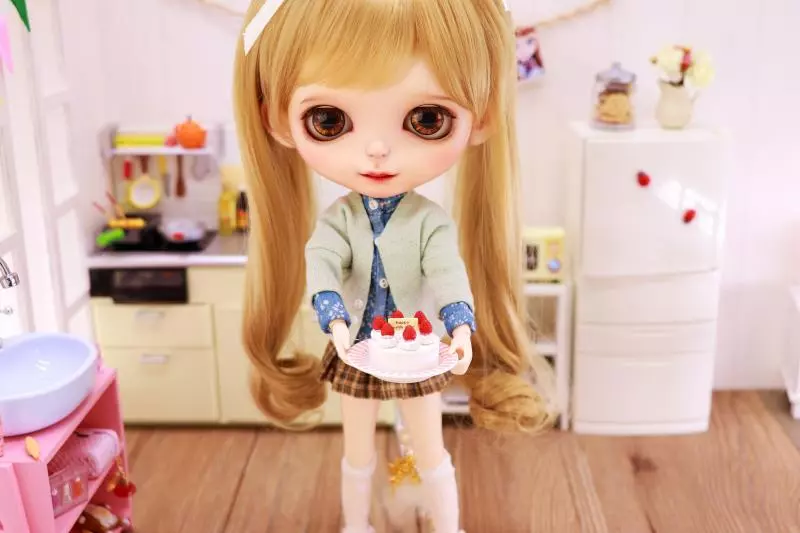
1快到圣诞节了的说!应该做一个草莓奶油蛋糕庆祝一下啊撸~

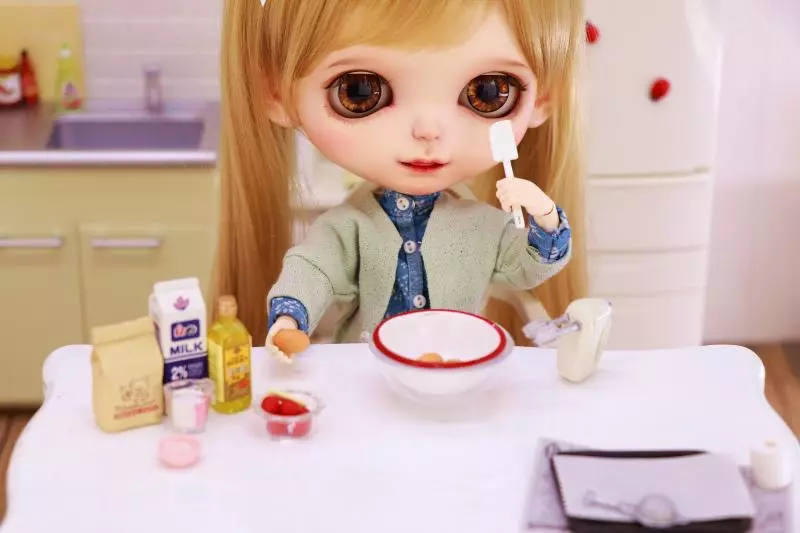
2把需要的材料提前买好~

3做料理前要洗干净手哦`

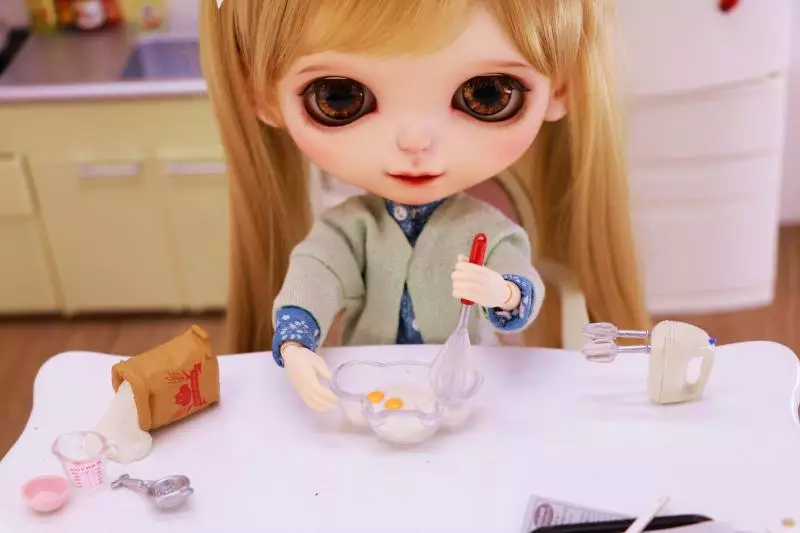
4准备好工具和食材,提前在45g热牛奶中倒入红茶包里的茶叶并且混合均匀.
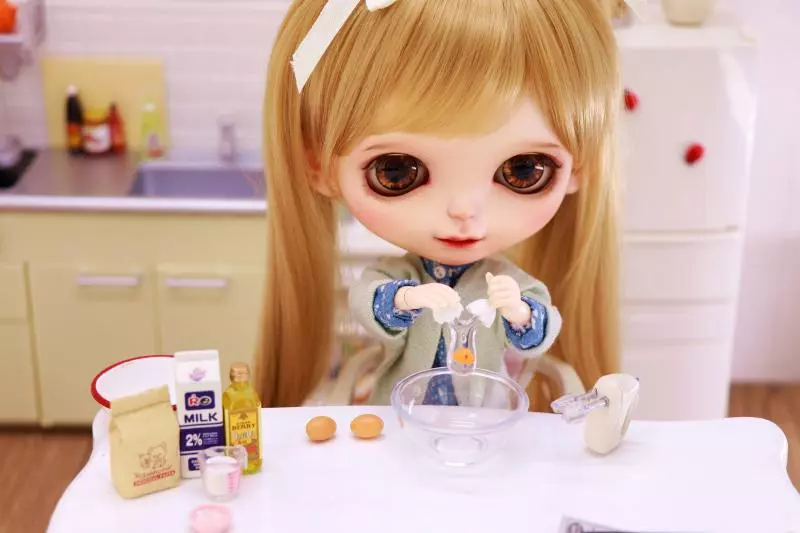
5分离蛋黄和蛋清,放入两个干净的无油无水盆,在蛋黄盆中加入2g香草精(可不加),在蛋清盆中加入2g柠檬汁(可不加),蛋清可以放入冰箱冷冻(冷冻至边缘一圈冰渣有助于打发,不放也可以).
6在蛋黄中倒入40g玉米油.
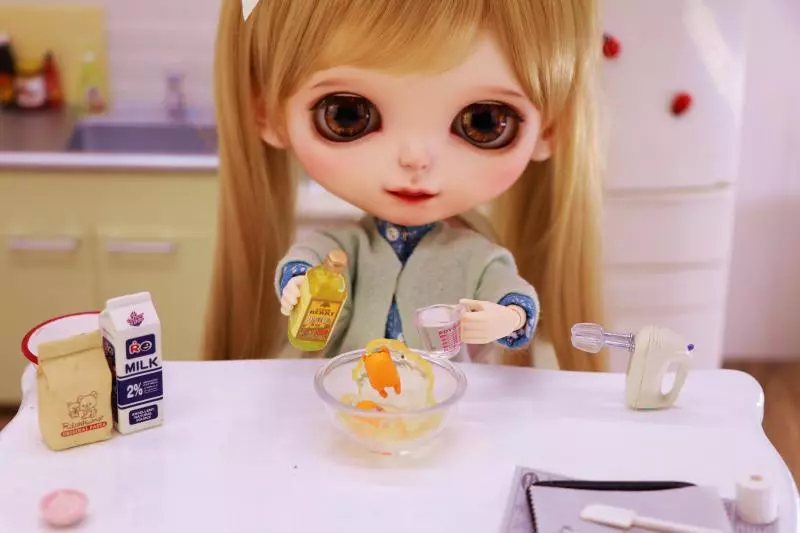
7把蛋黄和油搅打均匀.
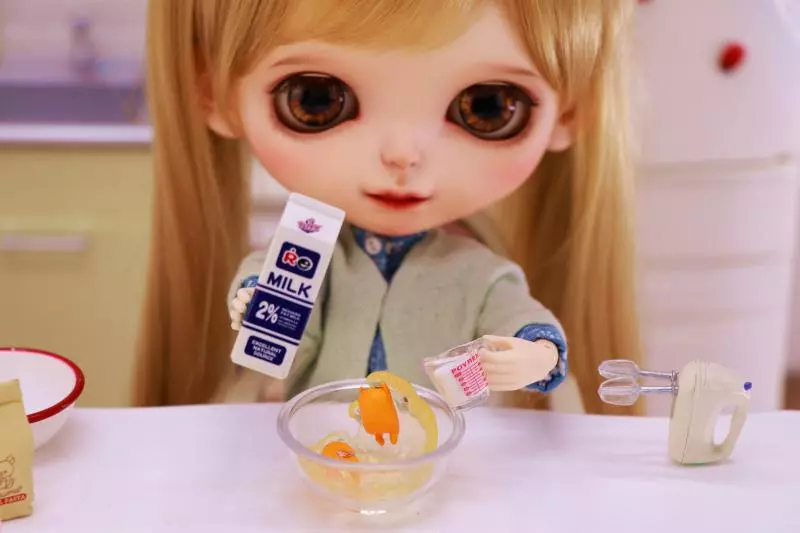
8牛奶红茶倒入蛋黄糊.
9倒入过筛的50g低筋面粉(建议过筛两次).
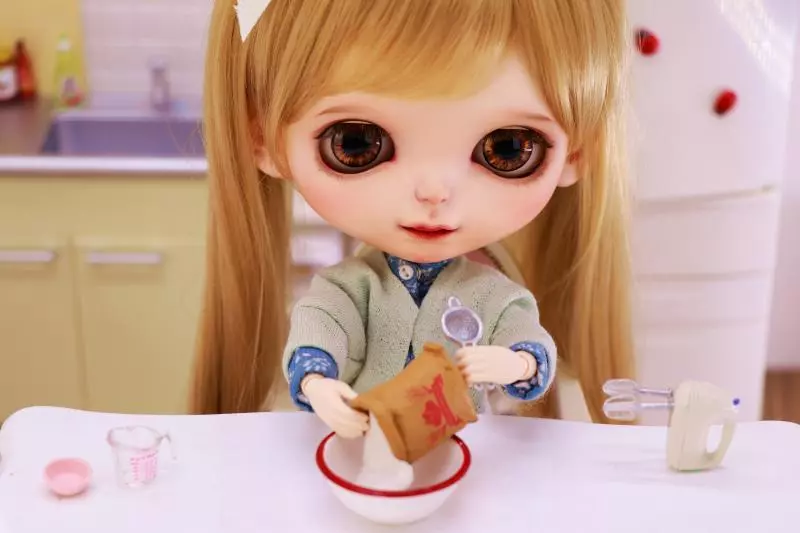
10加入了粉类,请不要过度搅拌容易出筋,看不见干粉即可停止搅拌.
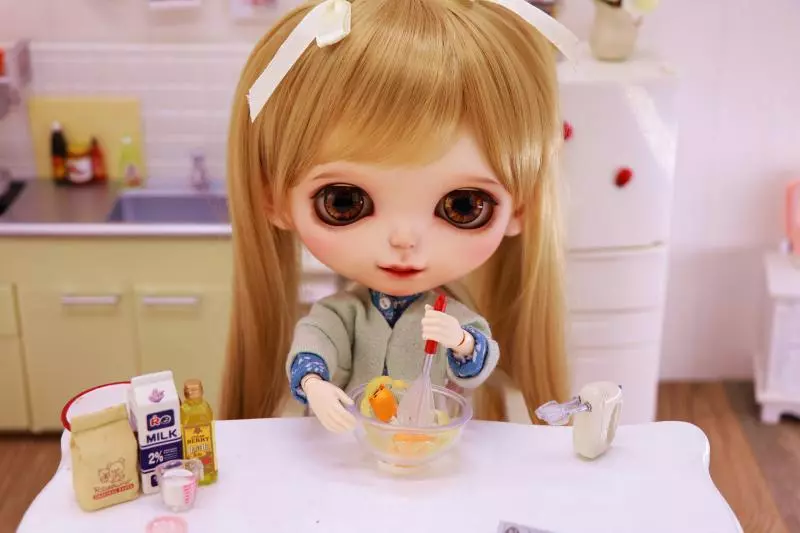
11蛋白从冰箱里拿出来. 分三次加入糖(每次加糖不要重重的打到蛋白上,容易消泡,应该沿着盆边缓缓撒入). 先用电动打蛋器搅打至蛋白泡泡基本看不见了,加入5分之1的糖(第一次请加入少量糖). 打发到蛋白出现纹路加入剩余糖的3分之2. 打到弯勾了加入剩余糖.

12蛋白打至坚挺的三角(不能只看打蛋头上的蛋白状态,停下打蛋器手动转两圈蛋白,再把打蛋头拿出来看状态),可以分两次混合蛋黄糊.

13在模具上方15cm处倒入蛋糕糊.

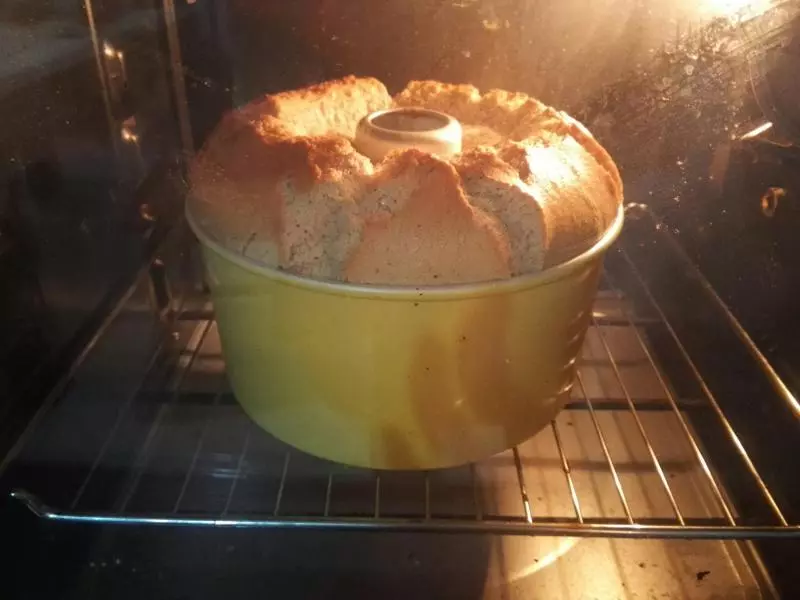
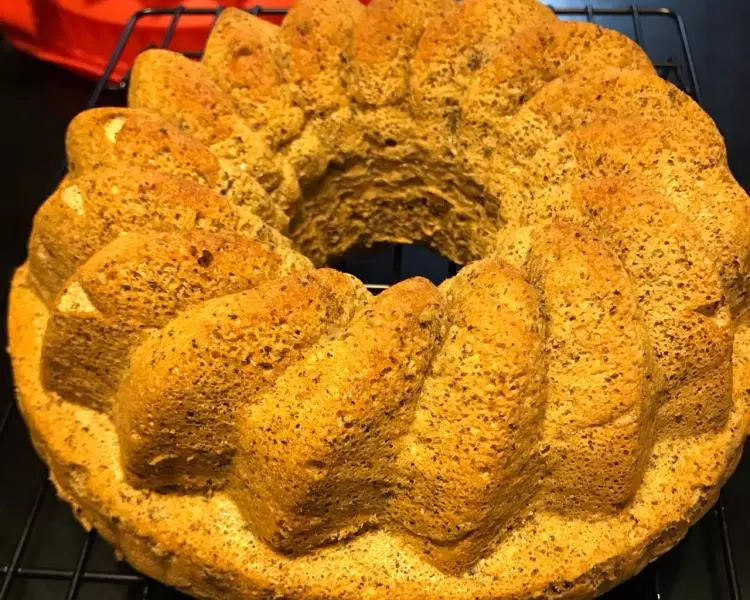
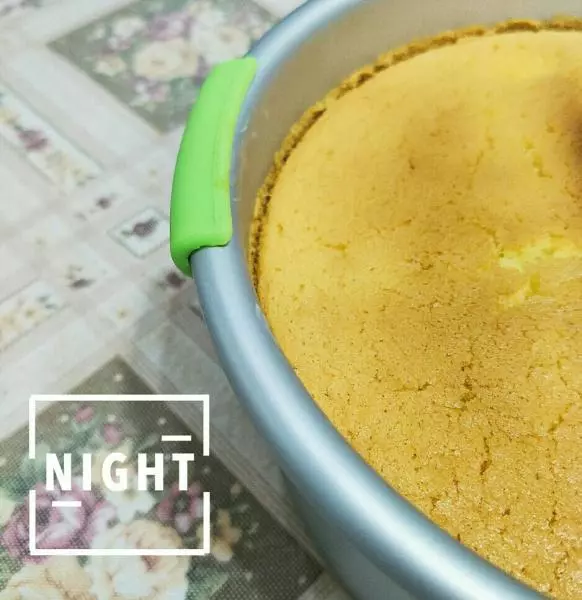
14把模具放入提前10分钟预热好的烤箱,150度45分钟.

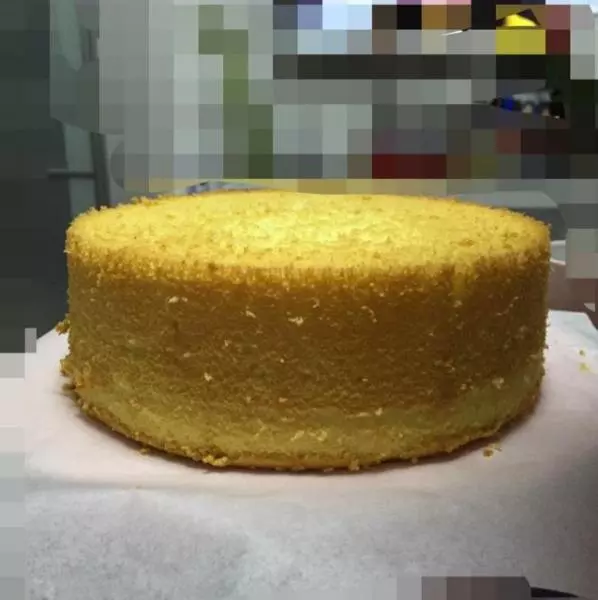
1545分钟到了以后,可以拿着牙签,把烤箱打开一条缝,把牙签戳进蛋糕里,没有小屑屑黏在牙签上就可以拿出来啦~拿出来在15cm高度摔一下模具.

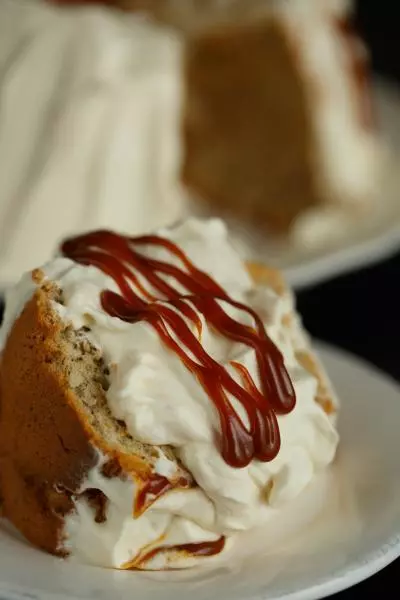
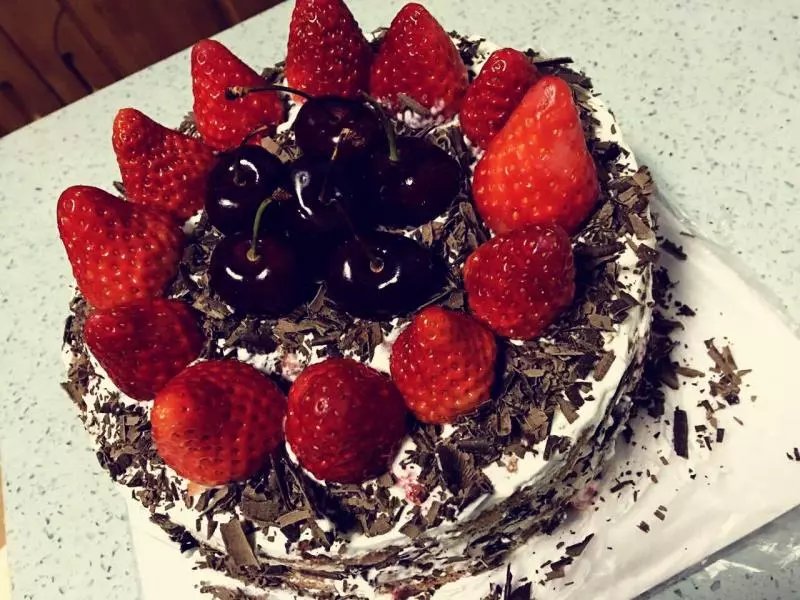
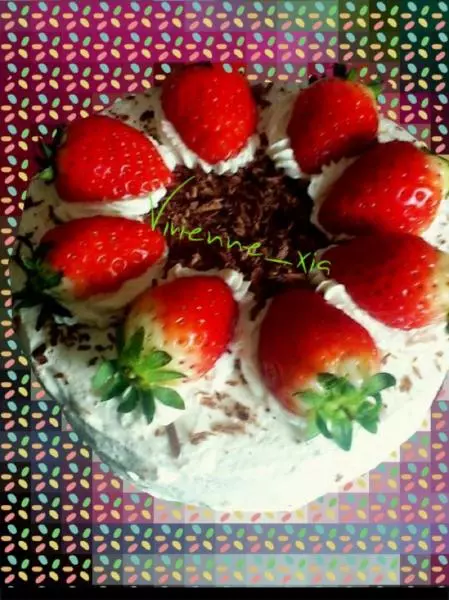
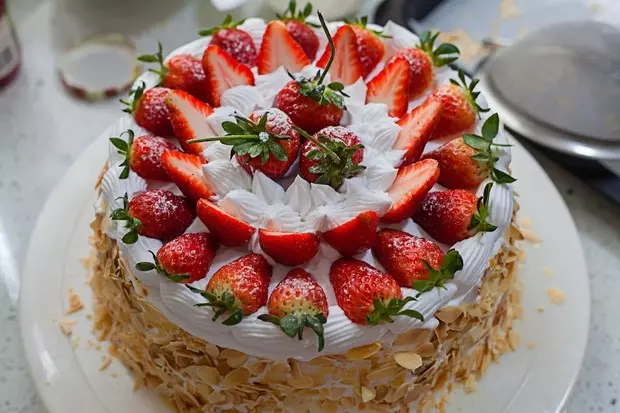
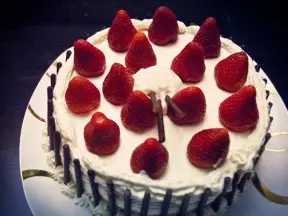
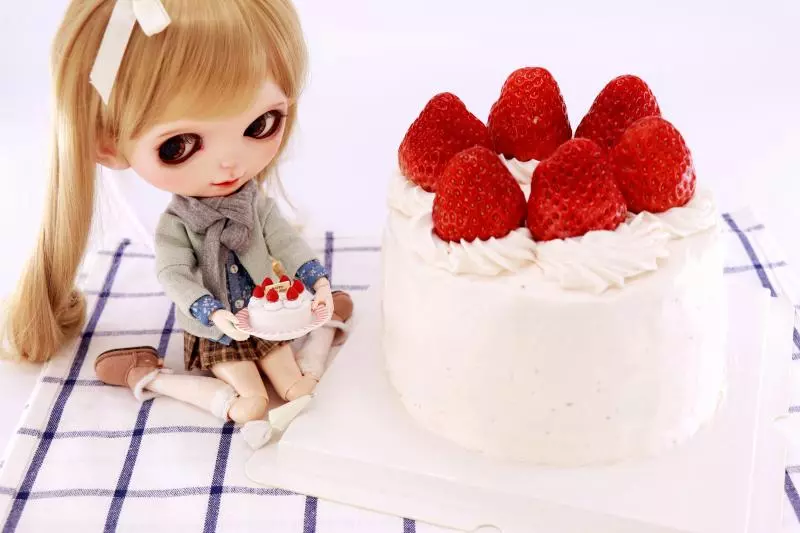
16把120g的草莓放入料理机打成草莓泥,其他草莓切片(留6个草莓做装饰),把120g的草莓泥和32g白砂糖和2g朗姆酒(可不加)放入400g淡奶油搅打成草莓奶油,就可以裱花裱花啦~

17用草莓装饰~
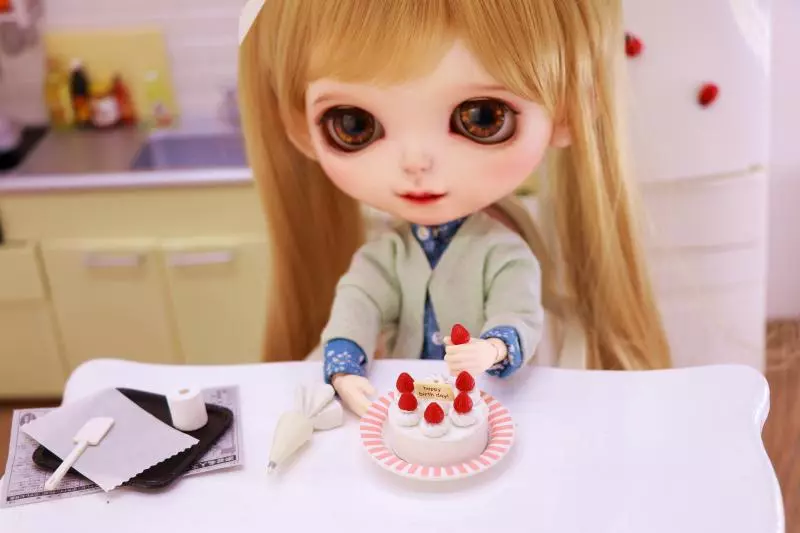
18最后蛋糕就做好啦~快去拍照吧~
小技巧
蛋白小tip~ 1.每次加糖不要重重的打到蛋白上,容易消泡,应该沿着盆边缓缓撒入. 2.搅打蛋白检查状态,不能只看打蛋头上的蛋白状态,停下打蛋器手动转两圈蛋白,再把打蛋头拿出来看整体状态.