原料
紫薯: 6个, 中筋面粉: 710克, 酵母粉: 8克, 水: , 胡萝卜: 4根, 木耳: 一把, 龙口粉丝: 2小捆, 鸡蛋: 4个, 虾米: 半碗, 花生油: 一勺, 香油: , 生抽: , 盐:
步骤
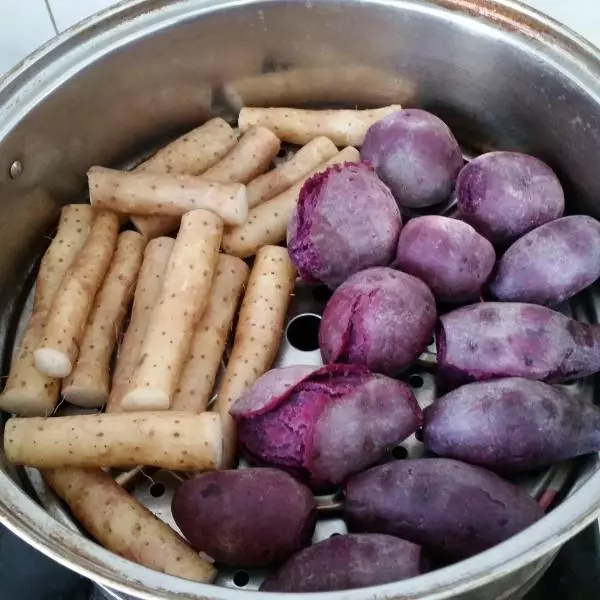
1紫薯洗净上蒸锅。
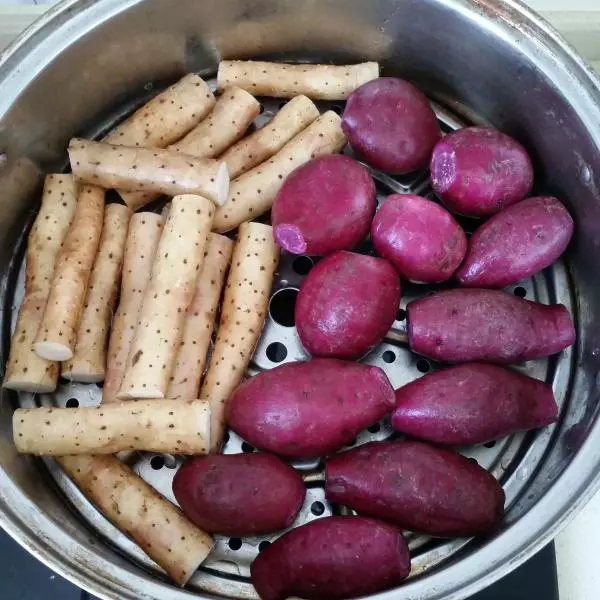
2蒸20分钟左右,关火后焖五分钟再开锅。
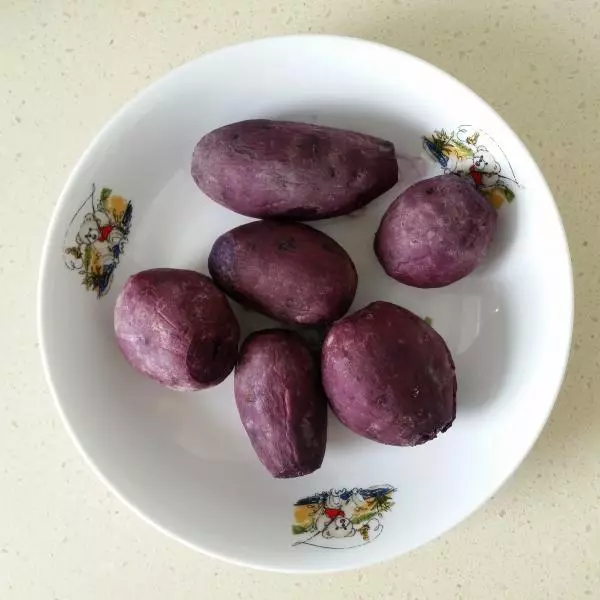
3紫薯炸开皮,这个状态说明熟透了,比较好压成泥。

4取6个紫薯。
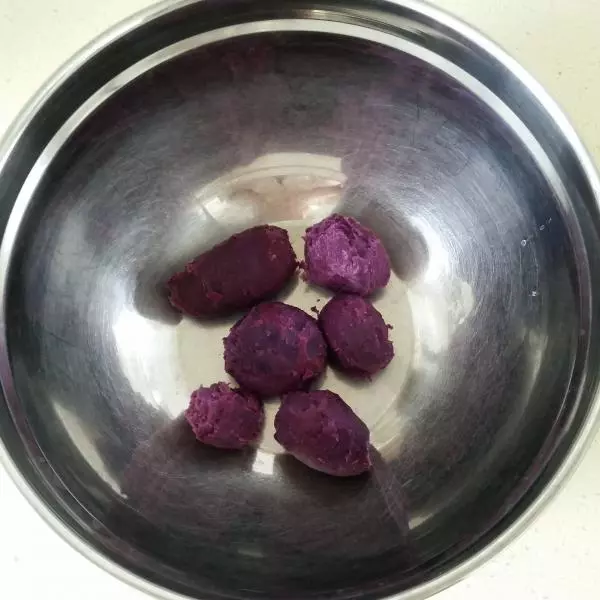
5去皮后放入大盆内,此时的紫薯净重210克。
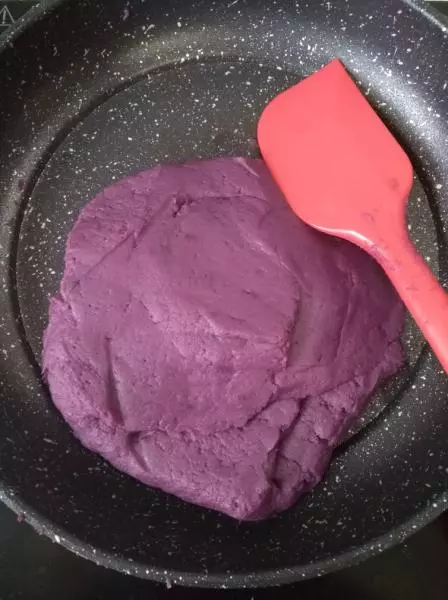
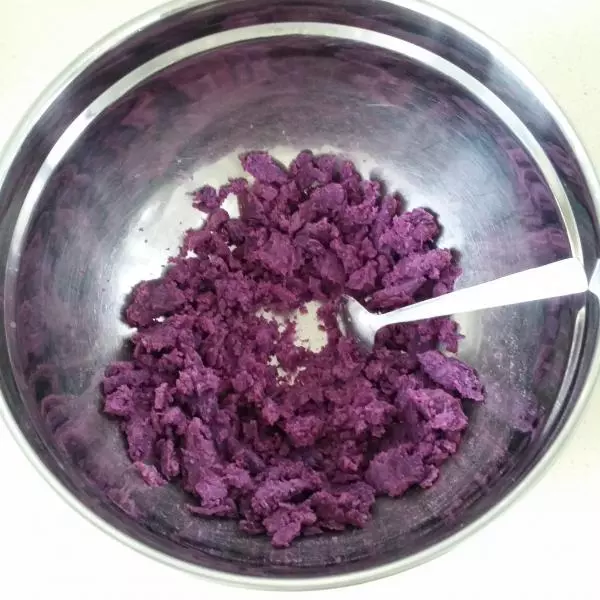
6趁热用勺子将紫薯压成泥。
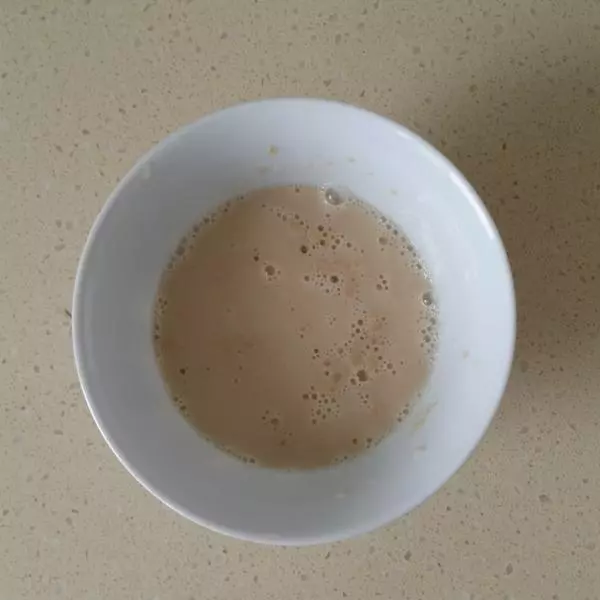
7做紫色面团: 4克酵母粉放入大碗内,加60克温水,搅拌均匀,静置五分钟。 注意:不要用热水,会烫死酵母,导致酵母失效。
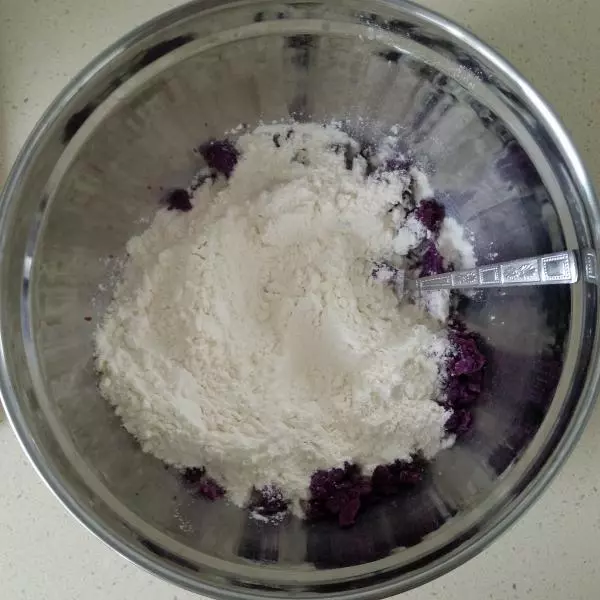
8加310克中筋面粉。
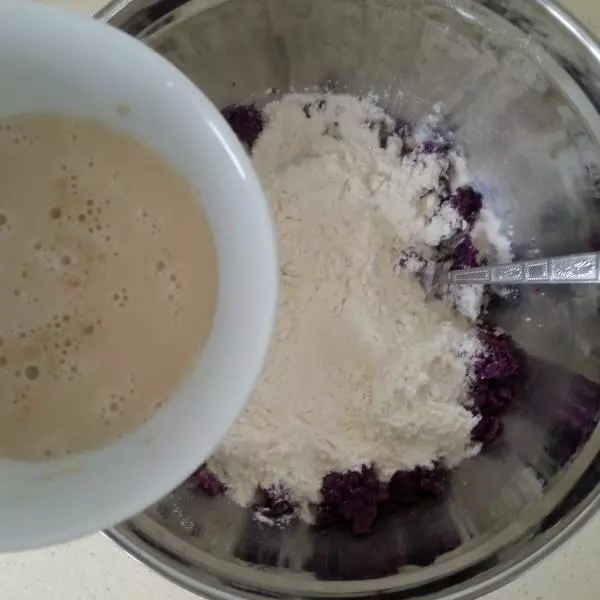
9将酵母水慢慢倒入面粉中,再加约170克的水。 注意:因面粉吸水性不同及紫薯品种不同,都会导致水量不同,所以不要一次性倒入所有水,要一点点加水,边加边搅拌。
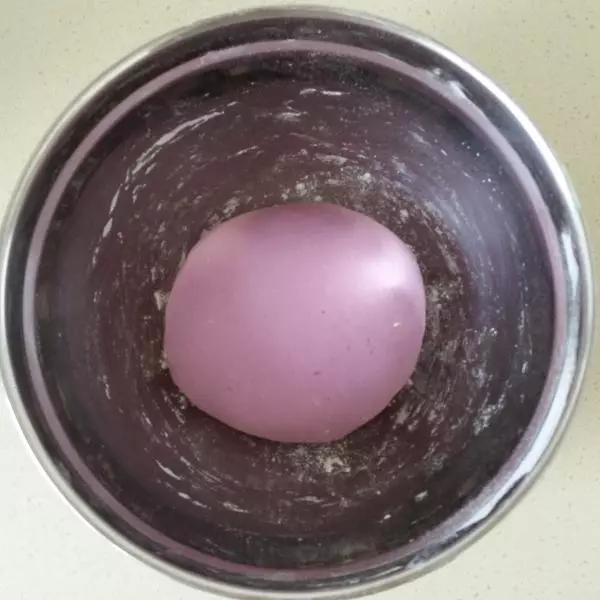
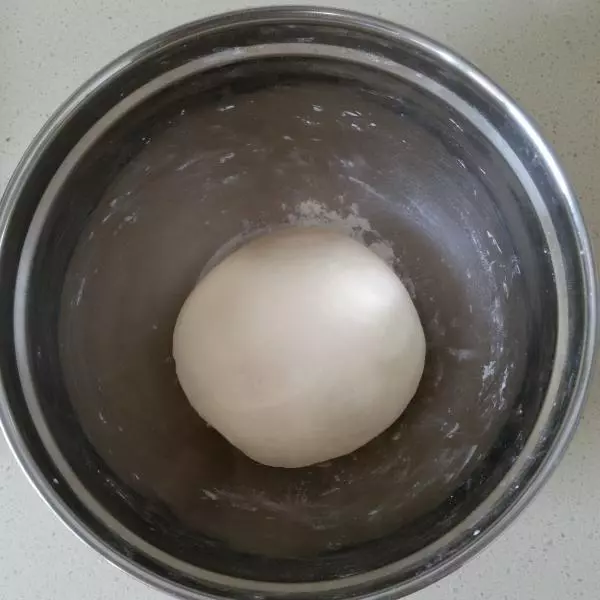
10搅拌成小面絮状,面板上撒少量干面粉,把面絮倒在面板上,揉搓成不粘手光滑的面团。如果感觉粘手,就继续加干面粉。
11做白色面团: 400克面粉倒入另一个大盆内,4克酵母粉加约238克温水,搅拌均匀,静置五分钟,将酵母水倒入面粉中,搅拌成小面絮状,揉搓成光滑的面团。
12两种面团依次盖好,放温暖处进行发酵,大约两个小时左右。
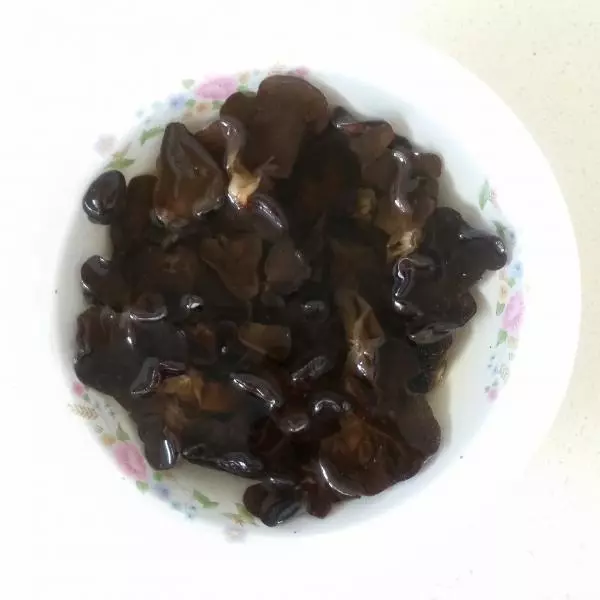
13发面的过程可以准备馅料,木耳需提前泡发好。
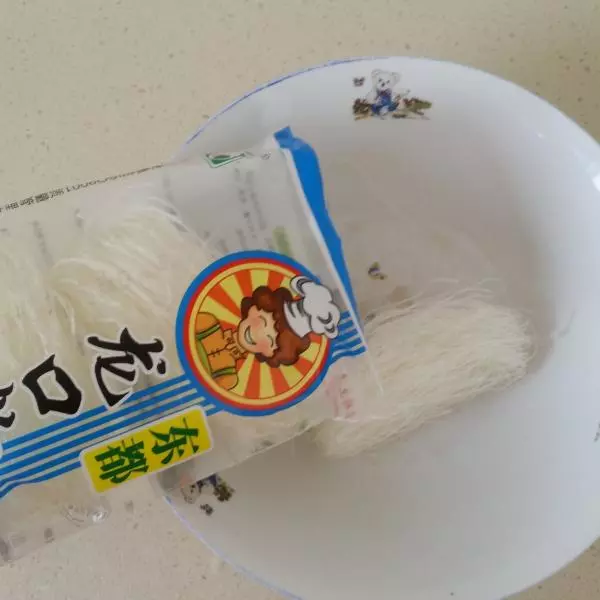
14取两小捆龙口粉丝,提前泡软。
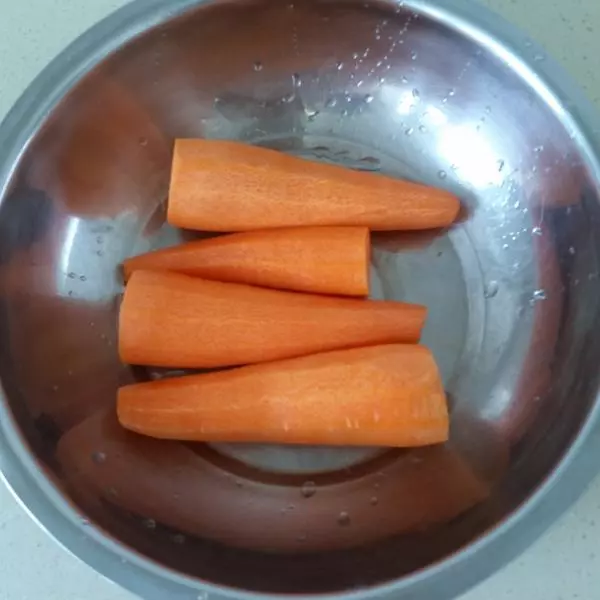
154个胡萝卜去皮。
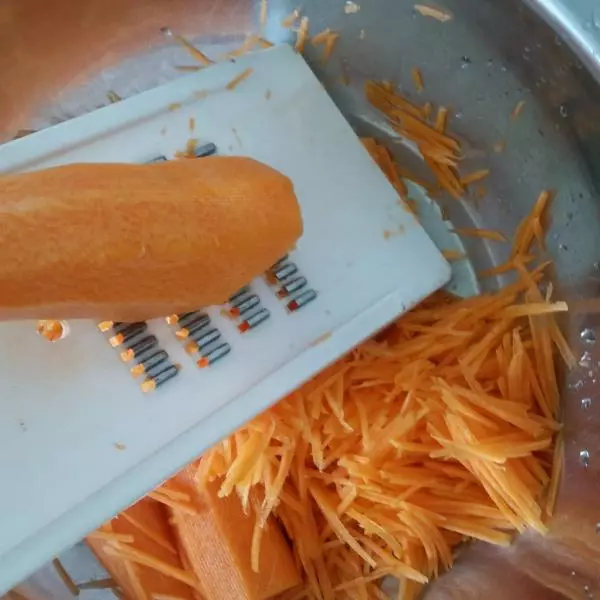
16刨成细丝。
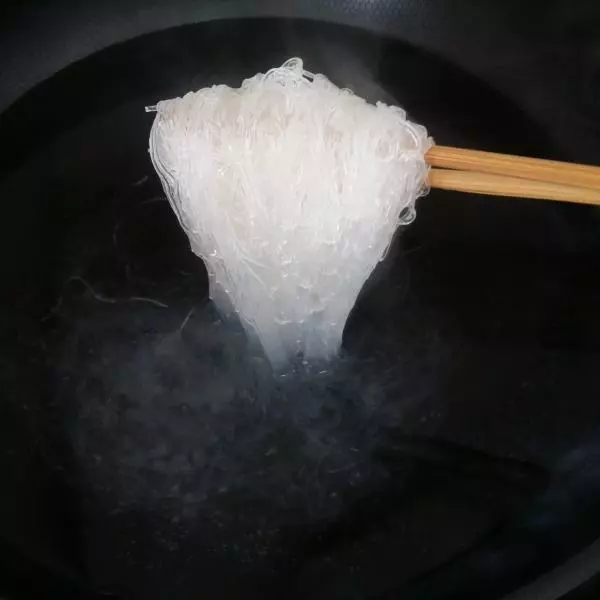
17粉丝放开水中焯水一分钟左右,颜色变透明即可,不要时间长,不然蒸熟后口感发粘不好吃。
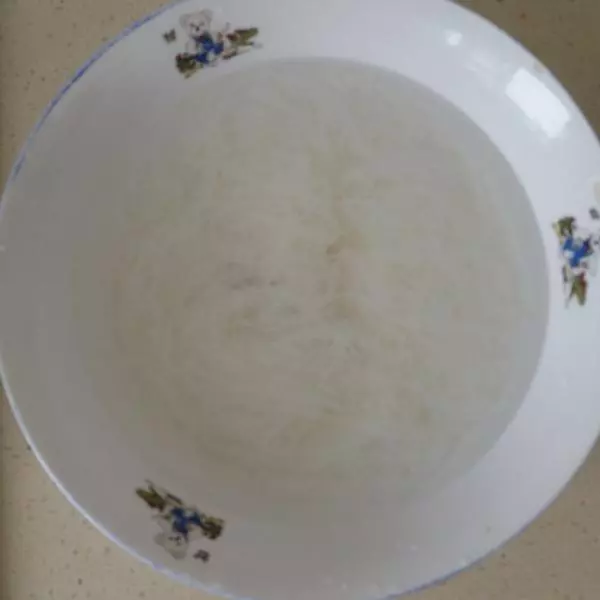
18捞出迅速泡冷水中。
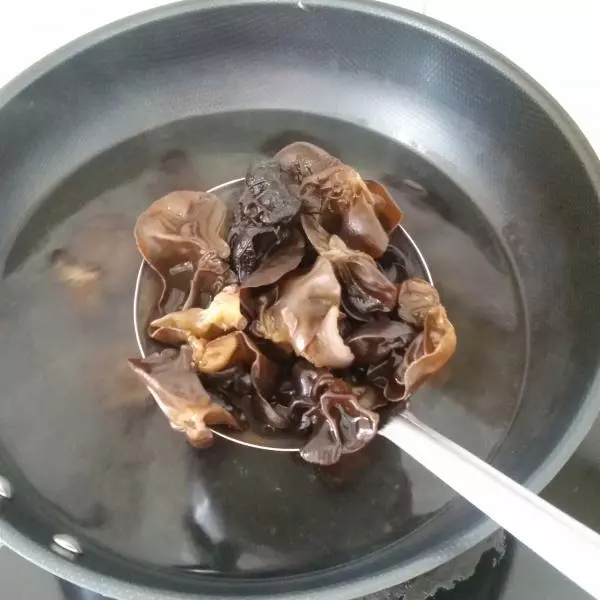
19木耳焯水两分钟,捞出备用。
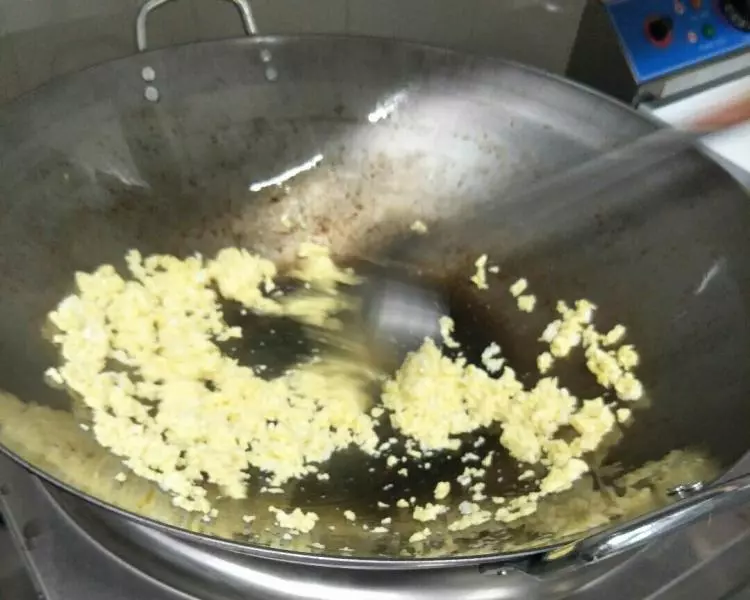
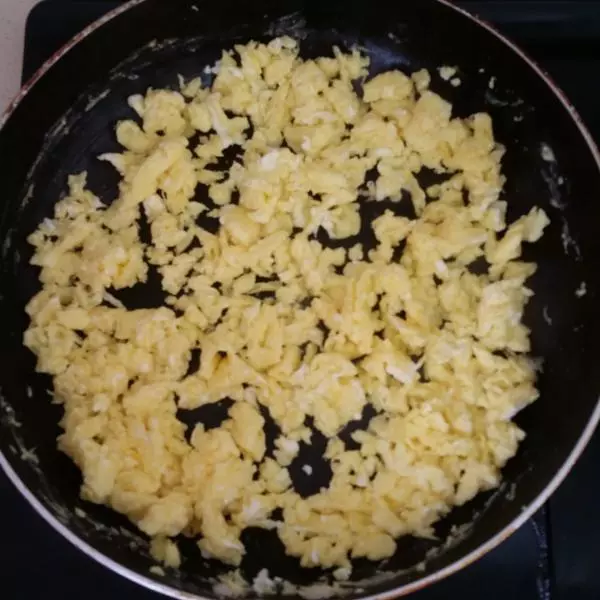
204个鸡蛋炒碎。
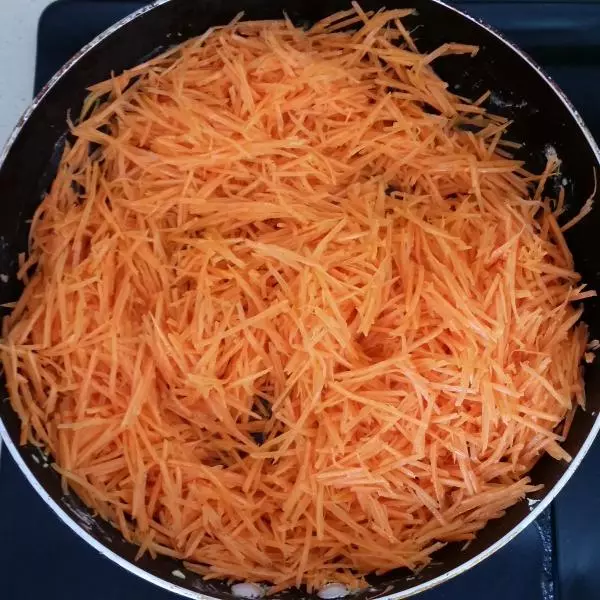
21锅内放少量花生油,油热后放胡萝卜丝翻炒,加半勺盐,翻炒均匀,炒软即可。胡萝卜一定要过油炒,才能释放更多的胡萝卜素,营养更丰富。
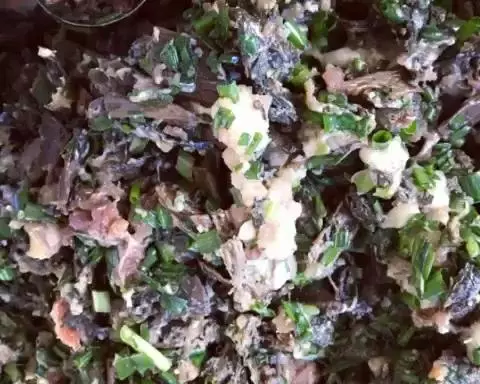
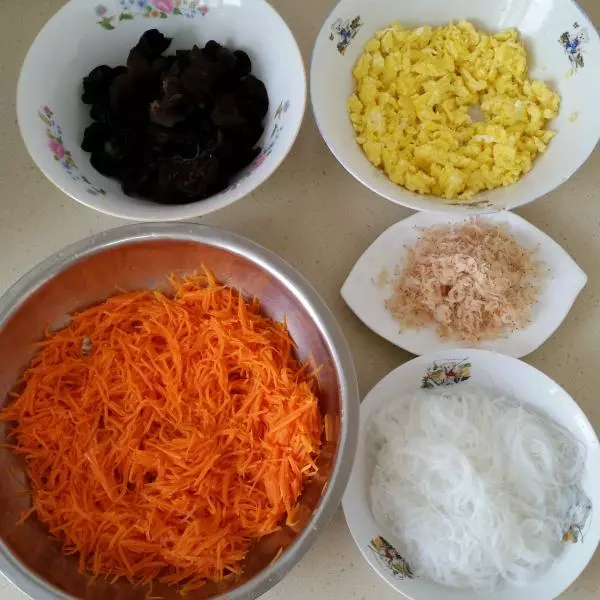
22所有的材料准备齐了。
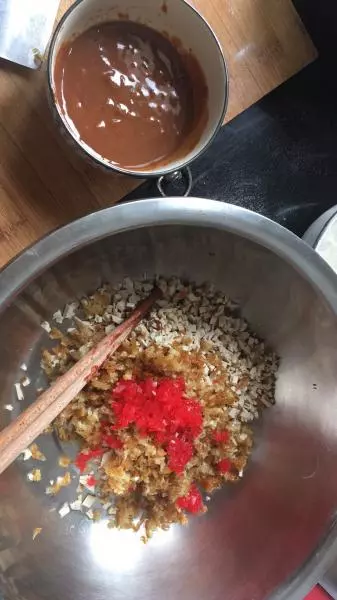
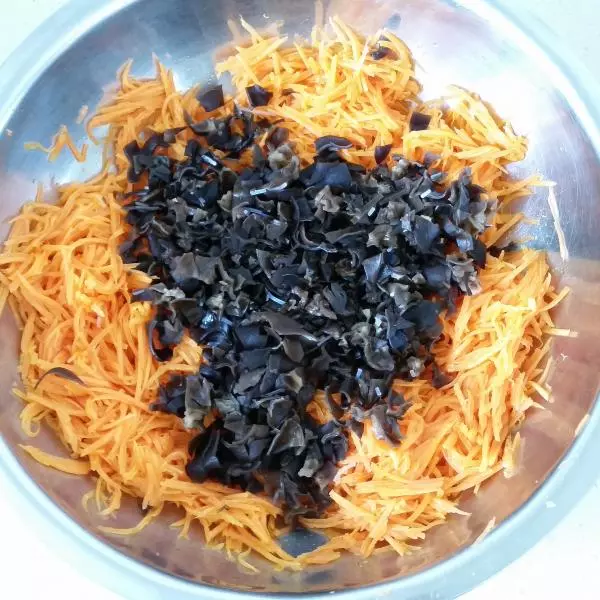
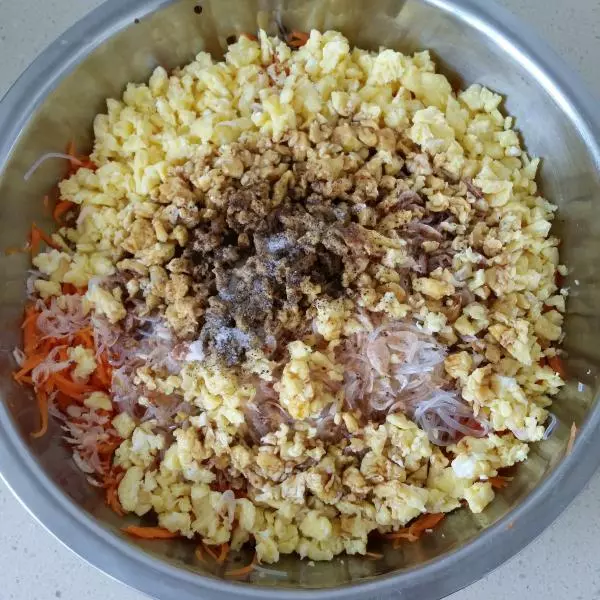
23木耳切碎。
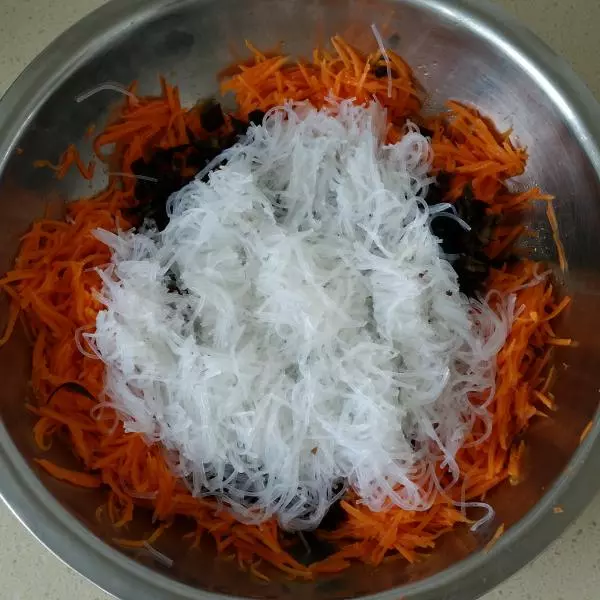
24粉丝控干水分,切成小段。
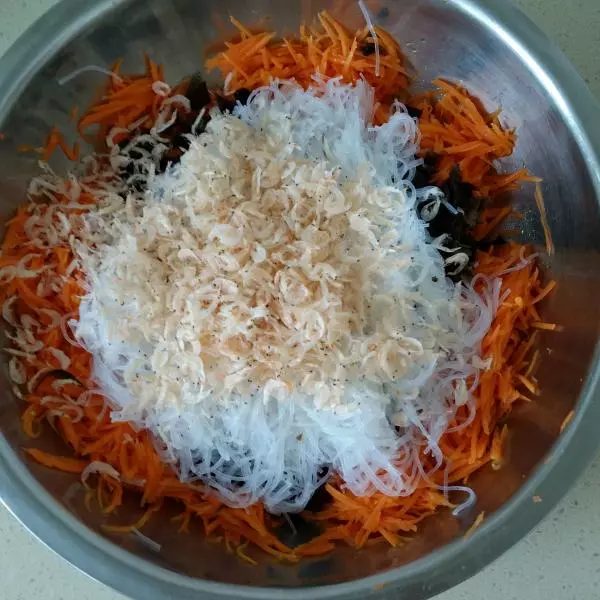
25加入半碗虾米。
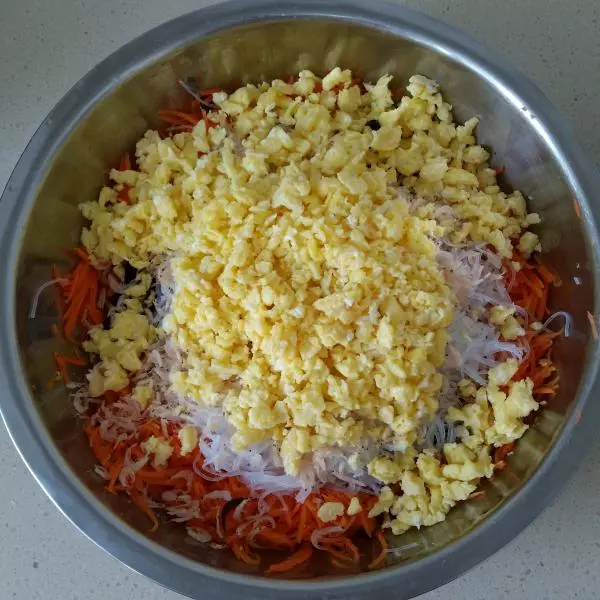
26加入鸡蛋碎。
27加一勺盐,少量生抽和香油。
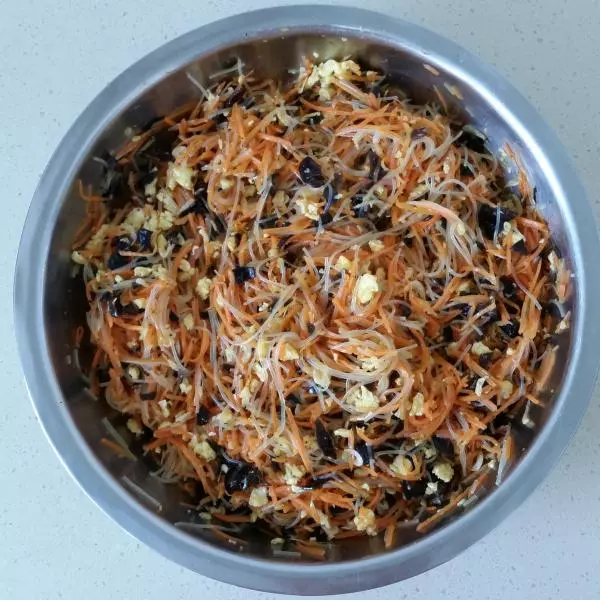
28搅拌均匀备用。
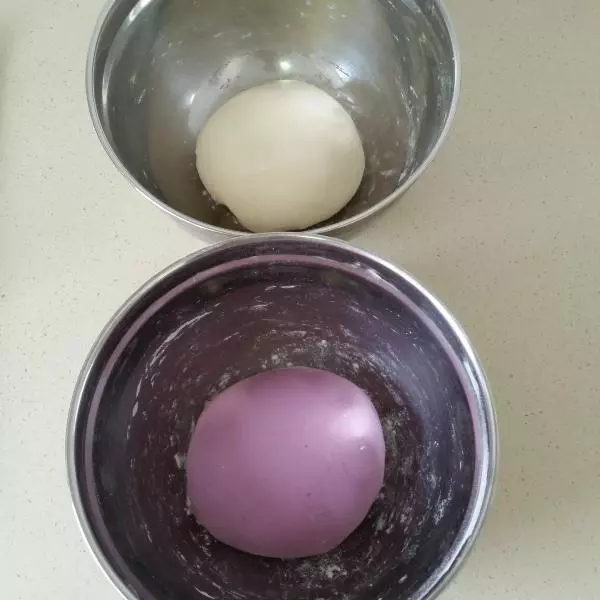
29发好的两种面团。
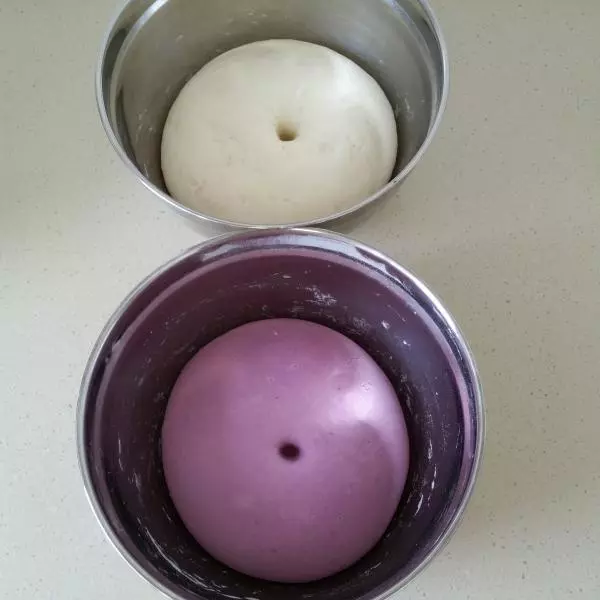
30面板上撒少量干面粉,将两种面团反复揉搓排气到位,期间可以分次加少量干面粉,尤其是紫色面团,要揉到不粘手为止。揉好的紫色面团约732克,白色面团约637克左右。
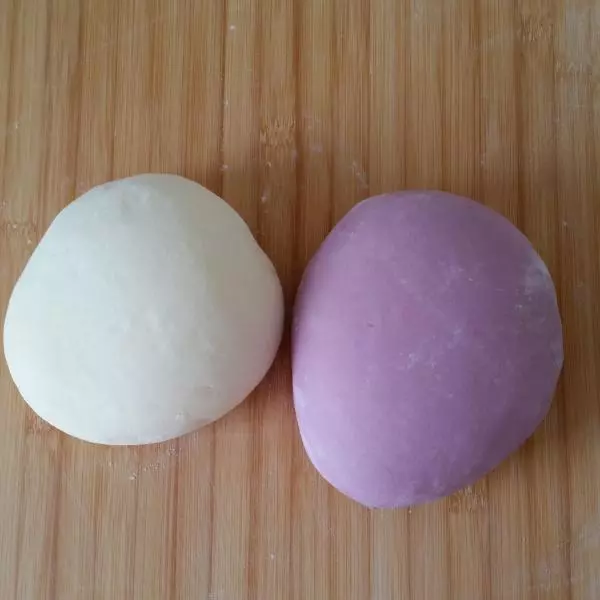
31各取200克面团。
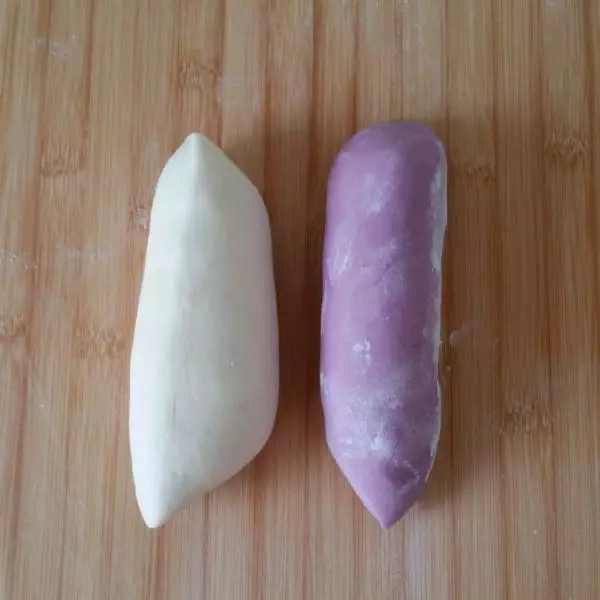
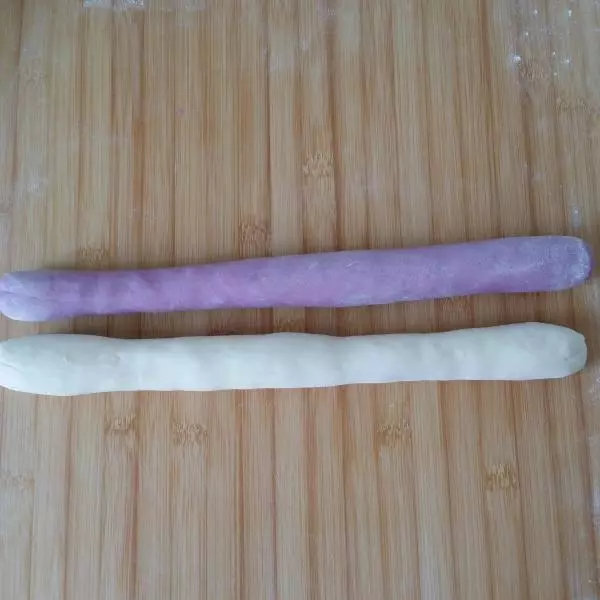
32搓成粗细长度一样的长条。
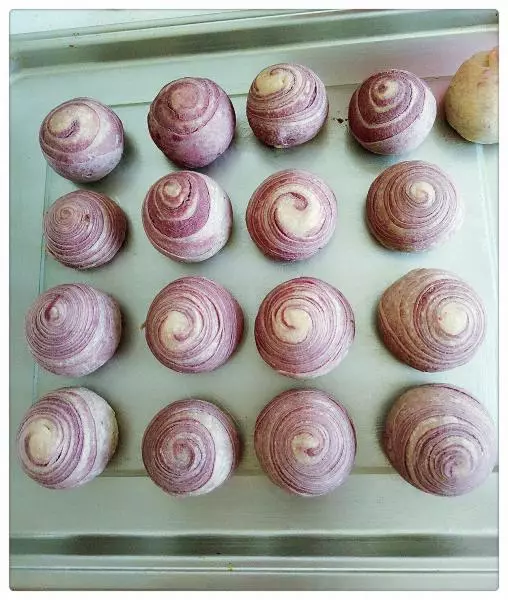
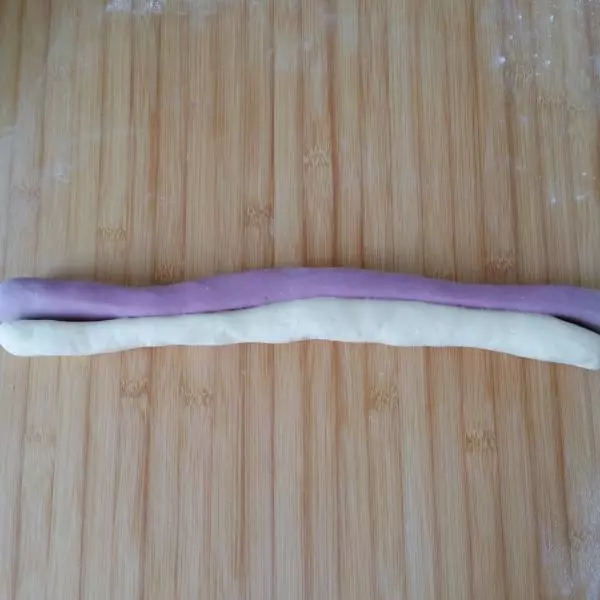
33将两种面团轻轻搓在一起,让两种面的贴合面粘合在一起。
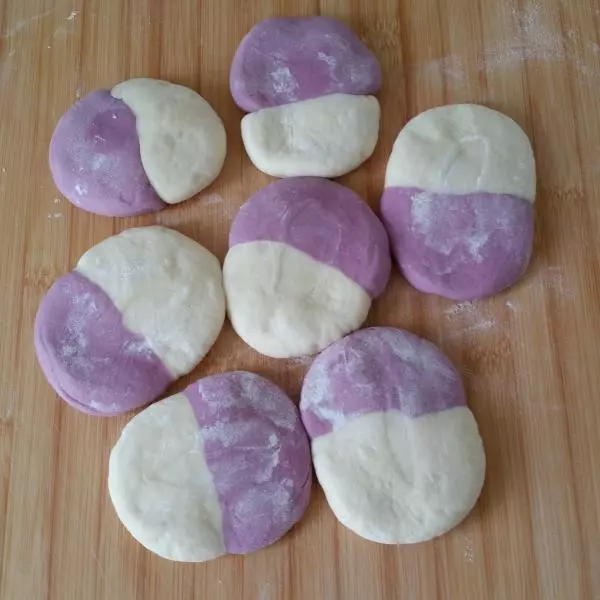
34切成7个大小一样的面剂子,每个约58~60克左右。

35撒点干面粉,依次摁平。
36擀皮,要注意手法和力度,擀好的皮要中间厚四周略薄。

37放入馅料。
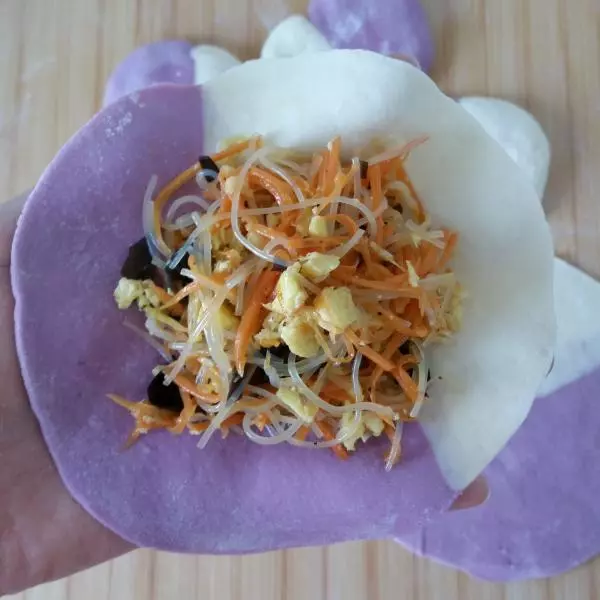
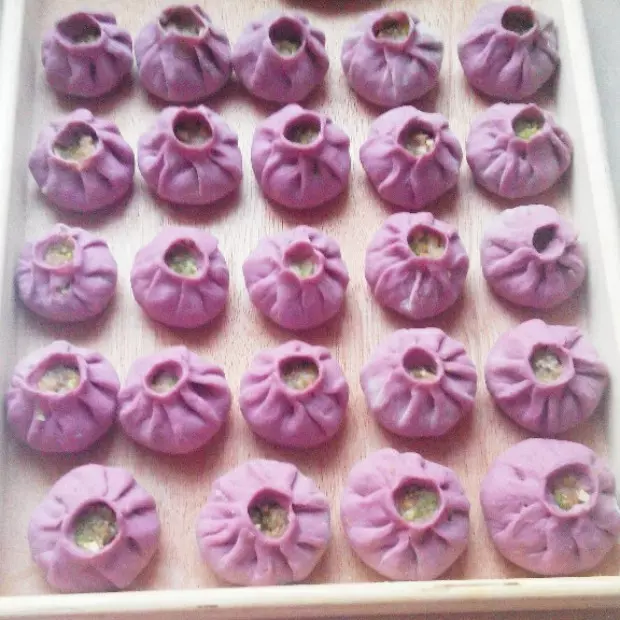
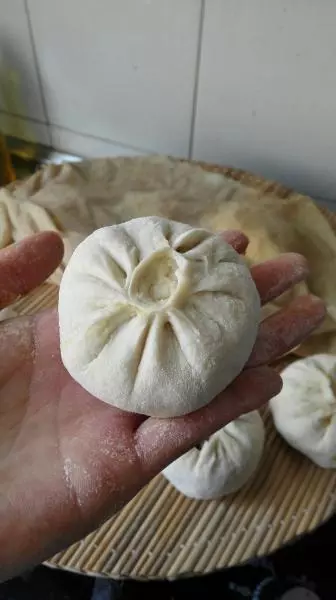
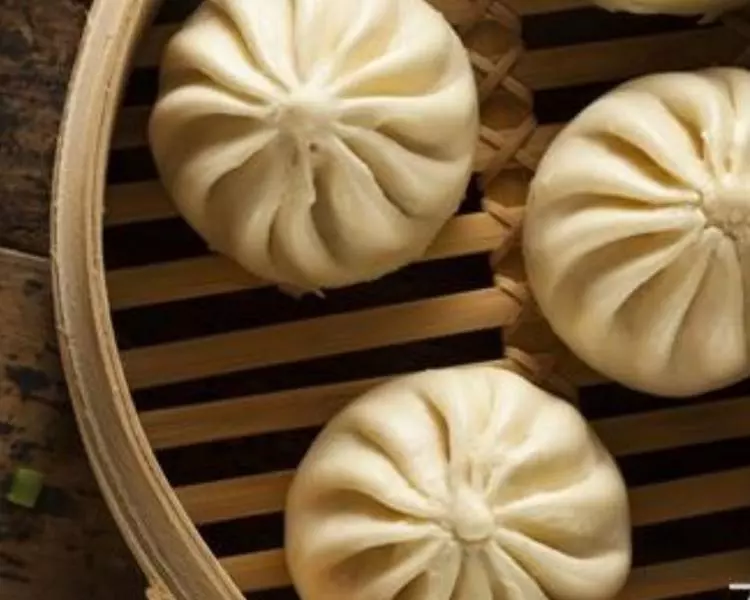
38包包子,封口处捏实。
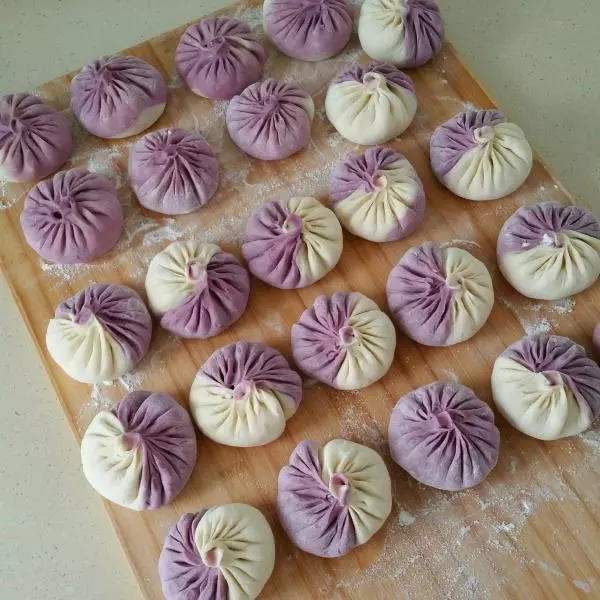
39剩余的面团按此步骤依次做好,如果最后面用不了,可以揉成馒头一起蒸。包好的包子放面板上静置20分钟,进行二次发酵。
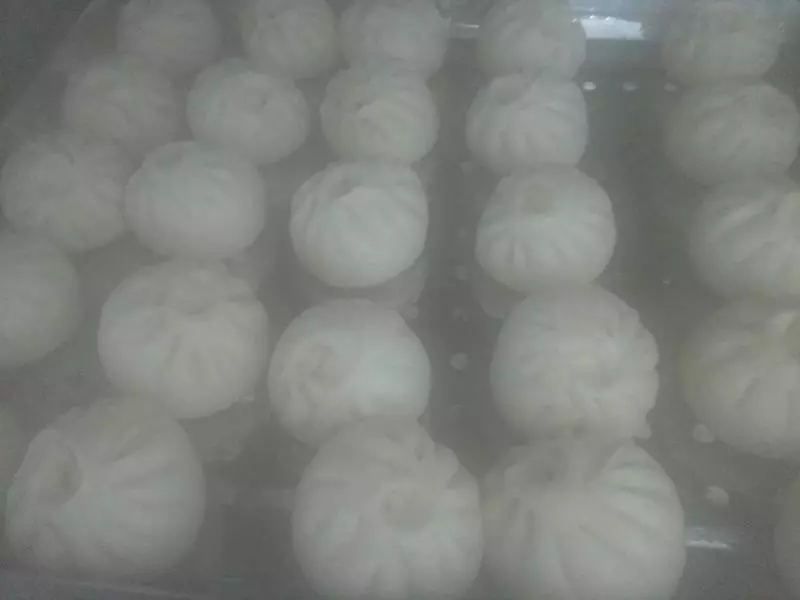
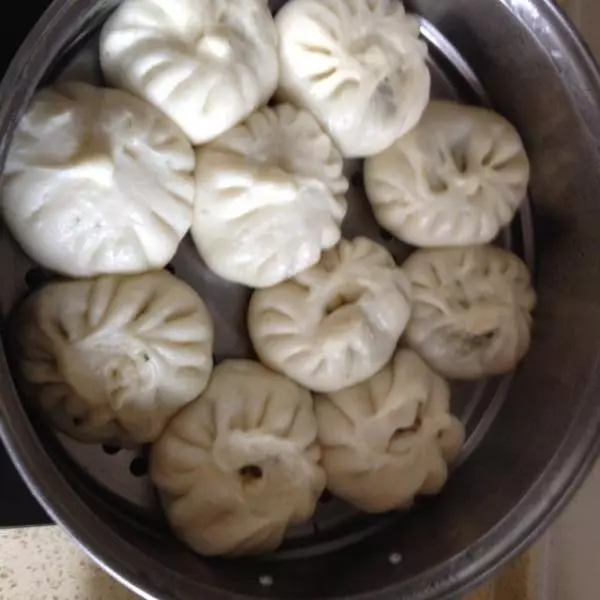
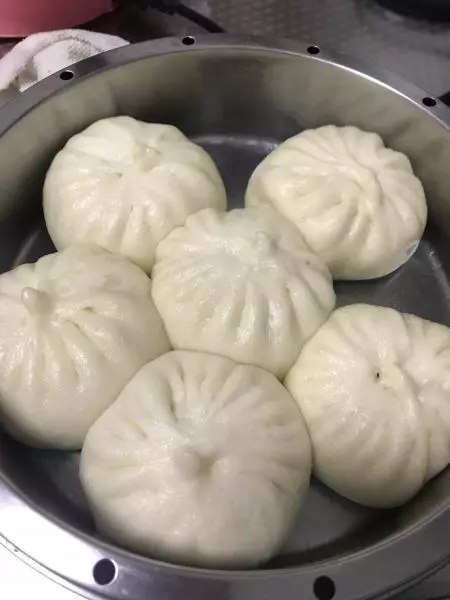
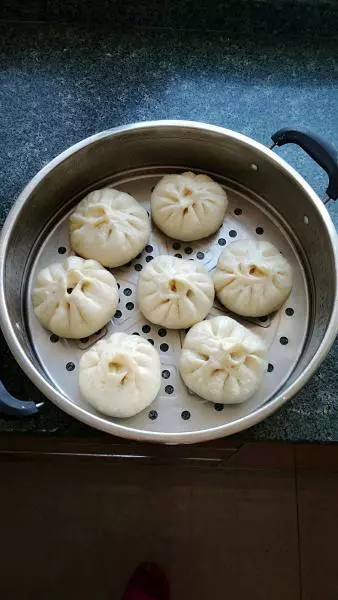
40发酵好的包子冷水上蒸锅,蒸18分钟。
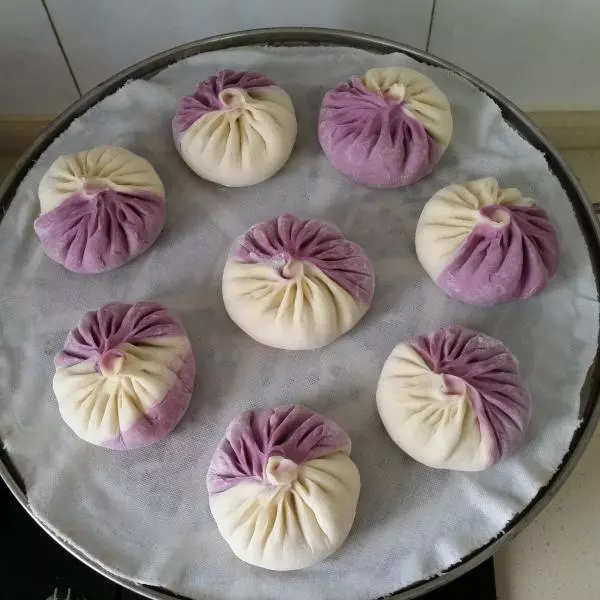
41关火后焖五分钟再开锅。
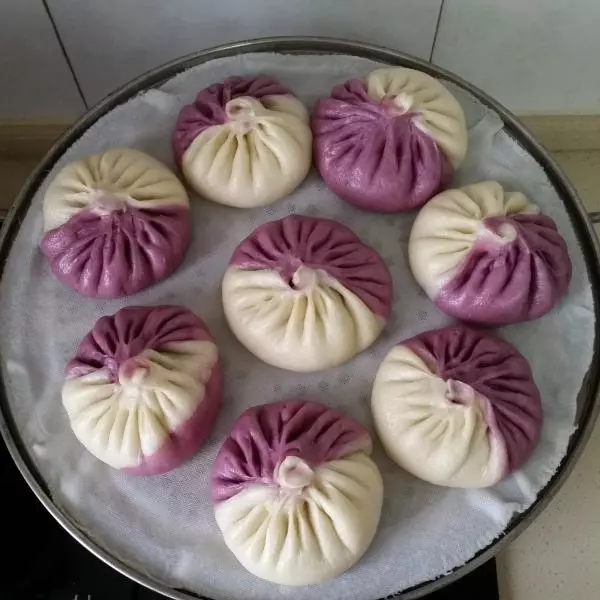
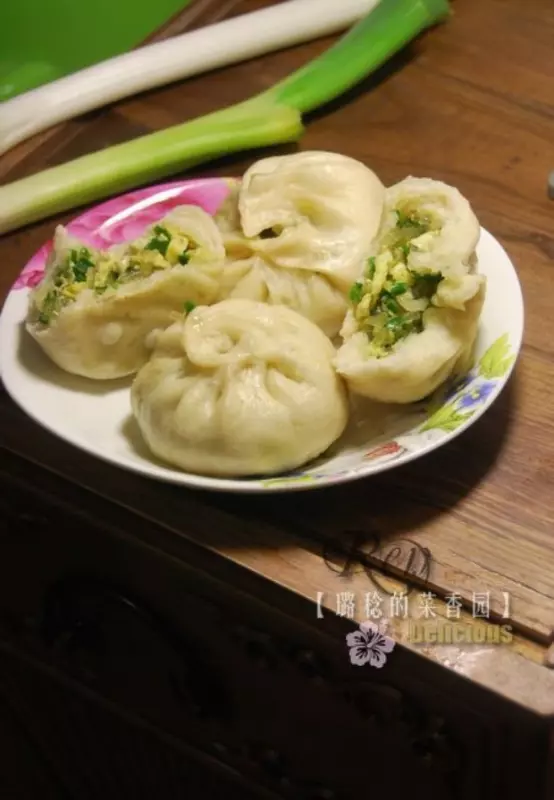
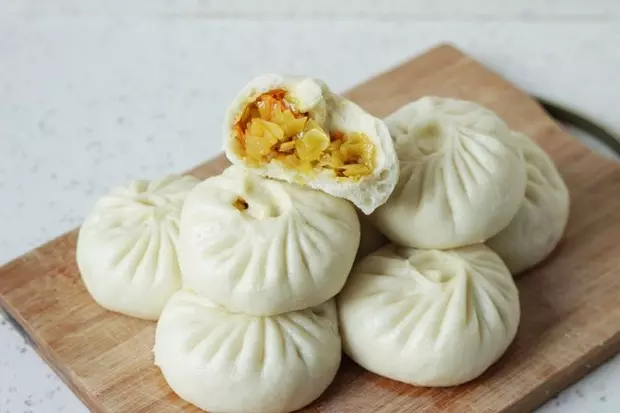
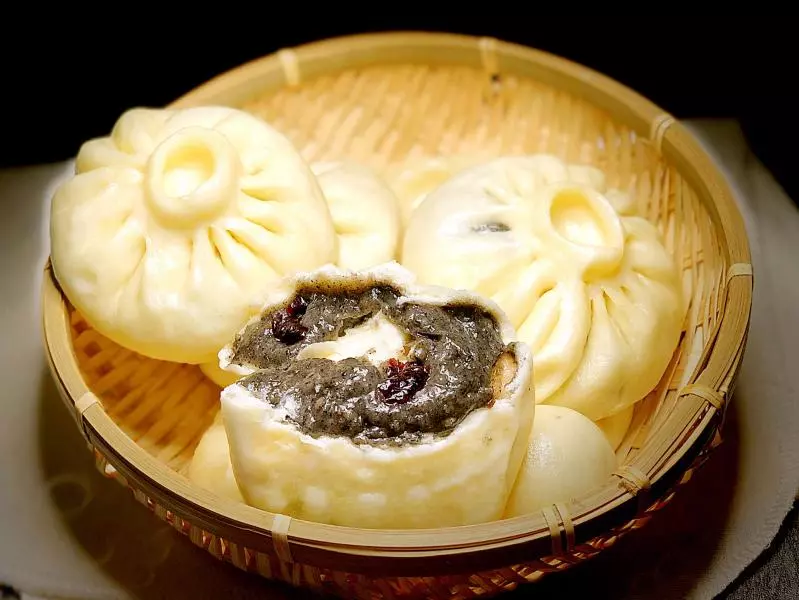
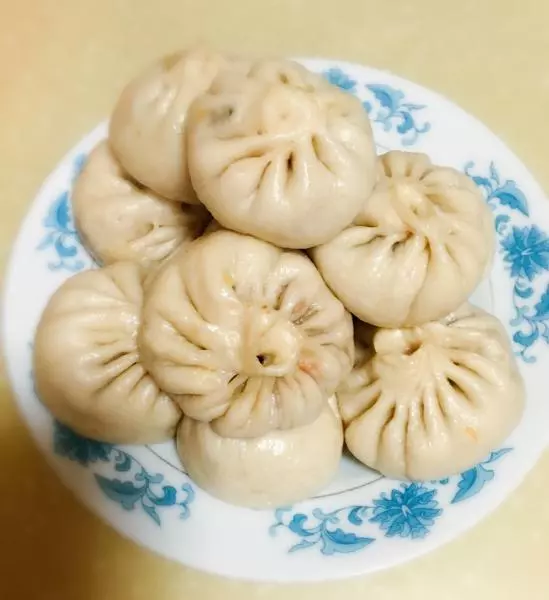
42可以出锅了。
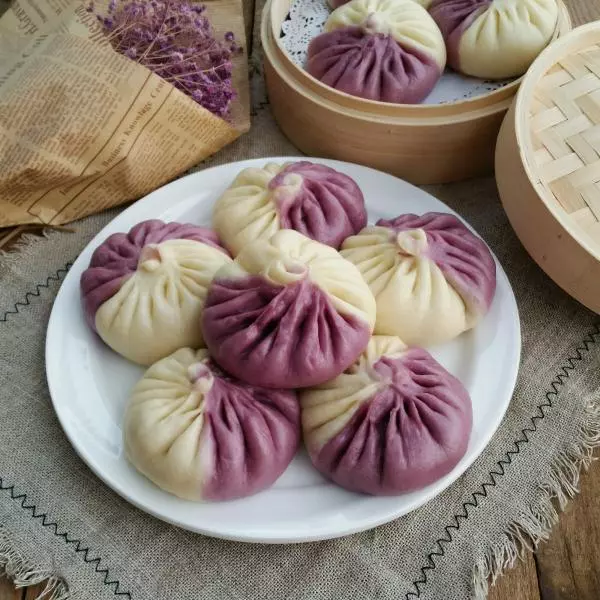
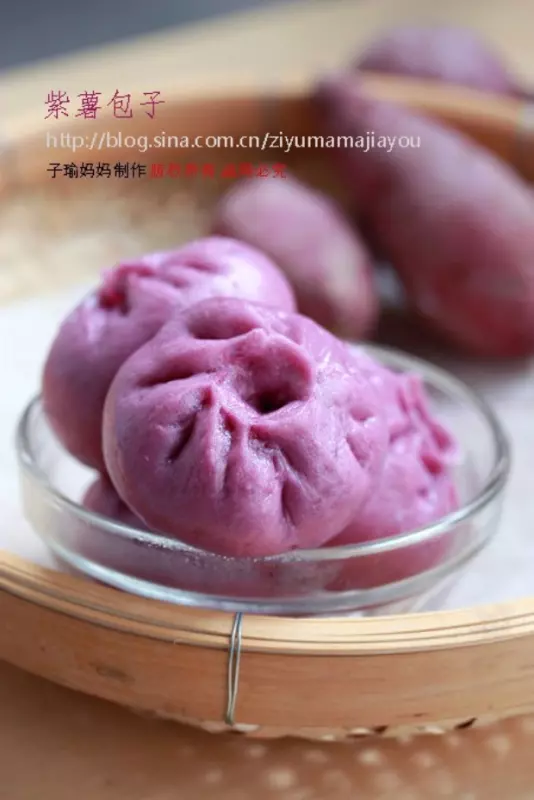
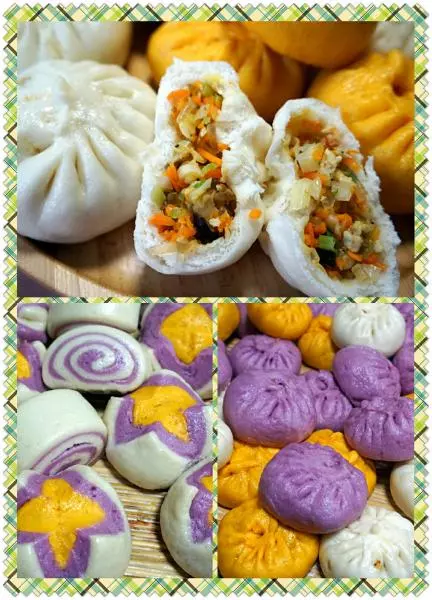
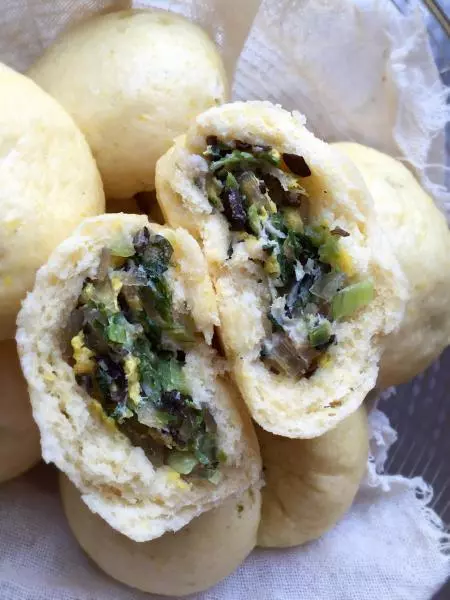
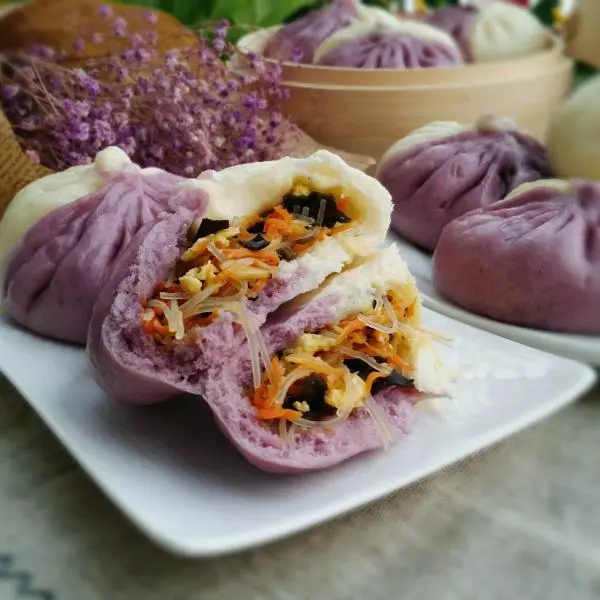
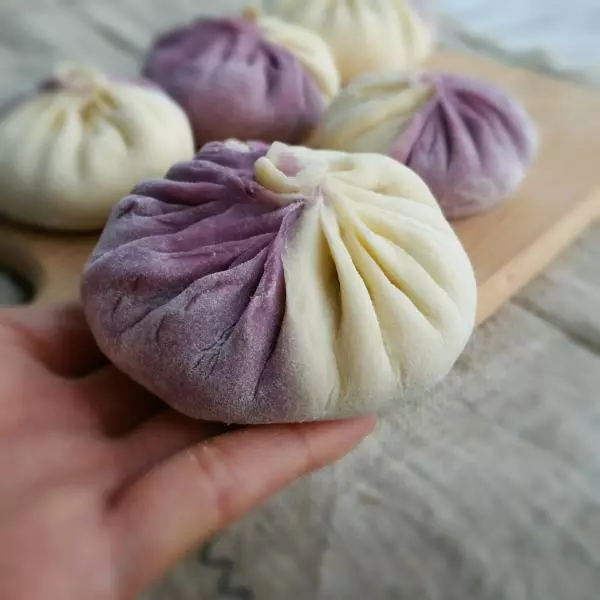
43紫色和白色交替的颜色是不是很漂亮。
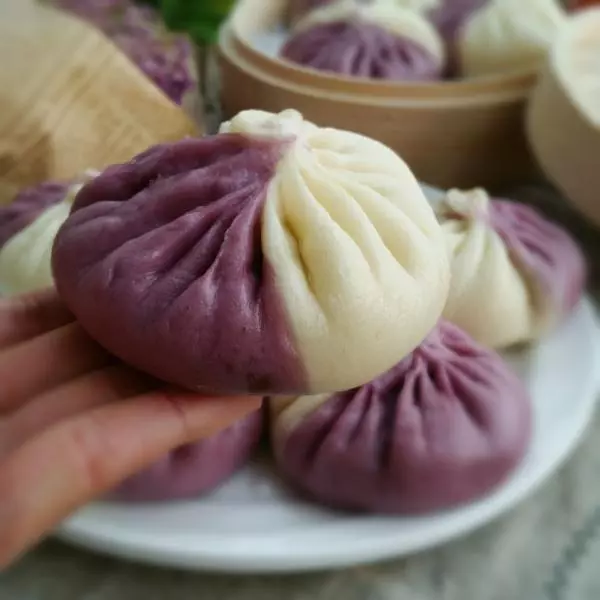
44馅料也很丰富。

45一目了然的步骤图。