原料
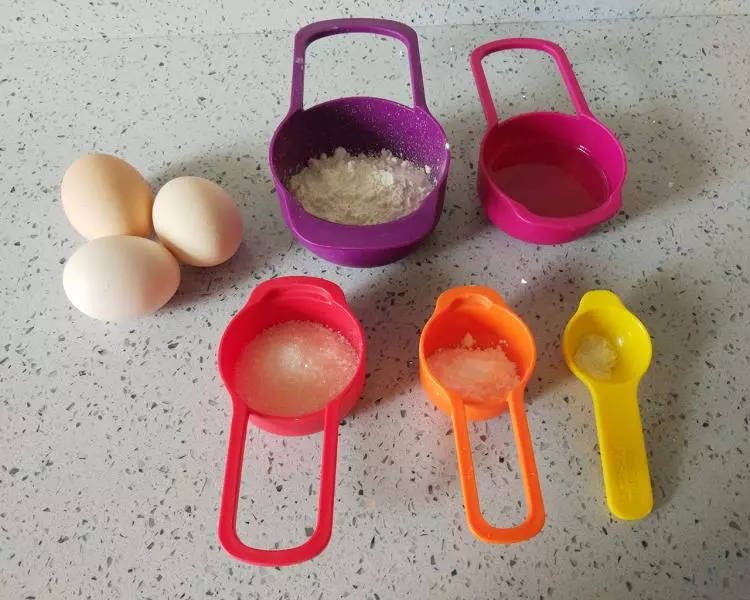
#蛋黄糊:: , 蛋黄: 2个, 全蛋: 1个, 植物油: 40g, 低筋面粉: 45g, #蛋白霜:: , 蛋白: 两个, 白糖: 30g, 玉米淀粉: 5g, 食盐: 1g
步骤
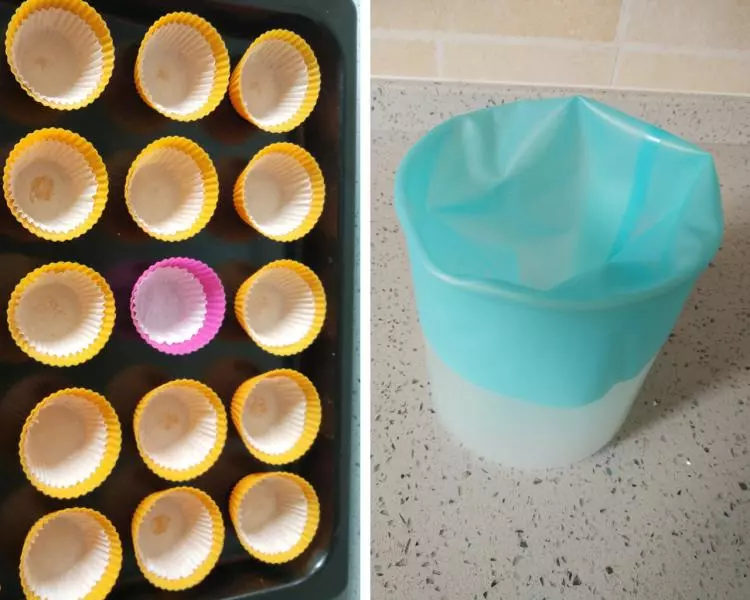
1提前准备工作:将小纸杯放入模具中,找一个容器放入裱花袋稍后倒面糊。
2准备所用到的食材
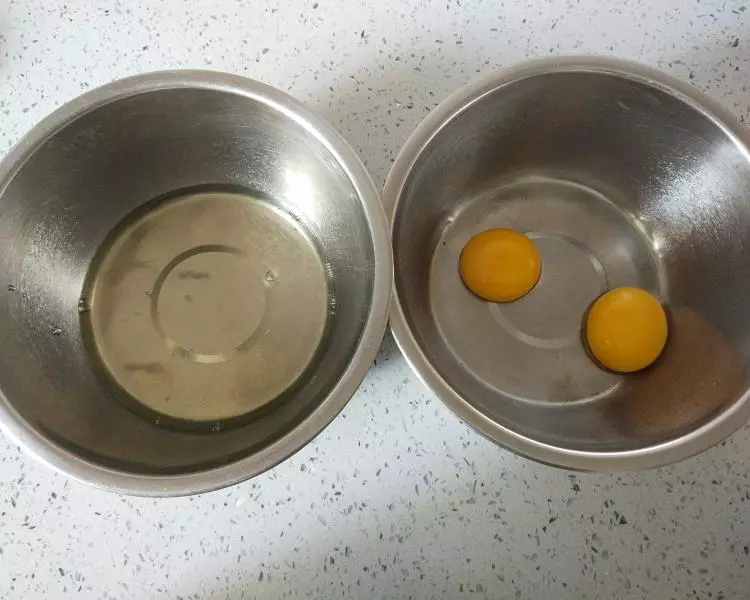
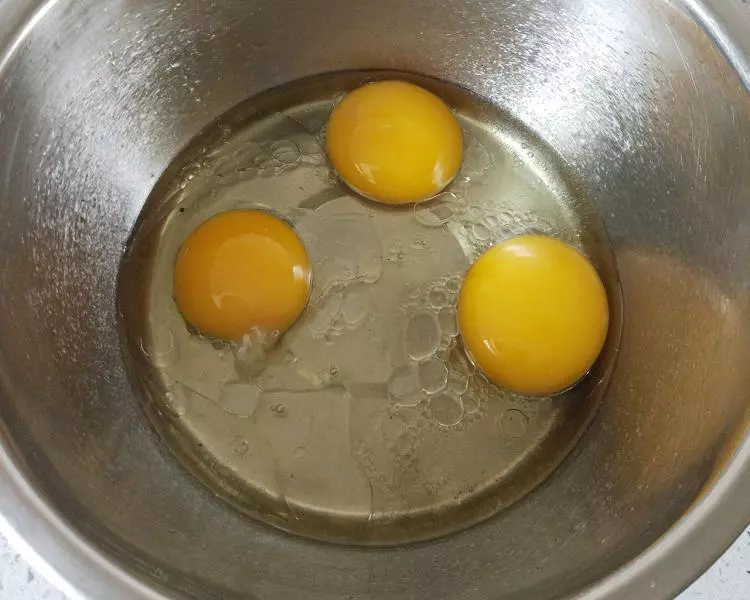
3将冷藏的鸡蛋,蛋黄蛋清分离。
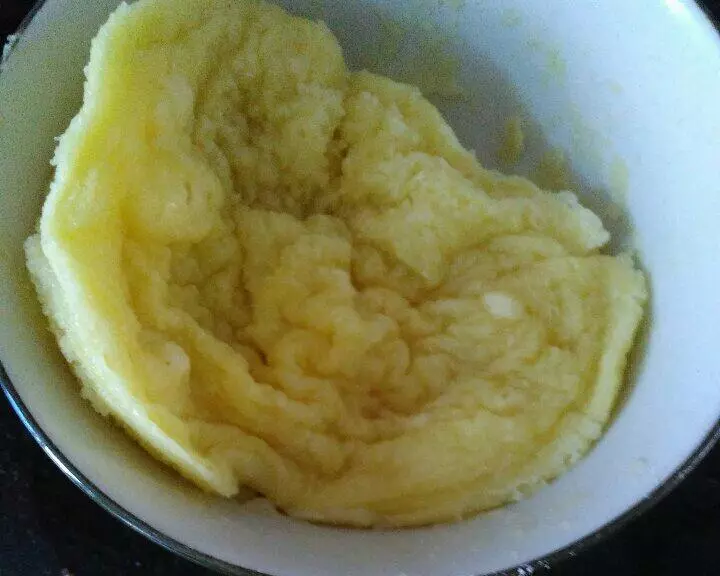
4蛋黄盆里再加入1个全蛋,植物油晃匀备用。同时开始预热烤箱,130度。
5开始打发蛋白霜,用打蛋器低速将蛋白打至变成白色
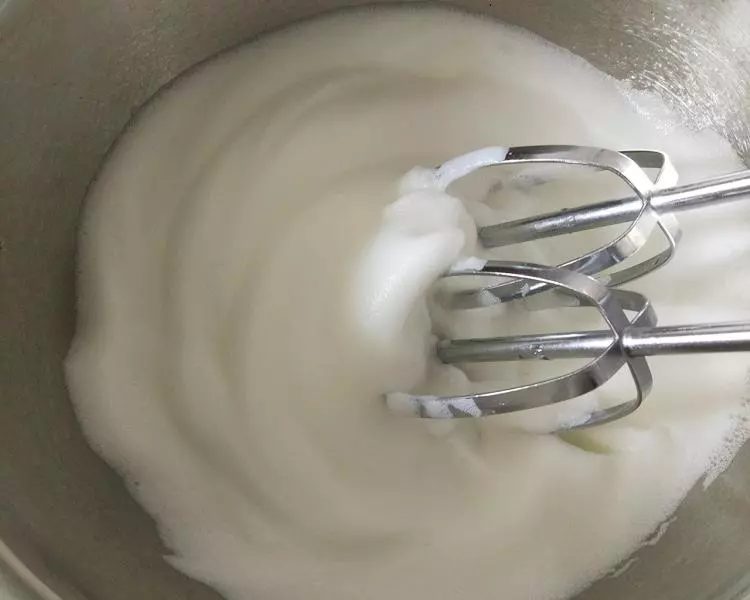
6第一次加入白砂糖转中速打发至有小勾,第二次加入白砂糖,中速打发至有大尖勾。
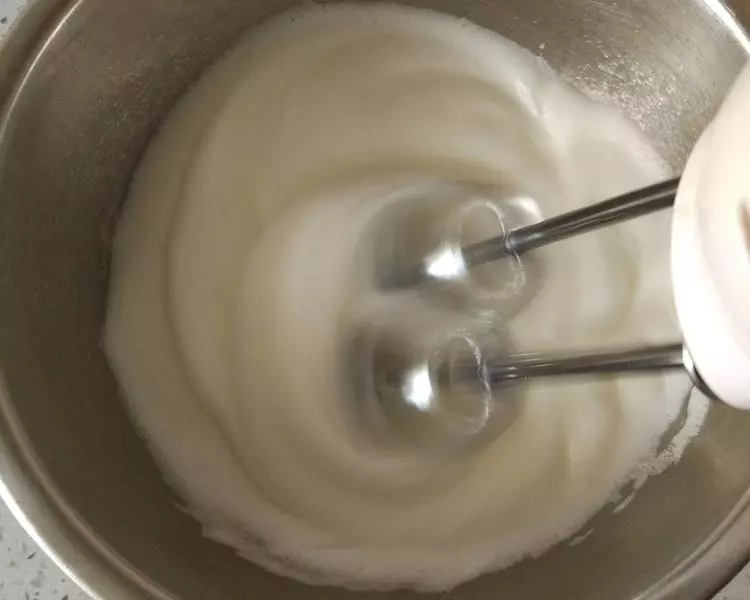
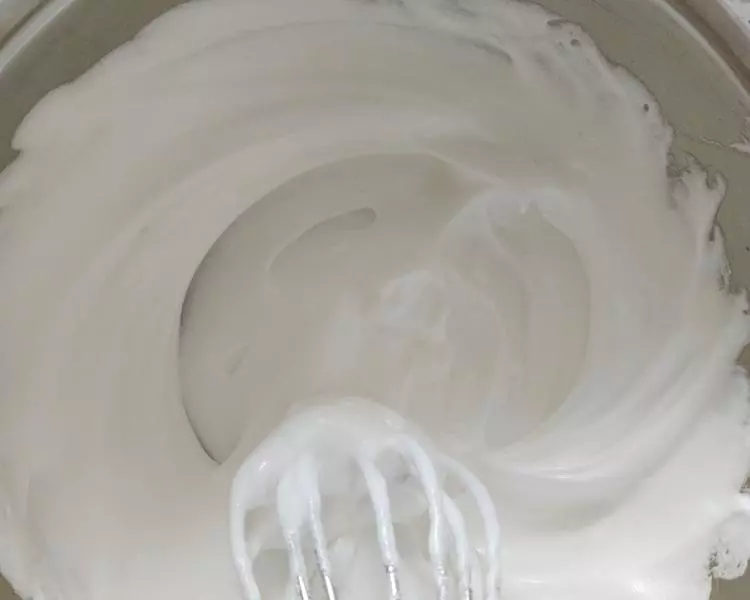
7最后一次加入白砂糖,玉米淀粉和食盐一起加入打发至硬性尖勾。(打蛋器提起来尖勾的是直的)

8蛋白霜打发好后,用刮刀拨开看组织是洁白,细腻的。蛋白霜先放置一旁,稍后做好蛋黄糊后要再检查一下。
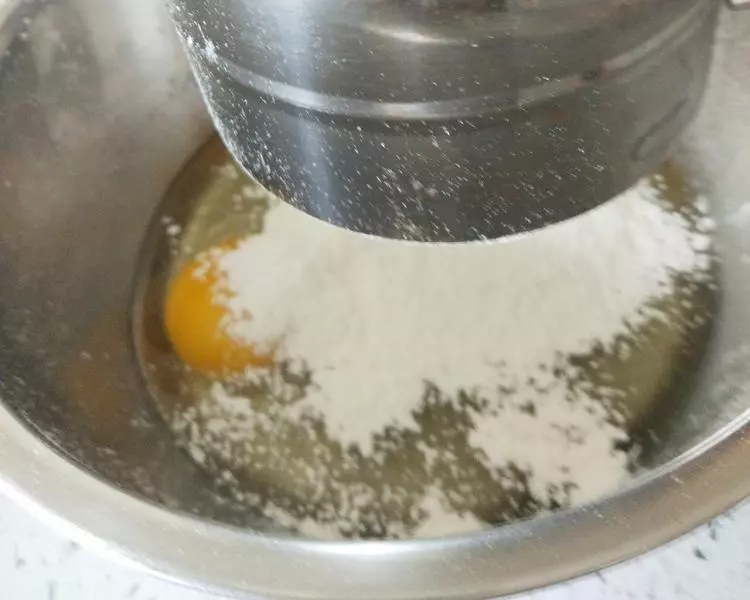
9制作蛋黄糊:将面粉过筛加入蛋黄盆里,用电动打蛋器低速搅打几圈至蛋油融合及和面粉充分混合,无颗粒。
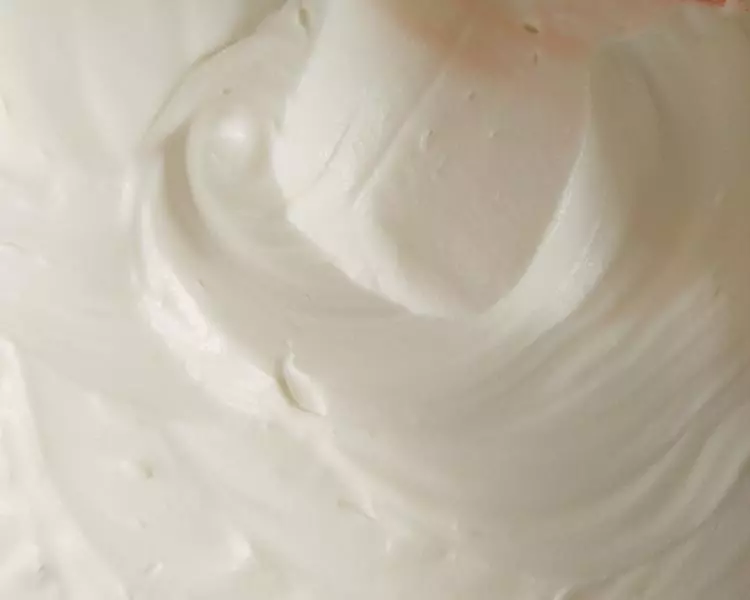
10蛋黄糊准备好后,检查蛋白霜,合格的蛋白霜是洁白,细腻,无气泡的。若这时蛋白霜有些许消泡的话,用手动打蛋器快速搅打几下至恢复细腻状态。
11混合蛋糕糊:取二分之一的蛋白霜加入蛋黄糊中,刮刀从盆中间入,顺时针,从下往上翻拌,同时手逆时针转动盆,形成相反的作用力。(注意:不要画圈搅拌)
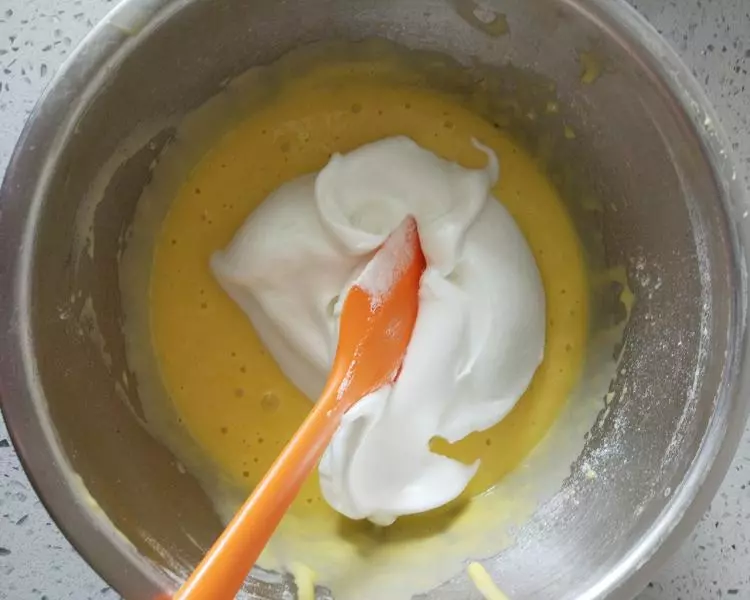
12翻拌好后,再将剩余的蛋白霜倒入盆中,以同样的翻拌手法搅拌均匀。

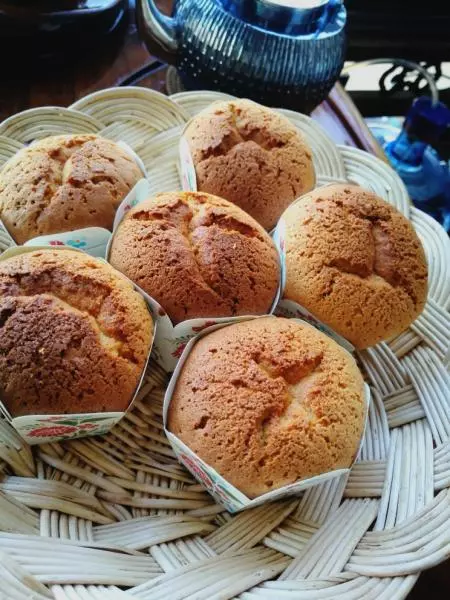
13混合好的蛋黄糊,装入裱花袋挤入准备好的纸杯模具中,入烤箱。
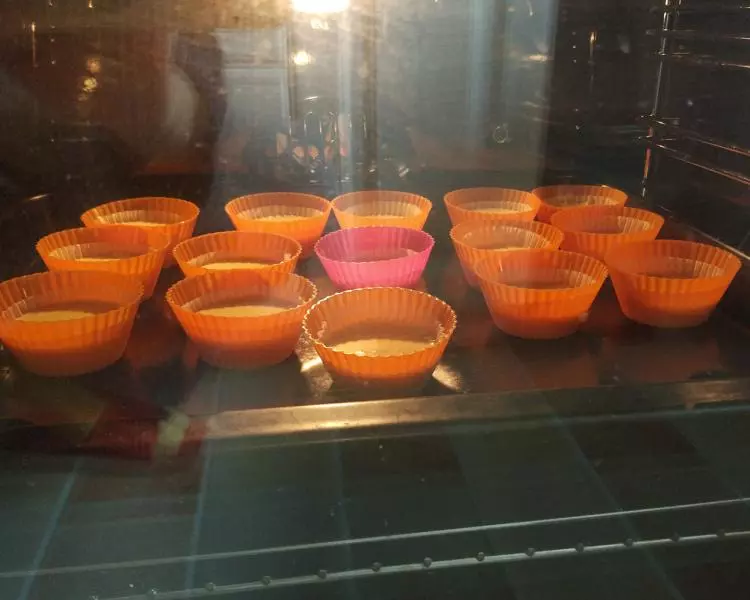
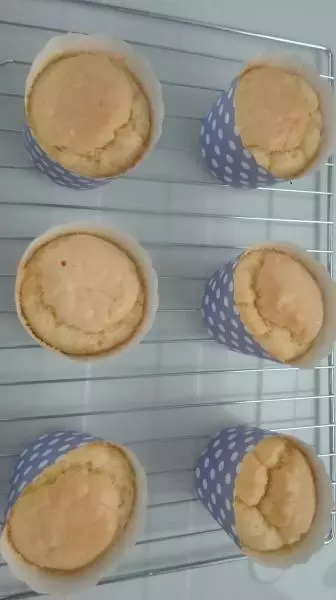
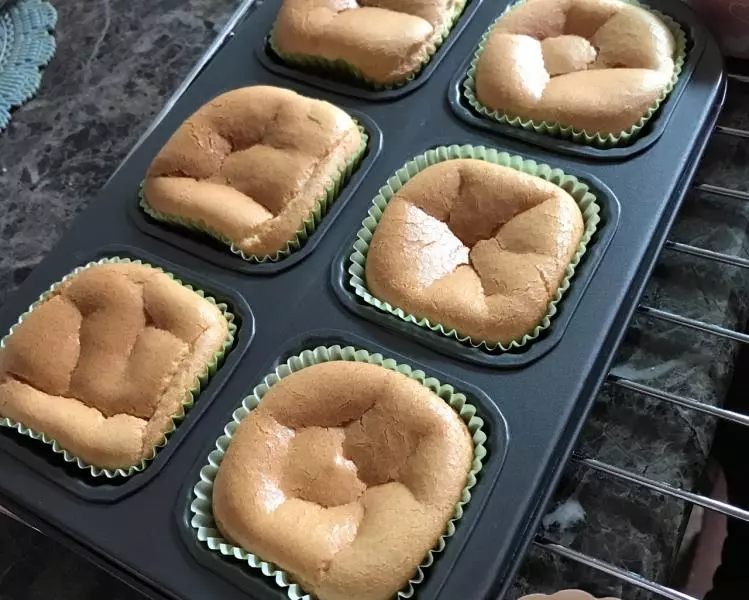
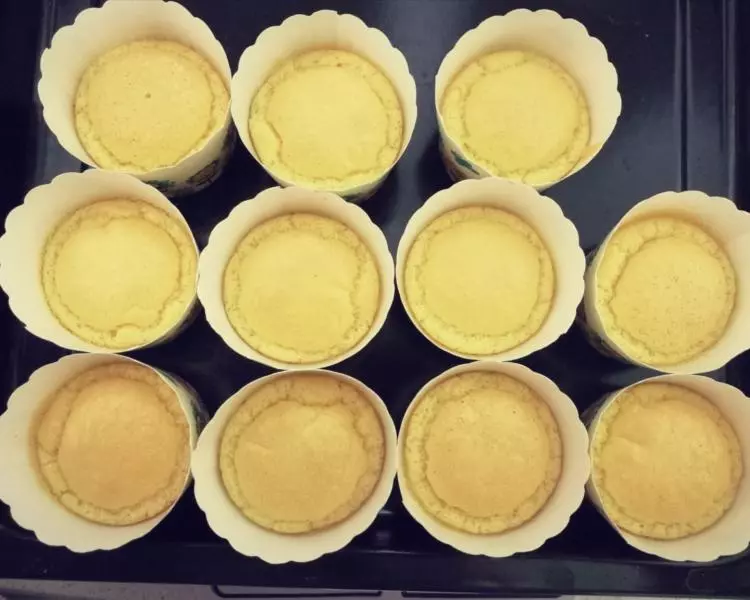
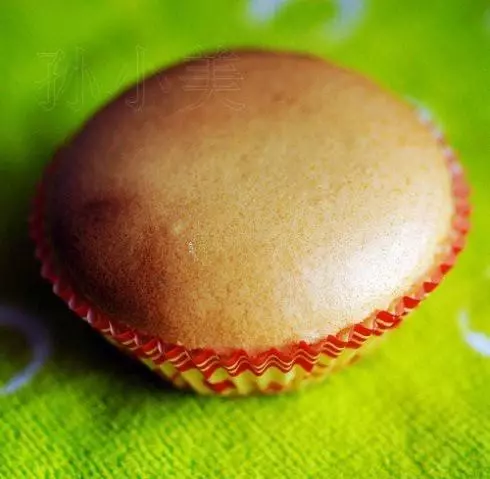
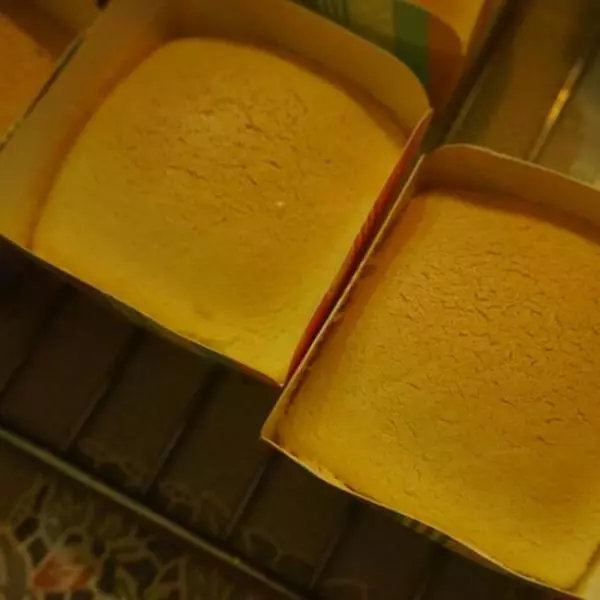
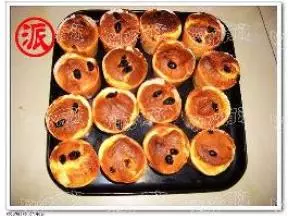
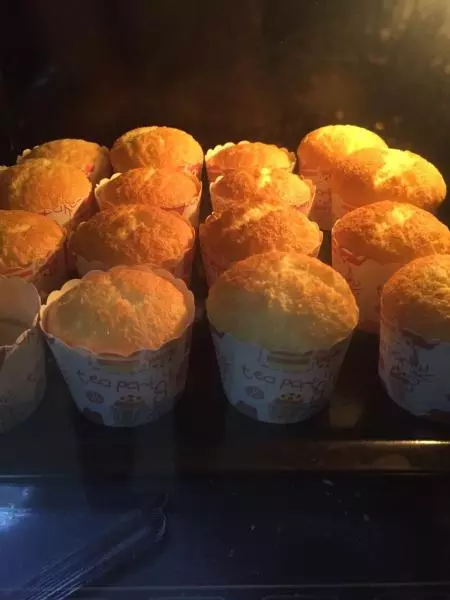
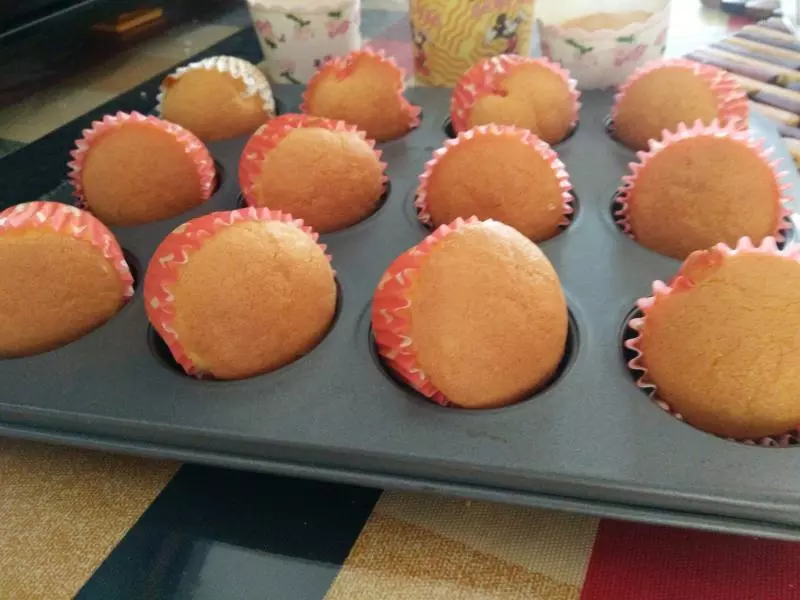
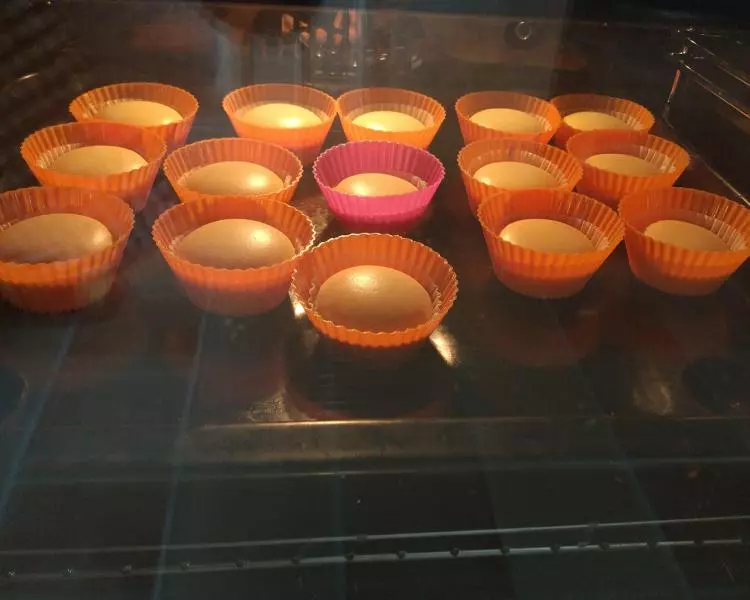
14130度,烘烤15分钟。转150度,烘烤10分钟,最后转170度,烘烤5分钟上色。(这图是130度烤制15分钟后的样子。)

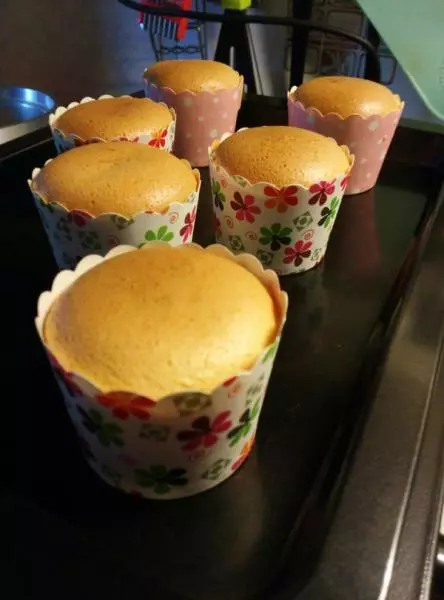
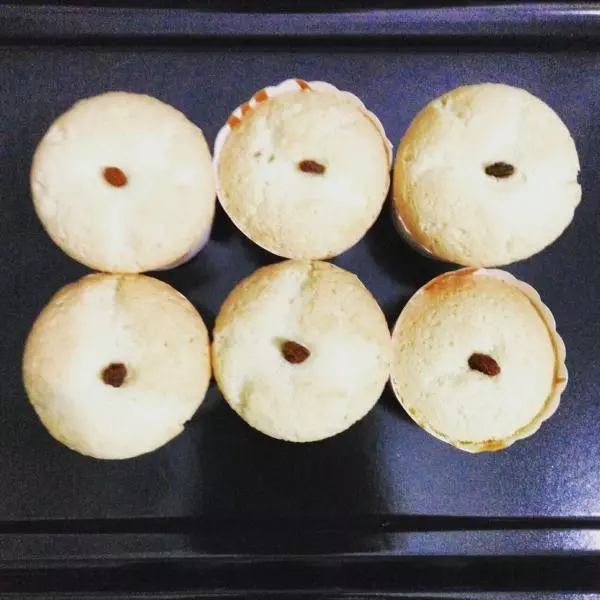
15烤箱断电后,蛋糕再等5分钟再出炉。(这图是烘烤30分钟后,断电前的样子)
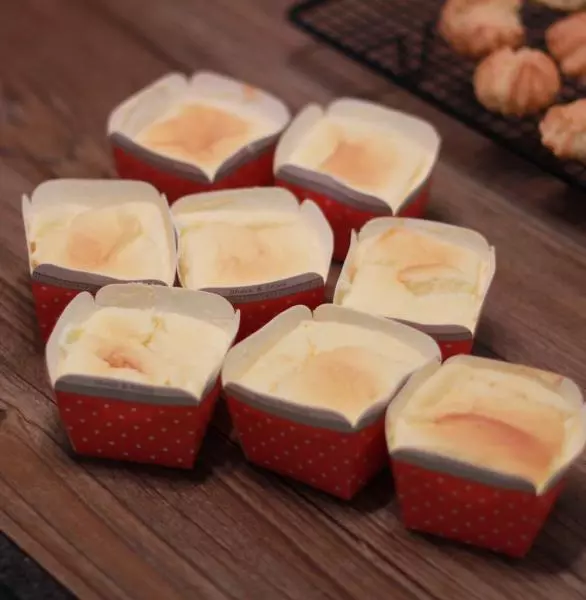
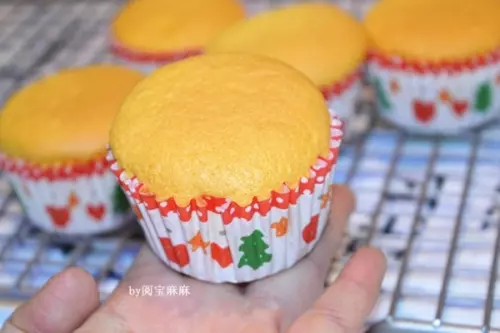
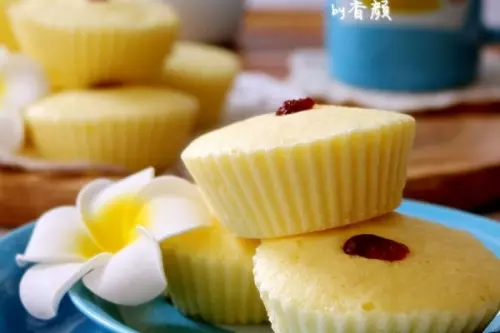
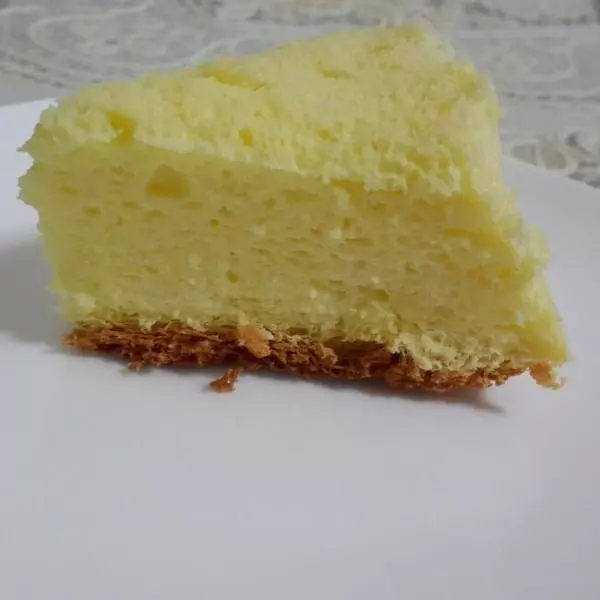
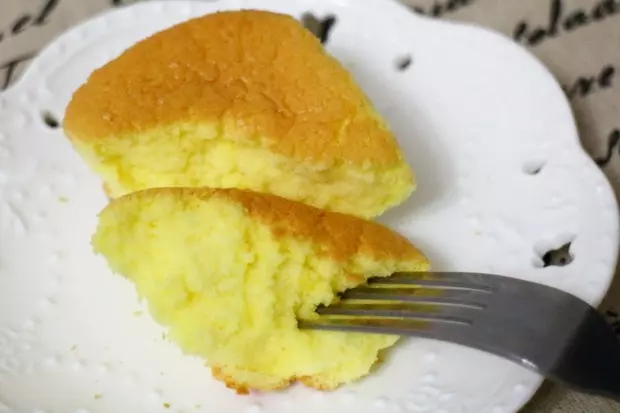
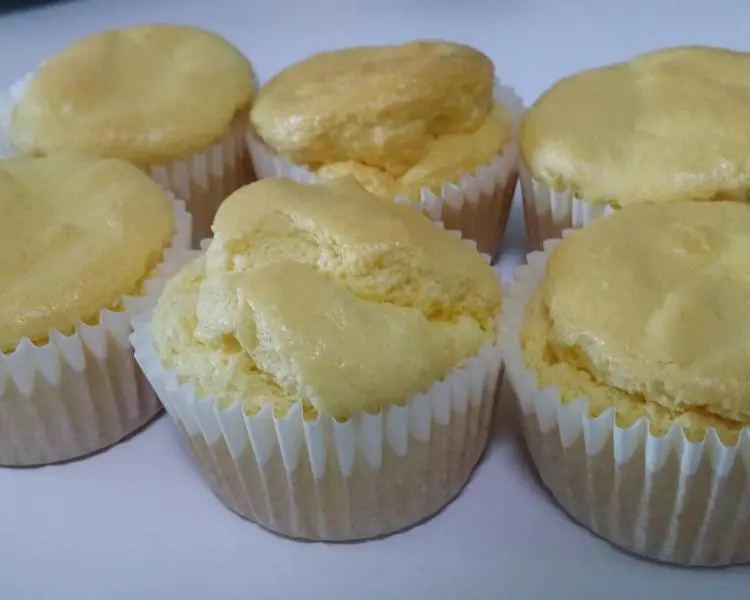
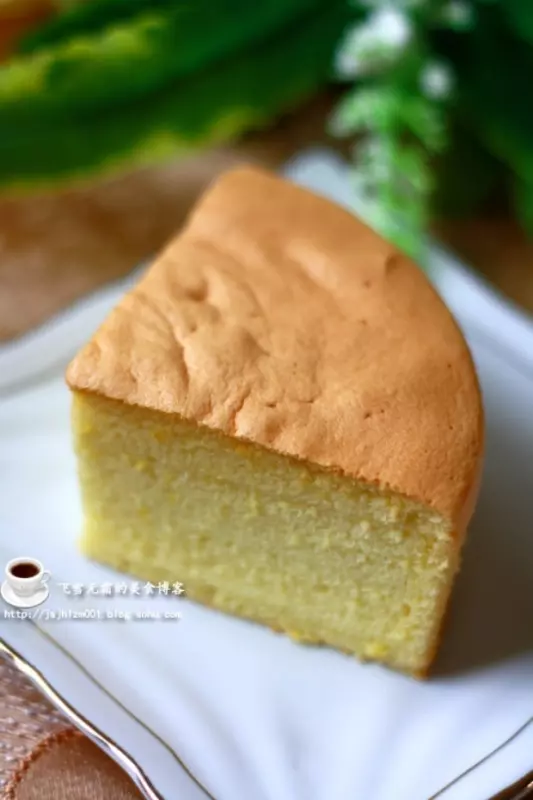
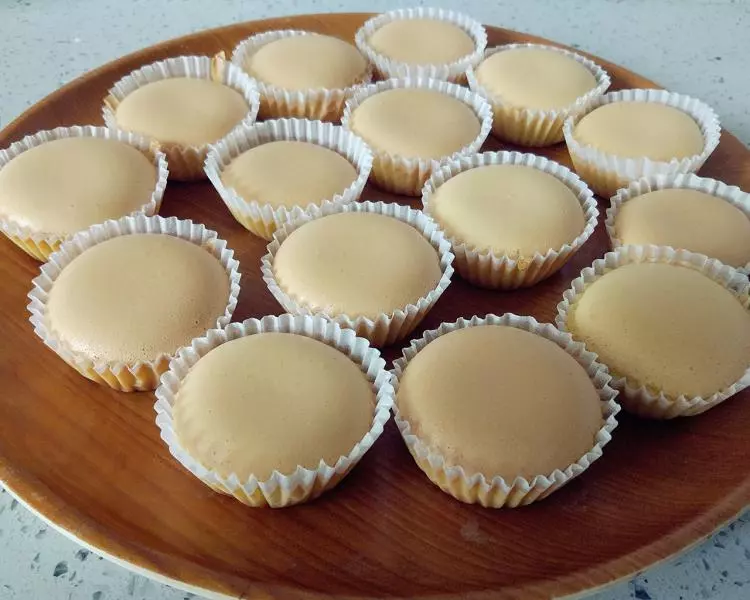
16等待5分钟后,取出蛋糕,晾凉就可以食用啦。
小技巧
1.每个烤箱的温度控制不大一样,烘焙时间可以需要根据自己家的烤箱特点,做调整。我家的烤箱我也是试验了好几次,才掌握到技巧的。 2.蛋黄糊做好后,一定要检查蛋白霜,合格的蛋白霜是蛋糕成功的关键。 3.烘焙时间到后,等5分钟后再出炉,避免烤箱内外温差大,突然取出造成蛋糕凹陷。 4.我用的小纸杯是底部宽约3.6cm,高度约2.5cm的小纸杯。需放在模具中使用的。此方的成品差不多15个。