简介
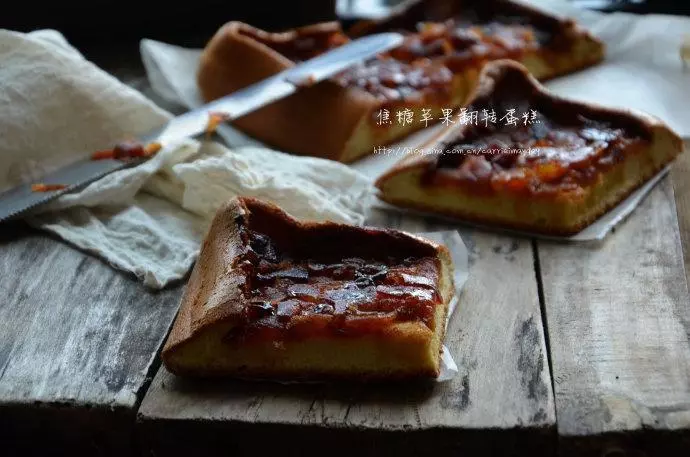
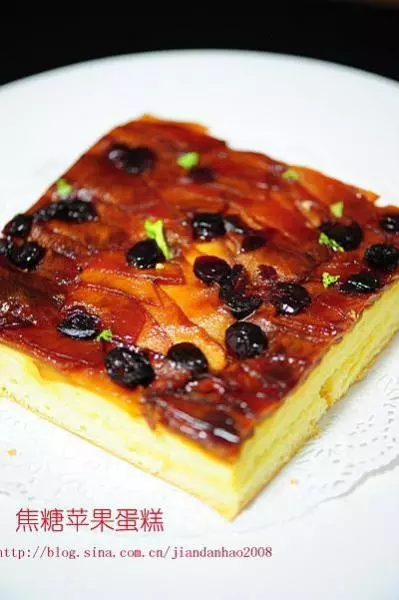
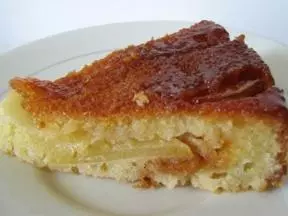
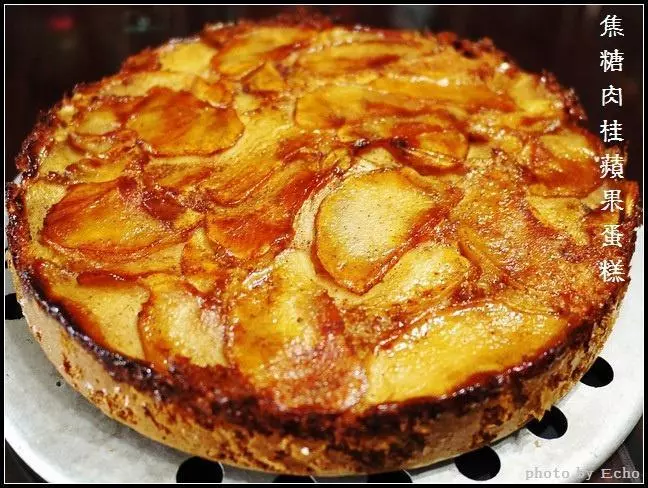
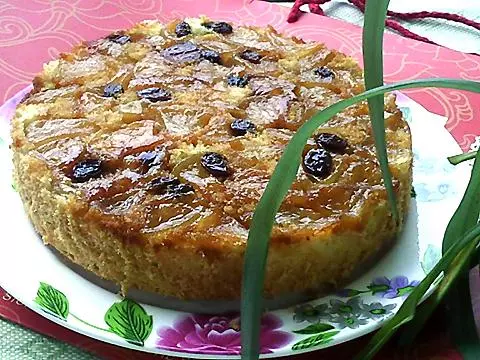
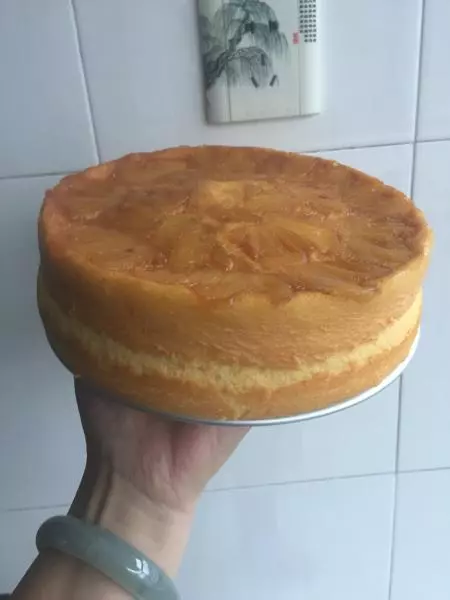
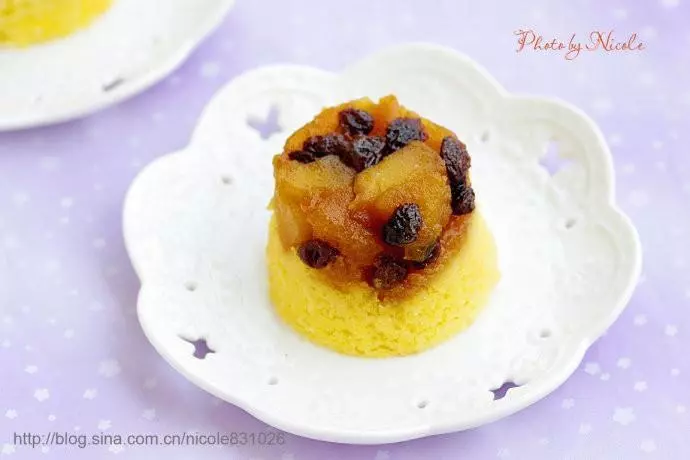
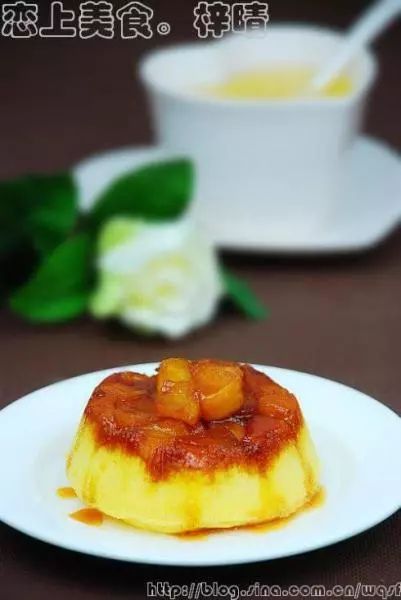
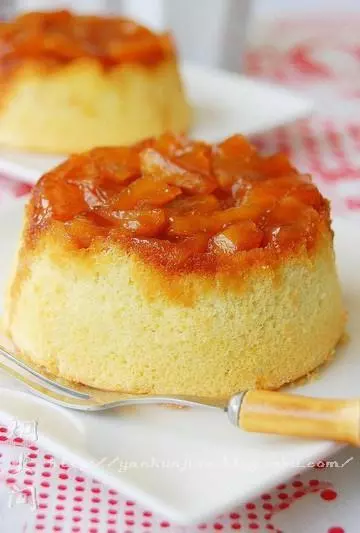
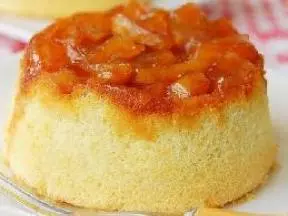
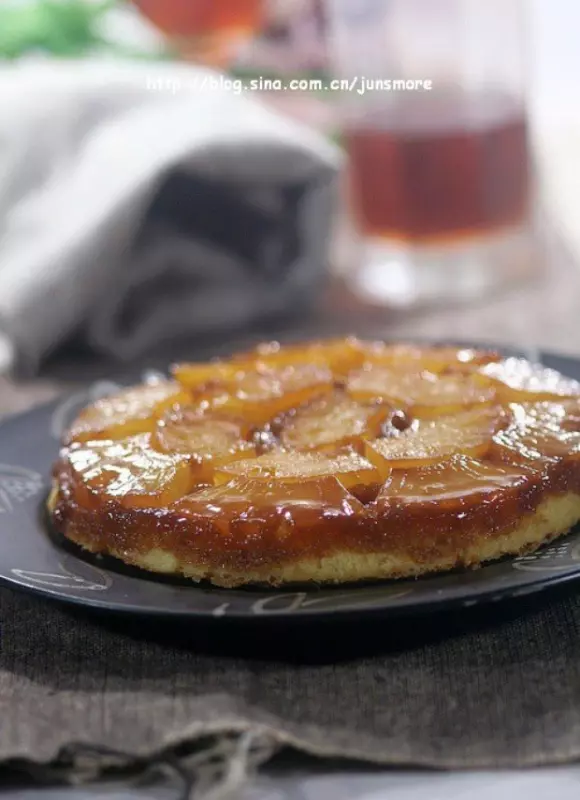
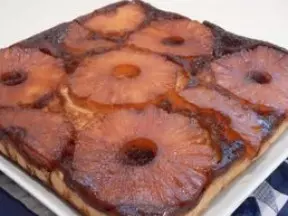
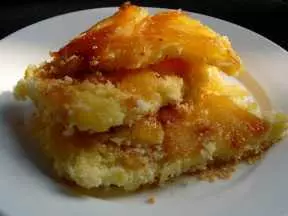
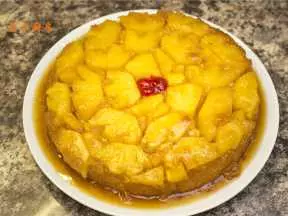
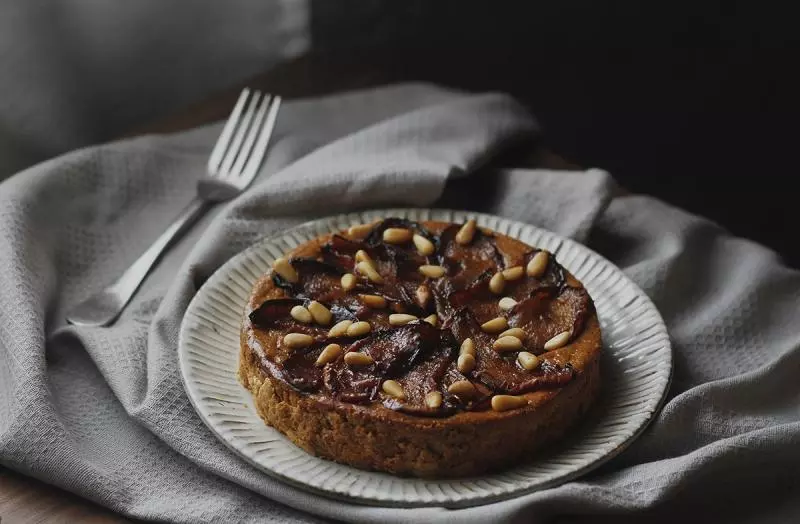
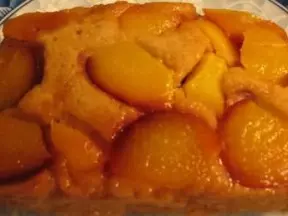
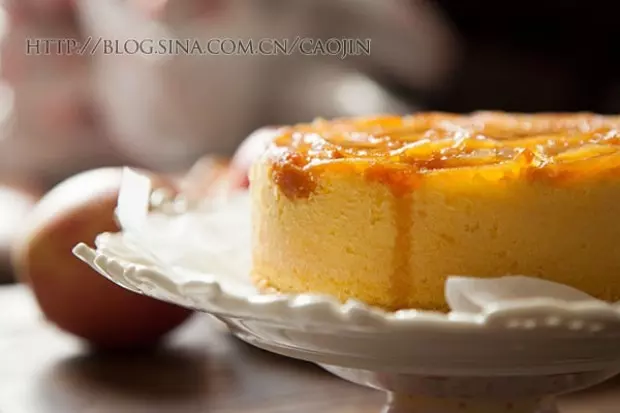
这是一个一秒变格格的蛋糕.. 前一秒刚出炉,还是个普普通通素面朝天的蛋糕,下一秒钟,华丽的180度空翻,立马变格格了~~ 焦糖苹果翻转蛋糕。 糖虽甜腻,但是当加热到微微焦色,就变成略带微苦的焦糖。 当焦糖与苹果的碰撞,当果汁慢慢渗出,果肉变得半透明琥珀色的时候,便酝酿出别样的滋味。
原料
苹果 1个,中号, 细砂糖 60g, 热水 20g, 黄油 约5g, 朗姆酒 约1/2-1小勺, 低筋粉 82g, 鸡蛋 120g, 细砂糖 70g, 黄油 24g, 牛奶 24g
步骤
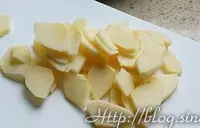
1苹果洗净去皮,竖着切4瓣,再切成小片
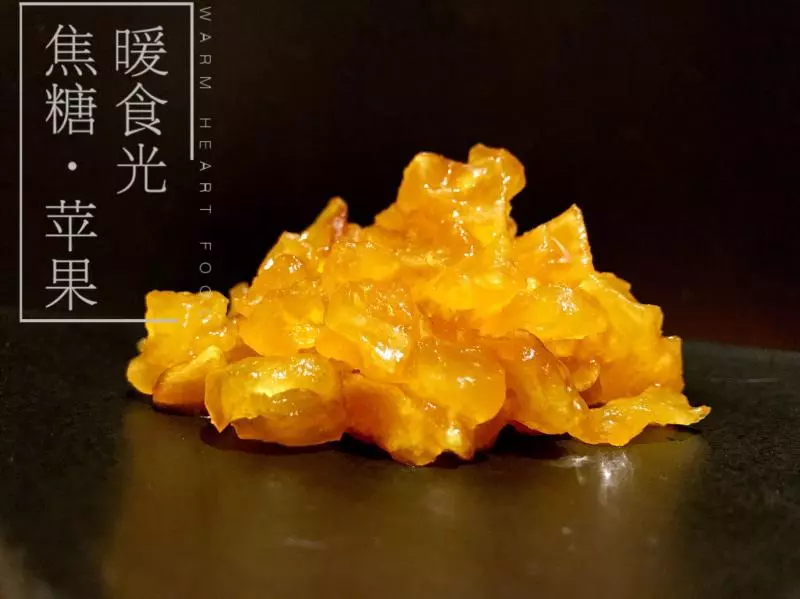
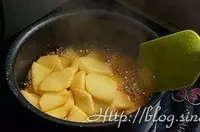
26寸大理石圆模内放砂糖,小火加热到出现琥珀色,加入热水,再加入苹果片(如果使用其他不能直火加热的模具,请另外用一个锅哦)

3继续加热到苹果变软,渗出果汁。注意翻炒,让苹果均匀都沾上汤汁
4加入黄油融化
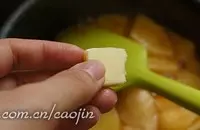
5加入朗姆酒提味

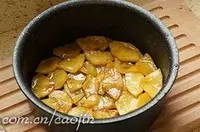
6倒入多余的糖浆,整理苹果片,均匀的铺在模具底部。(如果你的苹果很大,剩余很多苹果片,没关系,可以冷藏保存,可以当果酱,或者包馅都可以哦)
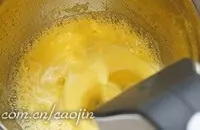
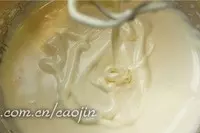
7蛋液加入砂糖,打散。水浴加热到约38度(用手指测量接近体温或者稍热一点点)

8用打蛋器倾斜伸入蛋液,高速打发蛋液
9当蛋液明显颜色变浅,体积膨胀,打蛋器拎起面糊不立刻消失,流下能划出8字。转中速继续搅拌
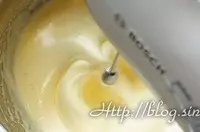
10接近完成时,用低速(打蛋头与蛋液垂直)搅拌几圈,消掉蛋糊中的大气泡
11倒入1/3低筋粉
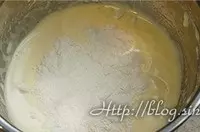
12用蛋抽搅拌均匀。重复以上,直至低筋粉全部拌匀。(低筋粉需提前过筛)
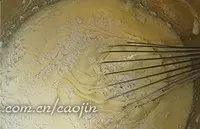
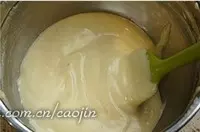
13黄油和牛奶需提前融化并保温约40度,沿着刮刀淋,入面糊表面
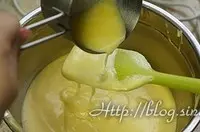
14用刮刀快速拌匀
15倒入模具约8分满,轻震2下,不要震多防止面糊穿过苹果
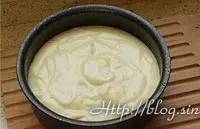
16烤箱预热180-190度(因蛋糕底铺了水果,所以需要温度比普通海绵蛋糕略高一点,烤箱的火力会因品牌,尺寸而异,请根据自家自行调整哦),中下层烤约30-35分钟。出炉震模,倒扣,几分钟后蛋糕自动掉出。如果没有趁热脱模,焦糖冷却变粘可能会底部黏住,此时也可以将模具用火略加热以下,让糖浆融化,可以倒扣脱模。(如果是其他模具,非不粘,建议模具抹油或者垫纸)

小技巧
配上一杯香茗,淋上一点糖浆,徜徉如此暖阳,如不佐以如花蛋糕,岂不枉费这春光!