简介
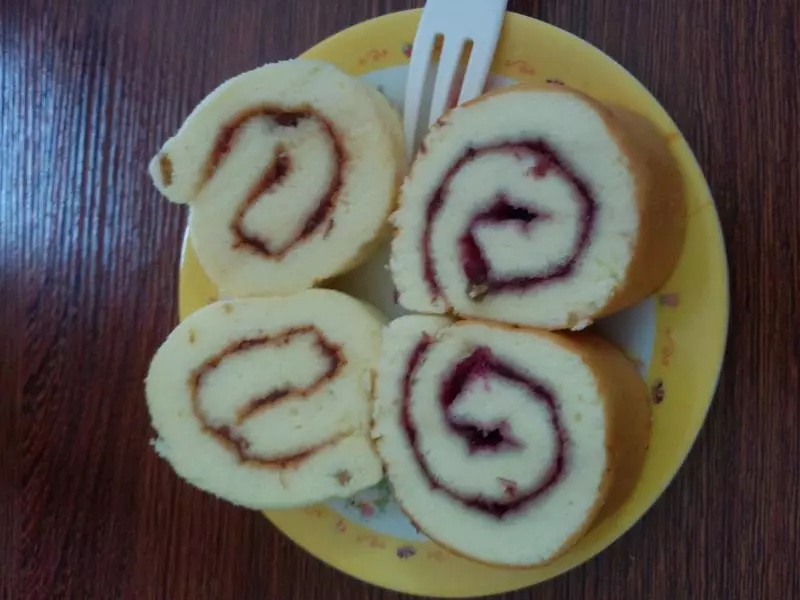
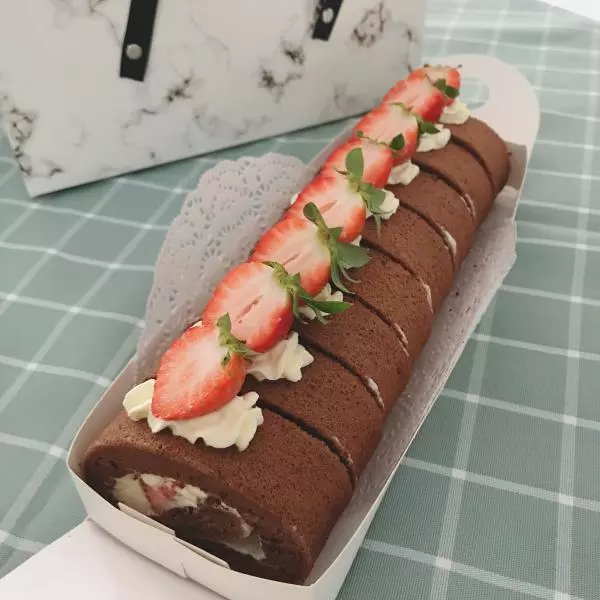
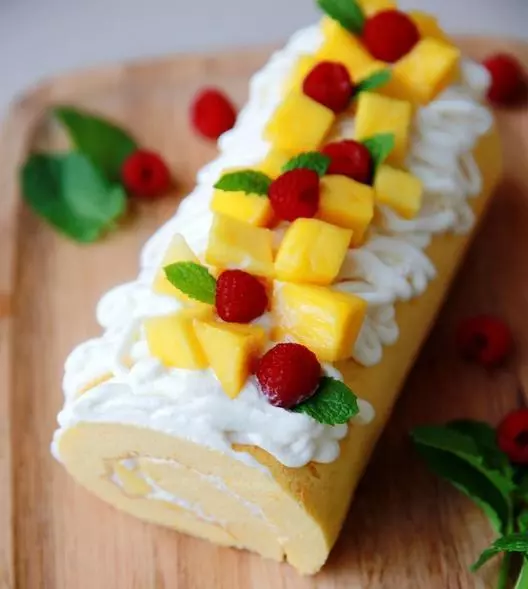
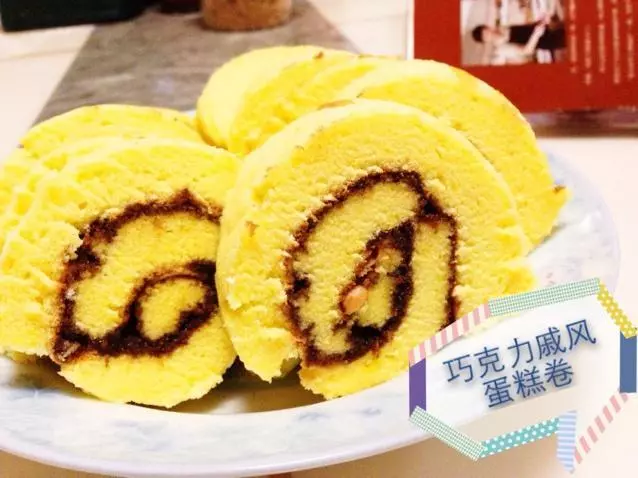
近段时间,我的美食群(170721134)里的姐妹们烘焙热情高涨,受她们的传染,俺也备齐了烘焙所缺的料,专门去买了淡奶油。双休日在家做了奶油蛋糕卷。 这款戚风奶油蛋糕卷,用了戚风蛋糕的配方,里面卷了奶油,是款很经典的蛋糕卷了。这款蛋糕卷的配方很不错,做好后很湿润有弹性,很容易就卷起来了。
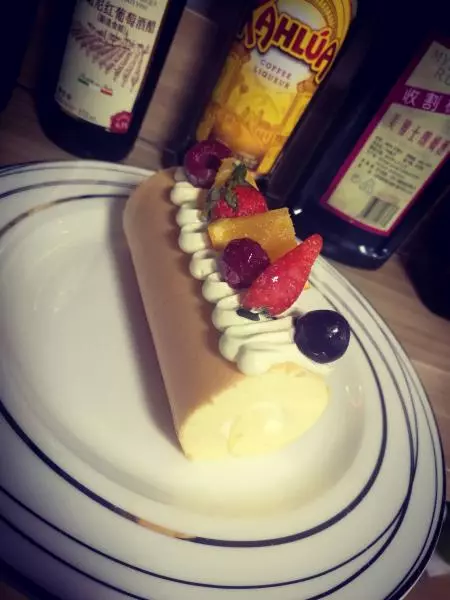
这款戚风奶油蛋糕卷,口感绵蜜香甜,吃上一口,很甜蜜的滋味,很幸福的感觉,做下午茶点也很不错哦,相信会很受精致小女人的喜欢的。做下午茶甜点很不错哦。
原料
鸡蛋4个,低粉80克,白糖50克,色拉油50克,牛奶60克,柠檬汁或白醋几滴。, 馅料:, 淡奶油150克,白糖20克。
步骤
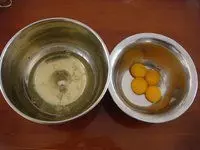
1把鸡蛋用分离器分出蛋白和蛋黄,分别放入容器中。
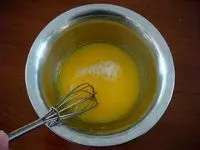
2蛋黄搅拌均匀,分别加10克白糖、色拉油和牛奶搅拌均匀,每加一种都搅拌均匀后再加下一种。
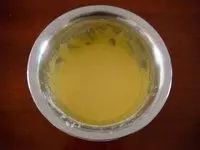
3把面粉筛入蛋黄糊中。

4搅拌到无干粉中顺滑的面糊。
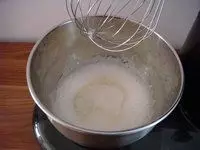
5把蛋白放入厨师机中,直接打开三档搅拌。
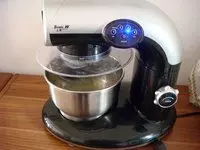
6搅拌至粗泡时,加入白糖40克,继续搅拌。
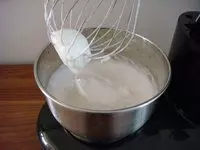
7搅拌蛋白澎大至湿性发泡时即可。
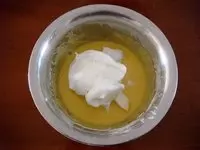
8用橡皮刮刀轻轻搅拌均匀,注意搅拌的时候,用橡皮刮刀从底部向上翻拌和切拌,不要划圈搅拌以免蛋白消泡和面粉起筋。
9把搅拌好的面糊倒入烤盘中,抹平,用力震几下,把里面的大气泡震出来。
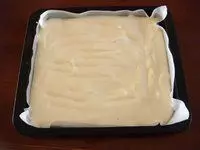
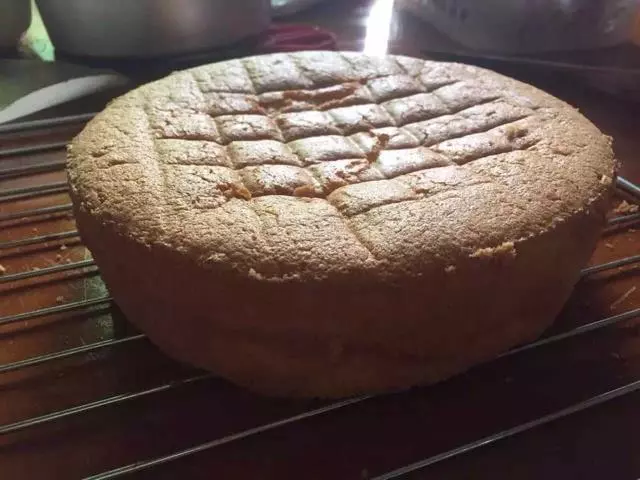
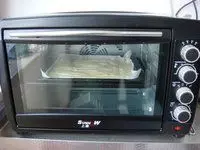
10烤箱预热180度,中层,14分钟即可。
11烤好后的蛋糕片迅速倒扣在烤网上。
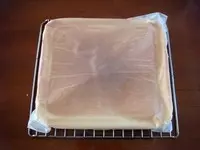
12乘热撕去油纸。
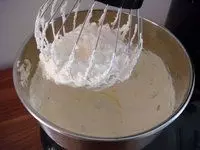
13这时候,把淡奶油和白糖放入厨师机里面搅拌至硬质,能裱花状。
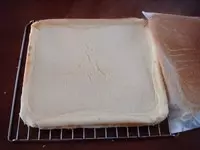
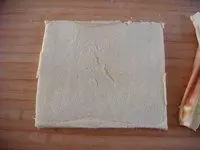
14蛋糕片切去四周 不整齐的边。
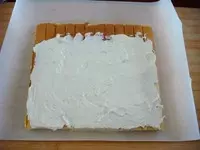
15盖上油纸反过来,上面抹上奶油,开始处可以多抹些,终端少抹些或不抹。这样好卷。
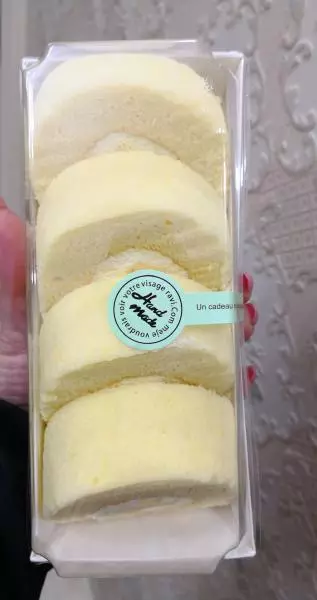
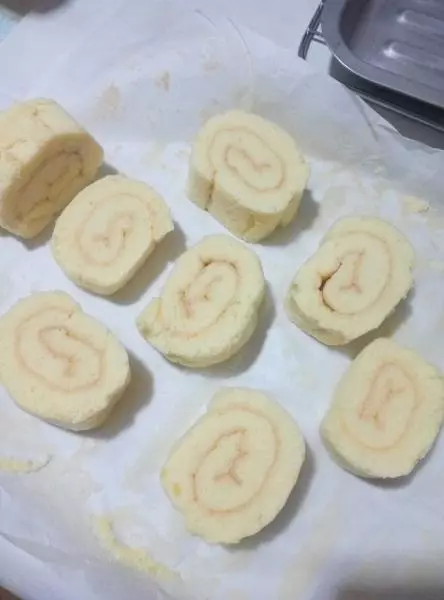
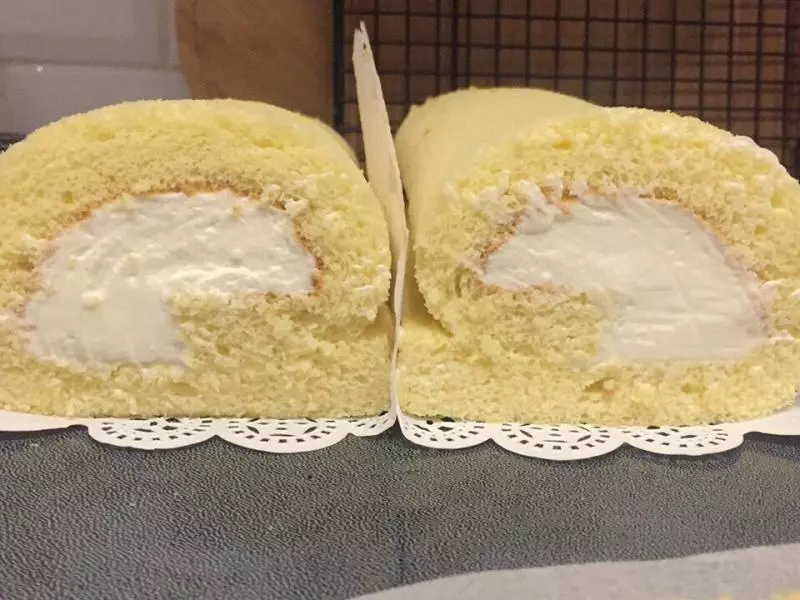
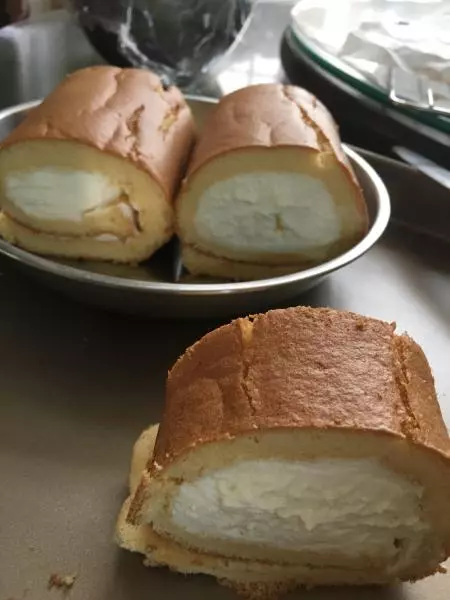
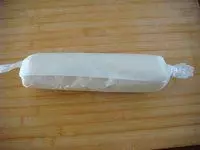
16把蛋糕卷卷起来,用油纸固定住,两端像糖果样封口。放冰箱半小时冷藏定型。吃时切块即可。
小技巧
这个配方很好,做好的蛋糕片湿润有弹性,很好卷,如果怕卷不好,可以在蛋糕片上划浅浅的刀。