原料
鸡蛋清: 4个, 细砂糖: 50克(其中15g加在蛋黄液里), 牛奶: 50ml, 玉米油: 50ml, 低筋面粉: 60克, 椰蓉: 少量(洒在奶油卷里), 鸡蛋黄: 4个, 全蛋液: 1个(放在蛋黄里)
步骤
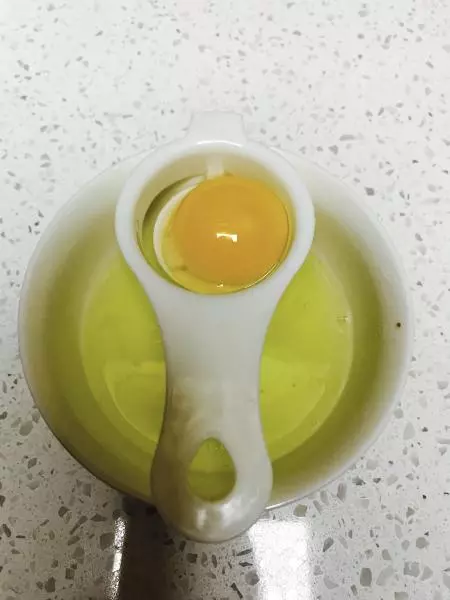
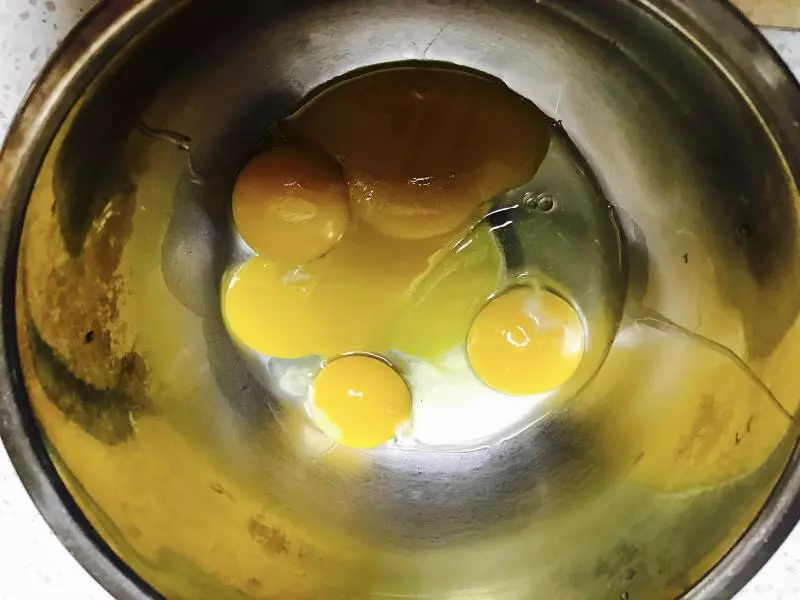
1把四个鸡蛋的蛋清和蛋黄分离
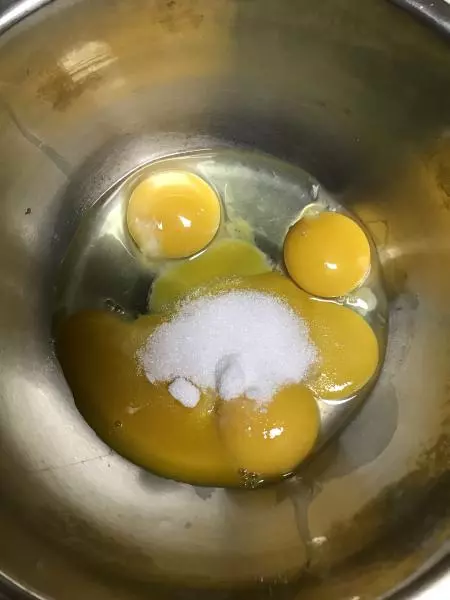
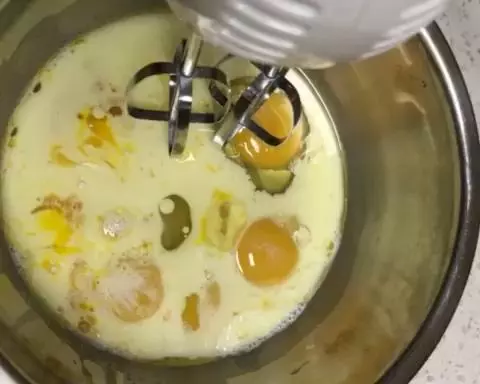
2四个蛋黄分离后打进去一个全蛋液
3蛋黄液里放上15g白砂糖
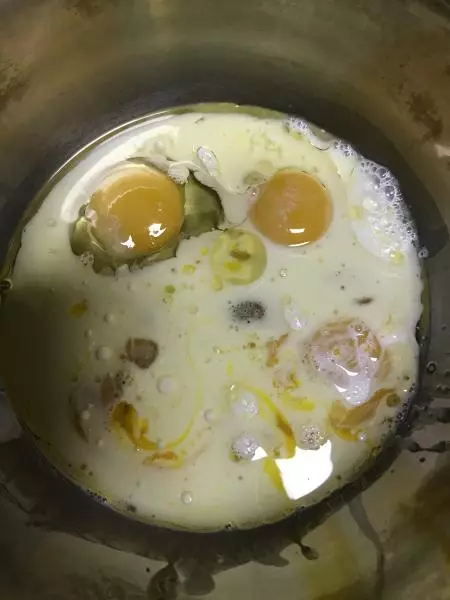
4白砂糖放好后放入50ml玉米油,50ml纯牛奶(原味酸奶也可以)
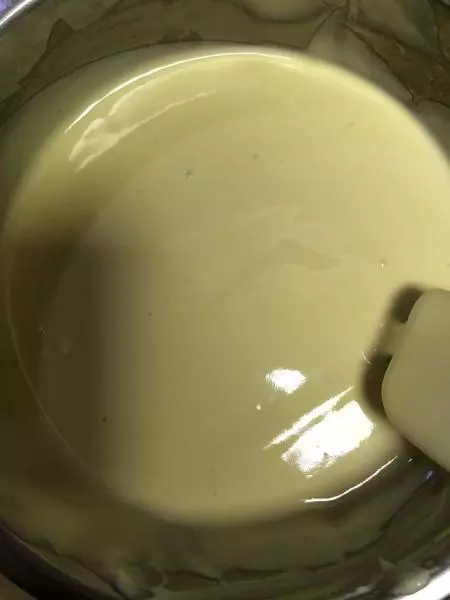
5可以用手动打蛋器搅拌均匀
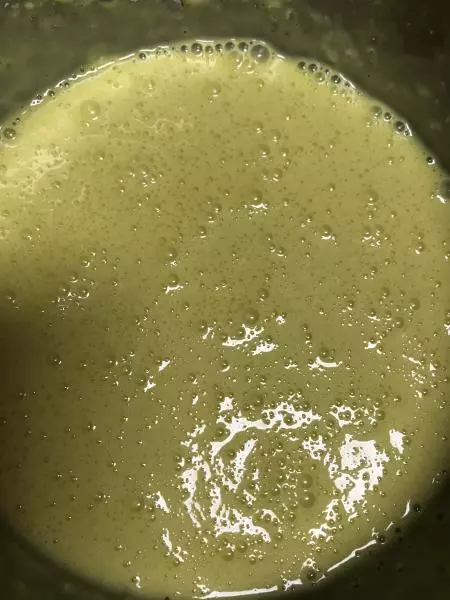
6搅拌均匀后这个样子
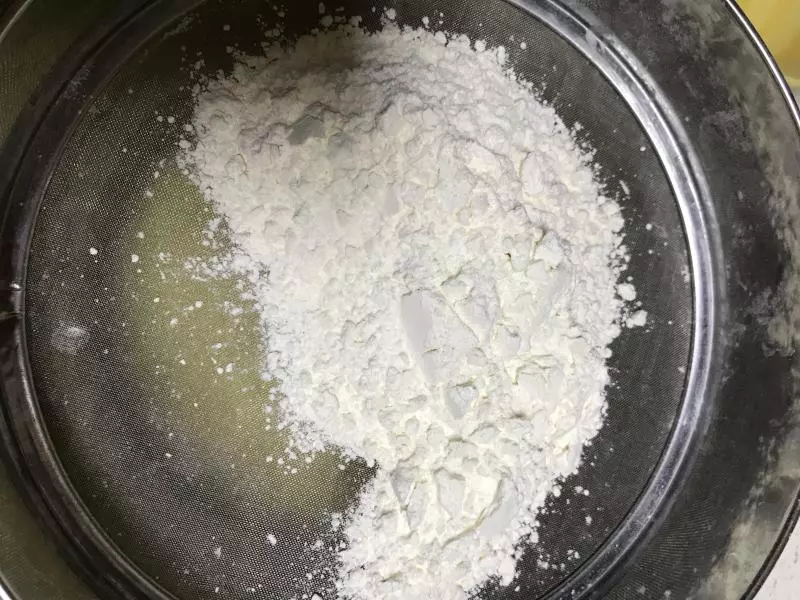
7筛入低筋面粉(蛋糕粉)60g
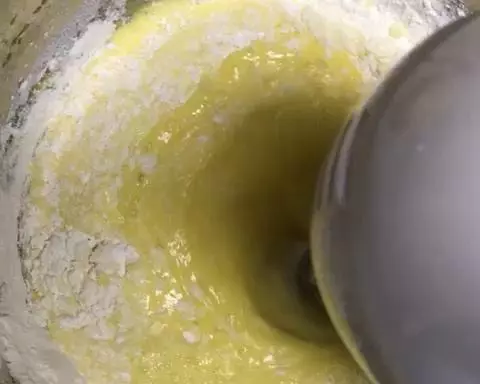
8筛好后用手动打蛋器搅拌均匀
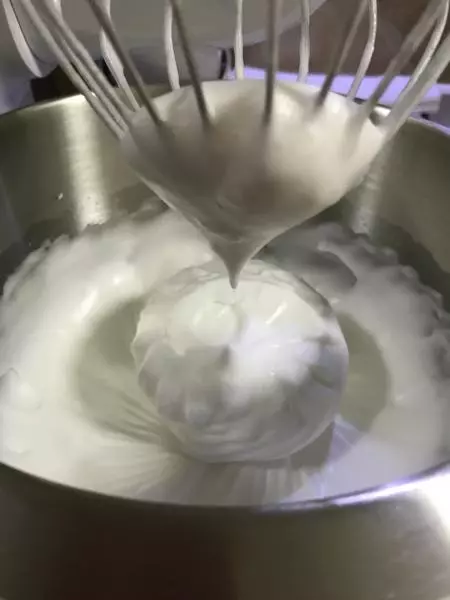
9做好蛋黄液后开始打蛋白,在蛋白有气泡后放入1/3白砂糖,期间滴入几滴白醋。
10蛋白细腻后放入第二个1/3白砂糖。

11最后蛋白里放入最后1/3白糖,打到蛋白湿性发泡。(例如提起蛋白可以有一个带弯的小尖)
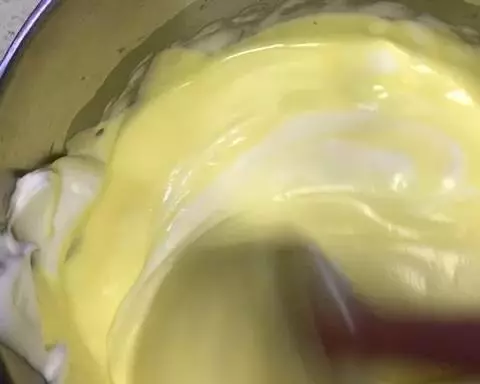
12取1/3蛋白放到蛋黄液里
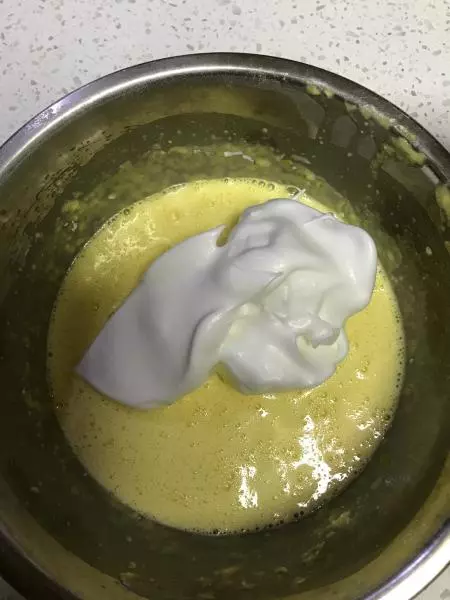
13蛋白加入后上下翻拌均匀
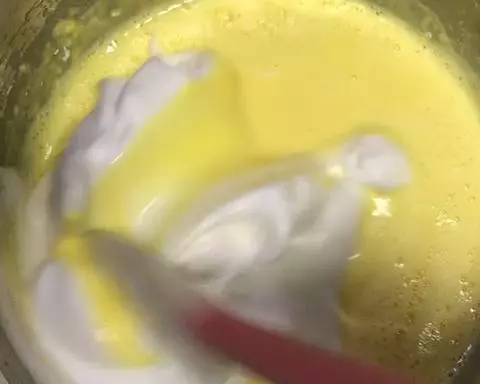
14蛋白第二个1/3加人蛋黄液里
15蛋黄液放进最后1/3蛋白里上下翻拌均匀
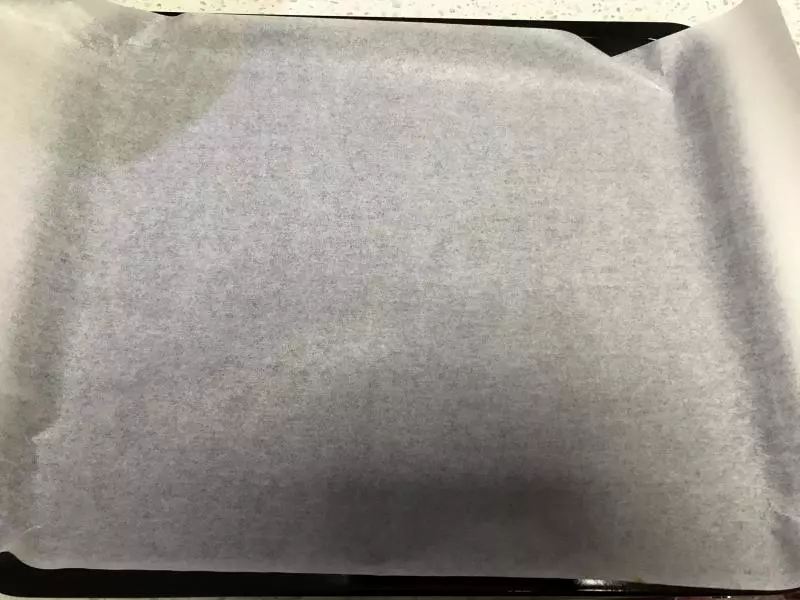
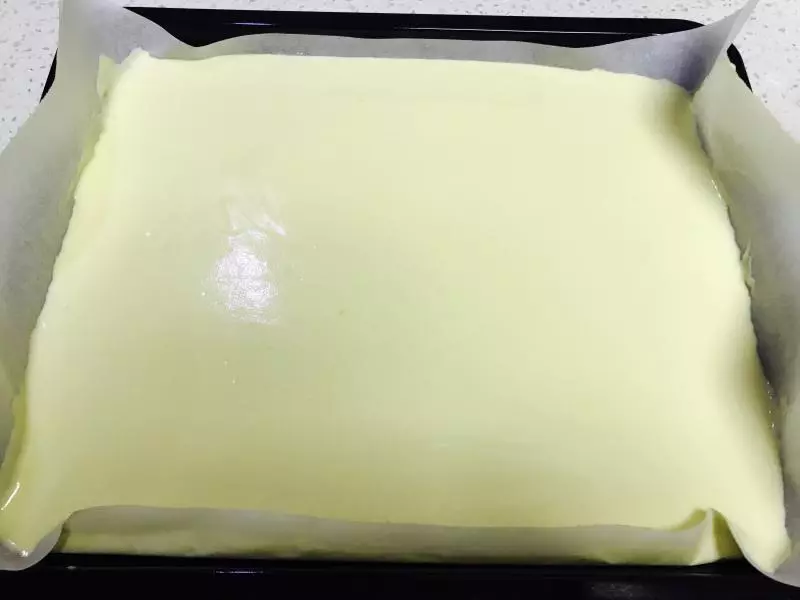
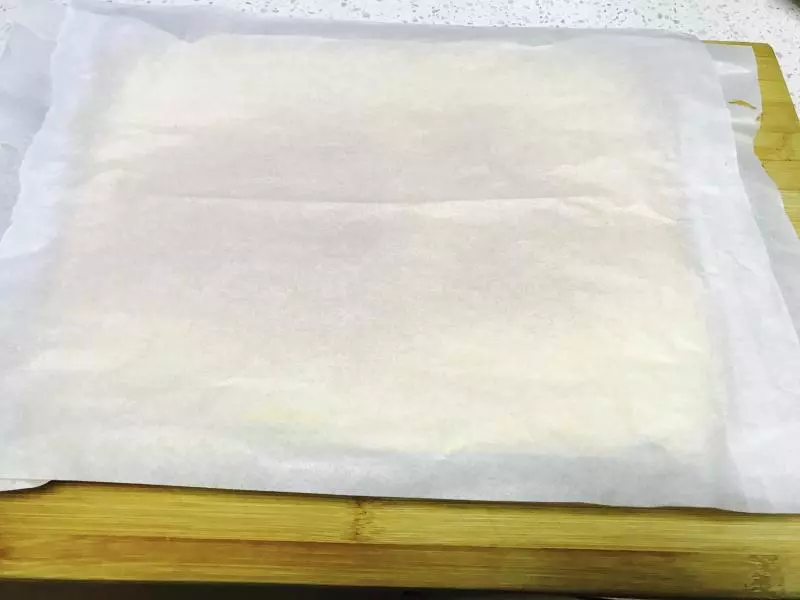
16烤箱深槽烤盘铺好油纸(油纸两端略长一些)
17将搅拌均匀的蛋黄蛋白混合物倒入烤盘
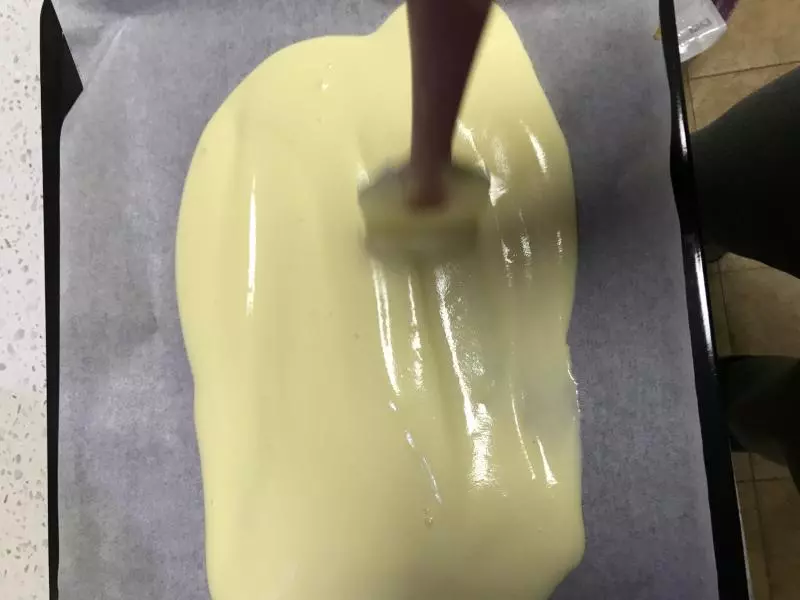
18烤盘充满后表面抹匀,震动几下把气泡震没
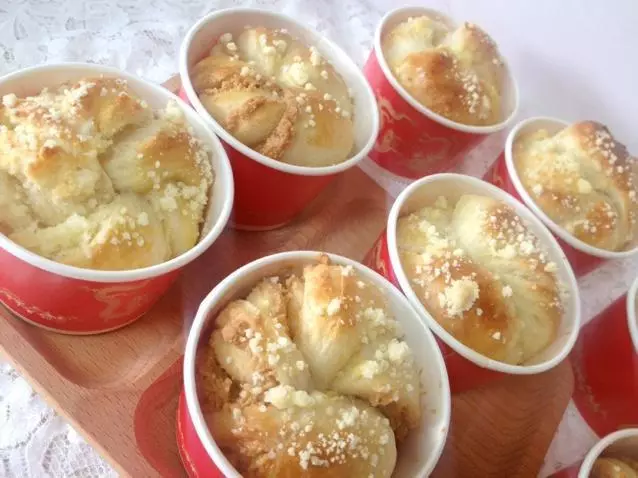
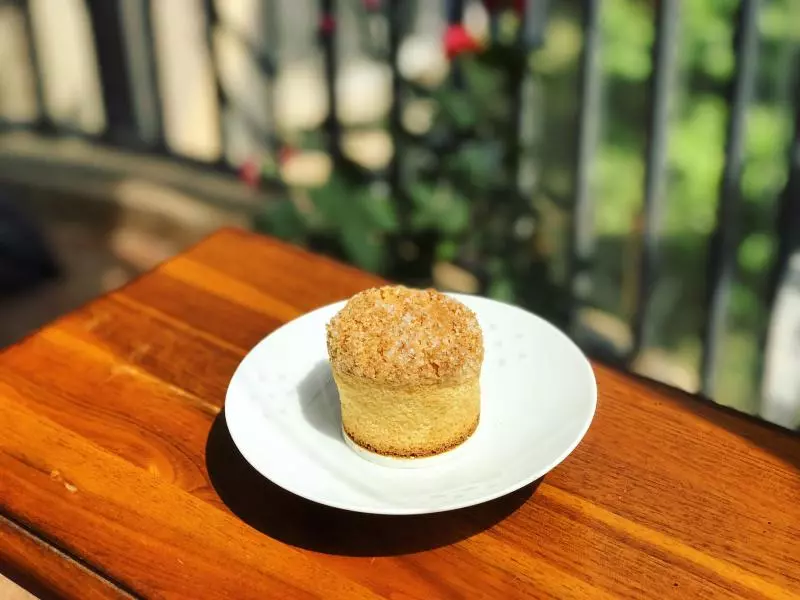
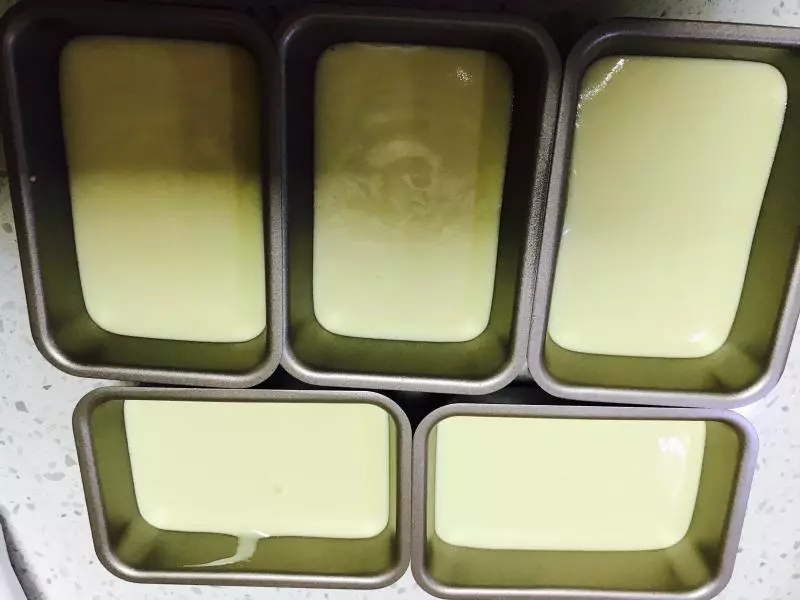
19剩下的蛋黄液我放进了小蛋糕模具。
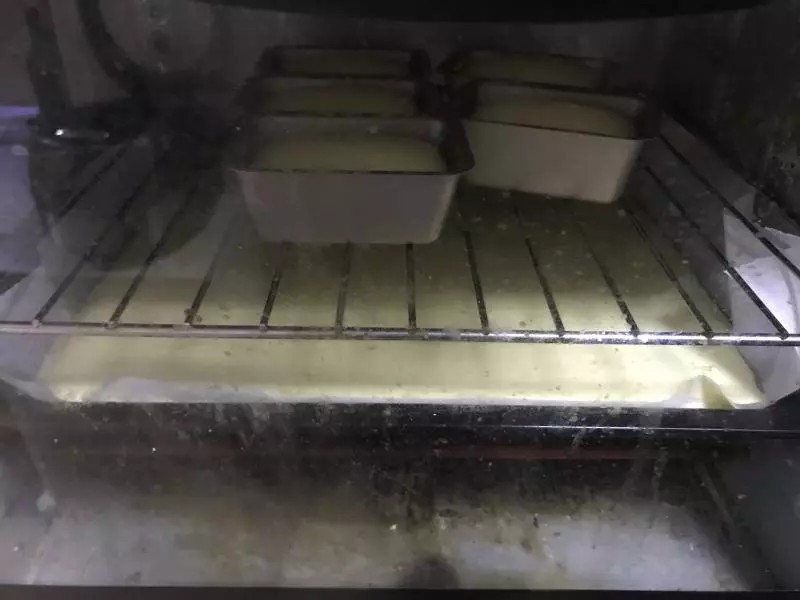
20烤箱预热15分钟,180度-190度烤30-40分钟。(根据自己烤箱来决定温度和时间,每个烤箱大小不一样温度会略有不同)
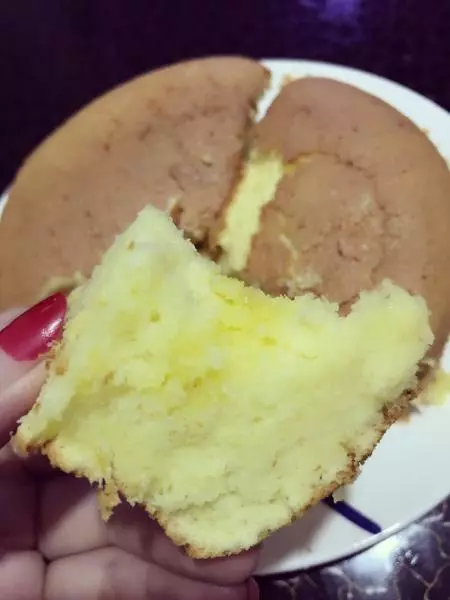
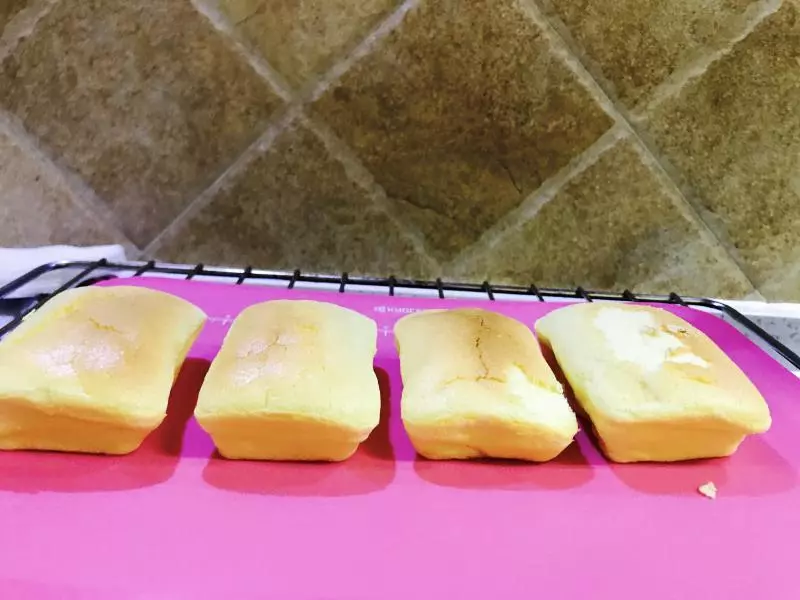
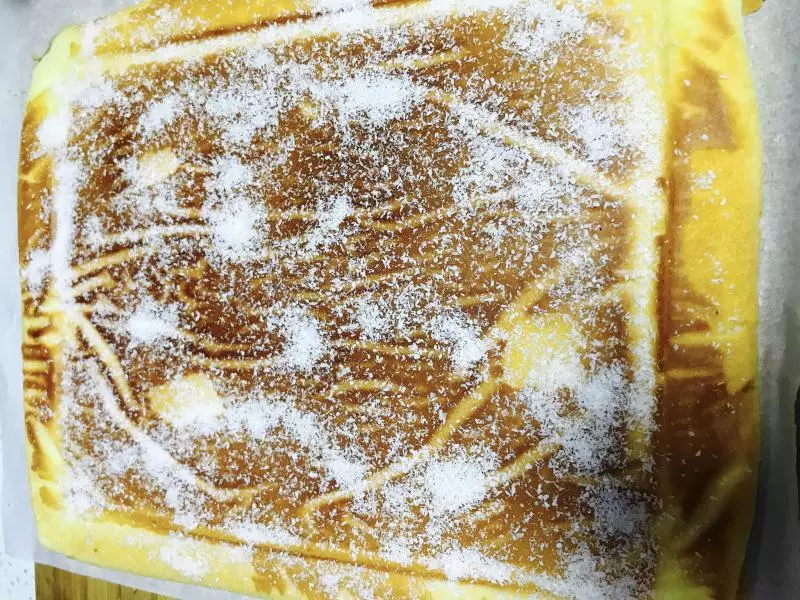
21出锅后立即倒扣模具并震动几下帮助脱模。

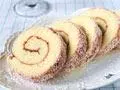
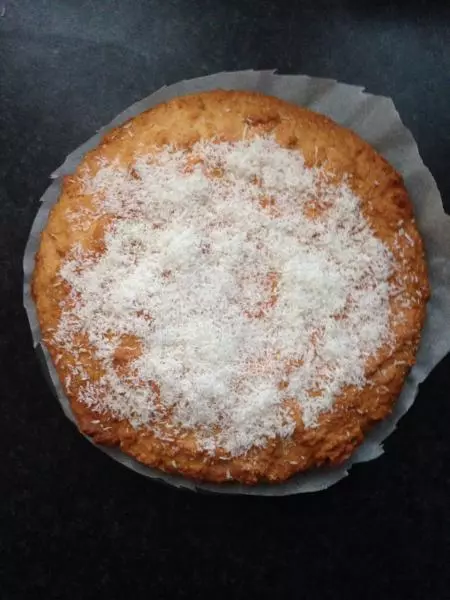
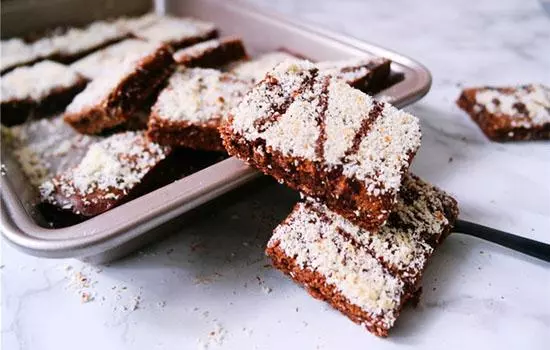
22脱模后由于第一次用小蛋糕模具影响了出品(手滑把蛋糕压的)
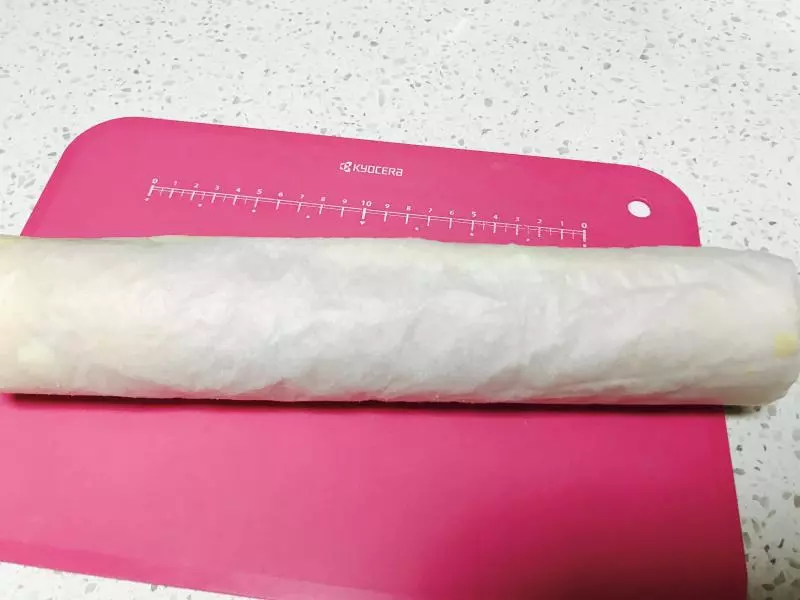
23烤好的蛋糕烤盘中晾凉盖好油纸,翻过来备用
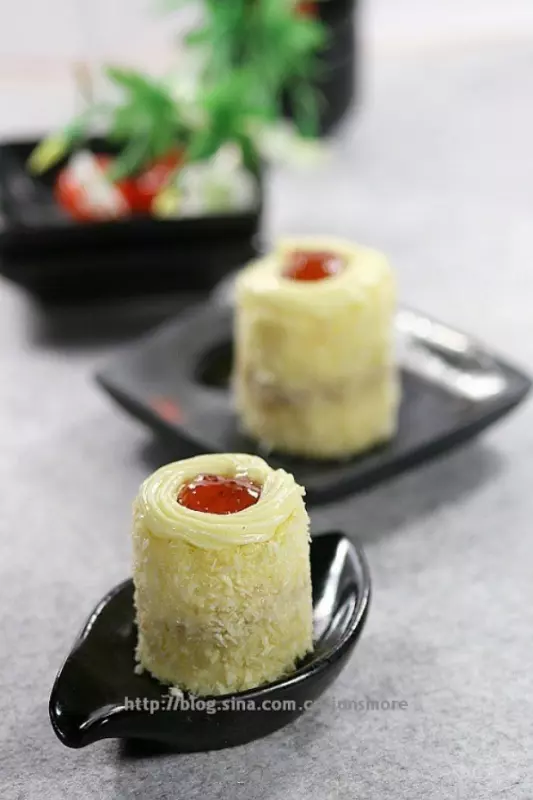
24反过来后撒上椰蓉
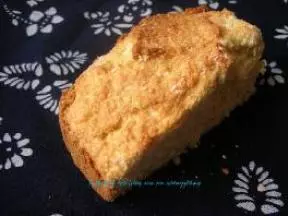
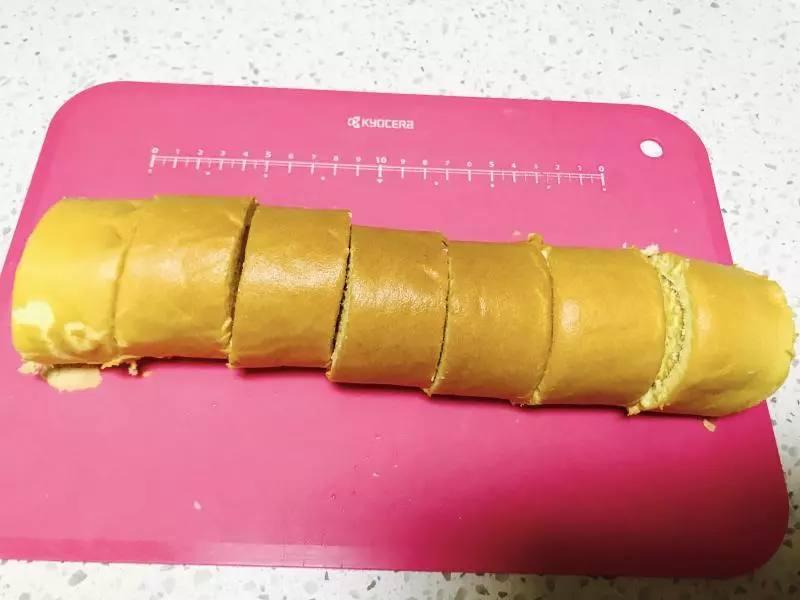
25撒好椰蓉后利用油纸和擀面杖把蛋糕卷好裹实,油纸不要打开

26裹好后放入保鲜袋并放进冰箱冷冻室里半个小时。
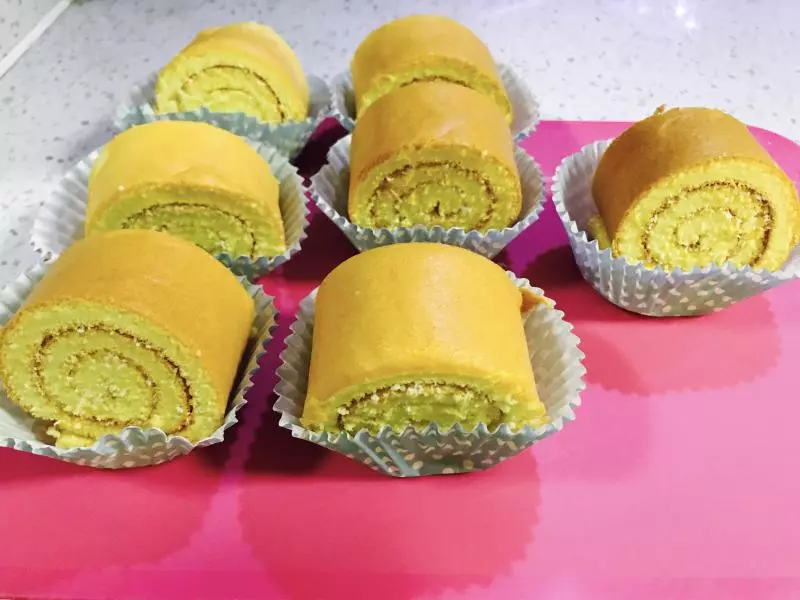
27半小时后拿出来切成均匀的小块。
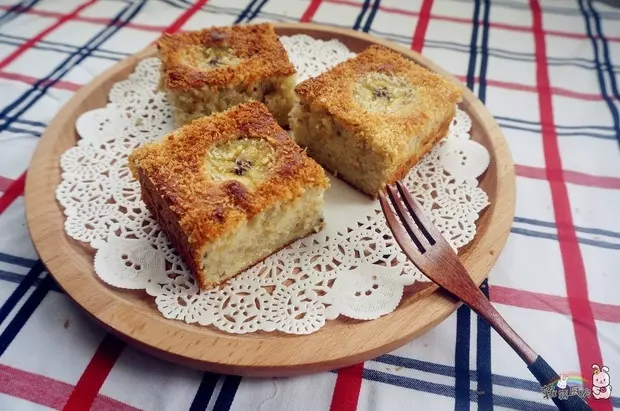
28一个个椰蓉奶油卷儿就做好啦!放入保鲜袋放进冰箱冷藏即可。

小技巧
把四个鸡蛋分别蛋清和蛋黄分离