原料
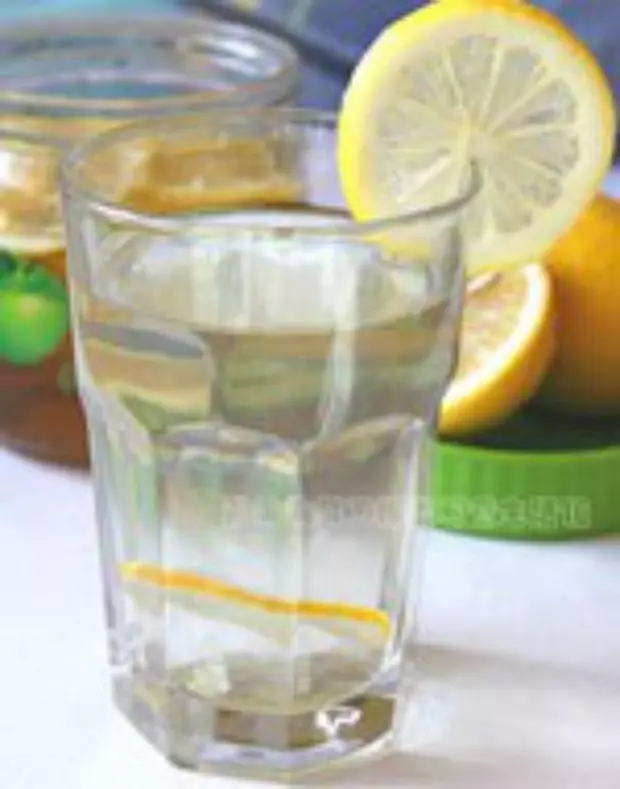
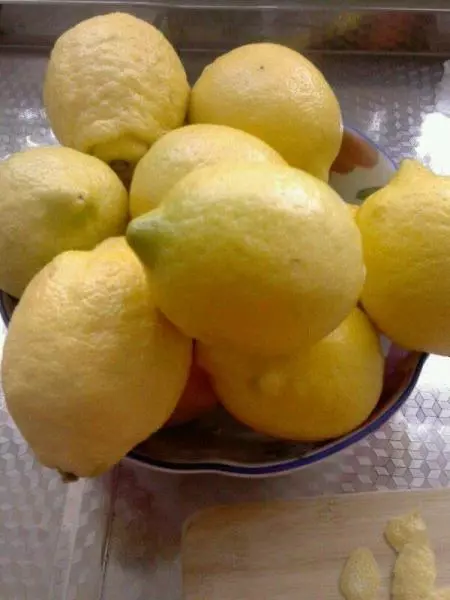
鸡翅: 10只, 新鲜柠檬汁: 30克, 生抽: 15克, 蜂蜜: 4勺, 蜂蜜: 2勺
步骤
1把鸡翅泡水,清洗干净
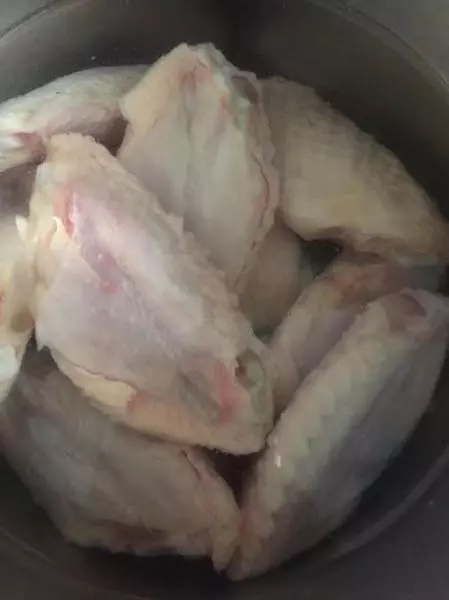
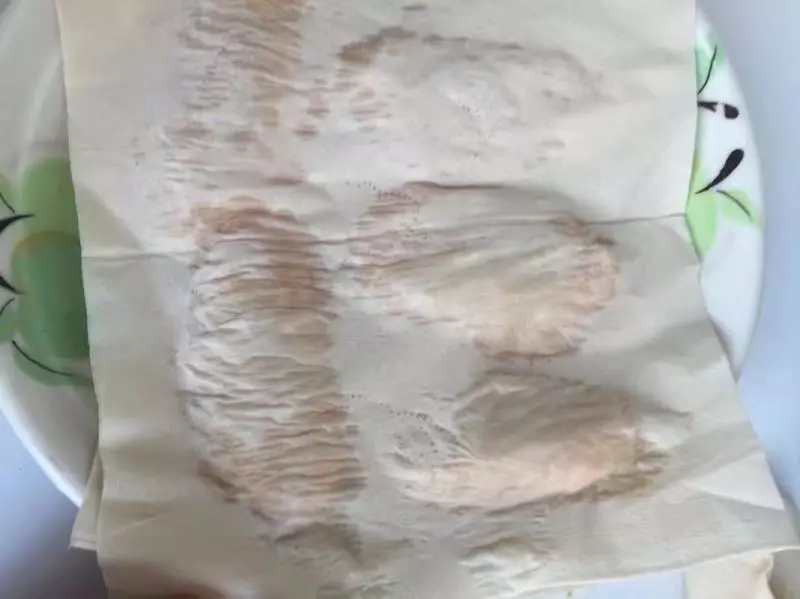
2用竹纤维纸巾把水分擦干
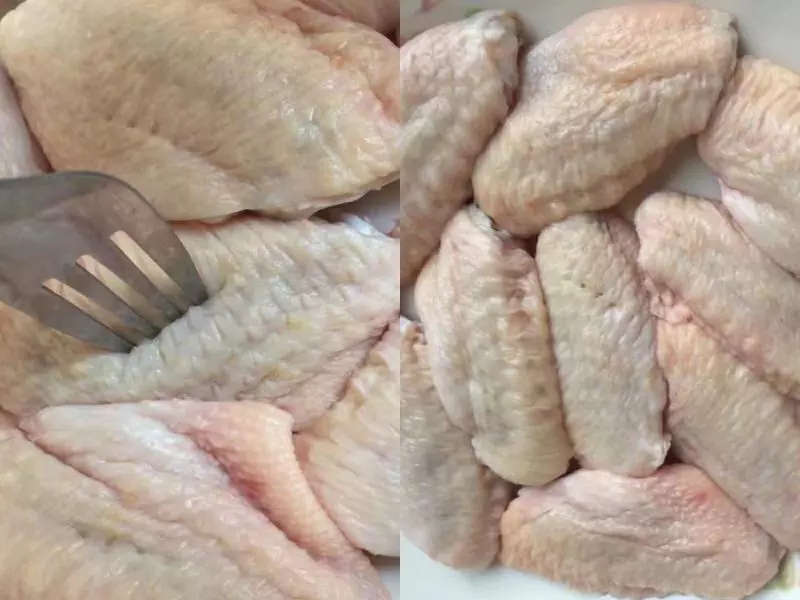
3用叉子在鸡翅正面和背面多扎些洞
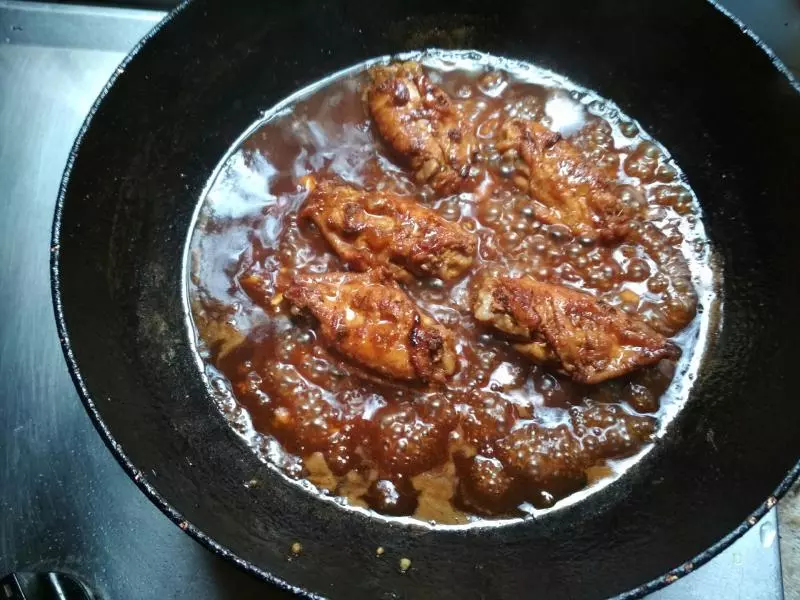
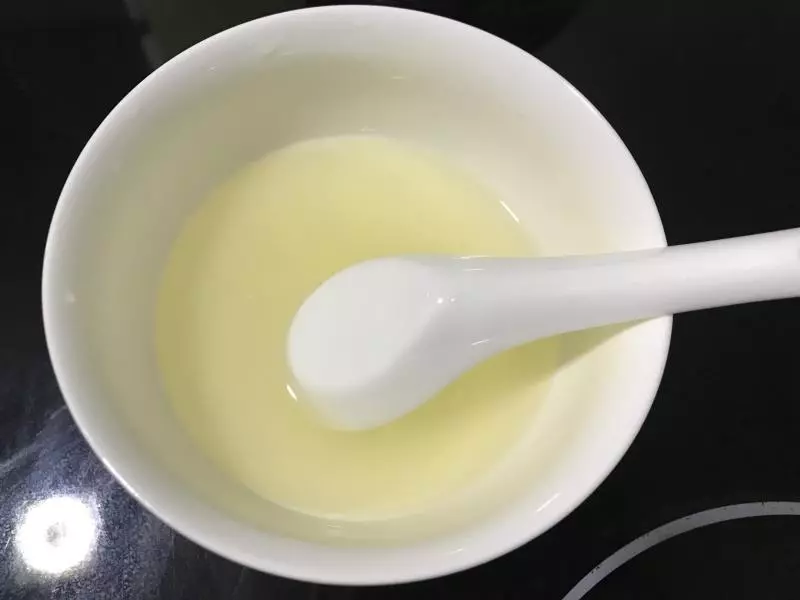
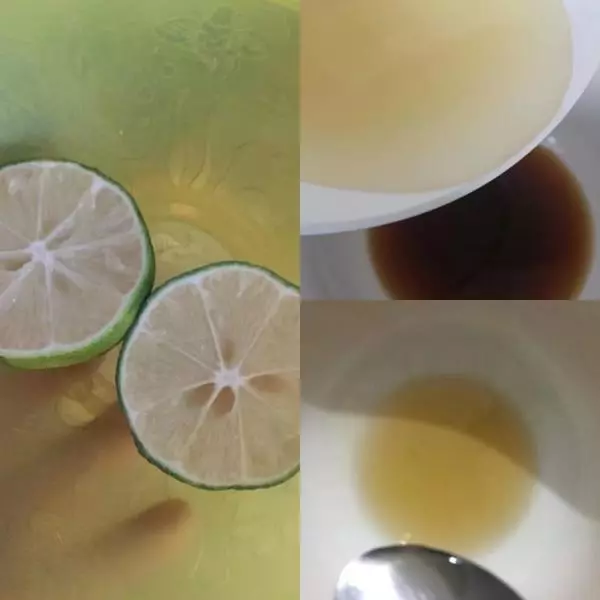
4把柠檬汁和酱油及两勺蜂蜜搅拌均匀,放两片鲜柠檬,不喜欢太酸就多放点蜂蜜或者减少点柠檬汁
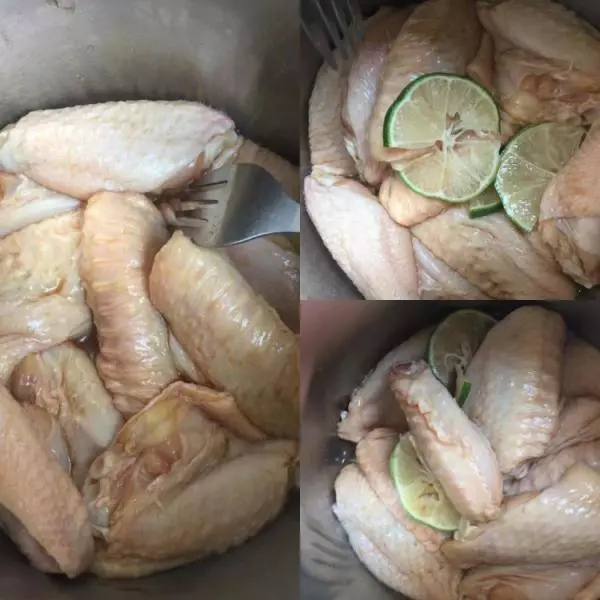
5在小盘中反复拌匀覆盖保鲜膜放进冰箱,腌制过程中,需隔半小时就翻面一次,腌制至少三小时。
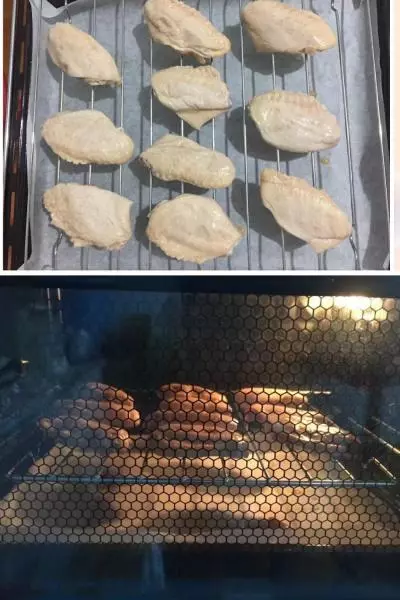
6烤箱预热:上层200°下层180°,把鸡翅放烤网上,底下用铺上油纸的烤盘接住油渣,这样不会把烤箱底部弄脏(⊙o⊙)哇哈哈!
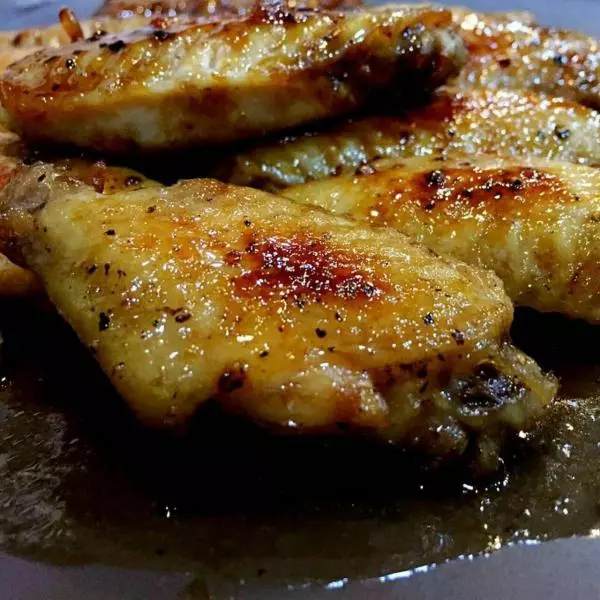
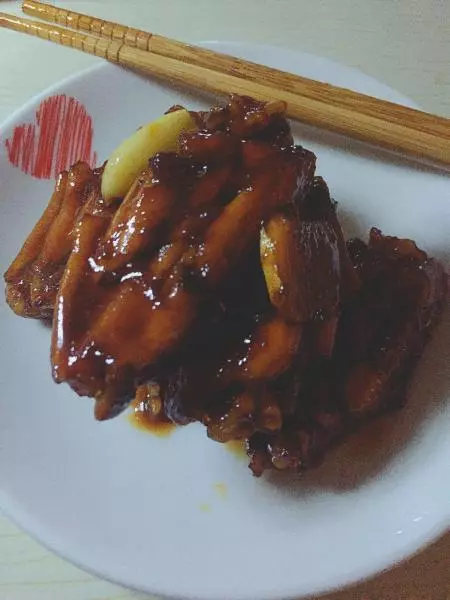
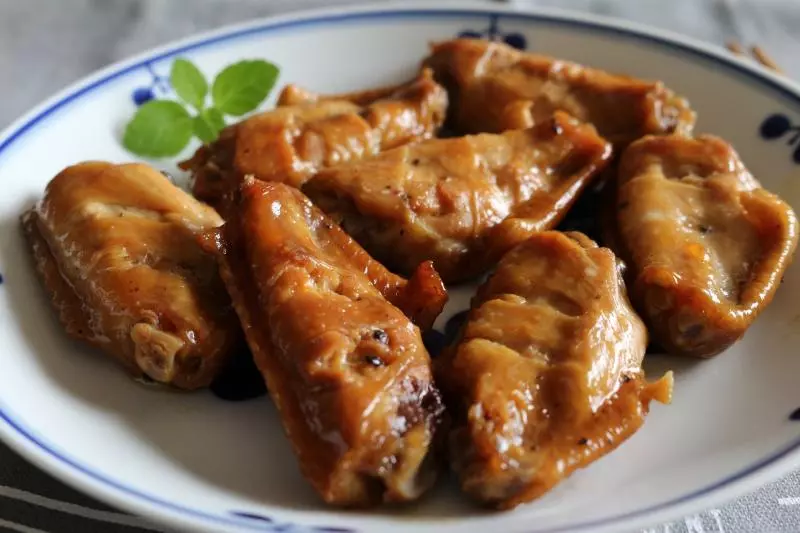
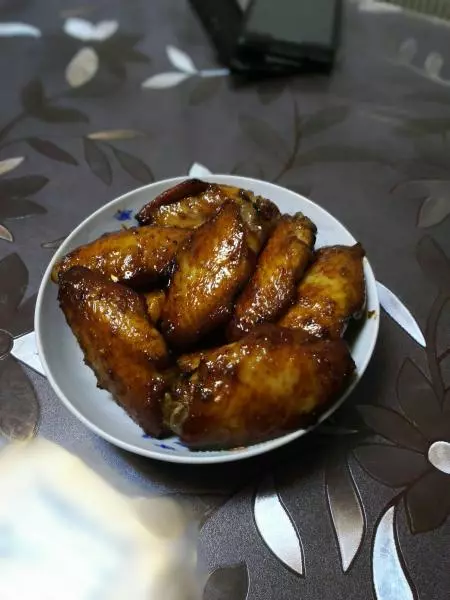
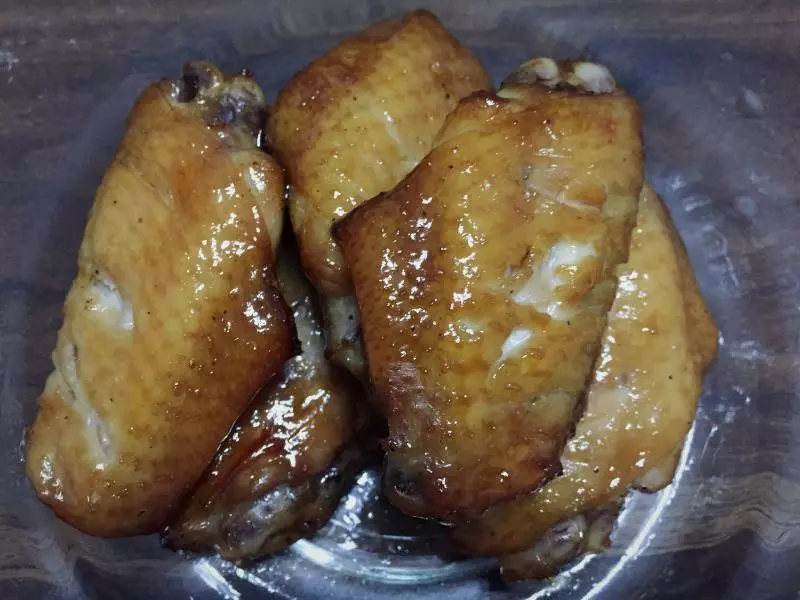
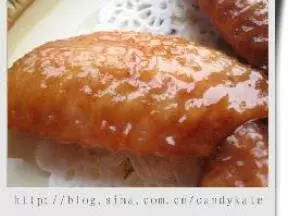
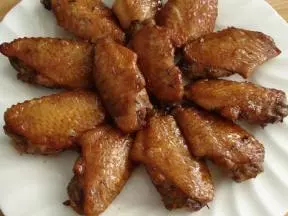
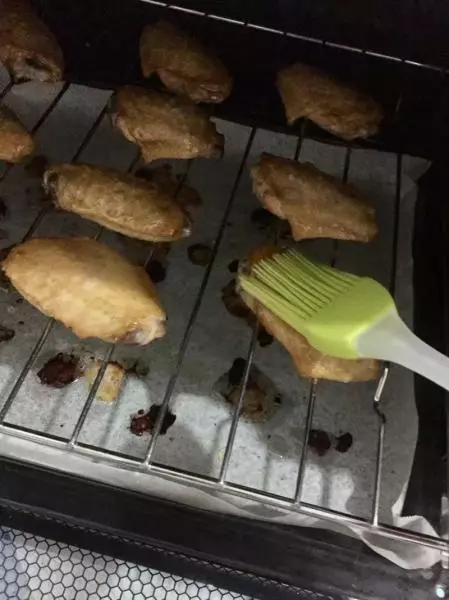
7烘烤15 分钟后刷一次蜂蜜,不用翻面,烘烤28分钟表面金黄色即可,根据自家烤箱温度而定。
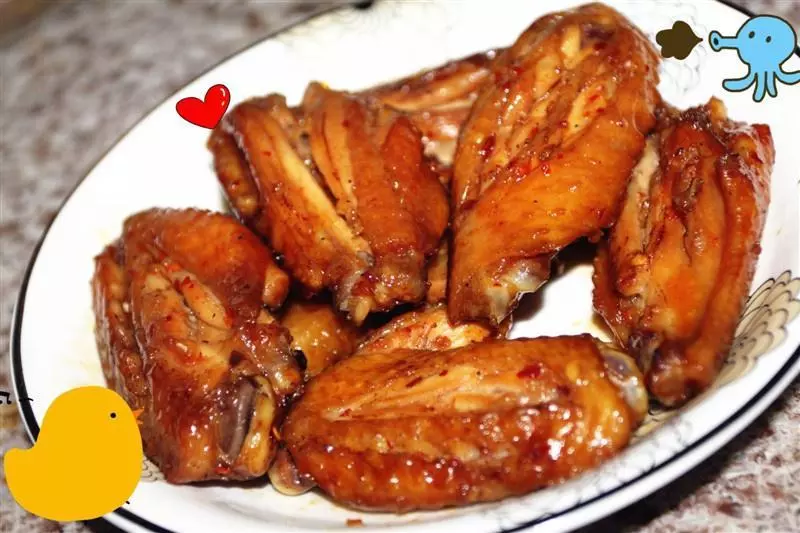
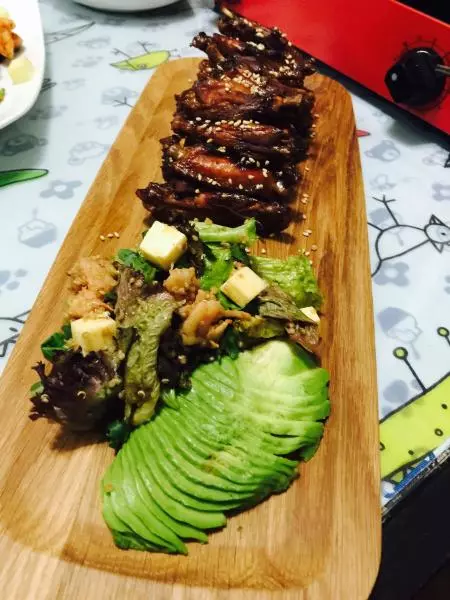
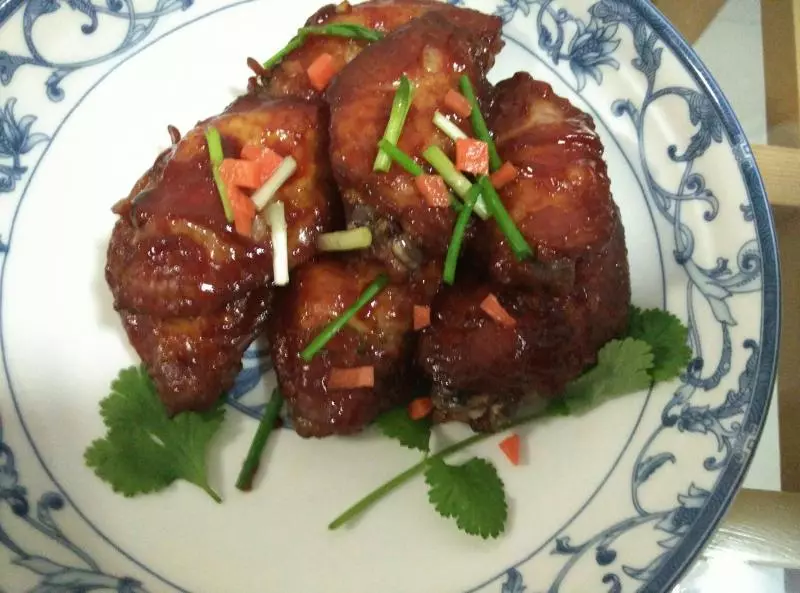
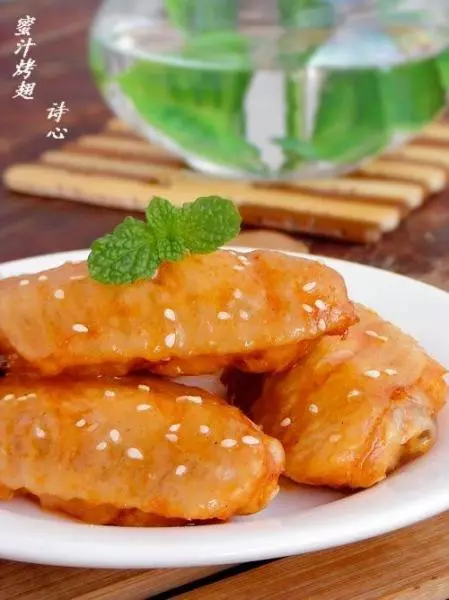
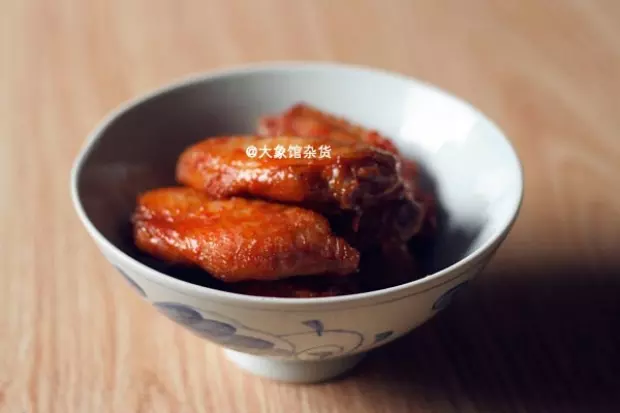
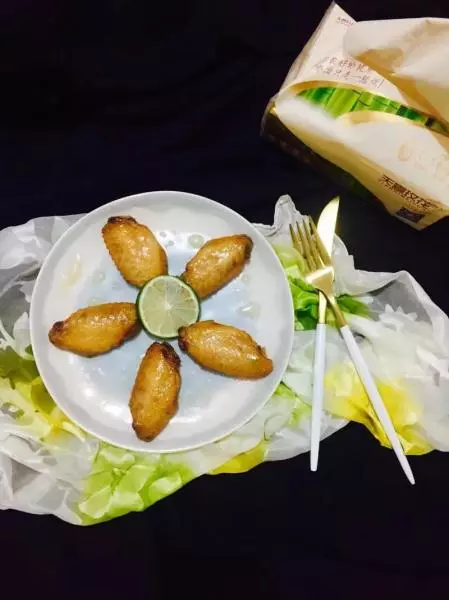
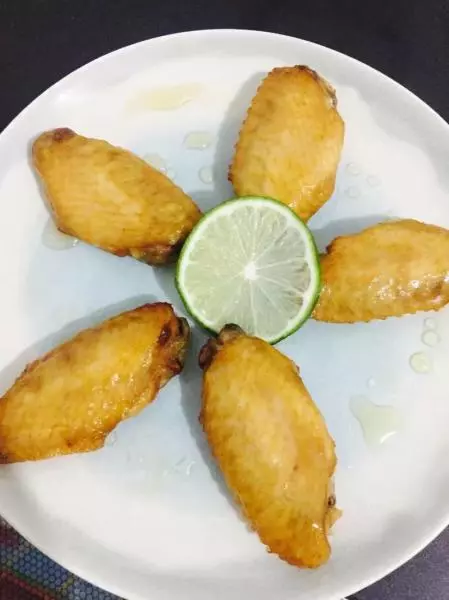
8出炉在刷层蜂蜜.摆盘,吃了一个酸酸甜甜味道跟这个夏天很配。

9再来张图,有没有美美哒。
小技巧
烘烤时请注意看噢,不要烤糊了,烤箱时间及温度根据自己的烤箱而定。