原料
奶油奶酪: 185g, 细砂糖: 40g, 淡奶油: 100g, 柠檬汁: 3.5g, 蛋黄: 适量, 玉米淀粉: 15g
步骤
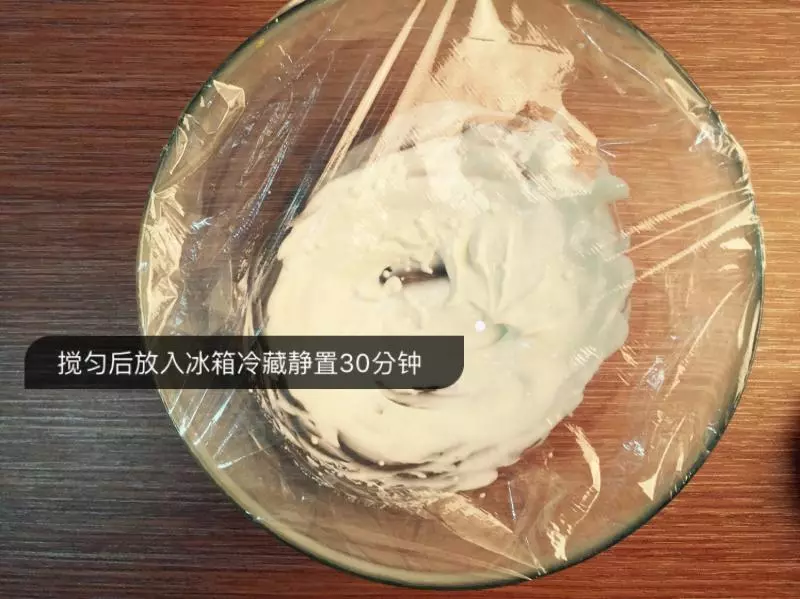
1取35克淡奶油加入3.5g柠檬汁搅匀
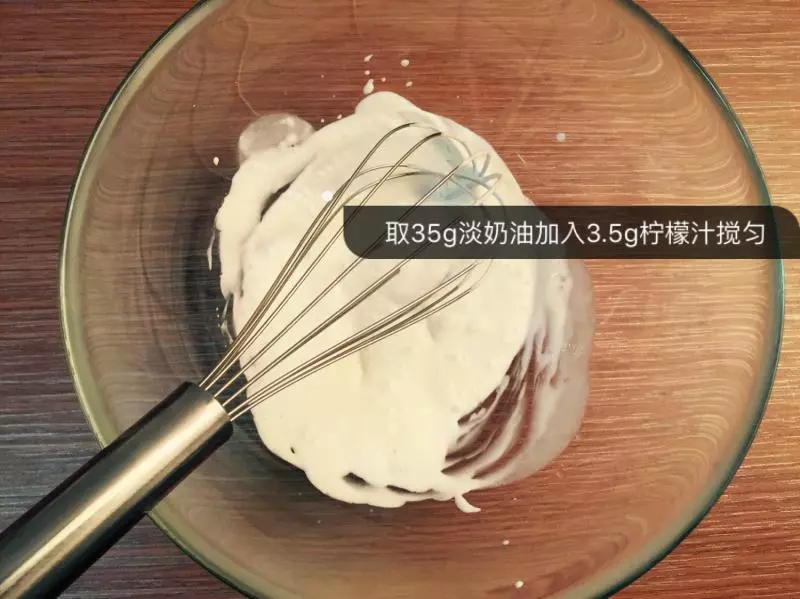
2搅匀后放入冰箱冷藏静置30分钟
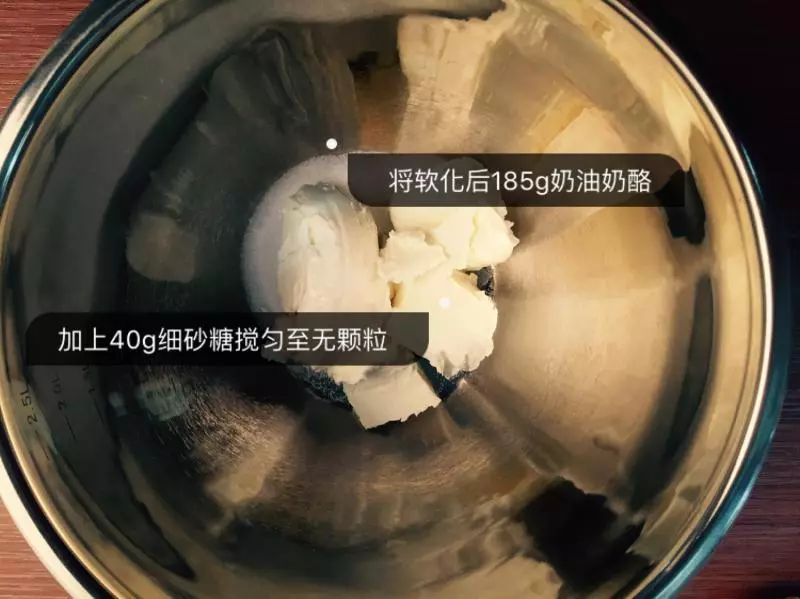
3将软化后185g奶油奶酪加入40g细砂糖搅匀至无颗粒
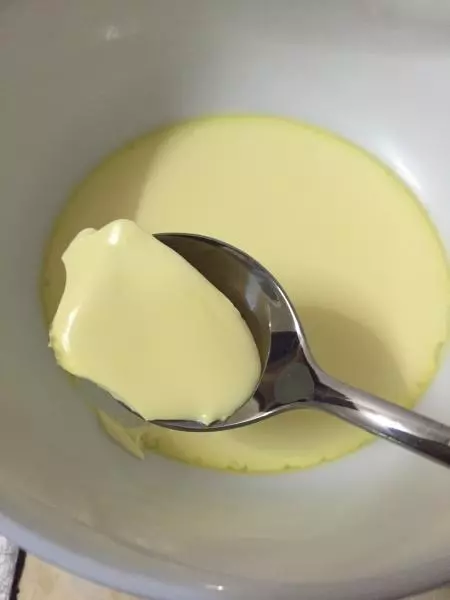
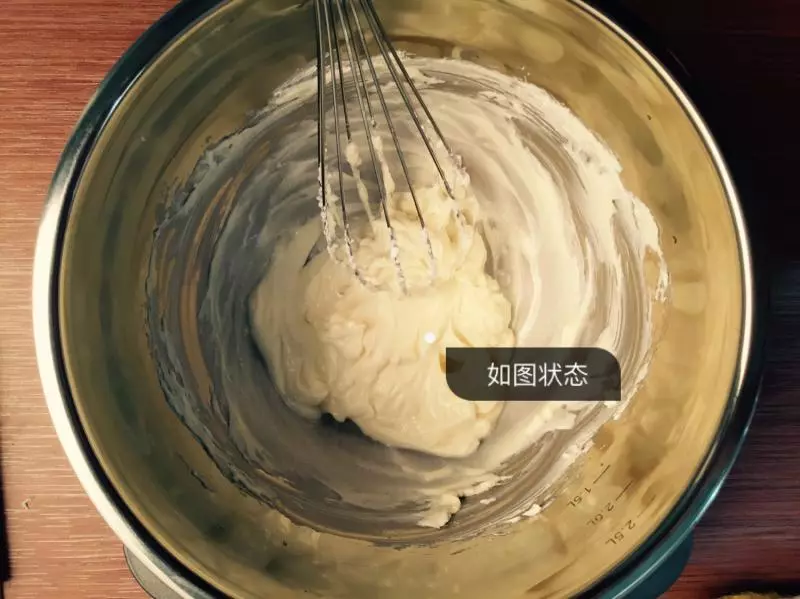
4搅拌至如图无颗粒Tips如果你的奶油奶酪未软化到位,可以在打蛋盆下加盆热水,让打蛋盆坐在热水里搅
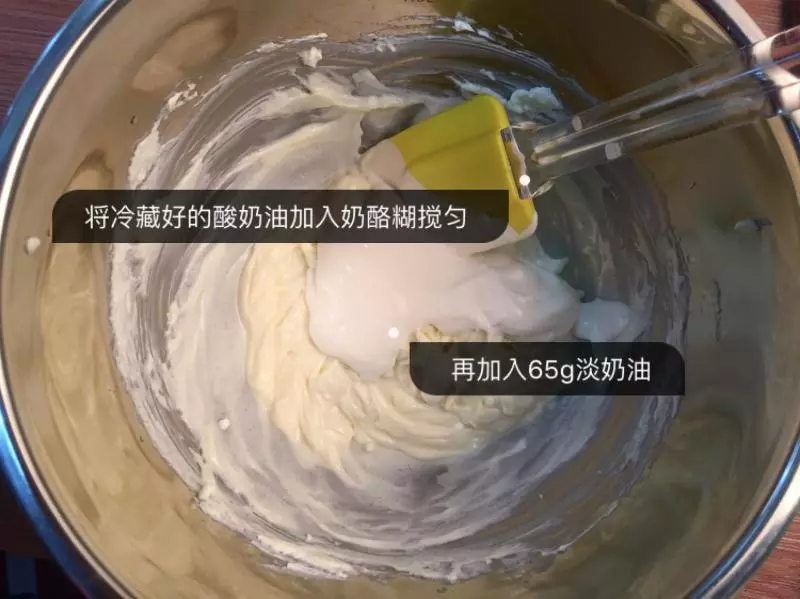
55将冷藏好的酸奶油加入奶酪糊搅匀,再加入65g淡奶油
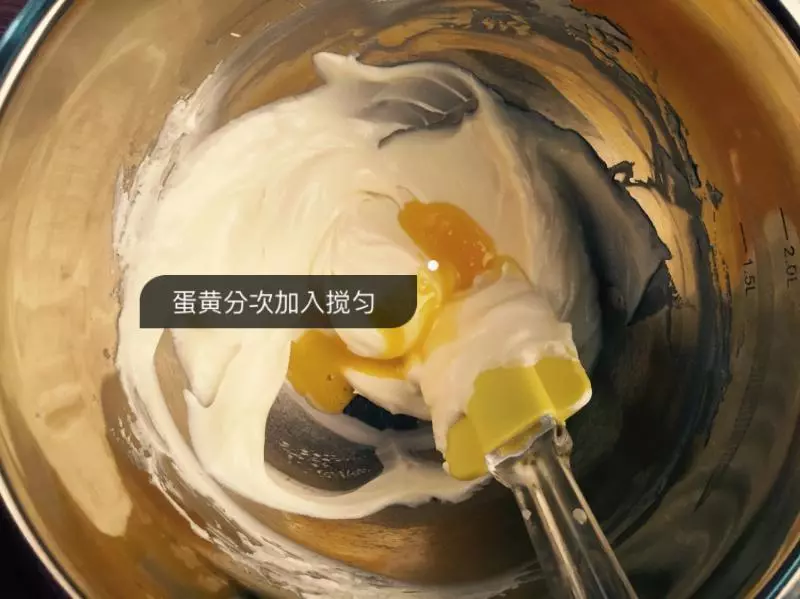
66蛋黄分3次加入,每一次加入都要充分搅匀
7加入玉米淀粉15g搅匀

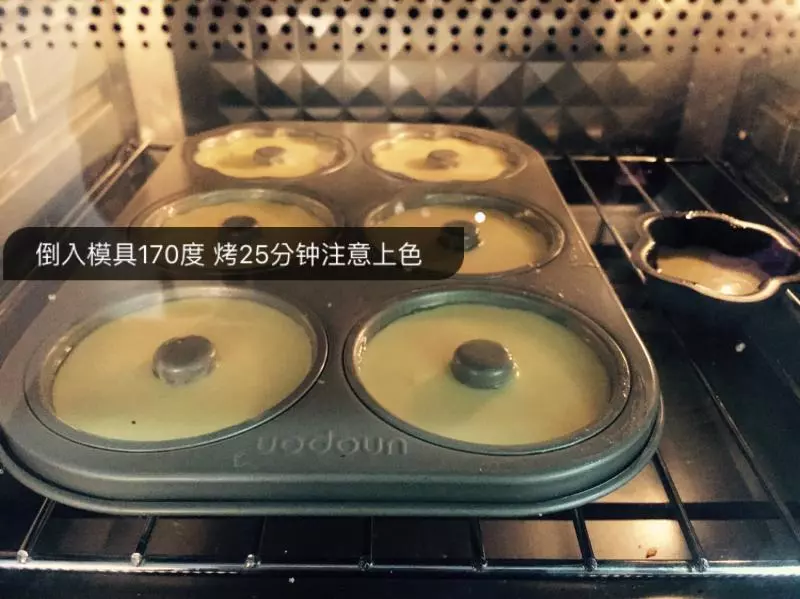
8烤箱170℃预热10分钟,入烤箱,烤25分钟左右。注意上色,颜色金黄微微泛焦为佳。Tips1.如果模具是补防粘的,可以在模具上刷层黄油,做防粘处理
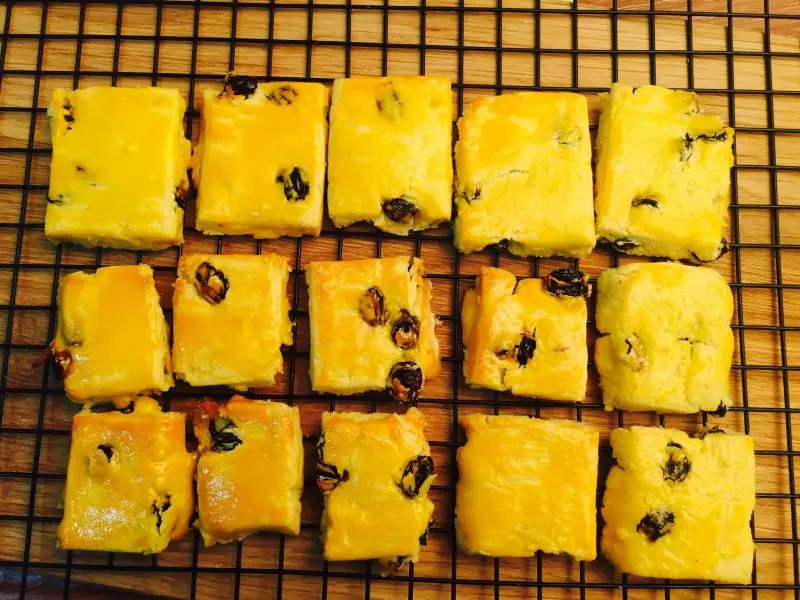
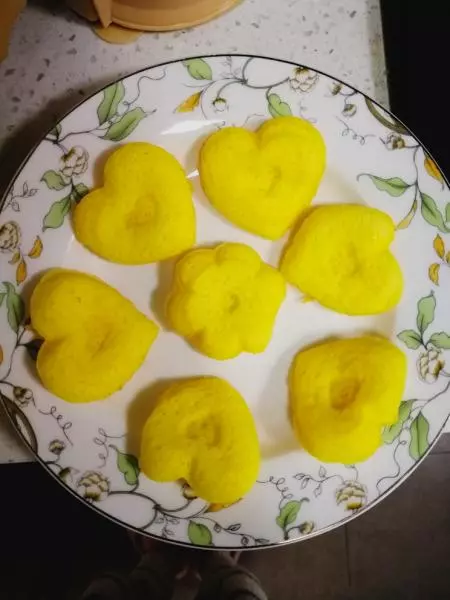
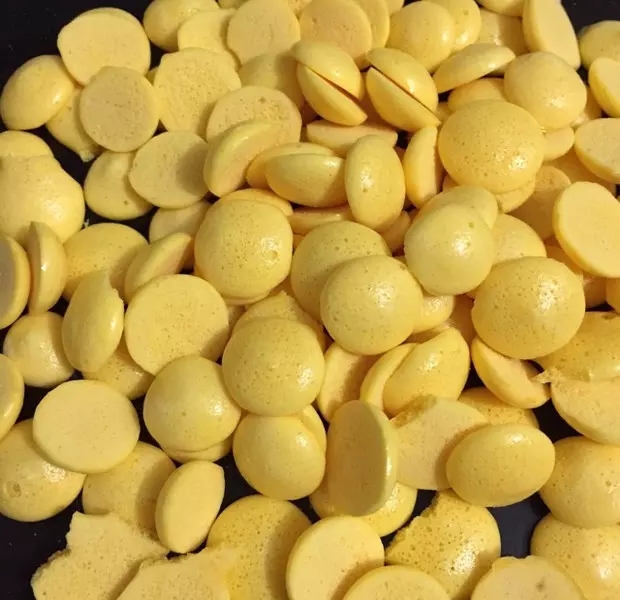
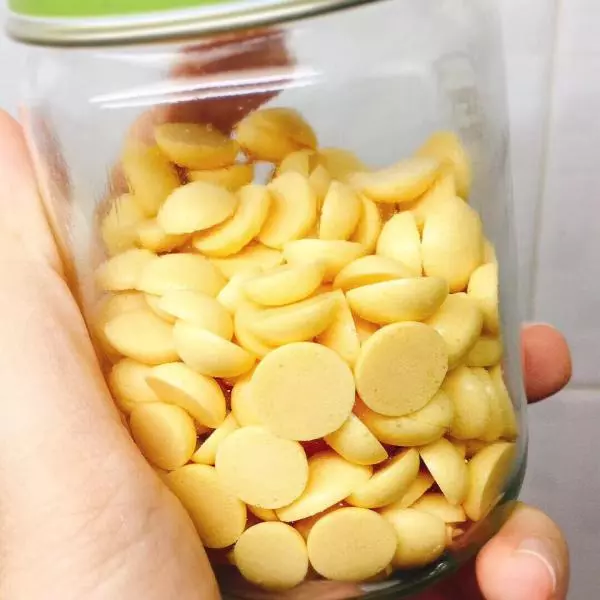
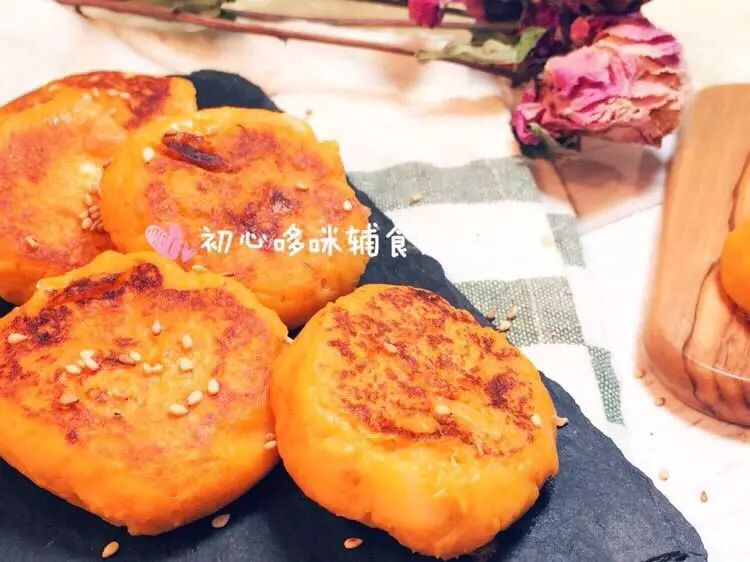
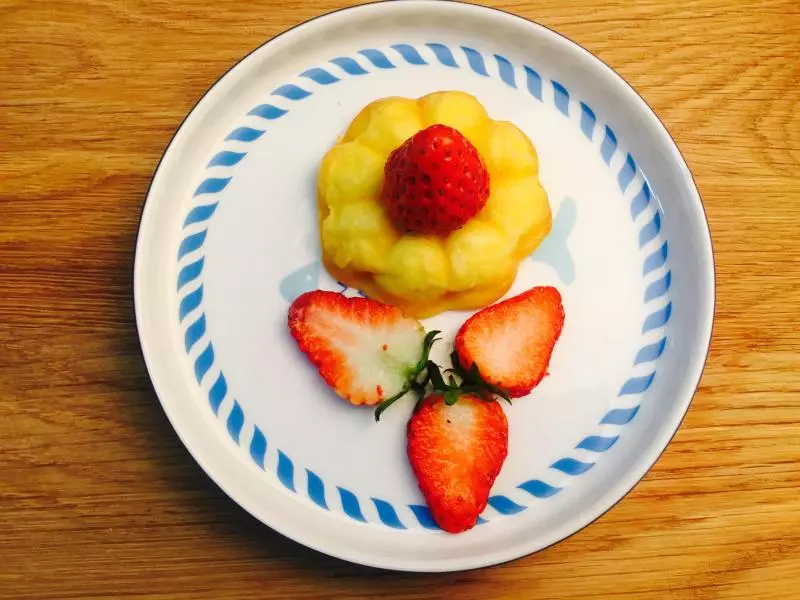
9烤好啦,刚出炉的时候,会比较水水嫩嫩的,建议凉了后脱模,等凉了放冰箱冷藏1小时后再吃,就会有糯糯的口感啦~~
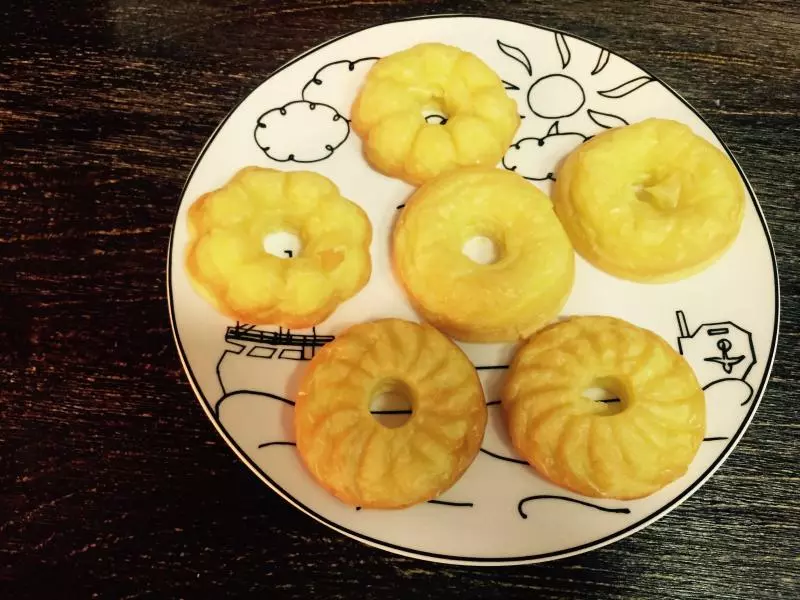
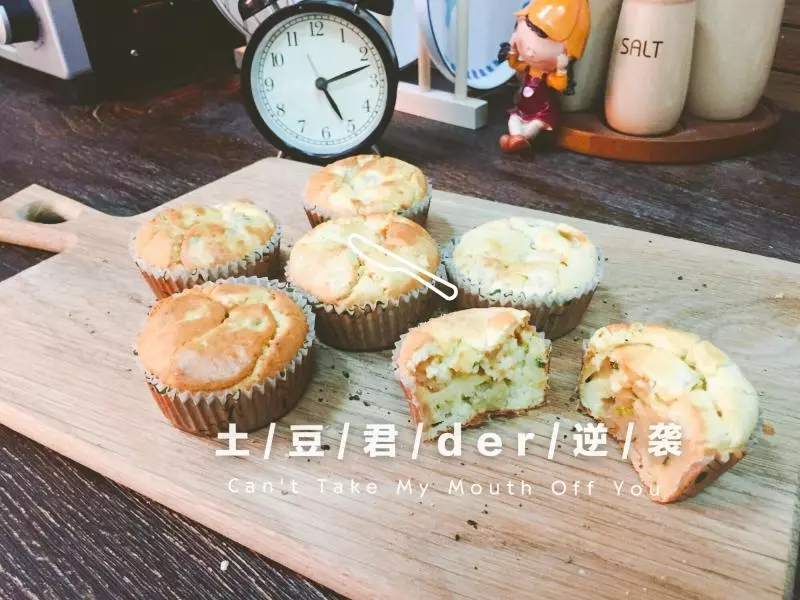
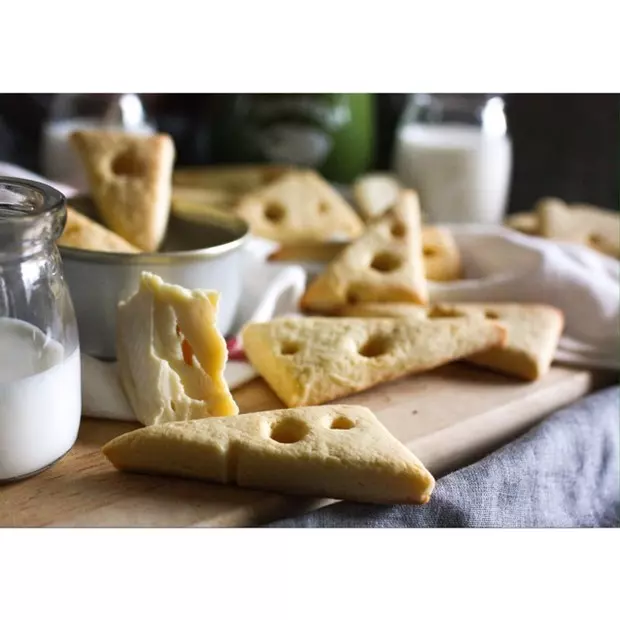
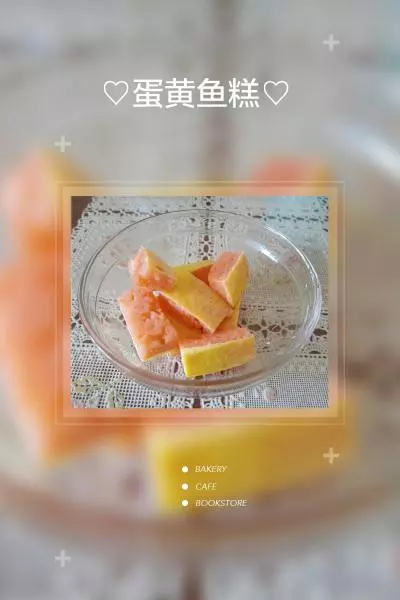
10根据自己的喜好摆盘就大功告成啦

11宝宝吃什么好?来看看“萌煮辅食”APP吧。美厨娘妈妈们聚集在这里,分享最有爱和科学的宝宝菜谱。 微博:宝宝辅食交流 微信公众号:宝宝辅食交流(baobao_fushi)

小技巧
1.如果模具是补防粘的,可以在模具上刷层黄油,做防粘处理 2.刚出炉的时候,会比较水水嫩嫩的,建议凉了后脱模,等凉了放冰箱冷藏1小时后再吃,就会有糯糯的口感啦~~